Tutorial: Pop-Up Easel Card
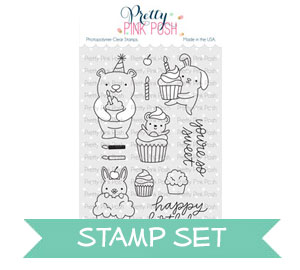
Hello friends, Eloise here and today I have a pop-up easel card to share with you all using the Cupcake Critters stamp set.
I first started with a standard size landscape card base and placed it inside my Mini MISTI stamping tool. I placed three images down and stamped them in black ink. I then lined up the coordinating dies over the top of my images and adhered them down using washi tape. Since I want these images to pop-up, I lined the card in my big shot machine and then for the top plate, I only placed it over the top half of the coordinating dies, so then it would only cut on one half. I then ran it through my big shot machine.

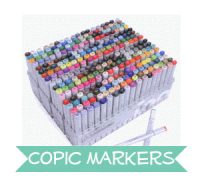
Now that only the top half of my images die cut, I took out a scoring tool, lined it up where the die cuts ended and scored in between each of the images. I folded along the scored lines and this then created my easel card. Now because everything worked correctly, I coloured my images in with Copic Markers.

Copic Markers Used: RV13, RV25, RV19 / Y11, Y13, Y18 / YR20, YR31, YR12 / BG11, BG13, BG49 / BV02, BV04, BV08 / E53, E55, E57, E59 / R000, R00, R30 / W00, W0, W1, W3 / N0, N2. N4 / C0

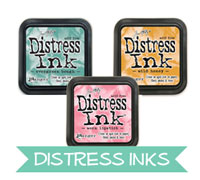
Now all my images were coloured, I stamped out some more of the same images on some masking paper and cut them out. I placed them over the top of the coloured images and used a grassy hill stencil to ink blend some Twisted Citron Distress Ink over the top. I then used some Tumbled Glass Distress Ink for the sky as well, making sure to use tape to cover the inside of the card, so it doesn’t get colour inside.

For the inside of the card for the easel portion, so it holds in place I added a piece of teal patterned paper at the bottom along with two extra cupcakes for height. I stamped the ‘Happy Birthday’ sentiment along the bottom of the front panel of my card. I did cut it in half to fit across. It’s super simple to do with sharp small scissors.


 Hi Everyone, it’s