Tutorial: Creating With Stencils & Stamps + Video
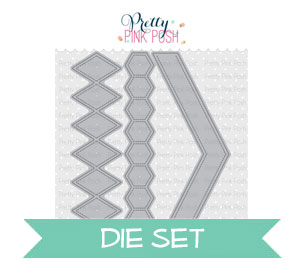
Hi everyone, Eloise here and today I’ll be using the older Bee Friends stamp set, along with a few newer items; Encouraging Greetings Stamp Set and Stacked Edges 2 Dies to create an encouragement card. I’ll be pulling in a honeycomb stencil and some texture paste to create a glossy stenciled background which fits my theme perfectly.
To begin, I first started off with a piece of watercolour paper, taped it down onto a craft sheet and laid over my Tim Holtz stencil at an angle. I then ink blended some Squeezed
Lemonade and Fossilized Amber Distress Oxide Inks over the top. While blending, I was careful to not go over the harsh edges, because this stencil is so skinny, I really wanted there to be full hexagons rather than half hexagons from the edges, so I was just super careful. Then once I was finished blending on that area, I carefully moved the stencil over a little and ink blended a little more so it was wider. Now that I ink blended over the stencil, I wiped it clean and used some Transparent Texture Paste and added it over top using some palette knives. Once it was over the stencil, I removed the stencil and set the panel off to the side to dry.
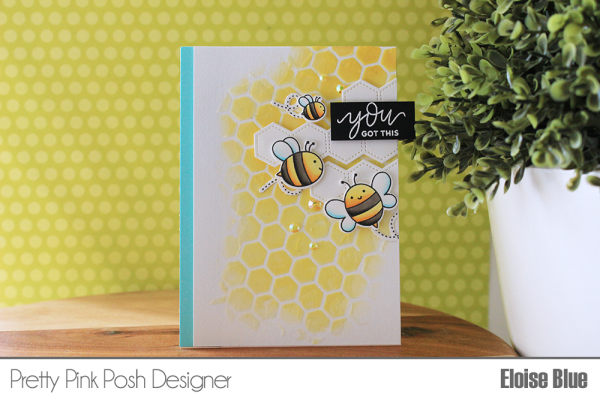
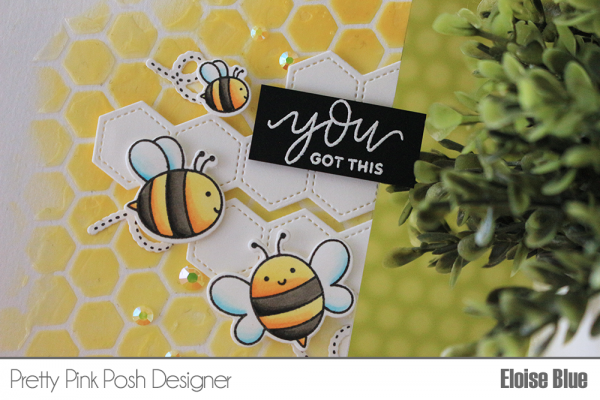
Next, it was time to colour my images. I used some Copic Markers and the images from Bee Friends. I stamped them down, then coloured them in and cut them out using the coordinating dies. I set them off to side once they were cut, and dried off the rest of my panel with a heat tool just to make sure it’s super dry. Now, I used the hexagon border from Stacked Edges 2 Dies and cut that three times from some white cardstock, I popped them up on foam tape and adhered them to the edge of my coloured panel. Making sure they were staggered so they looked a little more random. Next, I added more foam tape to my bee images and adhered them down around also. Making sure to adhere their trails behind them flat onto the background.
Copic Colours Used: B0000, B000, B01 / Y11, Y35, Y38 / W5, W7, W9 / 0
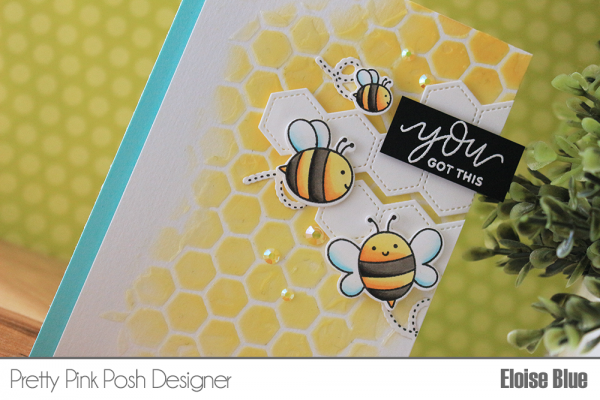
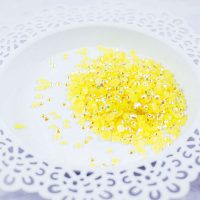
Now that my card was almost complete. I used the Encouraging Greetings stamp set and white heat embossed the sentiment ‘You Got This’ onto strip of black cardstock. I also popped that up on foam tape and adhered it to the right hand side of my card hanging off the edge a little. Lastly, I added some Lemon Drop Jewels onto my card, scattered around my images. I then popped up the entire panel onto a white card base that had a little strip of blue cardstock on the left.


What a lovely background! Wonderful card!
These are Sooooo CUTE!!!!
Especially love the stencil work. The bees are just adorable! Thank you!
I have be bee set and love it. Use it often. I love your card.