Creating A Koala Shaker Card + Video
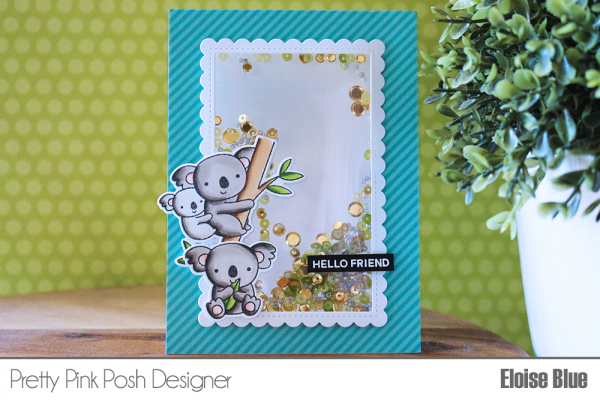
Hi everyone, Eloise here today with a new card and video. Today I’ll be using the Koala Friends stamp set along with the Hello Shaker die to create a windowed shaker card. I’ll be altering my dies to fit my card better and also to share how to stretch your dies as well.

Copic Markers Used: W0, W2, W5, W7 / YG03, YG13, YG17 / R000, R00, R20 / E53, E55, E57
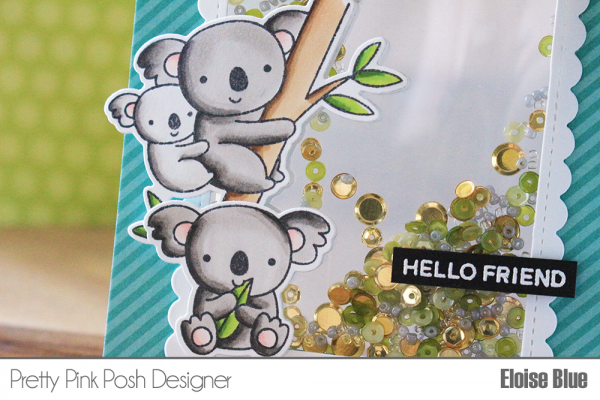
Next up I measured how large the frame turned out to be and cut the same size rectangle out of a card base. I managed to find a rectangle die that was more or less the same size, but you can use an exacto knife and a ruler. I also did the same out of a piece of patterned paper. Once they were both cut, I added a piece of acetate to my card base and then adhered my patterned paper over top to hide the adhesive. I added another piece of acetate to the scalloped frame piece and then added a layer of foam tape around it. I then adhered my Koala images to the front of the scallop frame using foam tape as well. Then to cover the adhesive from the inside, I adhered my blank die cuts to the inside.

Shaker filling: Whimsical Forest Mix, Sparkling Clear Seed Beads, Pewter Seed Beads, Metallic Gold Confetti Mix
Now that my panels were ready, I added in some sequins and seed beads onto my card base. I removed the backers off my scalloped frame and adhered it over top. To finish up my card, I used the Bear Hugs stamp set and white heat embossed the ‘Hello Friend’ sentiment onto a thin strip of cardstock and popped it up on more foam tape.


What a cute card! Thanks for sharing :)
Fantastic shaker card, really enjoying seeing the koalas used in so many different ways, giving me tons of ideas, thank you x
Such an Adorable shaker card!!!
So adorable 😊
Thanks for the Die tip! I’m going to try it out.
Sweet,, colourful and so much inspirational, thank you for sharing!