Watercolor Geraniums + Video
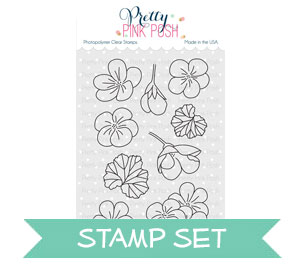
Hi everyone, Eloise here and today I have a card to share with you using the Geraniums stamp set. To colour these flowers, I also decided to pull in the Pearl Colors Watercolor Set from Gansai Tambi for my colouring today, since I haven’t used them much and thought it would be super pretty for my bouquet of Geraniums today.
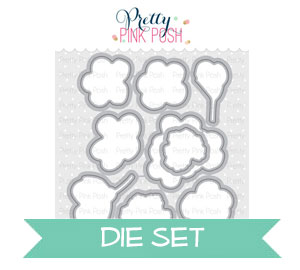
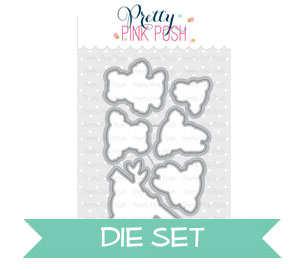
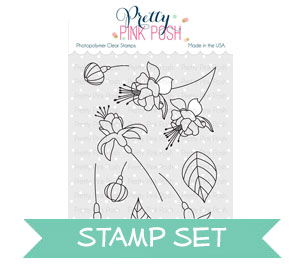
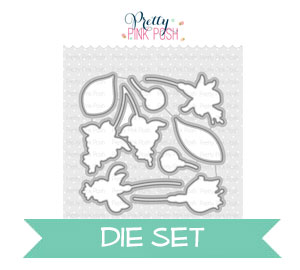
To begin my card today, I started off with stamping out my Geraniums, I used Versafine Onyx Black Ink and clear heat embossed over them so it would contain my watercolour easier. I then used the Pearl Colors Watercolor Set, to colour them in. I used the same technique I do for colouring, start off with the darkest areas first and then blend them out to create a gradient. Watercolours are super easy like this, since generally you only need to use water to create several shades. I used the pink, red and then made my own purple to colour the flowers in. I then used the green for the leaves, and then I’ll use the blue on its own for a simple background. I dried all my pieces with a heat tool and cut out the Geraniums with their coordinating dies.

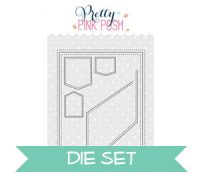
Now all my pieces were cut I used the rectangle from the Stitched Notes Die Set and cut it from some watercolour cardstock. I then used the blue from the Pearl Watercolor Set and did a simple wash over the background. I dried that off with a heat tool as well and moved onto assembling. I grouped together my flowers and added foam tape onto the backs. I adhered them down over lapping each other to create sort of like a bouquet.

For my sentiment, I wanted to use the ‘Love You’ dies, but it didn’t really fit well and I couldn’t find a colour that matched well enough but also stood out. So I used the Bear Hugs stamp set and white heat embossed the ‘Hello Friend’ sentiment onto a thin strip of black cardstock, like I always do and adhered it onto the card with more foam tape. For a last finishing touch I pulled a piece of patterned paper from my stash, this one is from an old Dear Lizzy pack and I mounted my panel over top and then onto a card base.