
Creating A Jewel Background

Good morning! Heather here this morning to share another Something Old, Something New card with you – the idea is to mix together both older and newer Pretty Pink Posh products – and to show you how AMAZINGLY well all of Pretty Pink Posh’s products work together! Today’s card is definitely not one to tackle unless you have a bit of spare time – but the results are SOOO worth the effort! Check out that SPARKLE!

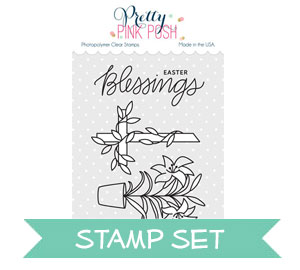
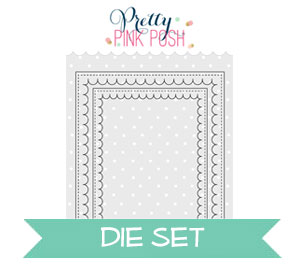
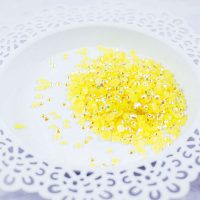
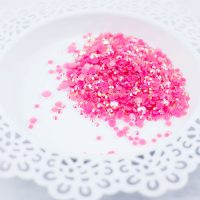
I played with the new Sparkle Dot Patterns 2 Stamp set and some of the newly released (and AMAZING I might add!) Jewels – a brand new addition to the Pretty Pink Posh line. I’m in love with them, as you may be able to tell on this card! I also used the new Happy Easter Script Die – and a couple of older releases: Easter Blessings and the classic Scallop Frames Dies.

So I started off by stamping the bottom border from Sparkle Dot Patterns 2 Stamp set on a panel of white cardstock repeatedly with soft gray ink. I did this so that once I finished the card, if I used a jewel too small to cover the dot, or misplaced it slightly, you wouldn’t see a black circle peeking out. It was also helpful for the Clear Droplets I added, since you can’t see it under there either.

Then was the slowest part! I add alternating rows of Aquamarine, Lemon Drop, and Watermelon Jewels. I filled in the centers of the pattern with 4mm Clear Droplets. I used alternating sizes of the jewels – mostly so I didn’t have to sort through for one size, or run out! My jewel picker was very helpful with placement. There are lots of options for adhesive – for this I used tiny dots of Glossy Accents. It was nice and sturdy to hold everything in place, and I like that since it dries glossy, it just adds to the look of the Clear Droplets.

Next up, I die cut a large Scallop Frame from aqua cardstock, then stamped and heat embossed my image from Easter Blessings in the negative die cit so as not to waste anything!

I colored the image with Chameleon Colored Pencils, then die cut with the coordinating Easter Blessings Dies. I also die cut the Easter from Happy Easter Script Die twice – once from pale yellow, and once from white to adhere together with a glue pen for a bit of a more sturdy and dimensional sentiment.

I adhered the frame using Double Sided Foam Sticky Strips (SOOO perfect for thin dies like this!) and the lily using Double Sided Foam Squares carefully placed between the jewels.

These jewels are SOOO beautiful! They are super sparkly and fun in real life – kind of hard to fully capture in a photo.

I definitely think this is the longest I’ve spent on one single card in a while! I almost feel like I should frame it and use it as a decoration – haha!


Thanks so much for stopping by today! Have a wonderful day!
That’s a lovely idea for background!!