Tutorial: Creating A Window Card
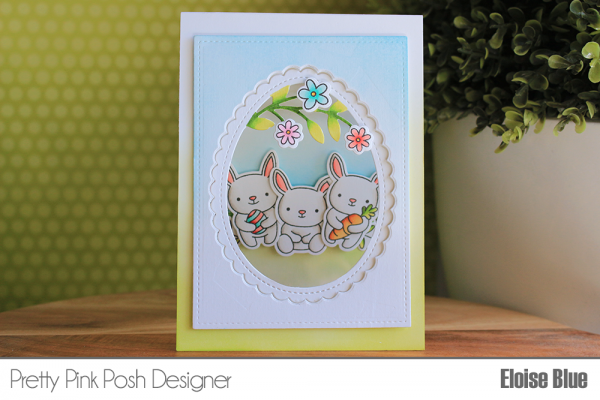
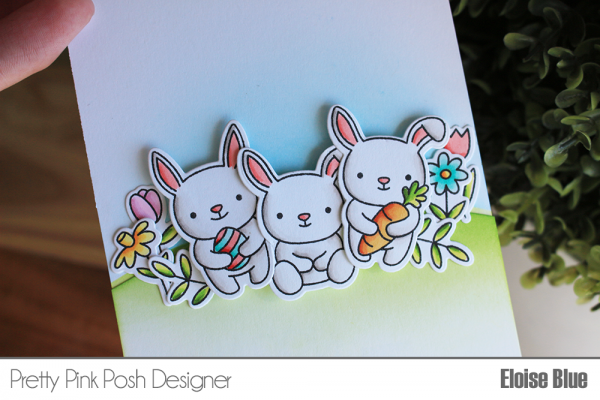
Hi friends, Eloise here today to share a Easter themed card to share with you all. I’ll be using the brand new Bunny Friends set and Happy Easter Shaker Die to help create my window card today.
Copic Colours Used: W3, W0, W00, 0 / R24, R22, R21 / YG17, YG23, YG21 / BG23, BG32, BG10 / YR18, YR12, Y21 / R83, R81, RV10 / Y38, Y15, Y11
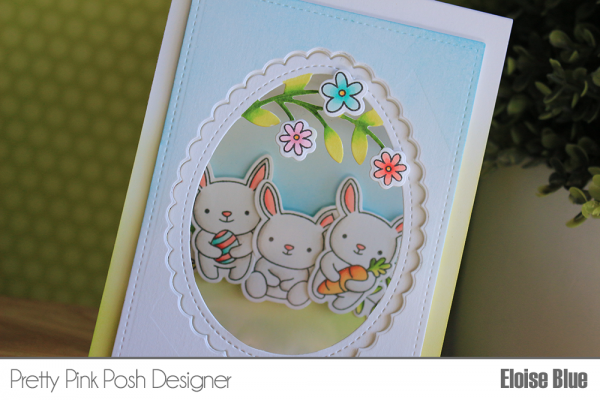
Next up, I cut a piece of acetate and adhered it down on top of my card base. Once I adhered this down, I realised I needed to ink blend on my card base, so I left the acetate on and also adhered my shaker die on top with some washi tape, then just ink blended some Twisted Citron Distress Ink over the top fading up to white like normal. Once that was ink blended on, I worked on my positive Happy Easter Shaker piece. I used an exacto knife and cut out the ‘Happy Easter’ wording and also the flowers and leaves at the bottom. This then leaves me the perfect frame. I then added adhesive onto the back and adhered it into place directly on my card base. I added foam tape onto the back of my rectangle piece, lined it up with the egg shape on the card base and adhered it down.
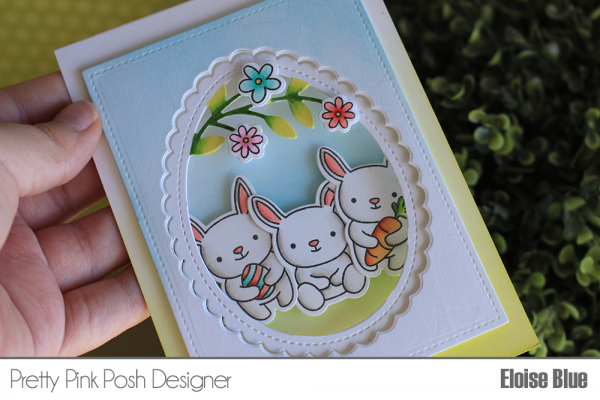
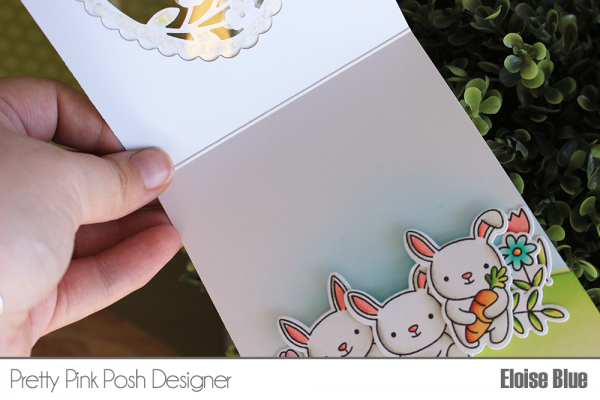
Now that my card base was ready on the outside, it was time to do the inside. I took some post it tape, cut it down to a hill shape and adhered the negative piece onto the inside of my card base. I then ink blended some Twisted Citron and Mowed Lawn Distress ink blending down into white, reversed the masks and did the same thing with the sky, only using Tumbled Glass and Salty Ocean and blending, fading up to white. Now my background for my scene was ready, I could begin adhering. I added pop dots onto the back of my bunnies and adhered them down into place, making sure you could see all three from the front of the card. One they were adhered down I also adhered my flowers next to them using flat adhesive.
To finish up my card, I added some extra flowers from Bunny Friends onto the flowers on the die cut shaker piece and I coloured those in with coordinating colours I used earlier, then adhered them on with foam squares. Then, I also used the same greens as I did for all the leaves before and coloured in the remaining leaves. This would definitely be easier to do before I adhered it to the acetate, but for me it was an afterthought. Lastly, I replaced my front rectangle panel with another piece that I used some Tumbled Glass Distress Ink on, to replicate the card base I coloured as well. I decided this card didn’t need a sentiment also, so I left it sentiment-less and I feel like it worked perfectly with the design of card. But again, you could add one if you feel like you wanted too.


I just want to tell you all that the posts over the past week or two have been over the top with cuteness and pretty and adorableness!
You have so much talent and wonderful ideas going on at PPP……thank you!
Wow that’s gorgeous!! Fantastic design and execution!!
These are so CUTE!!! Love the soft background!!
Awesome cards!!!
You r beautifully colored images make such beautiful cards!!! So soft and sweet!! Love the one with the see thru front to view those adorable bunnies!!
What an extravagant and charming card! Happy Easter!
Oh this card. I love that the images are on the inside and that you can see them through the egg window. The cards you’ve done using the same stamp set have been so awesome and creative. So many great ideas and fun. Thank you so much for the inspiration.
Eloise, this is truly the sweetest window card I have ever seen and everything is coloured perfectly. Beautifully done.