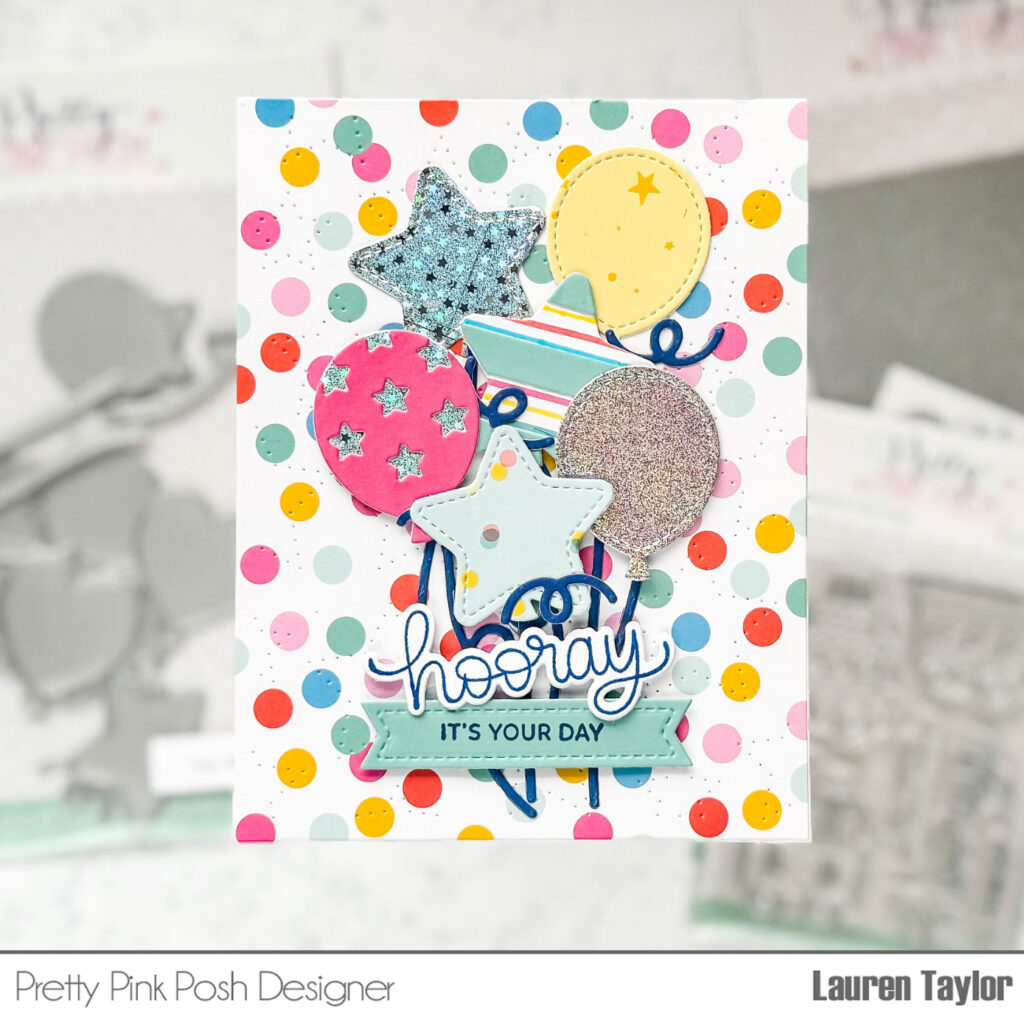
Baby Onesie Shaker + Video
Hi friends. It’s Lisa Mears on the blog today sharing a shaker card I made using the Onesie Shaker dies.
Watch the video above I Watch the video in HD on YouTube
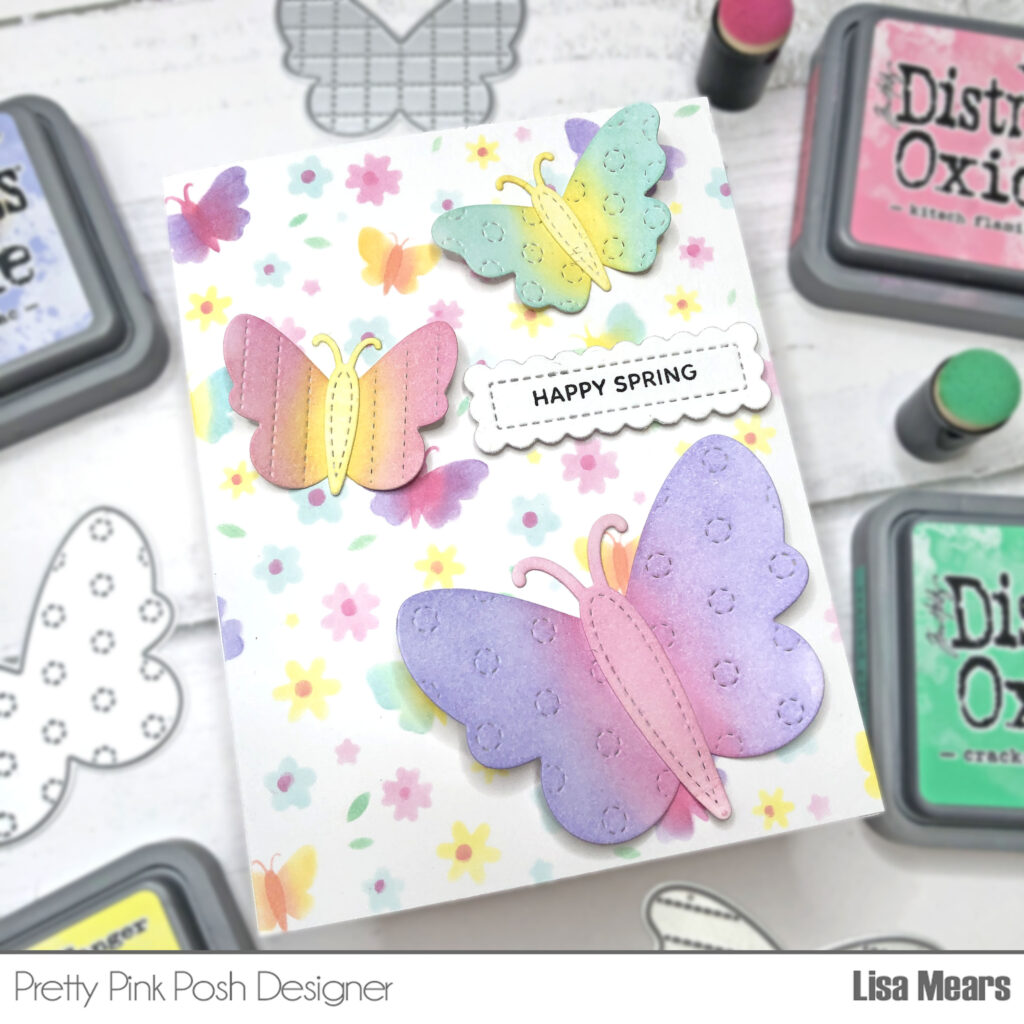
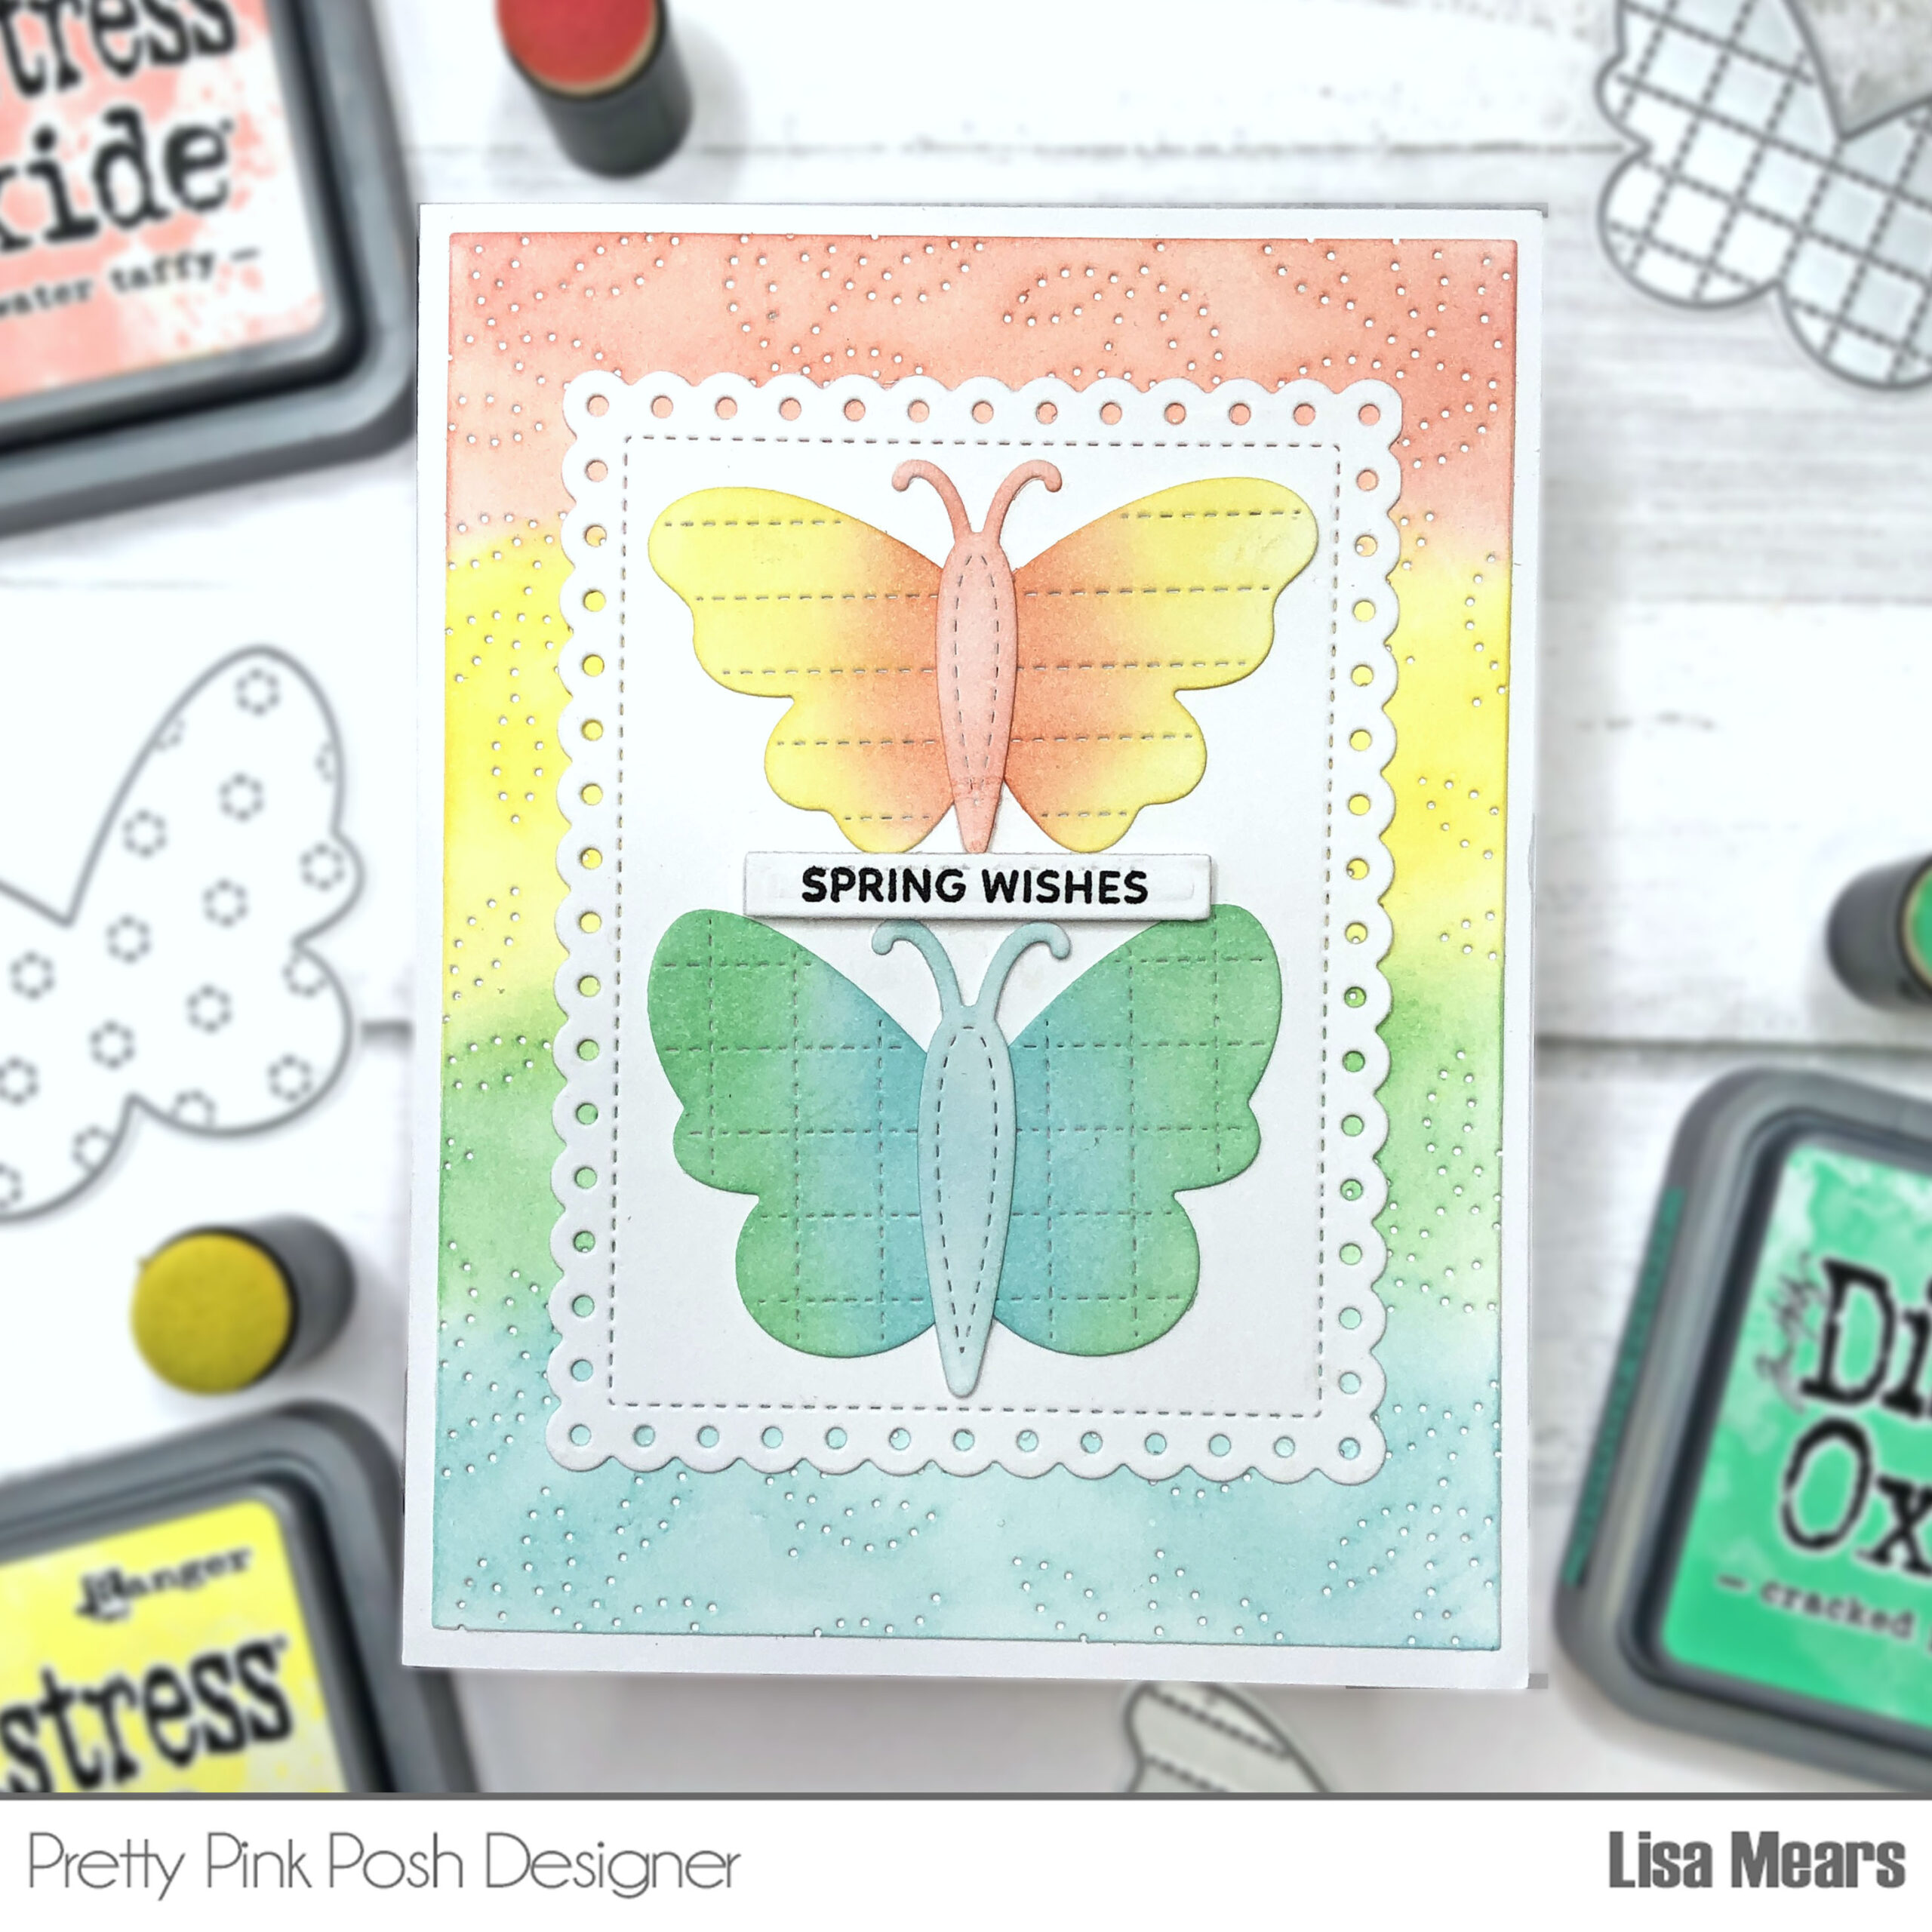
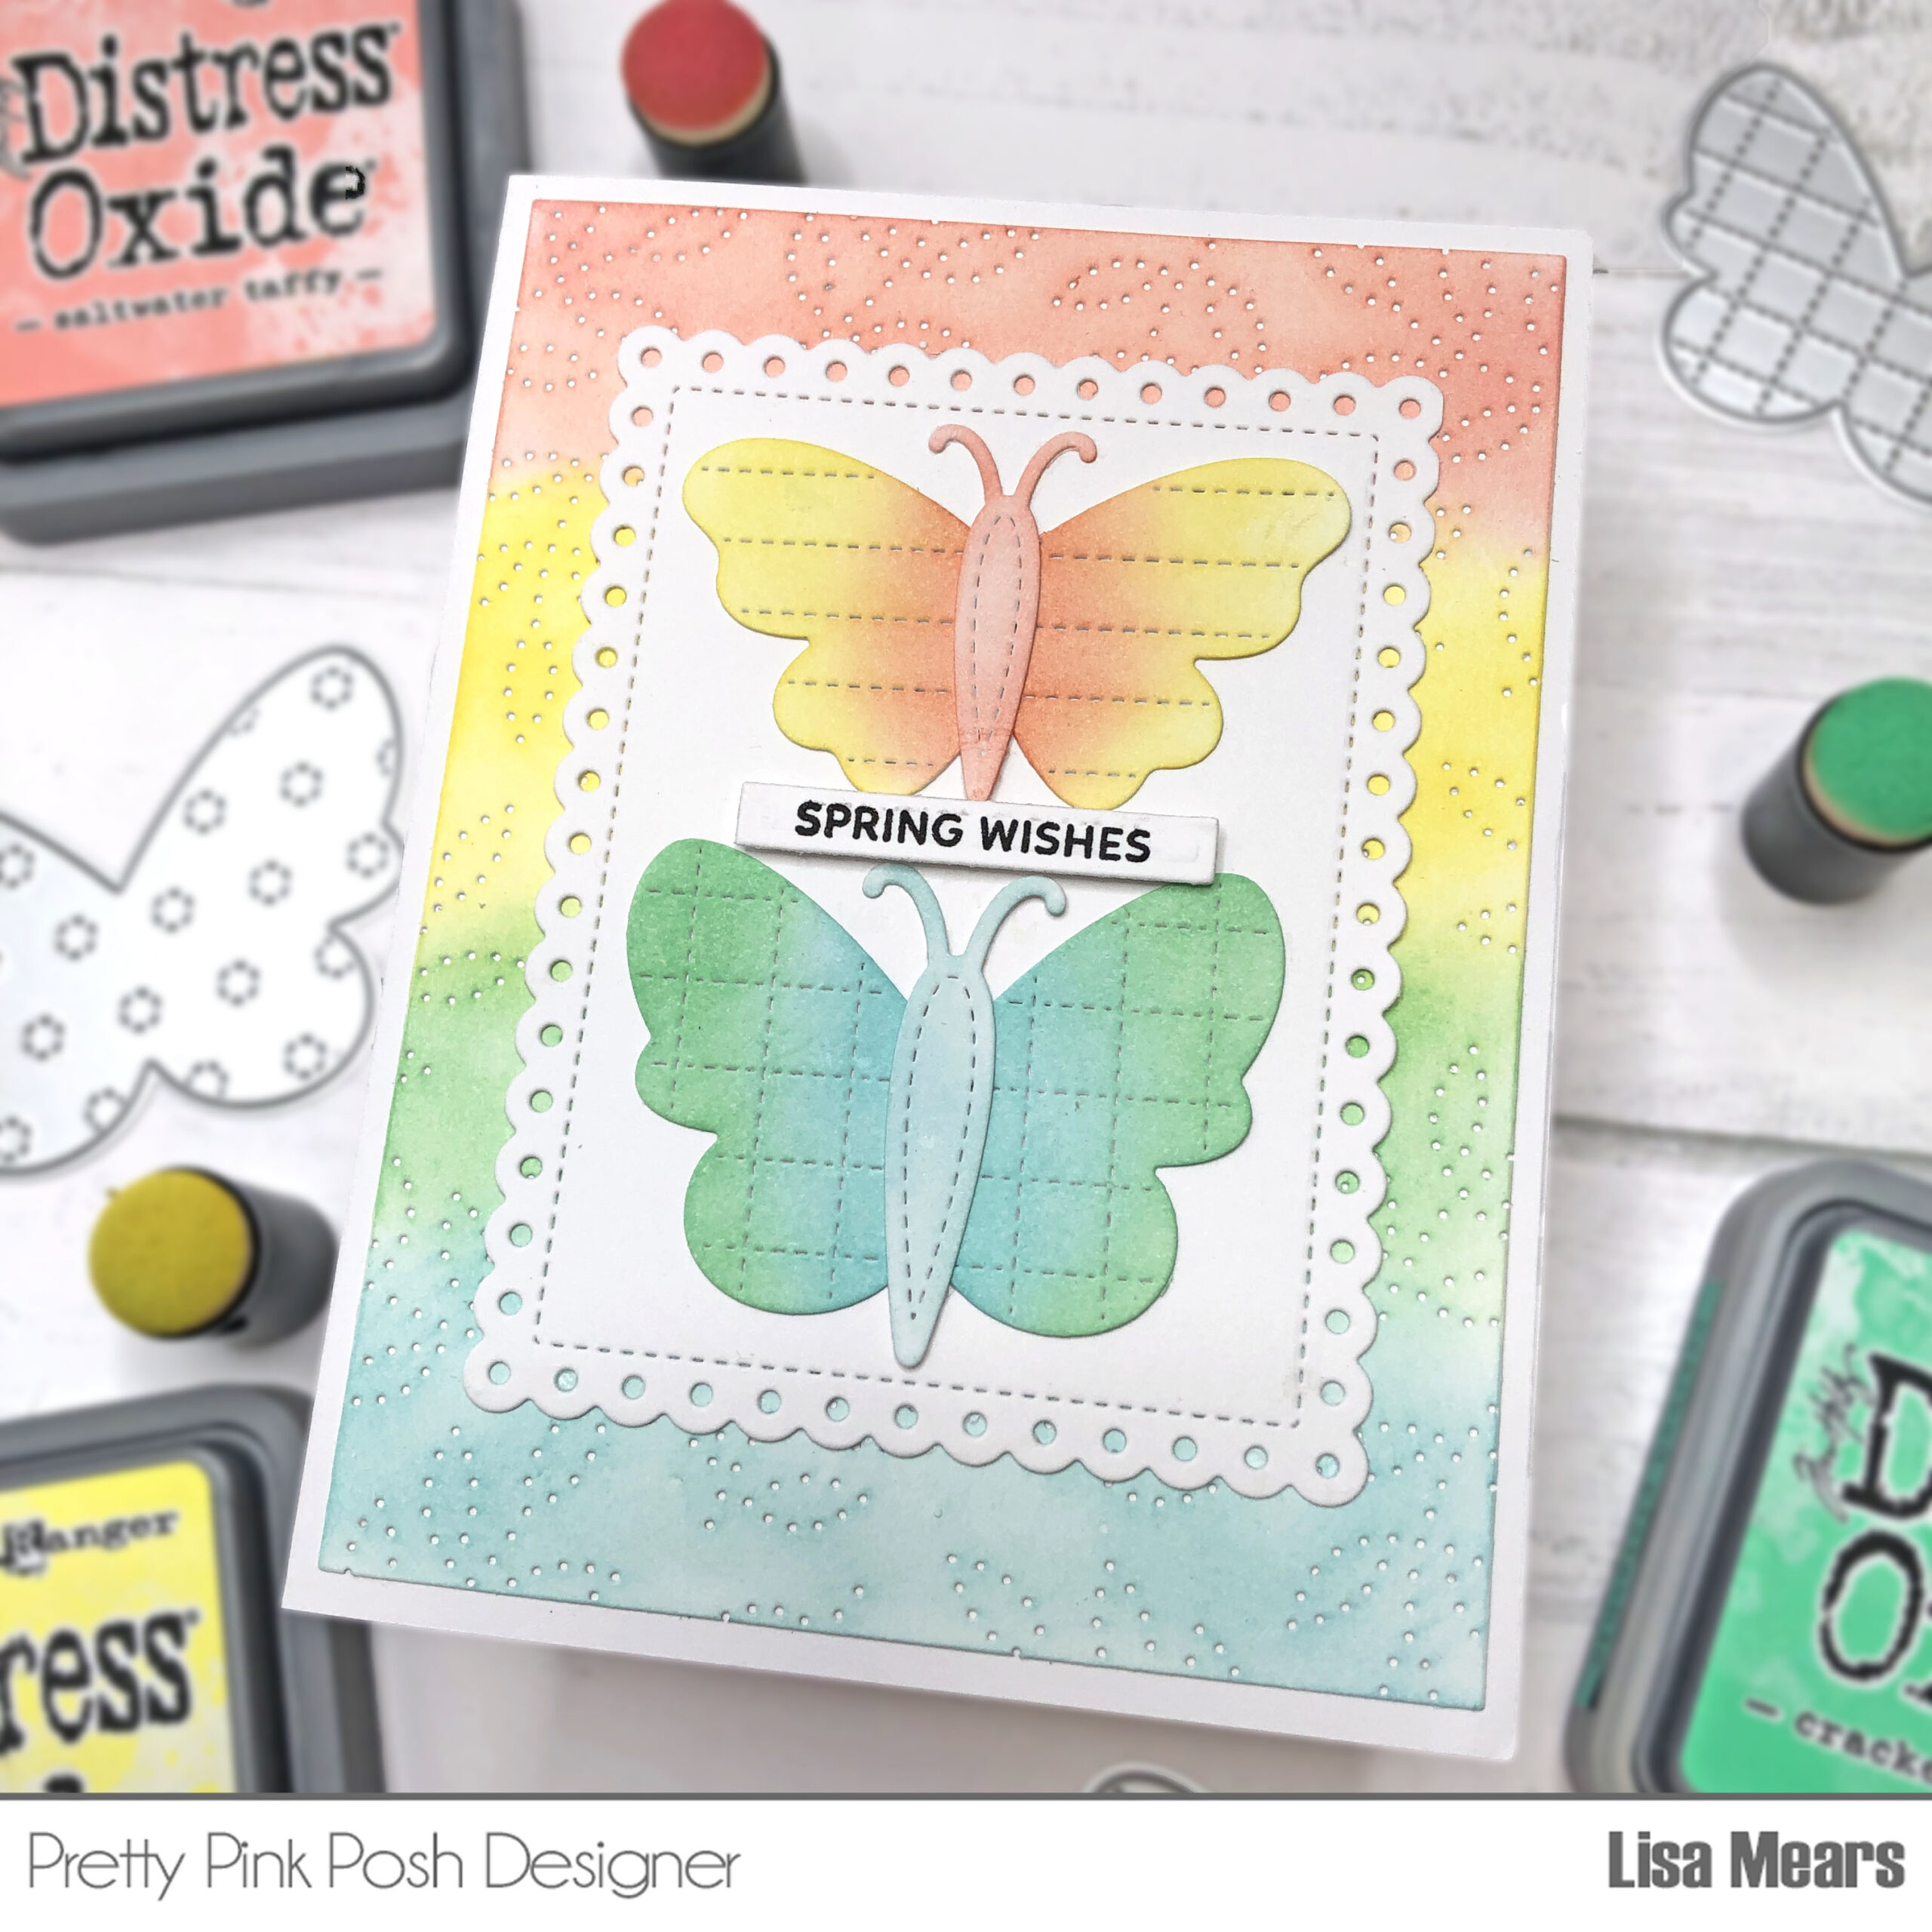
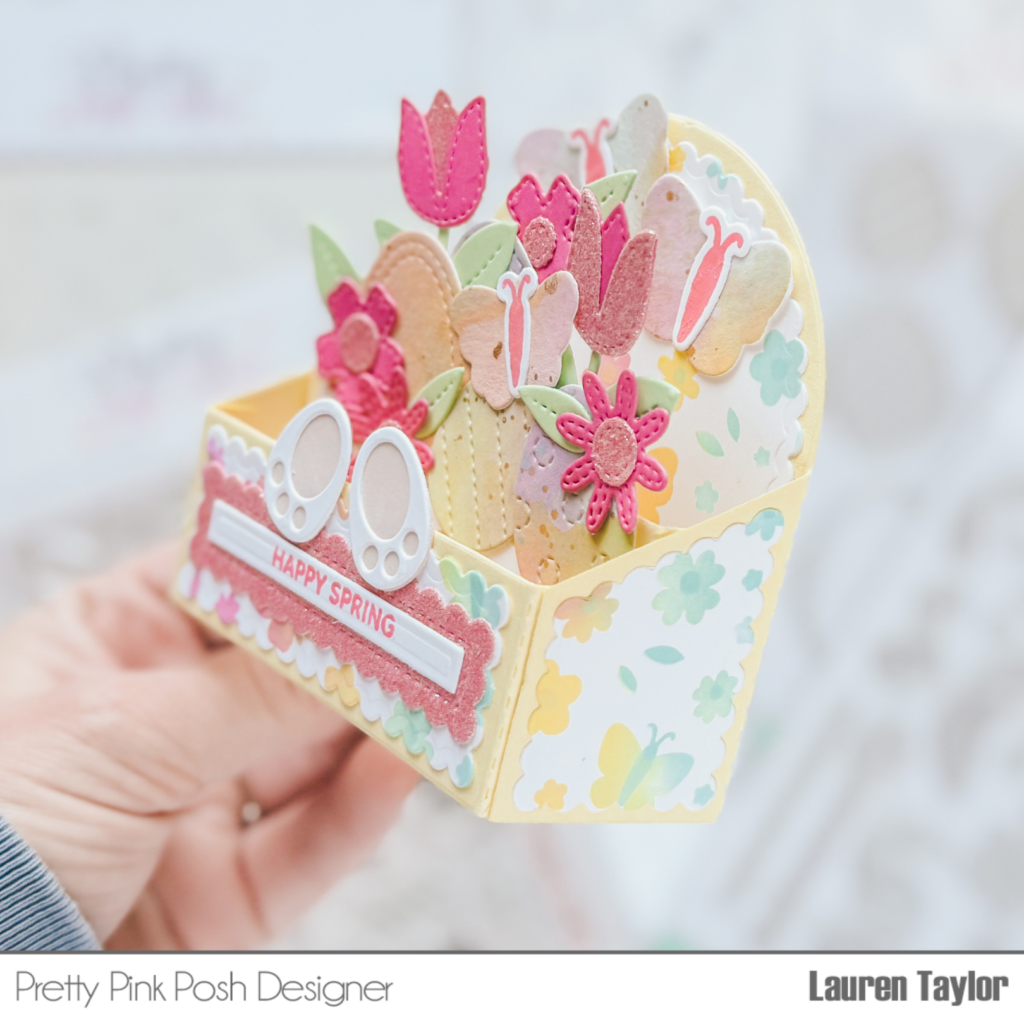
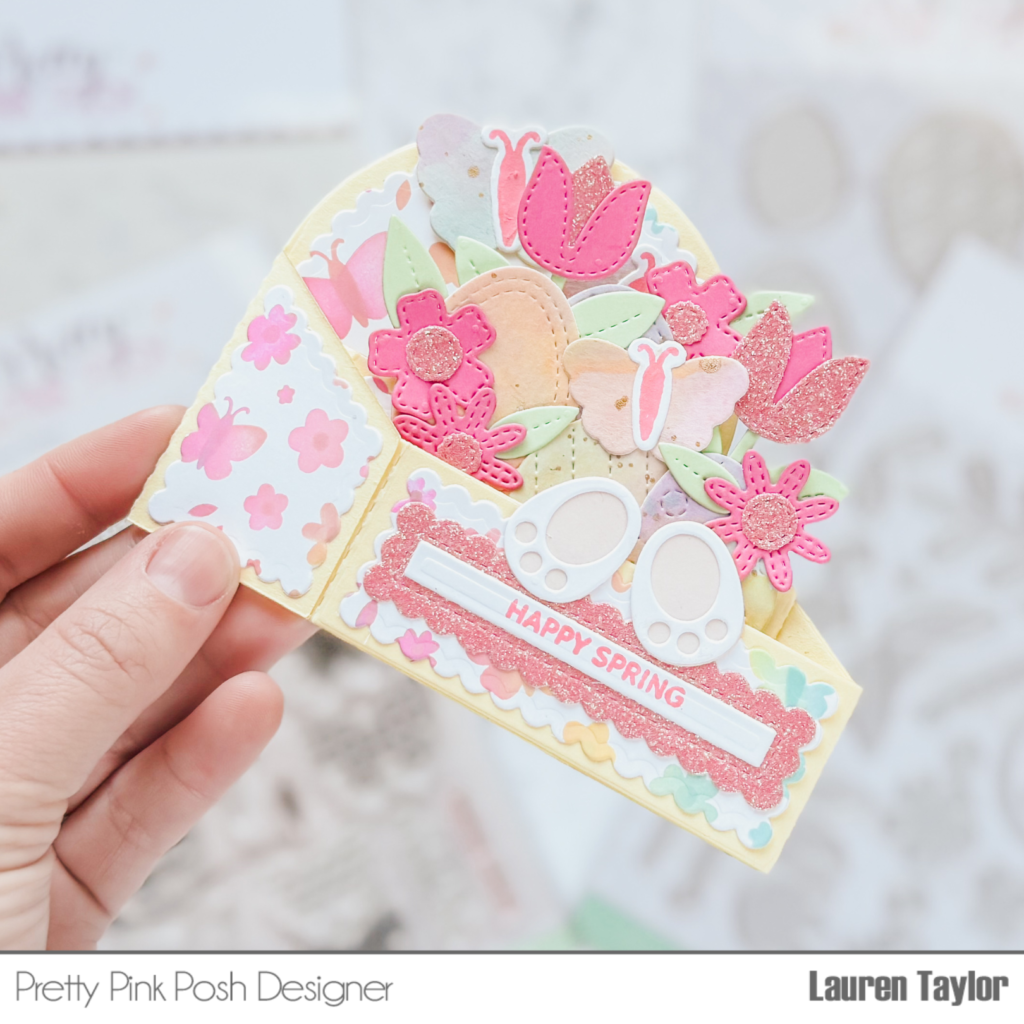
For the background of my card, I used the Layered Onesies Stencils. I inked the stencils with Catherine Pooler inks in the following colors: Chiffon, It’s a Girl, Wintergreen, and Oh Boy.
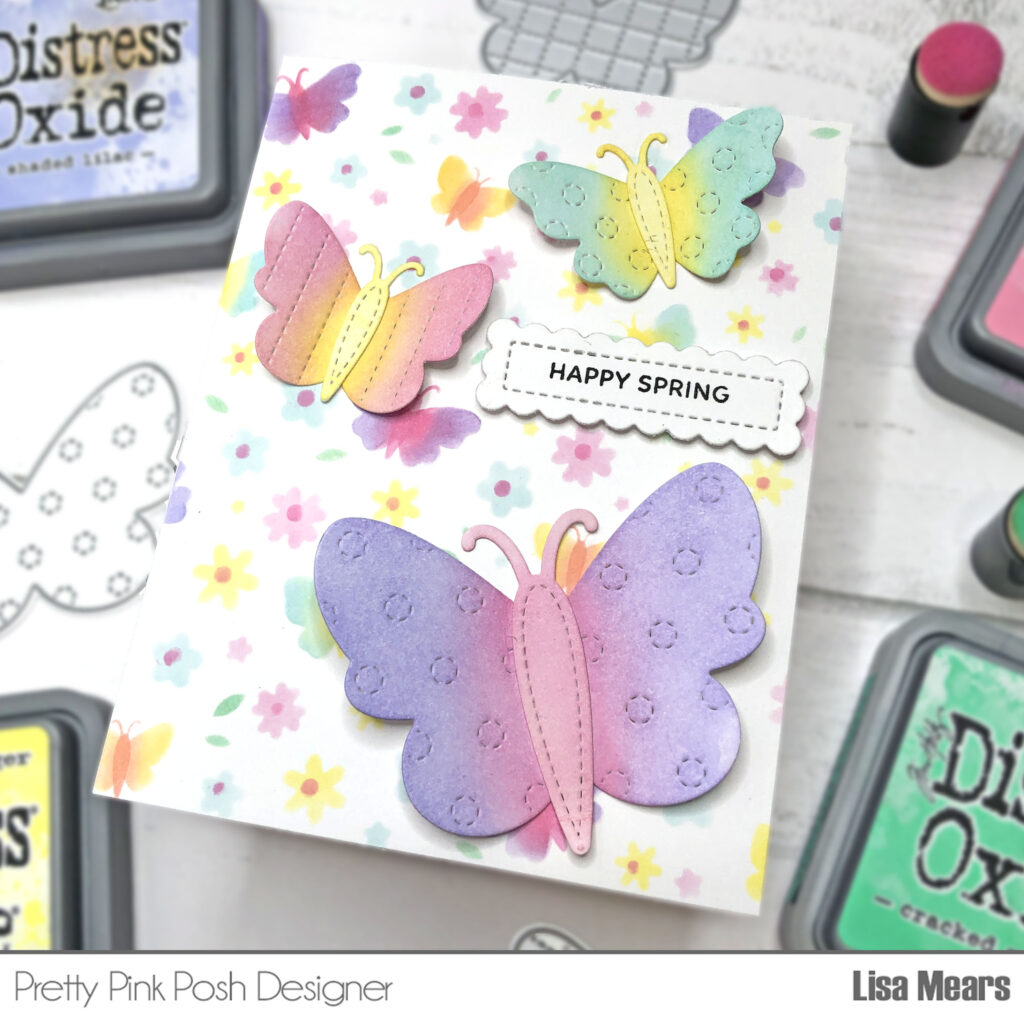
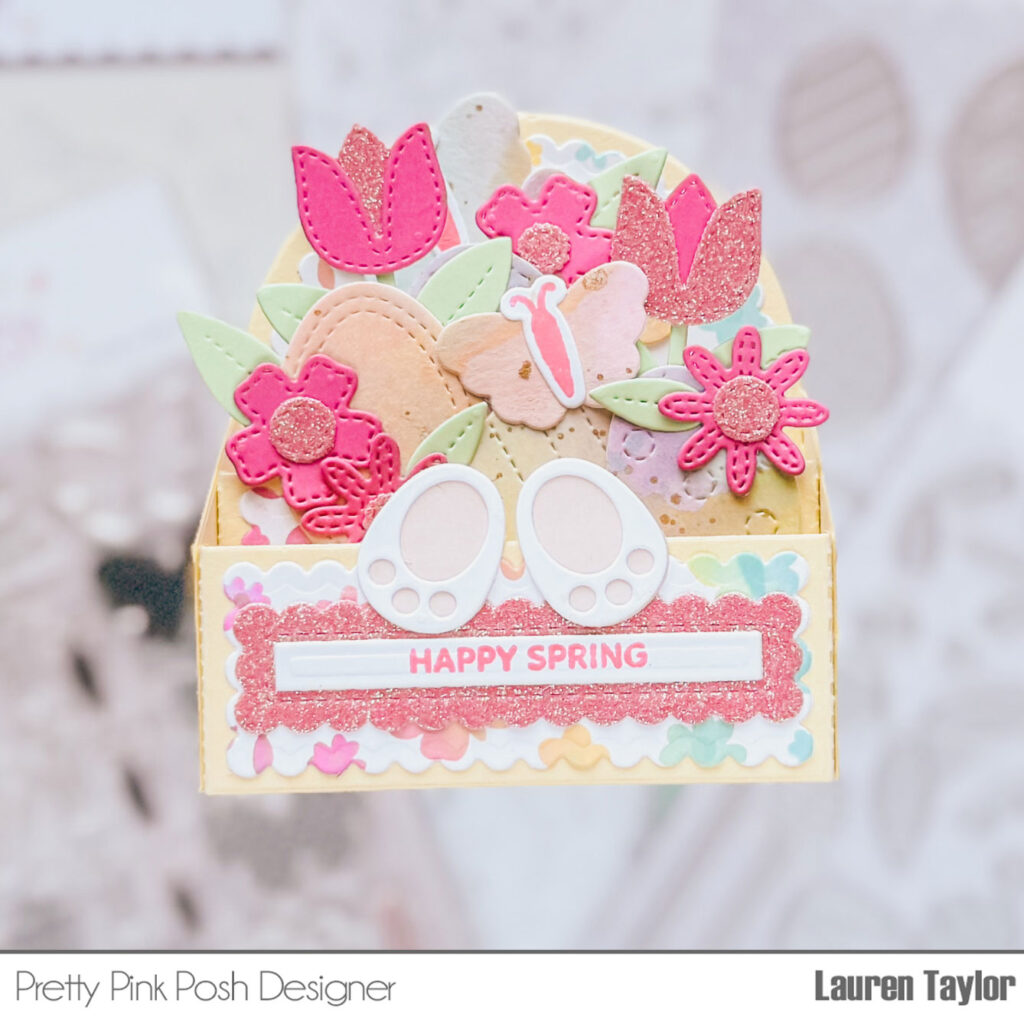
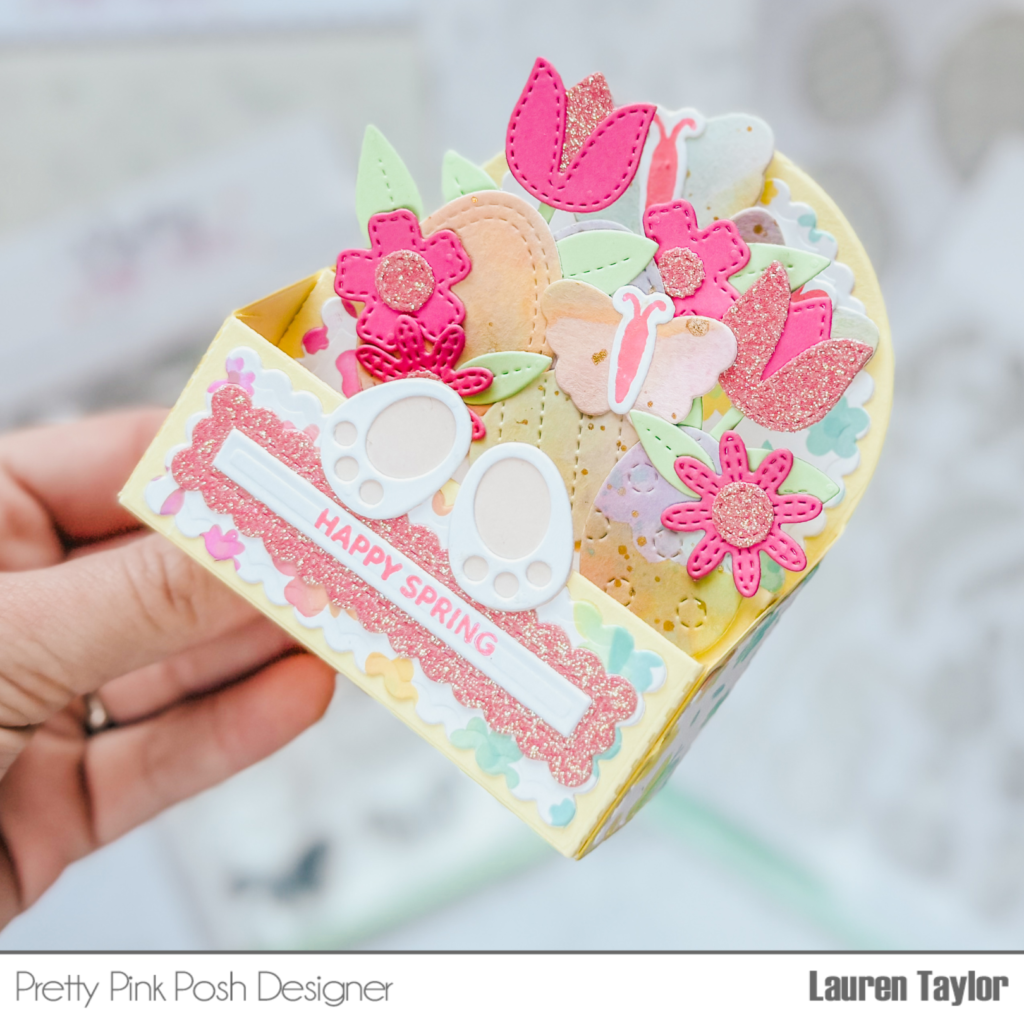
The focal point of this card is the baby onesie. I used the Onesie Shaker dies to make the onesie into a shaker. This die set can also be used to make a onesie that is not a shaker — it’s simply up to you! Be sure to watch my video to see how I put the shaker together.
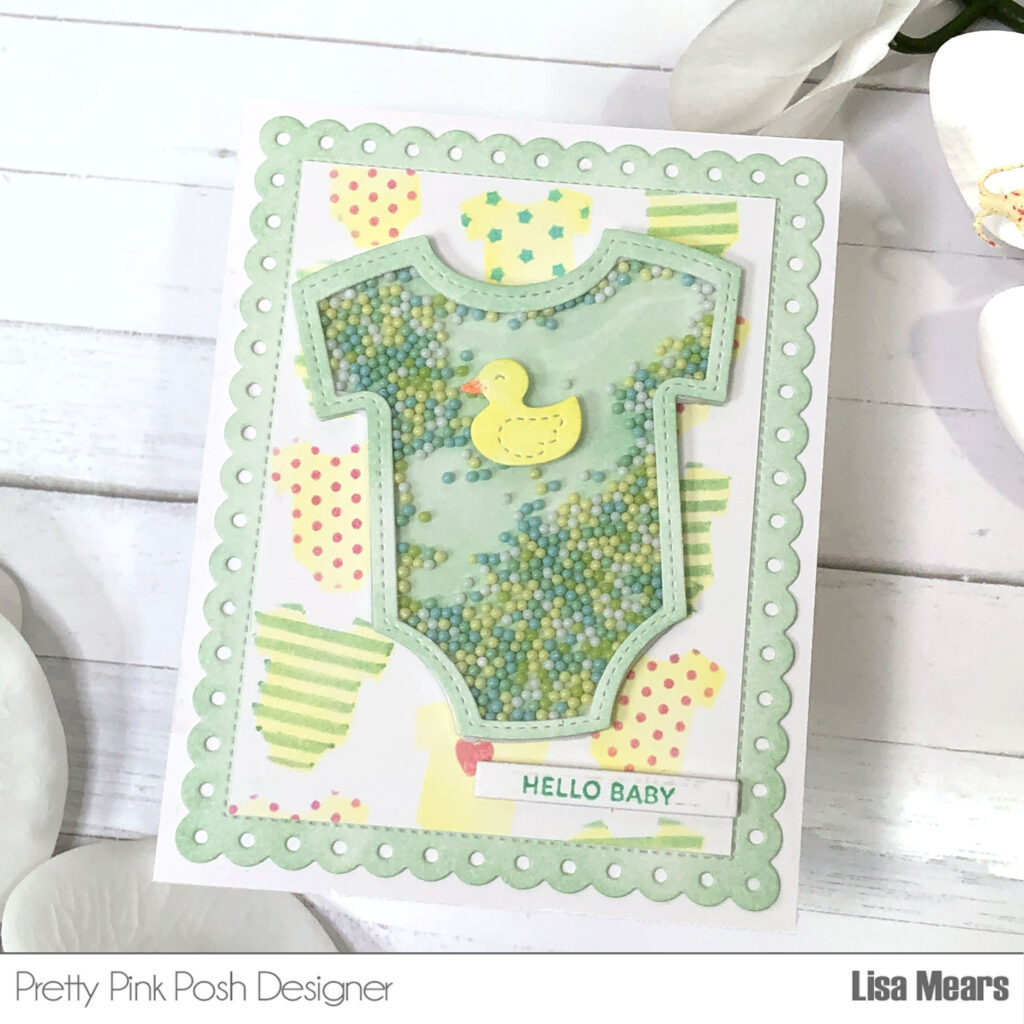
I die cut the shapes with white cardstock and inked them up with the same ink colors I used in the Layered Onesies Stencils. I added the new Spring Breeze shaker beads inside the shaker. I love how the color of the beads match so well with the ink colors I chose.
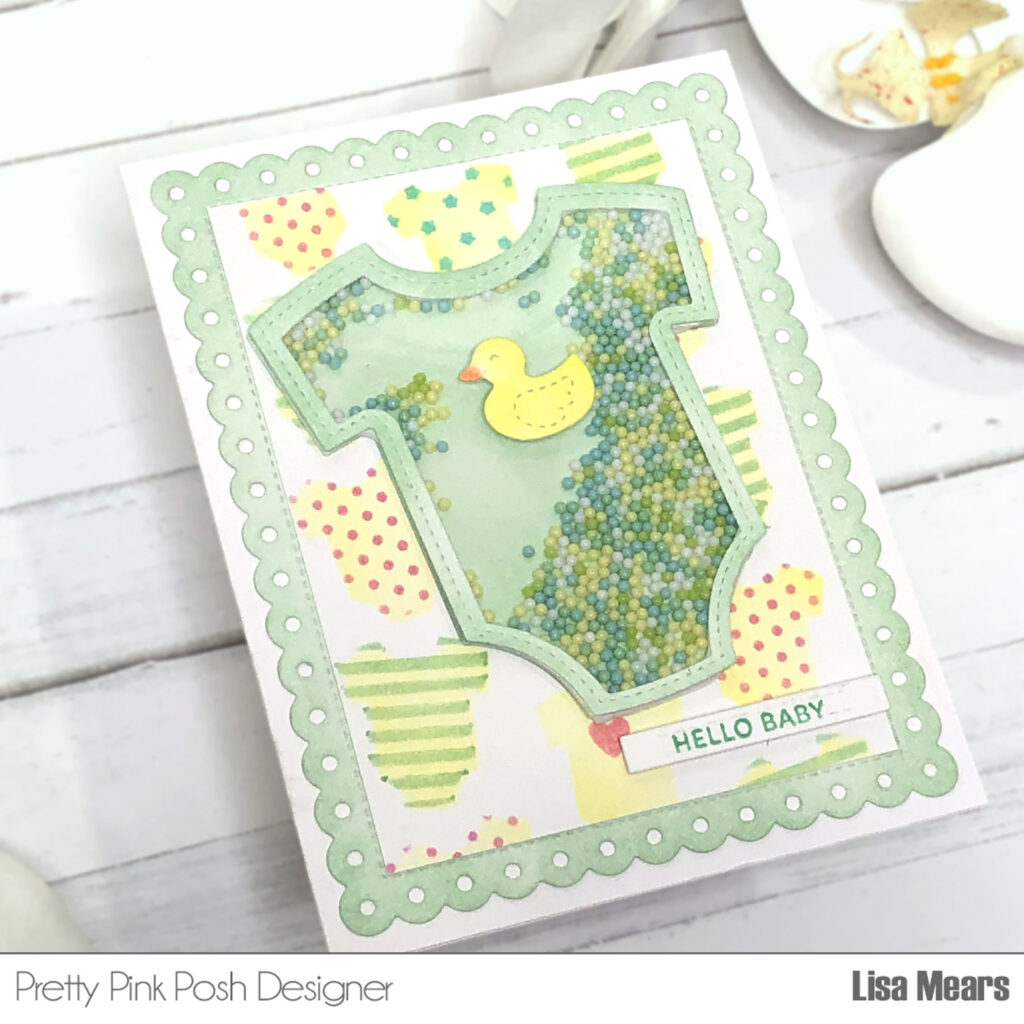
For the sentiment, I used one from the Sentiment Strips: Occasions stamp set and die cut it with the Sentiment Stripes dies. I trimmed the stenciled background to fit inside of the largest Eyelet Rectangle Die and added it to an A2 size card base.
Thanks for stopping by the blog today. Have a great day!
Lisa Mears