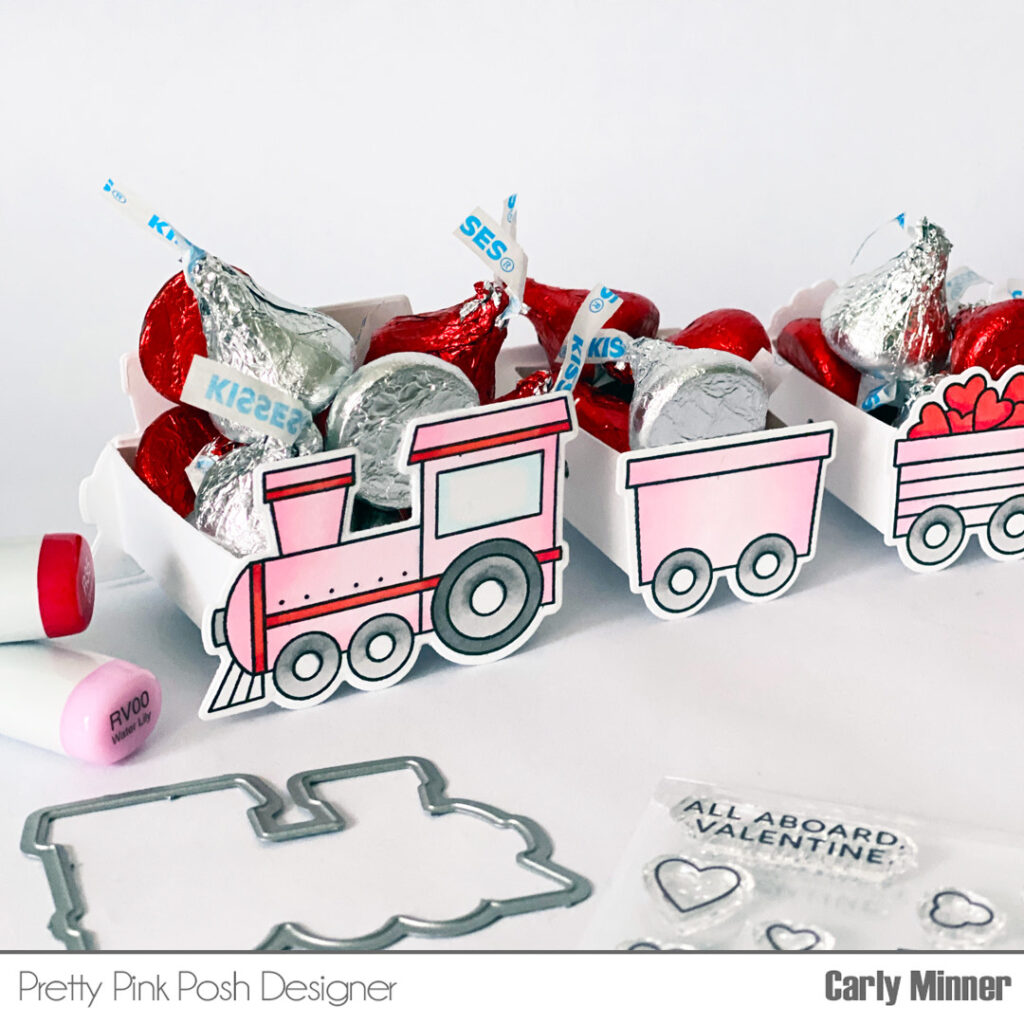
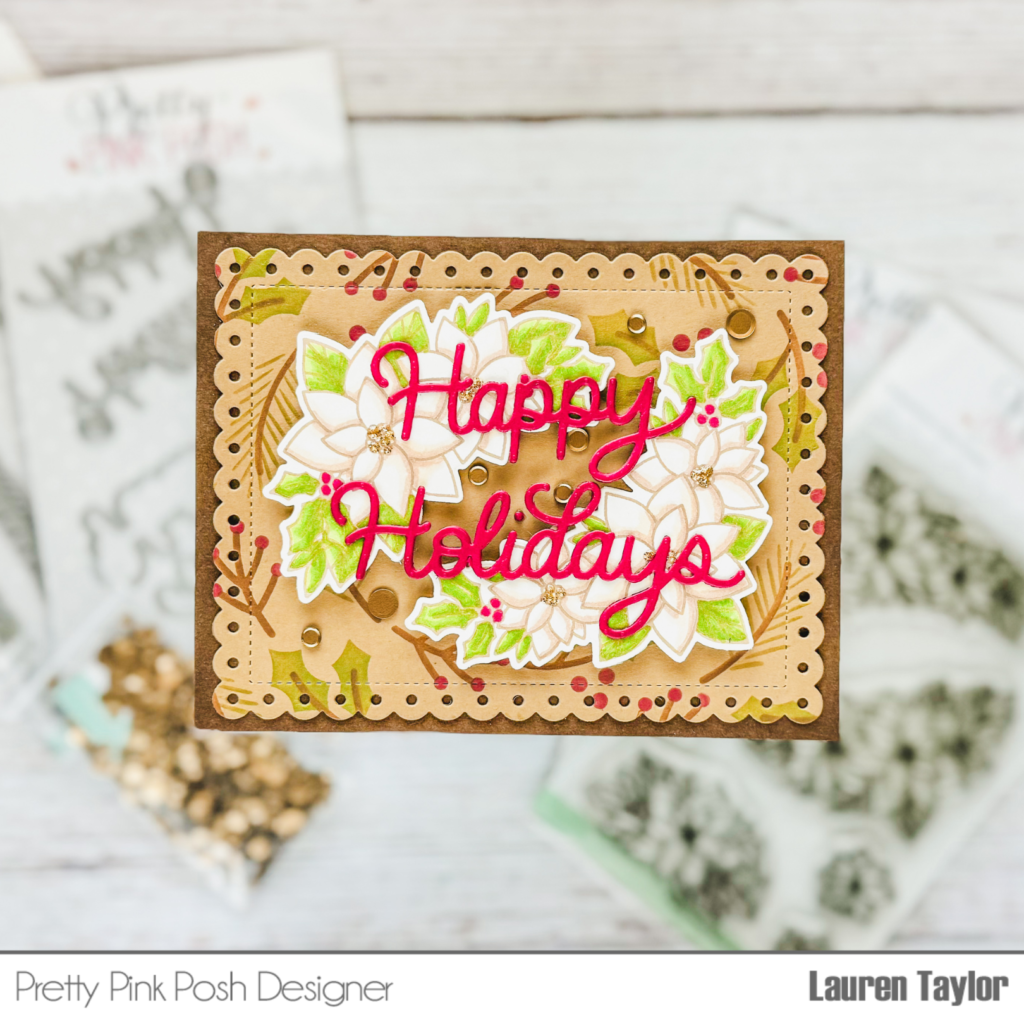
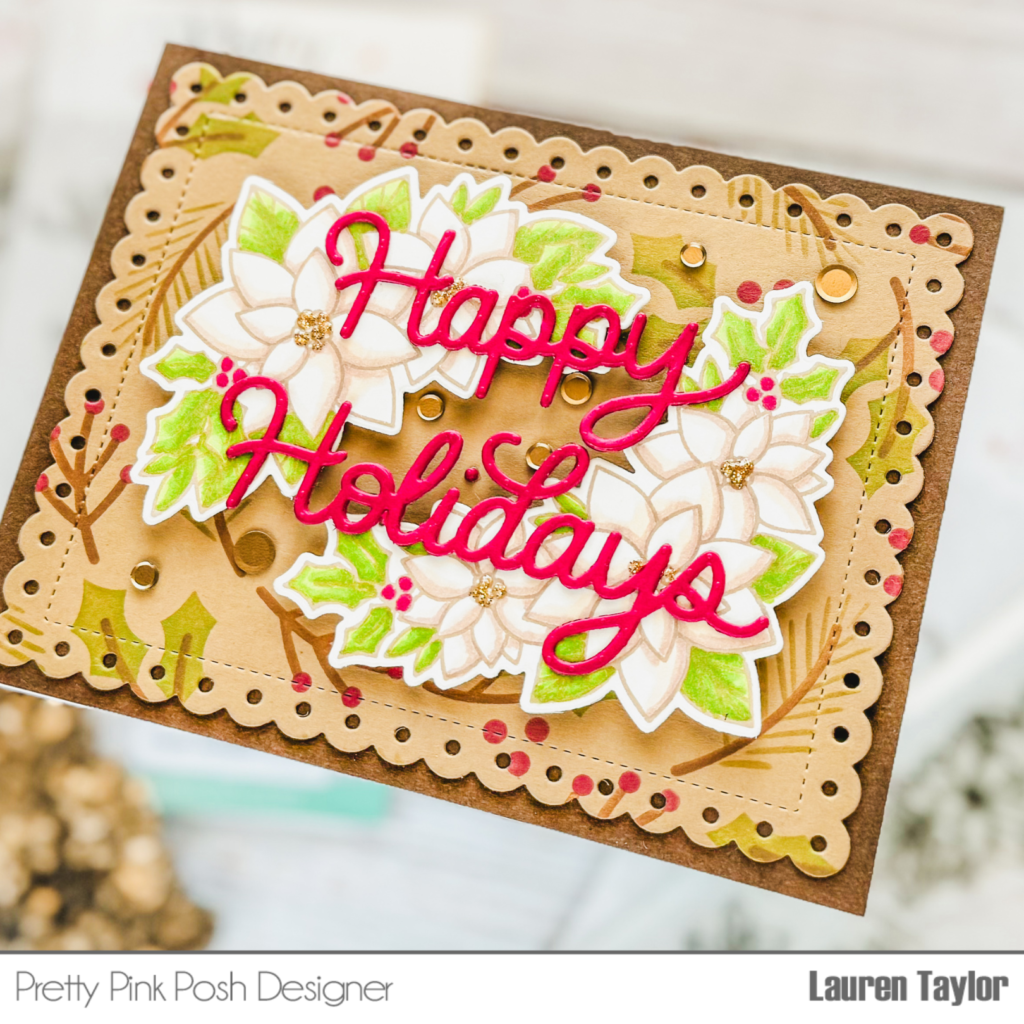
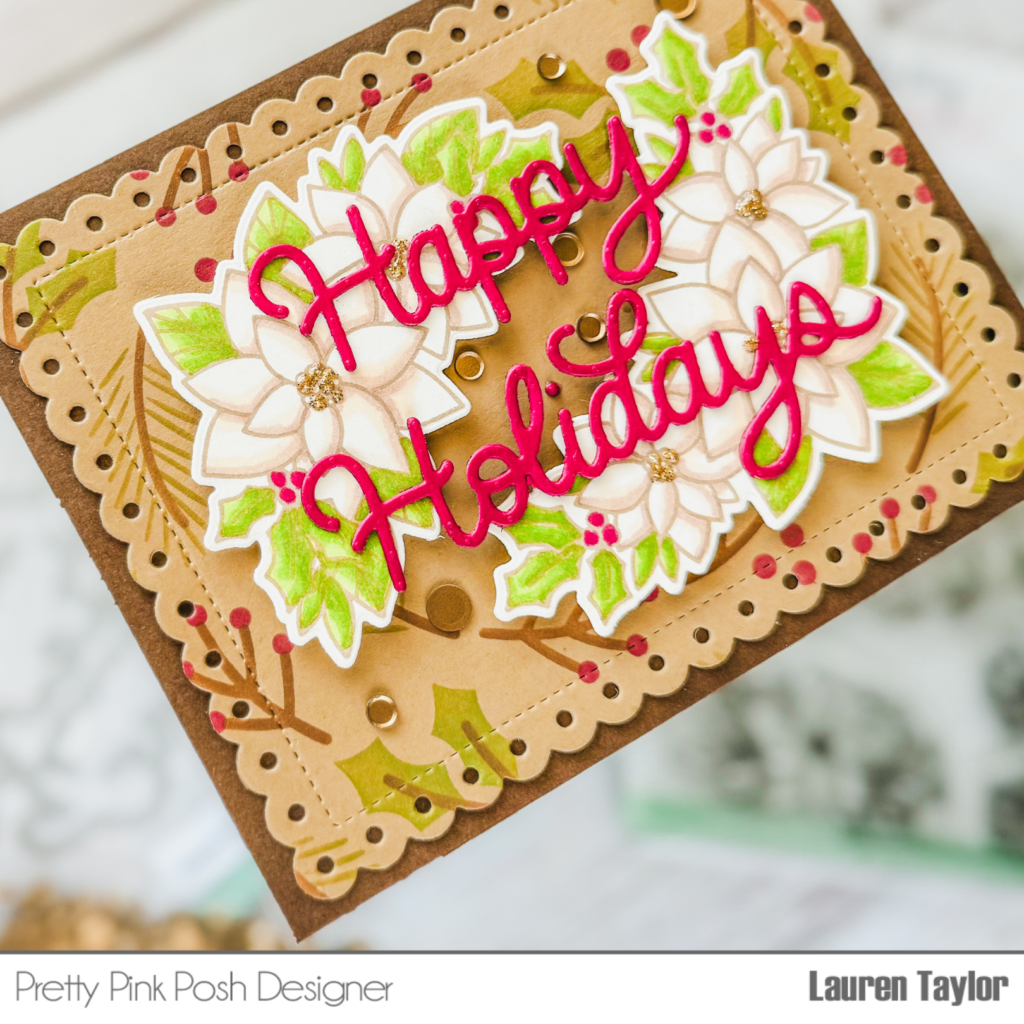
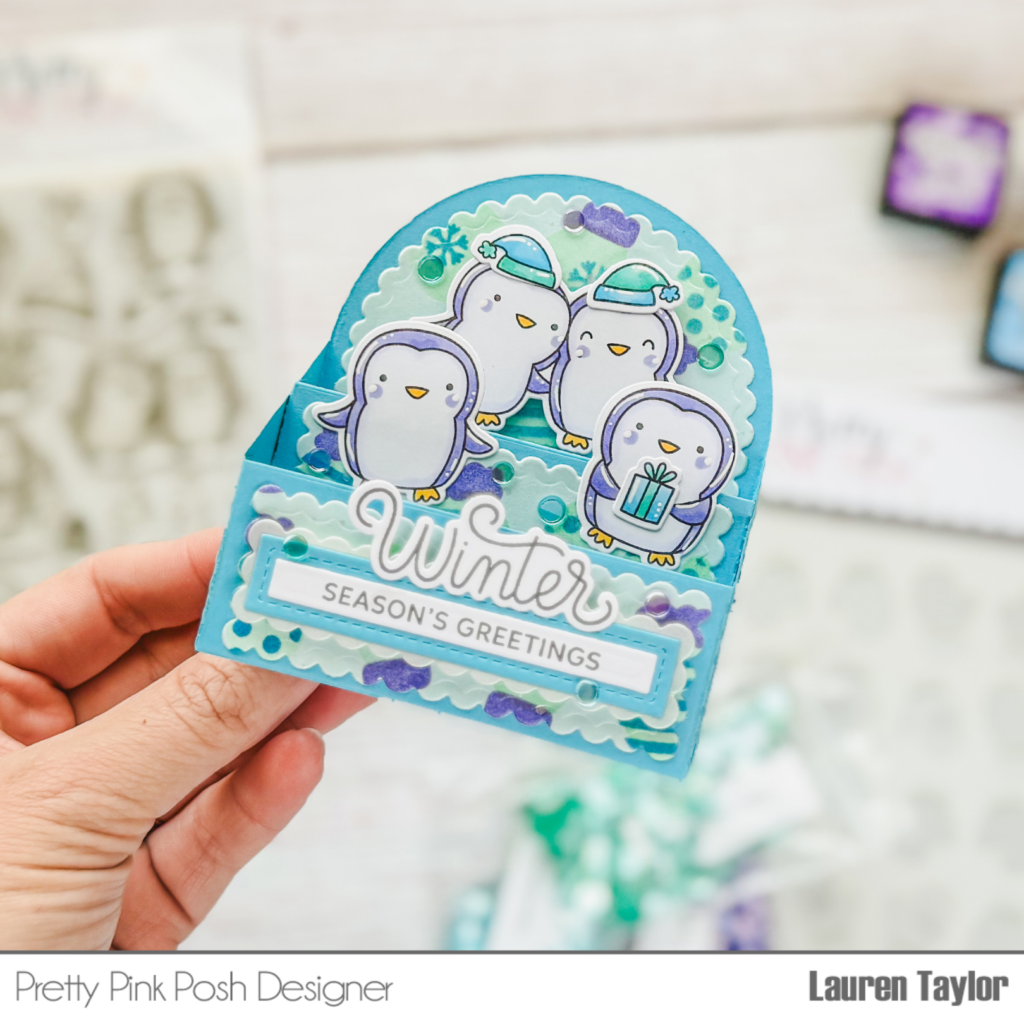
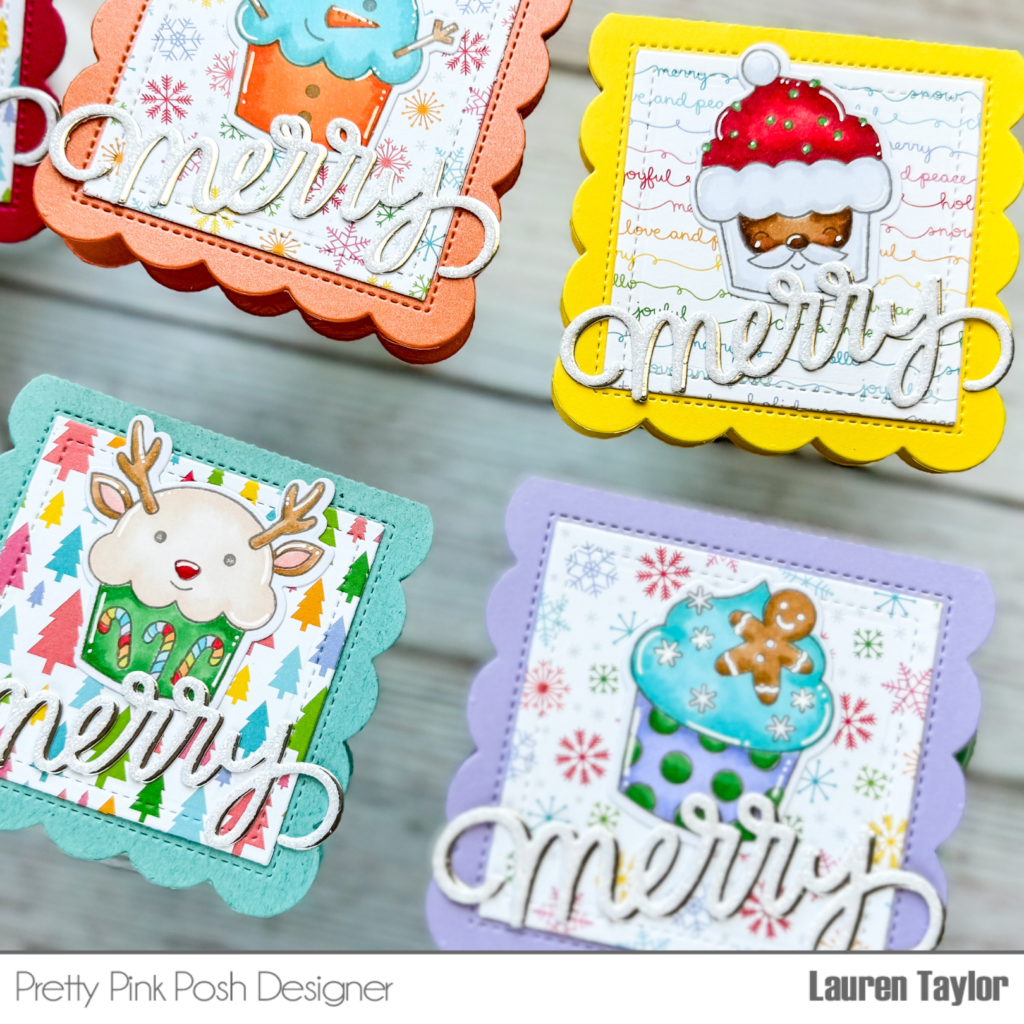
Valentine feat. Stamps, Dies & Stencils
Hello crafty friends! Rebecca here and I am so in LOVE with the latest release! One of my favorite things about a Pretty Pink Posh release is how well all of the supplies work together. In fact, today I am sharing a card that combines stamps, dies and stencils!
Watch the video above I Watch the video in HD on YouTube
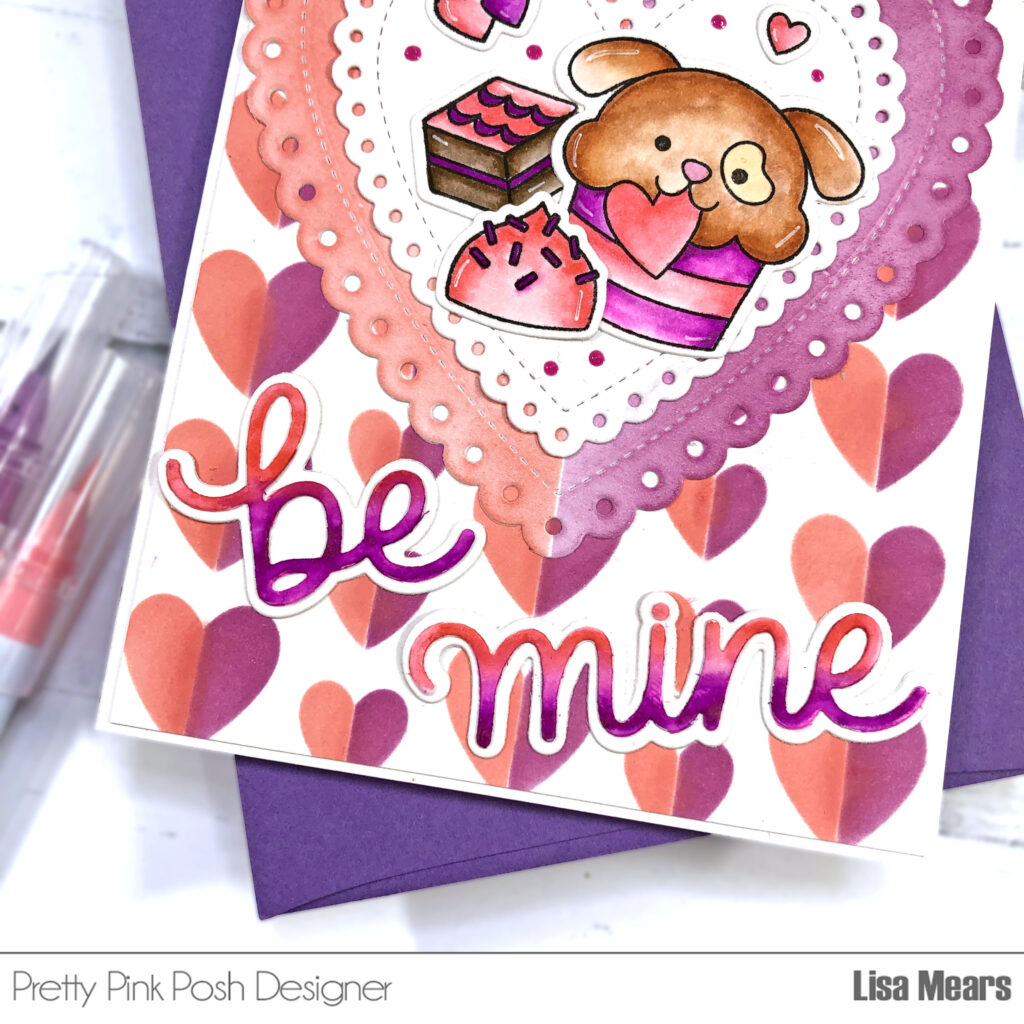
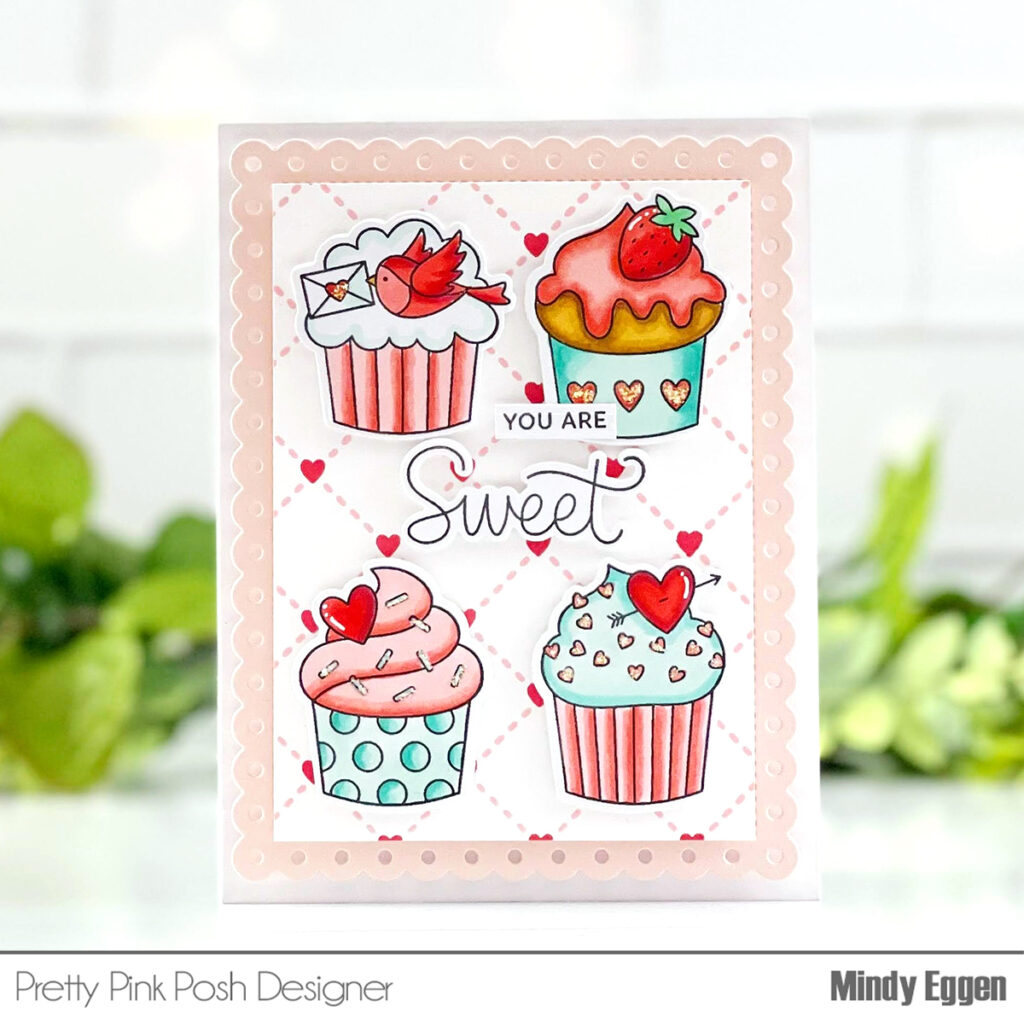
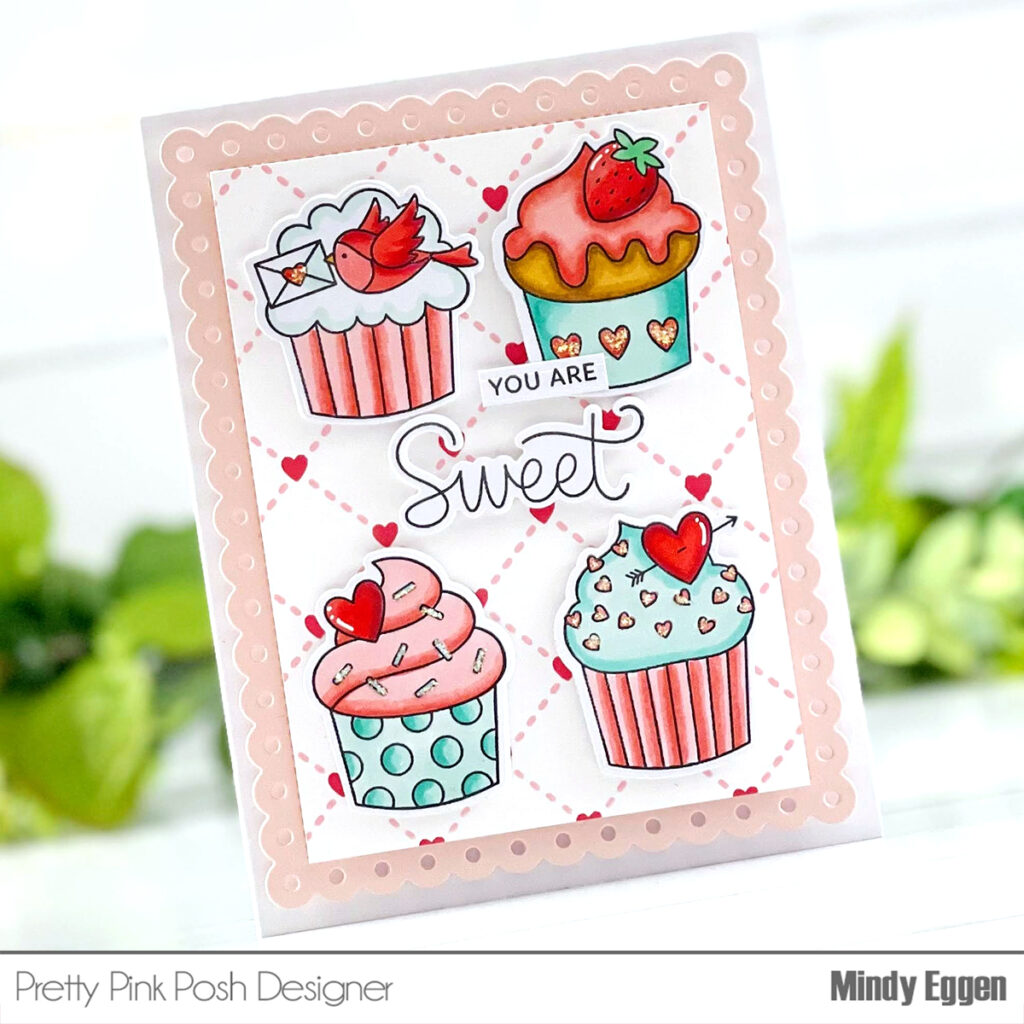
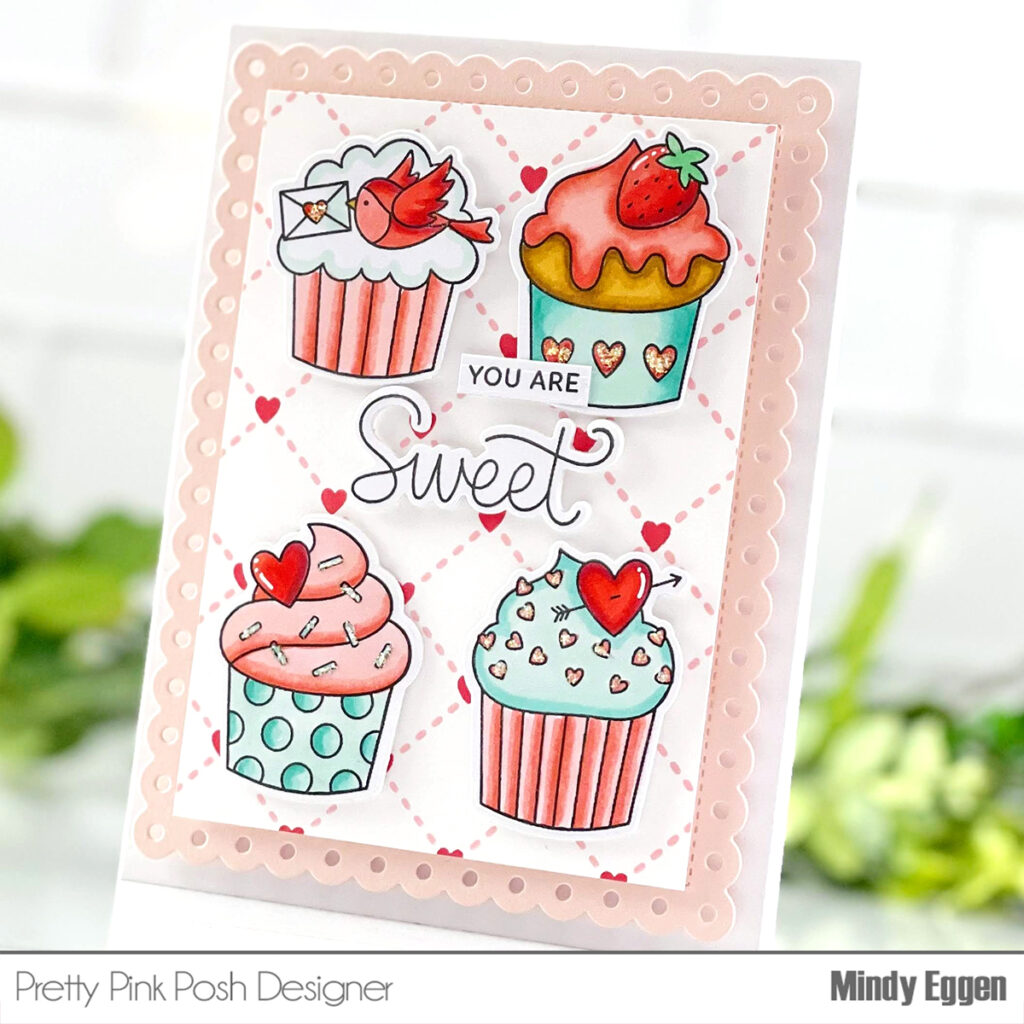
To create the background I used the Lattice Hearts Layering Stencils. This is a 2 pack of stencils. One creates tiny hearts and one creates a criss cross of stitches. You could use them separately, but when you combine them you create the sweetest hearts and stitches background!
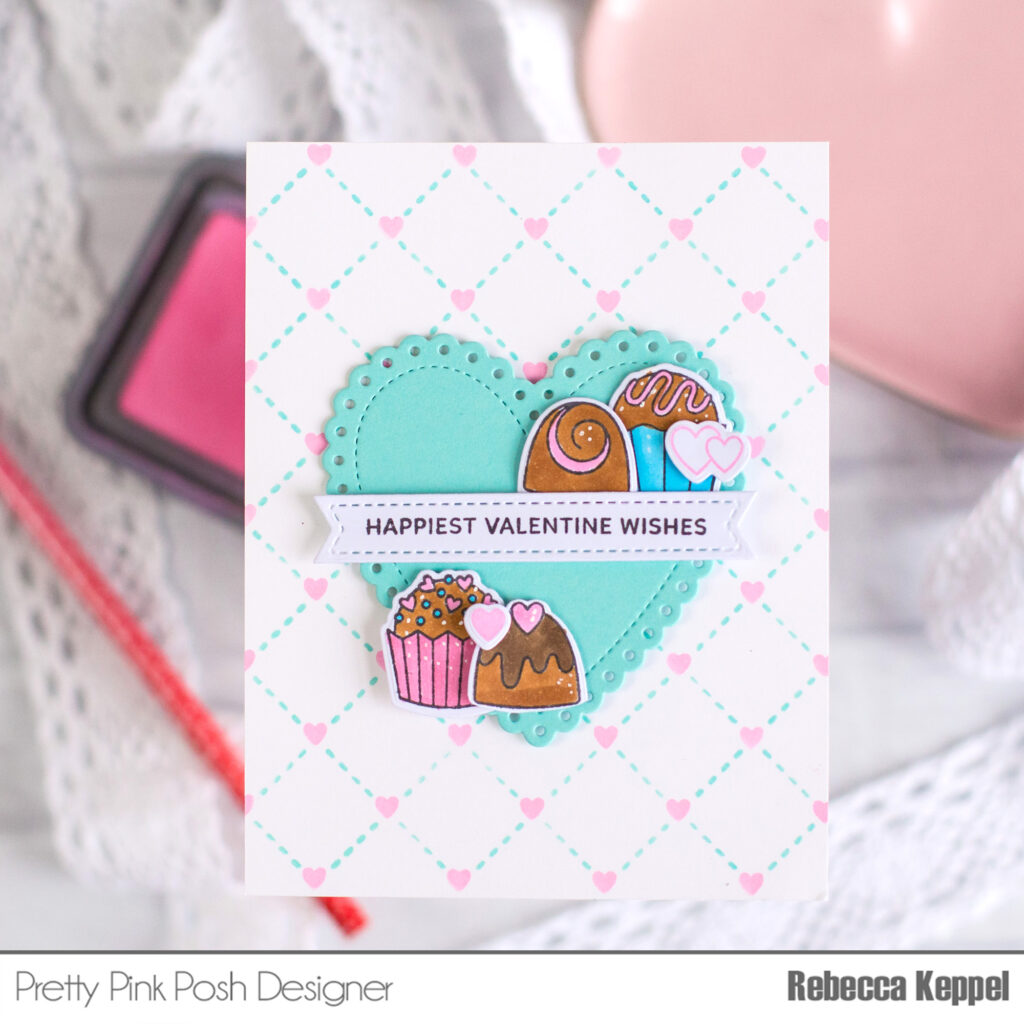
Next I die cut several colors of hearts with the Eyelet Hearts Dies. I used the second largest heart which I cut out of light blue cardstock to match the background.
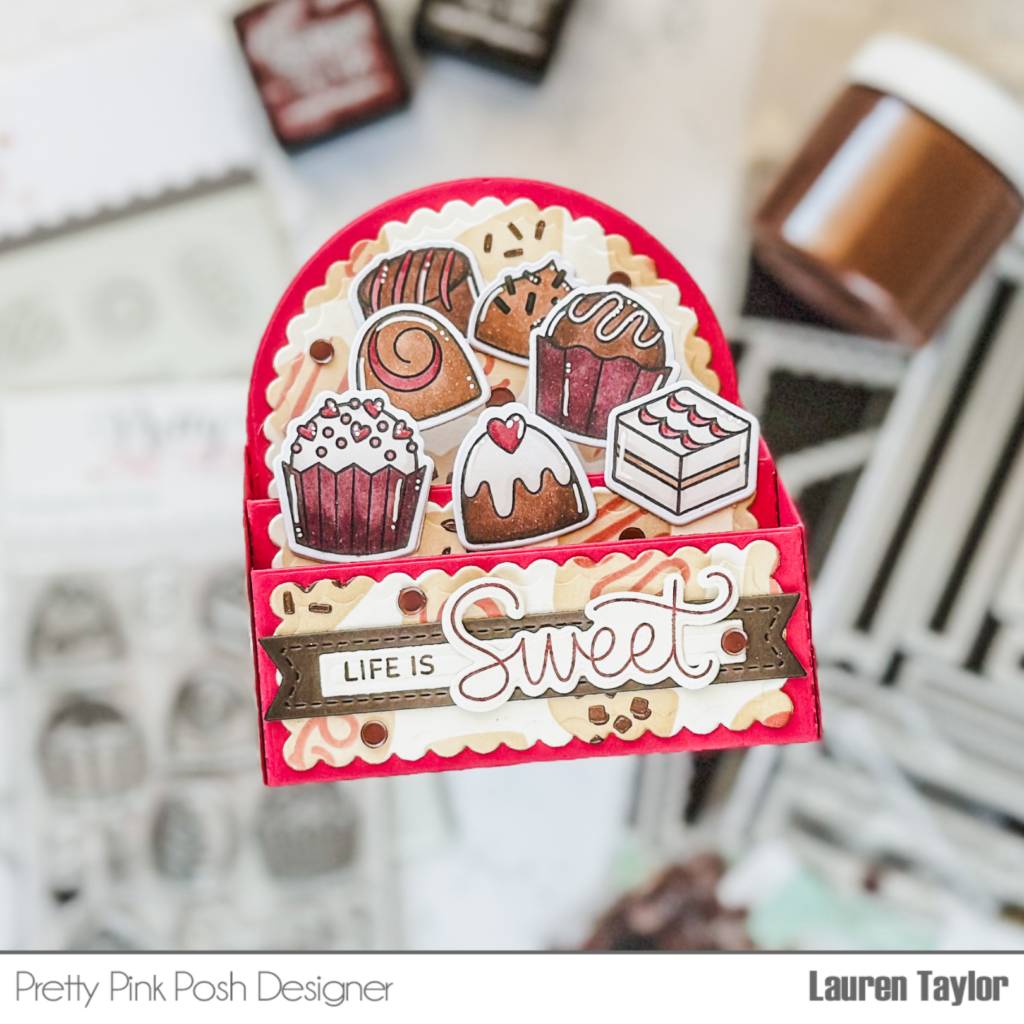
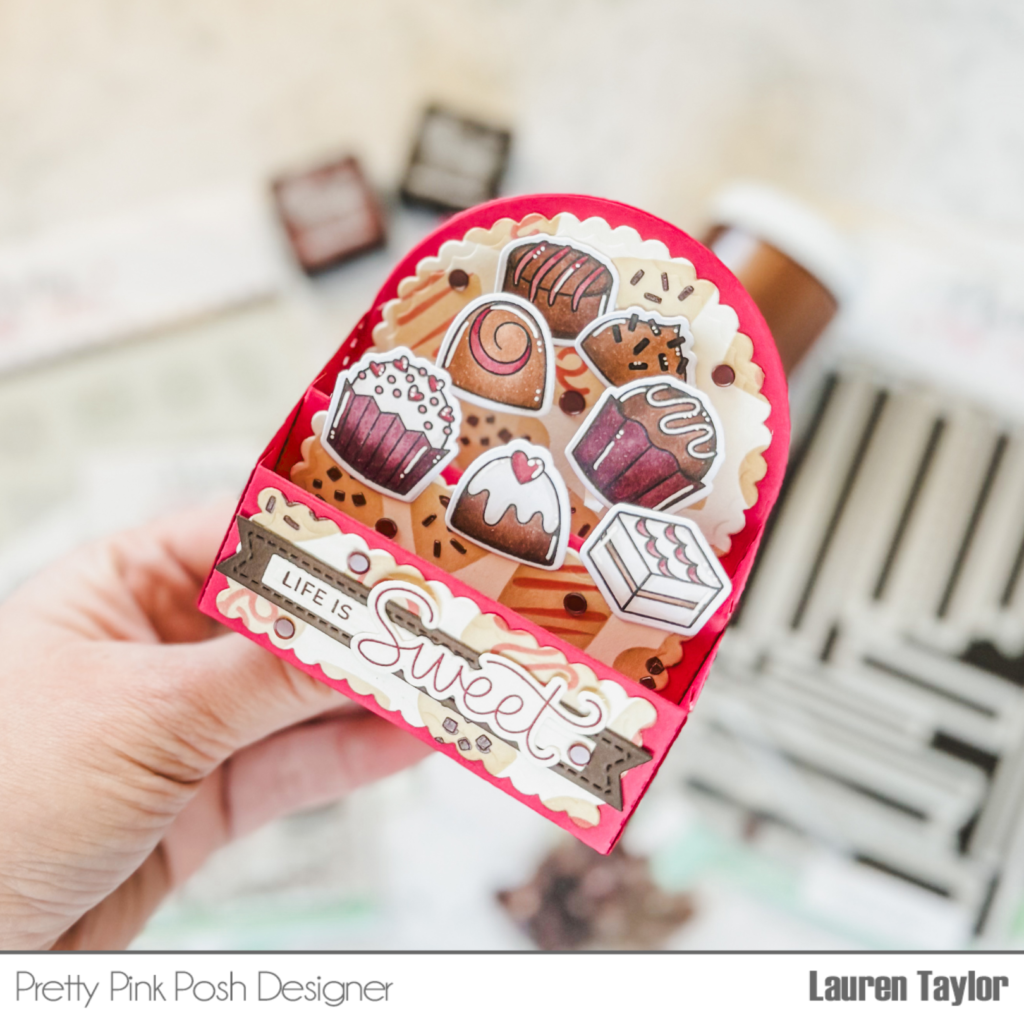
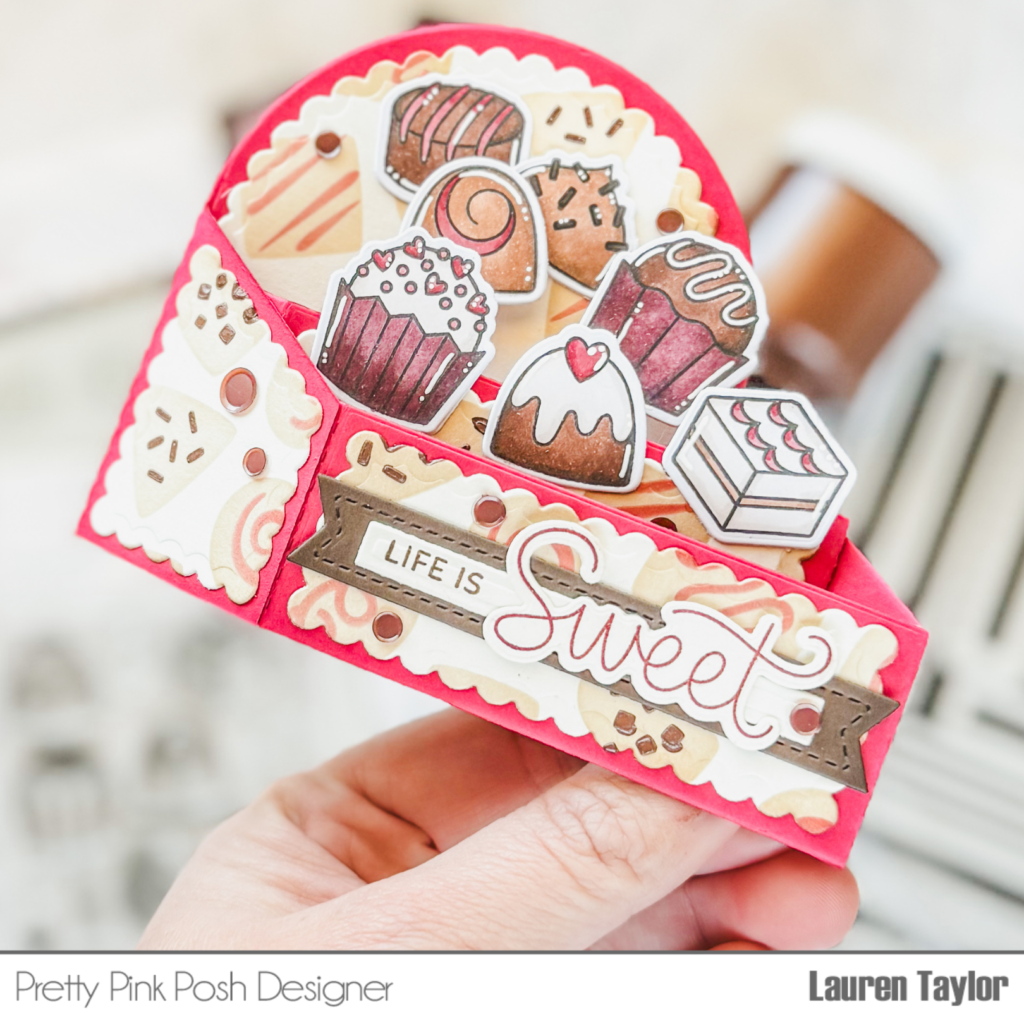
Then I stamped a bunch of images from the Sweet Chocolates stamp set. I love to color all the images and die cut them out with the Sweet Chocolates coordinating dies and then decide which I will use on my card. Any extras can stay organized in the stamp and die pocket for future cards.
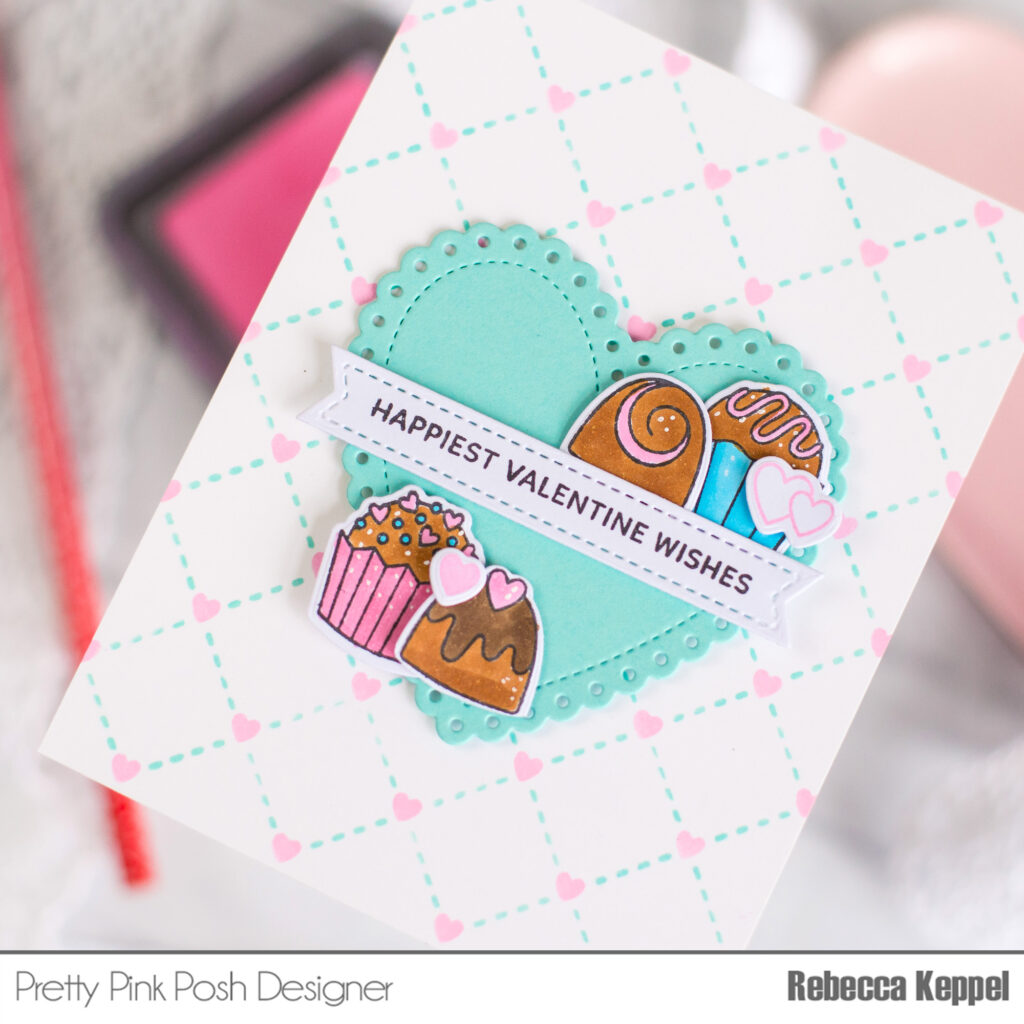
I also stamped a sentiment from the Sentiment Strips Valentine Stamp Set and used a Sentiment Strips Dies to cut it out.
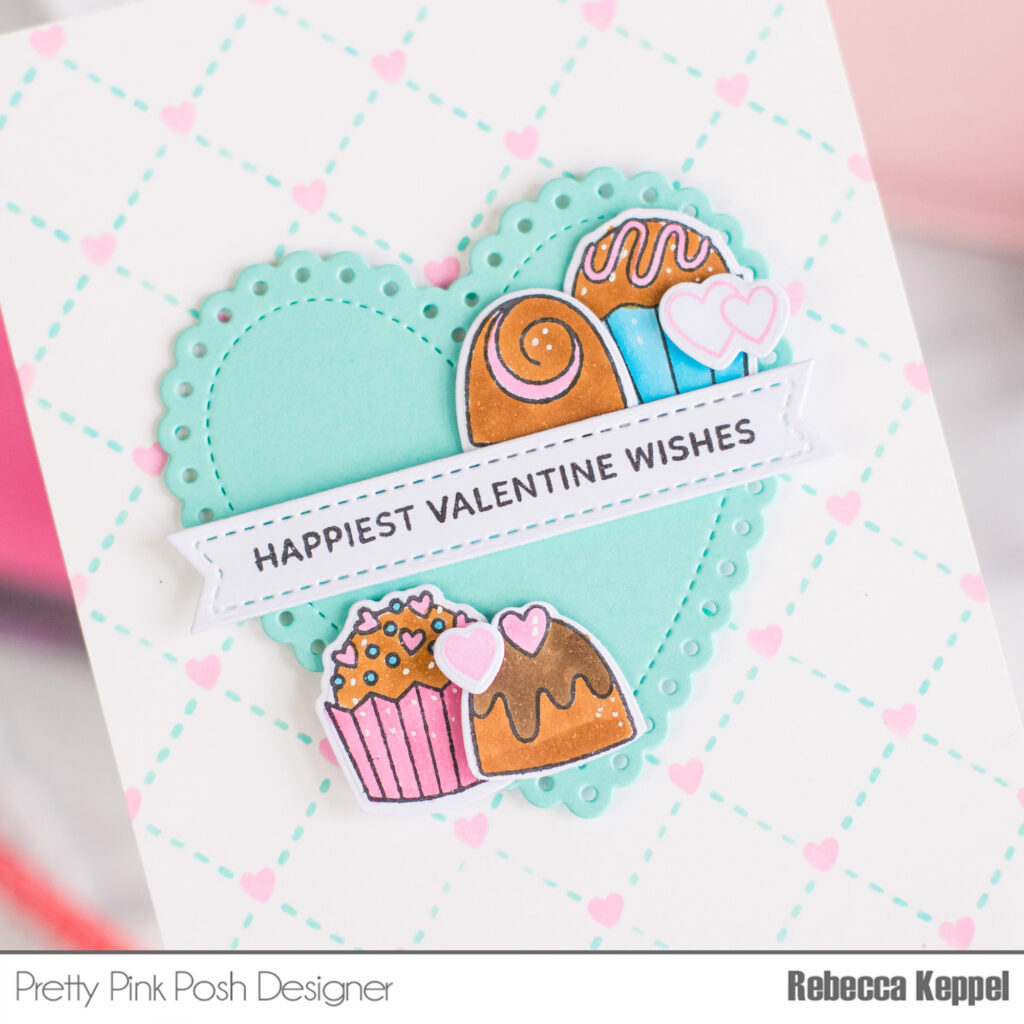
At last comes the fun part of putting it all together! I love the look and interest that is created on a card by combining stenciling, die cutting and stamping!! The Pretty Pink Posh releases are meant to work together so have fun mixing and matching to your heart’s content!
Thanks for stopping by!
Rebecca