Easy Coloring on Stamped Images + Video
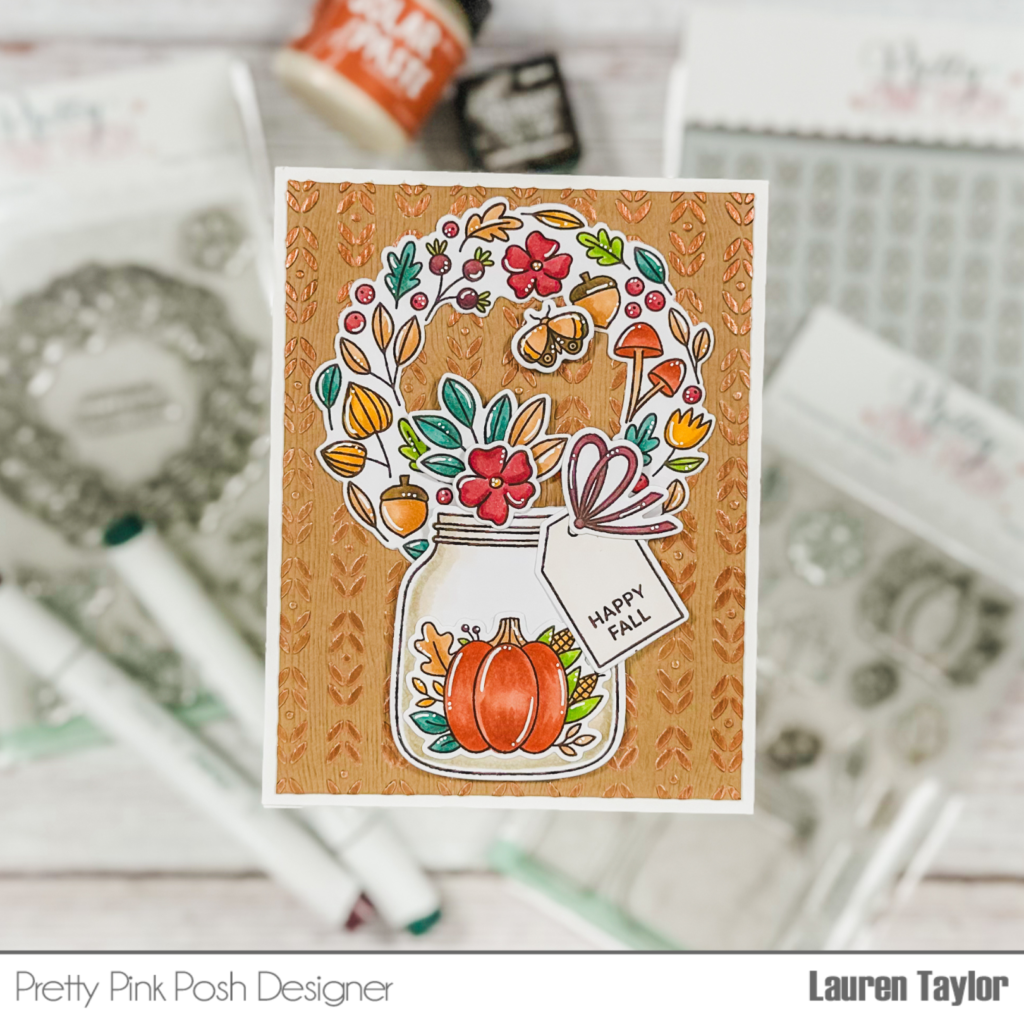
Hi crafty friends! Rebecca here with a card featuring the easiest way to color in stamped images! First I stamped out several of the pumpkins from the Autumn Pumpkin stamp set.
Watch the video above I Watch the video in HD on YouTube
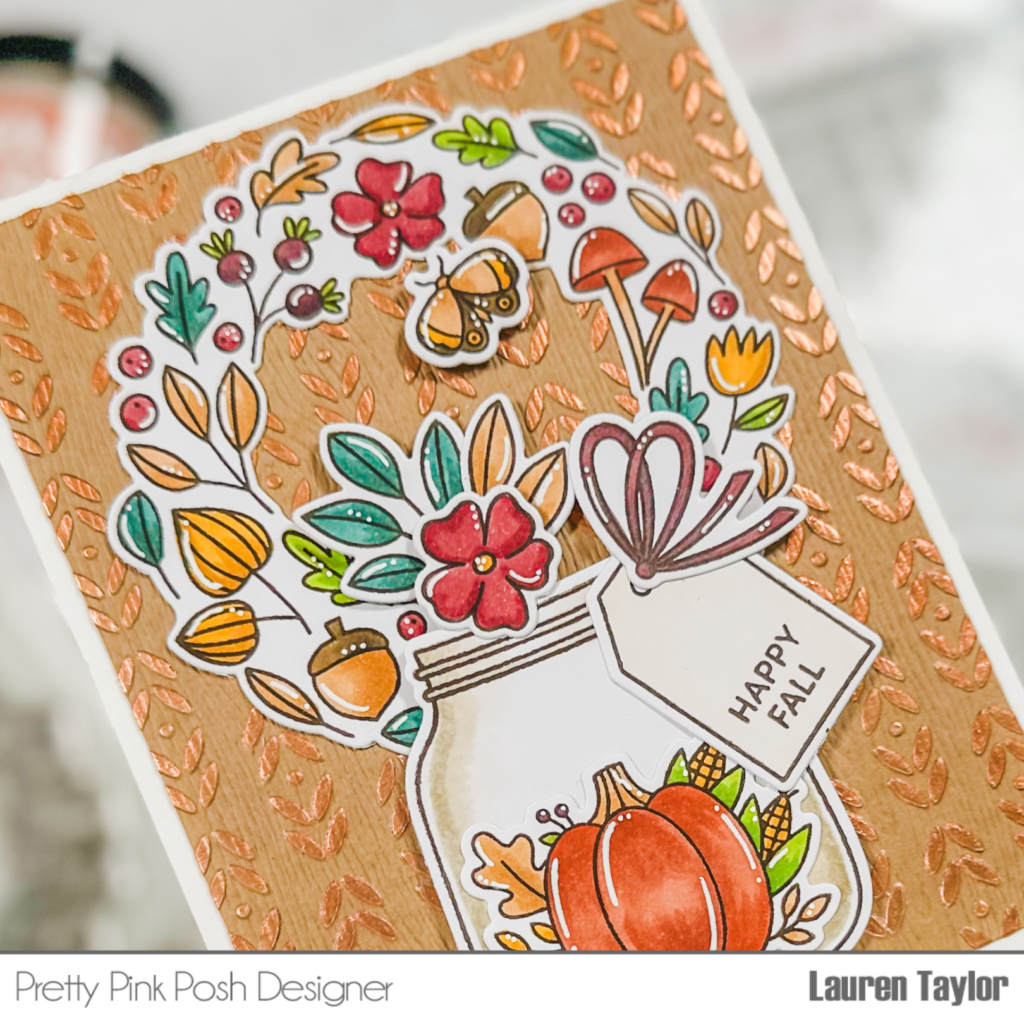
In different colors of ink. I quickly poured clear fine detail embossing powder on top and heat set the pumpkins. Next I used blending brushes to blend the same colors of ink that I had stamped on each of the pumpkins starting at the bottom and pulling the color to the top. This easy blending colors the pumpkins to look like they’ve been colored with blending and shading but only takes a few quick minutes!
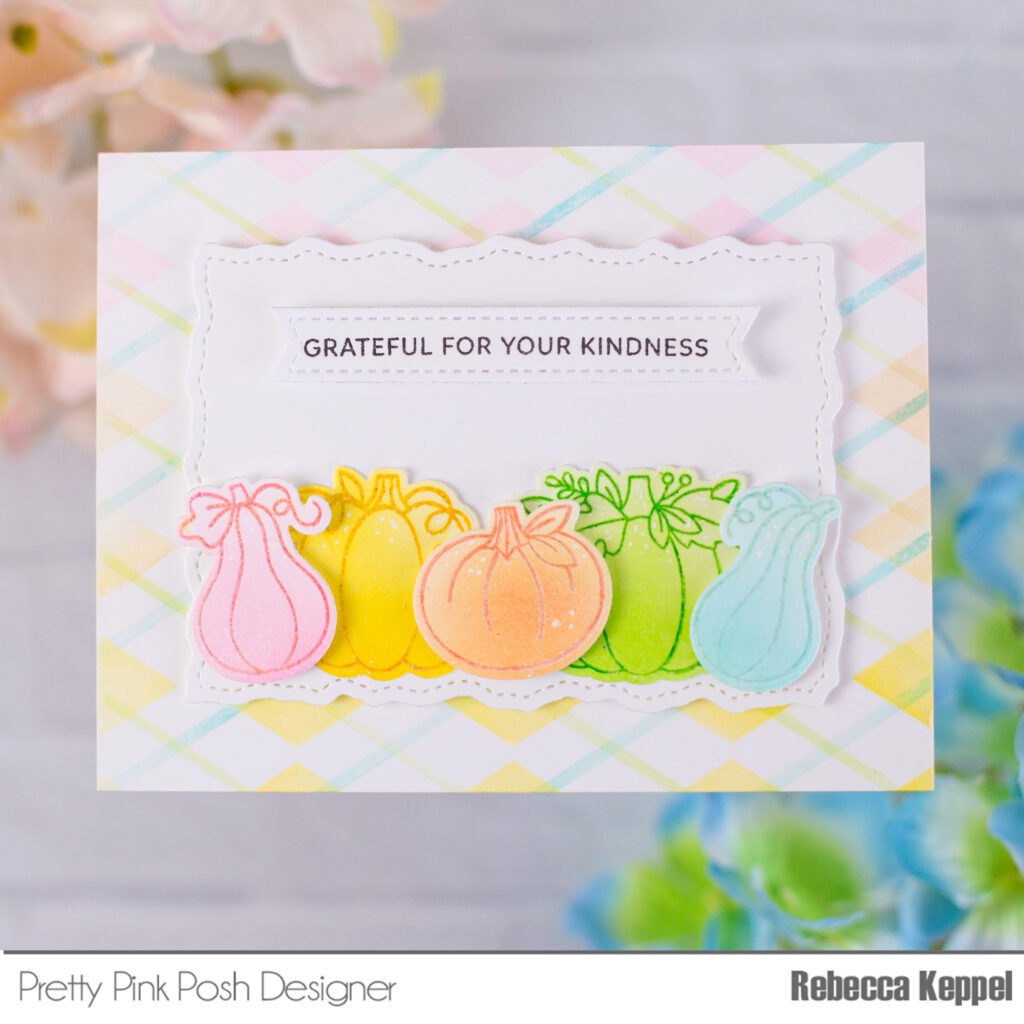
Next I used the with the same colors of ink to create a rainbow argyle background.
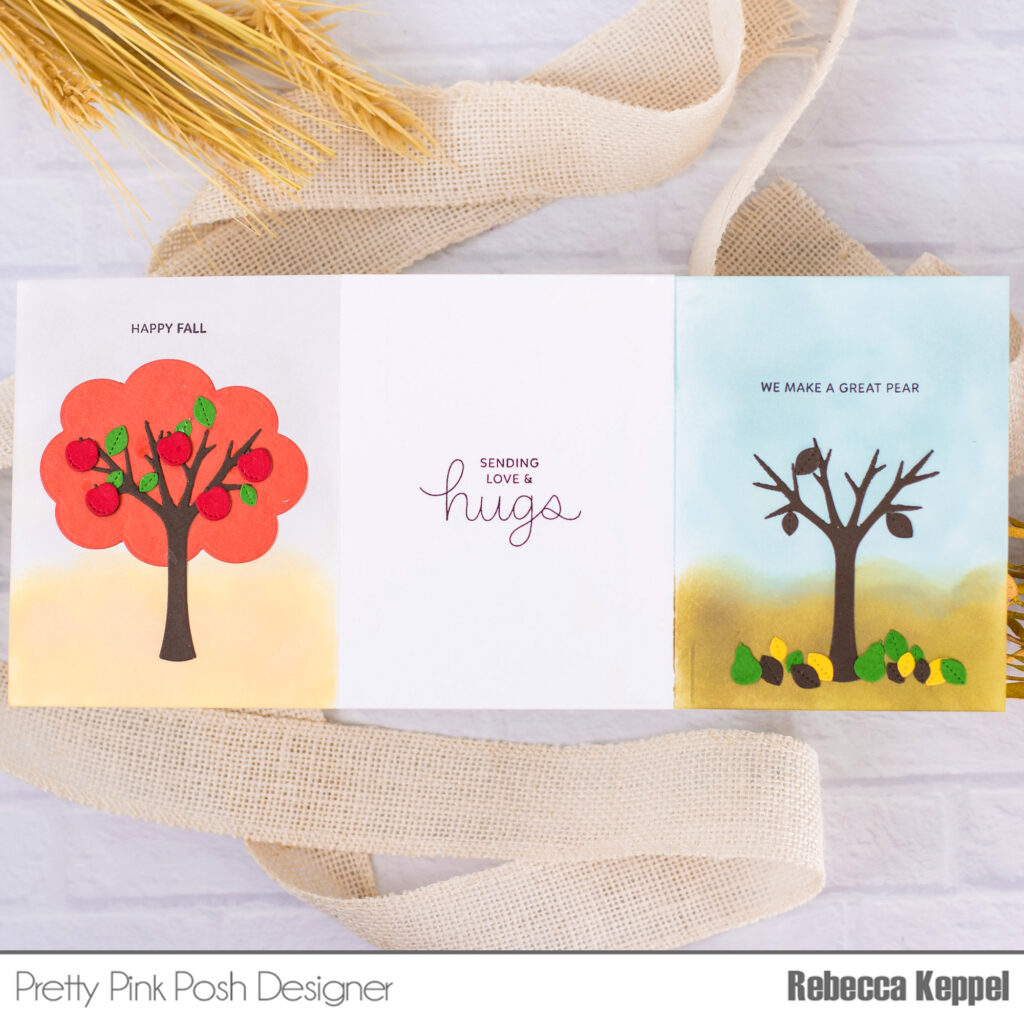
Then I grabbed the Autumn Pumpkin Coordinating Dies to cut out all the pumpkins. I also die cut a flag with the Sentiment Strips Dies and placed the positive and negative of this die cut in a stamp positioner so I could line up the sentiment stamp from the Sentiment Strips Fall stamp set.
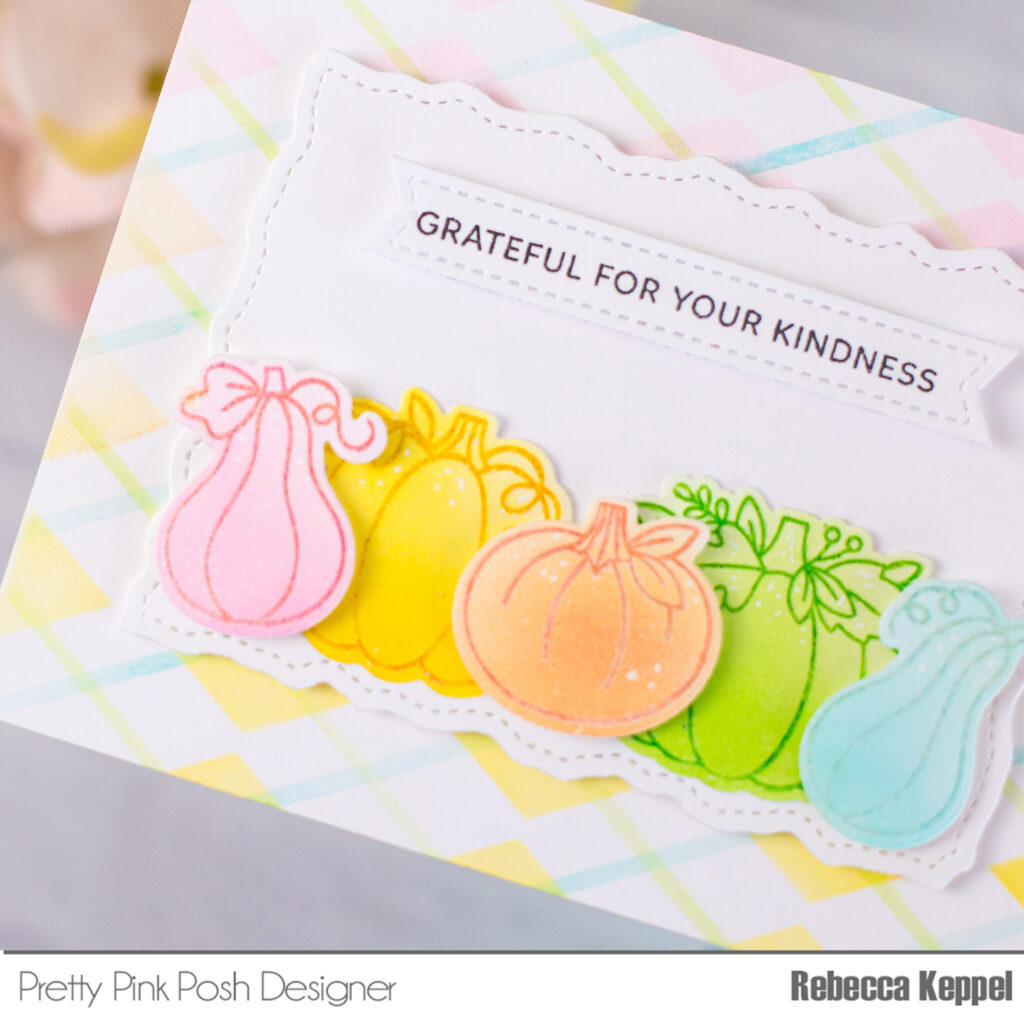
I layered a piece of white cardstock cut with the Stitched Torn Rectangle Dies on top of the argyle background and then popped up the sentiment strip and pumpkins on top.
I love this technique as it is the easiest way for my to create shaded and colored stamped images in minutes! I hope you’ll give it a try! Thanks for stopping by!