Spring Birdhouse + Video
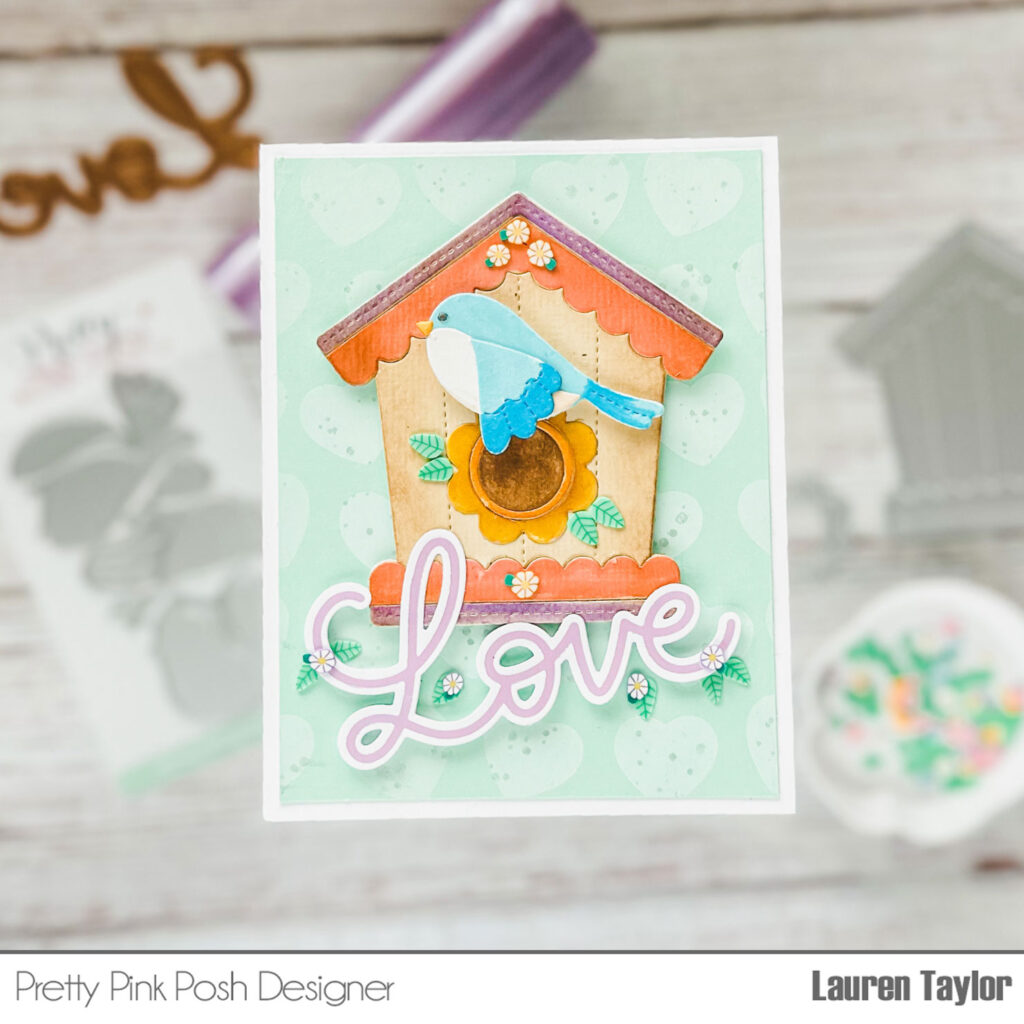
Hi, friends! It’s Lauren and I have a new video to share. I am still trying to hold on to Spring before Summer and the hot weather gets here! So I’ve used the Stitched Birds Dies and Decorative Birdhouses Dies with softer colors to share with you.
Watch the video above I Watch the video in HD on YouTube
To prepare for my video, I did some hot foiling and die cutting before recording. Using some pastel satin foil, I hot foiled the Large Love Hot Foil Plate and cut it out with the Large Love Shadow Die Set. I used watercolor cardstock to cut out the Stitched Birds Dies and Decorative Birdhouses Dies, as well as some textured tan cardstock to cut the Decorative Birdhouses Dies to create a look of wood.

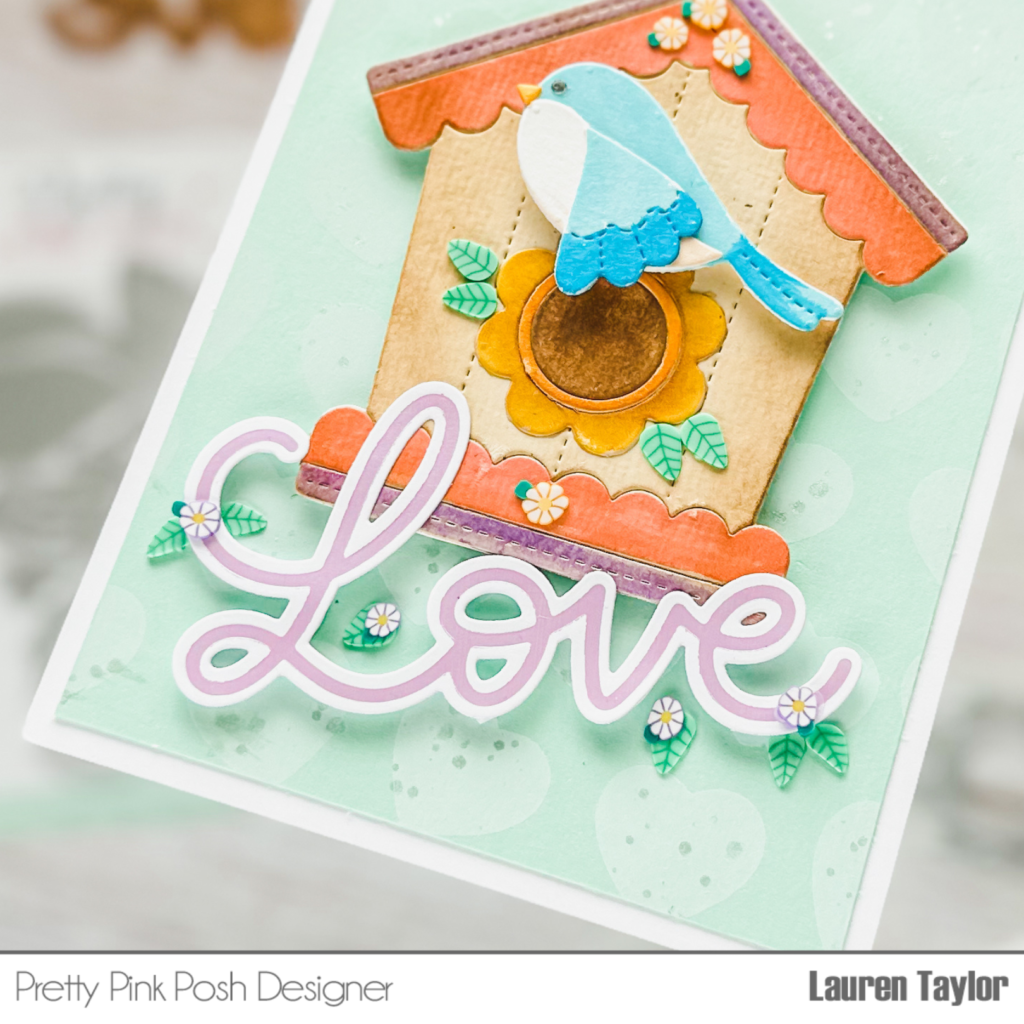
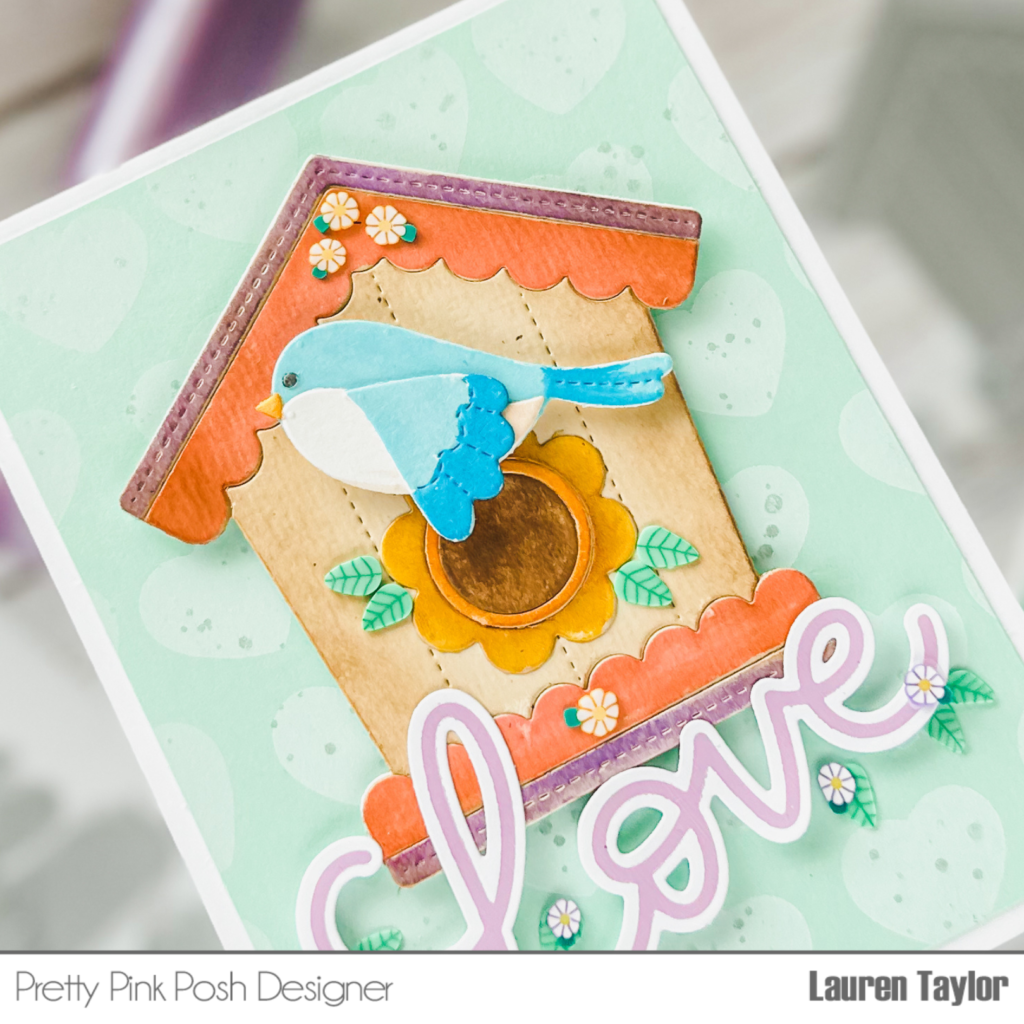
I started with using Zig Clean Color Brush Markers to color in the textured tan cardstock of my birdhouse in soft colors of purple, pink, orange and yellow. I use them to color my bird as well in colors of blues, orange, dark grey and soft beige. Once dry, I used Vintage Photo Distress Ink to distress the birdhouse pieces, again trying to give my birdhouse a look like it is painted wood. Next I adhered the pieces of the birdhouse together and added the watercolor cardstock pieces behind to make sure it is nice and sturdy. I also glued my cute little bluebird together.

Next I worked on my background which is a pastel mint green cardstock and I used the A heart stencil from the Layered Valentine Hearts Stencils to add Picket Fence Distress Ink and white metallic watercolor splatter. Once it was dry, I trimmed it down to 4×5-1/4″ and adhered it to the center of my A2 card base. Using foam adhesive, I added the birdhouse, bluebird and the Love sentiment to card base.

To add in more Spring touches, I adhered flowers and leaves clay confetti from the Flower Garden Mix around the flower opening in the birdhouse, the pink scalloped trim and around my purple Love hot foiled sentiment.
I hope this card brings a smile to your face and you’ll join me in holding onto Spring as long as we can!
