Ghost Bookmarks
Hello Everyone! It is Zsofi here today showcasing the adorable Ghost Holder die set. The first time I saw this set, I felt I need to make these as little bookmarks! They would look great for kids for Halloween! So, I made 3 versions, let me show you how.
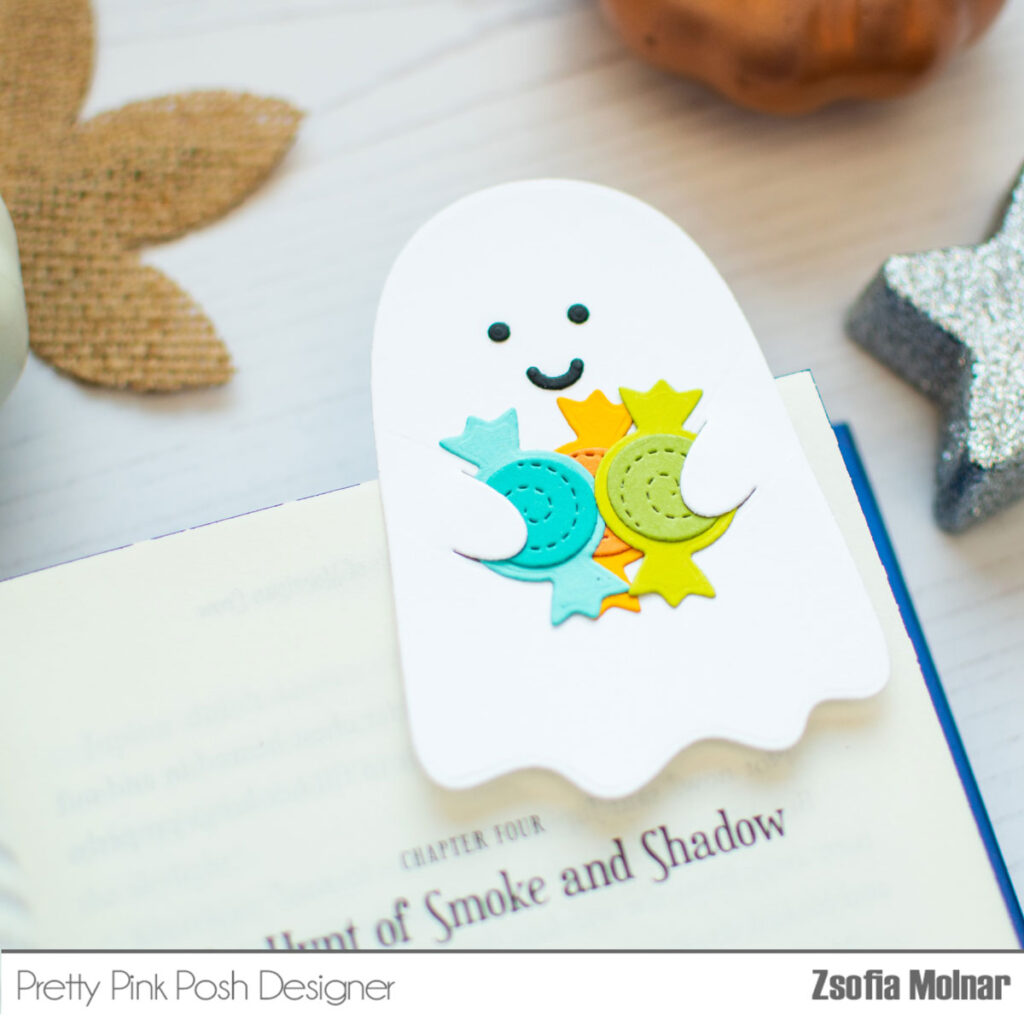
First I die cut the ghost 6 times from heavy weight white cardstock. I used Neenah Solar White 110 here, but any heavy weight cardstock would work. I adhered 2 together on the top part of the ghosts, approximately ½ an inch. I used liquid glue, I find it is strong enough not to get dissembled with usage.
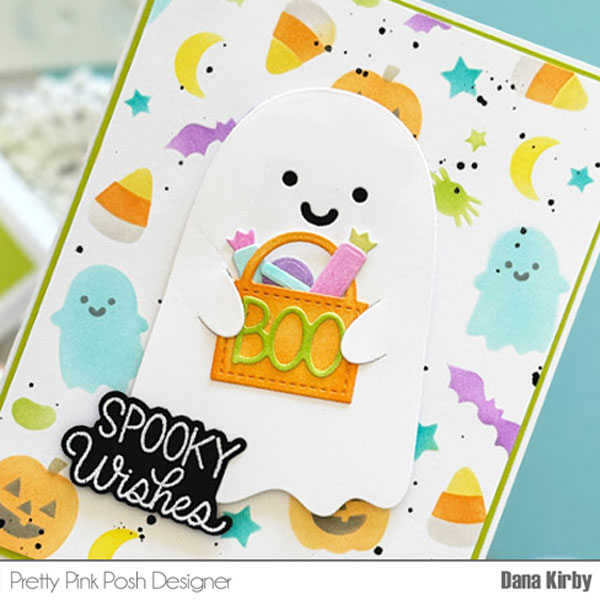
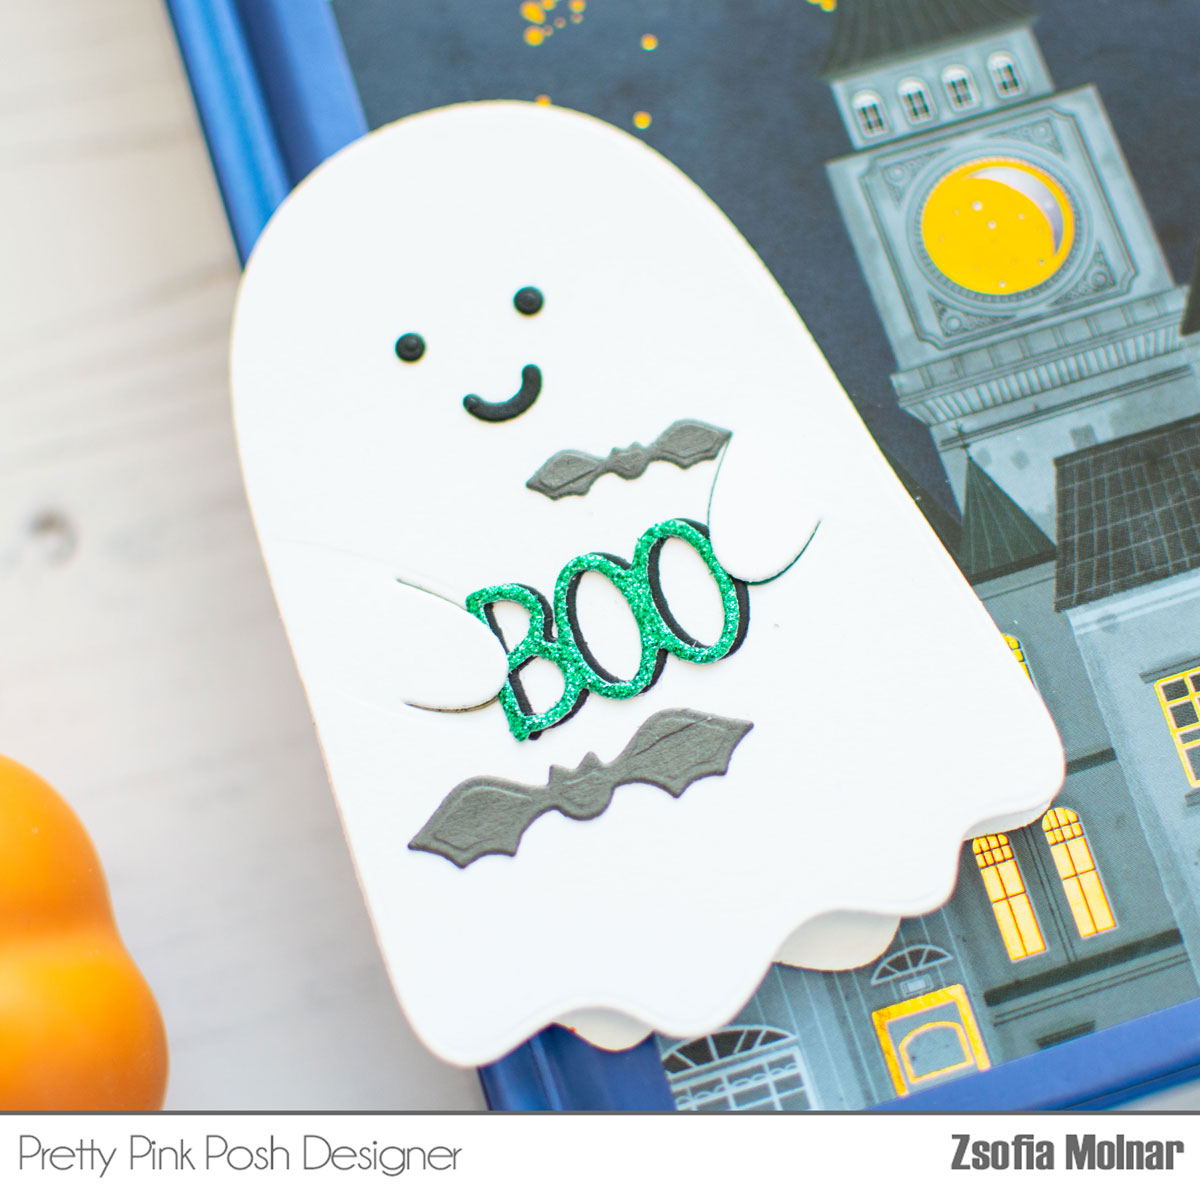
Then I die cut a bunch of accessories from cardstock scraps using the same die set: a few candies, bats, and the Boo sign too, but the possibilities are endless. I adhered everything together and arranged them in the hands of the ghosts. I love that the ghost die makes those cuts around the hands, so it is easy to put anything in there.
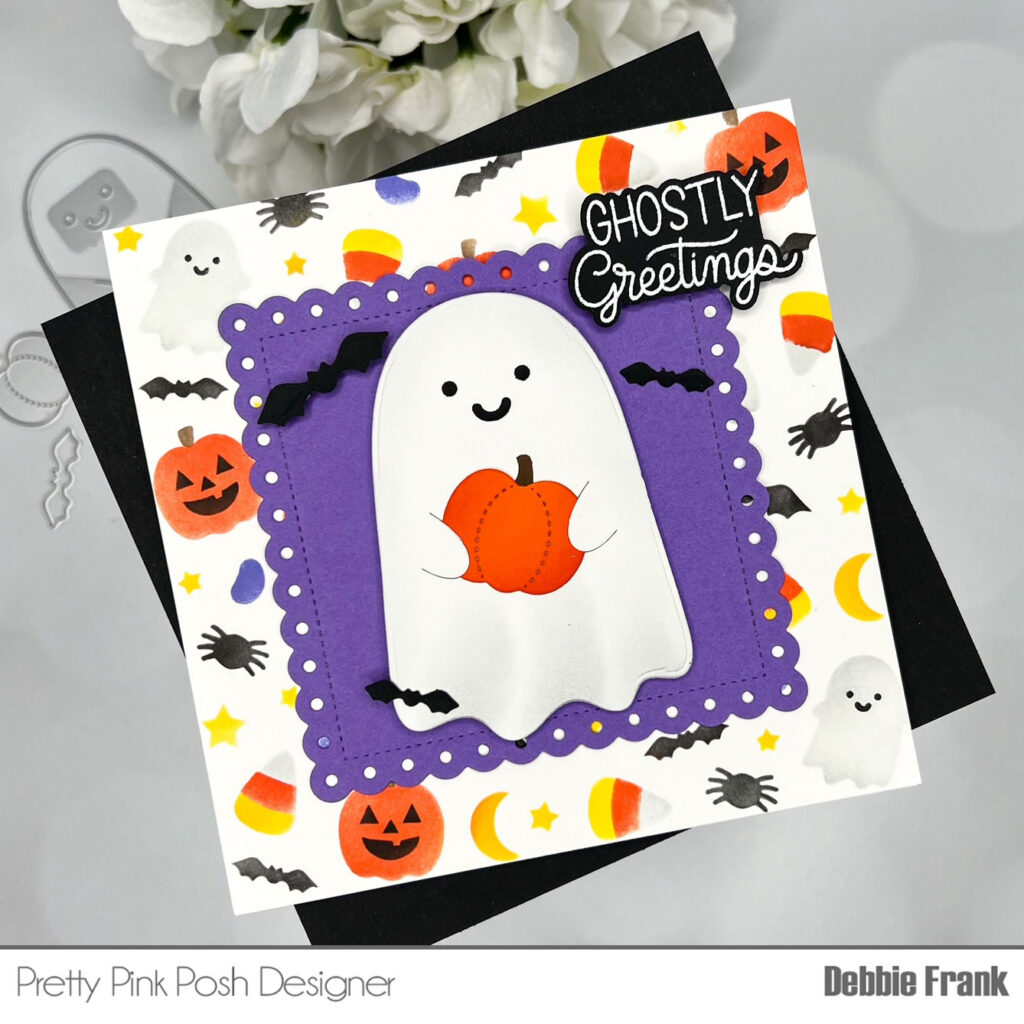
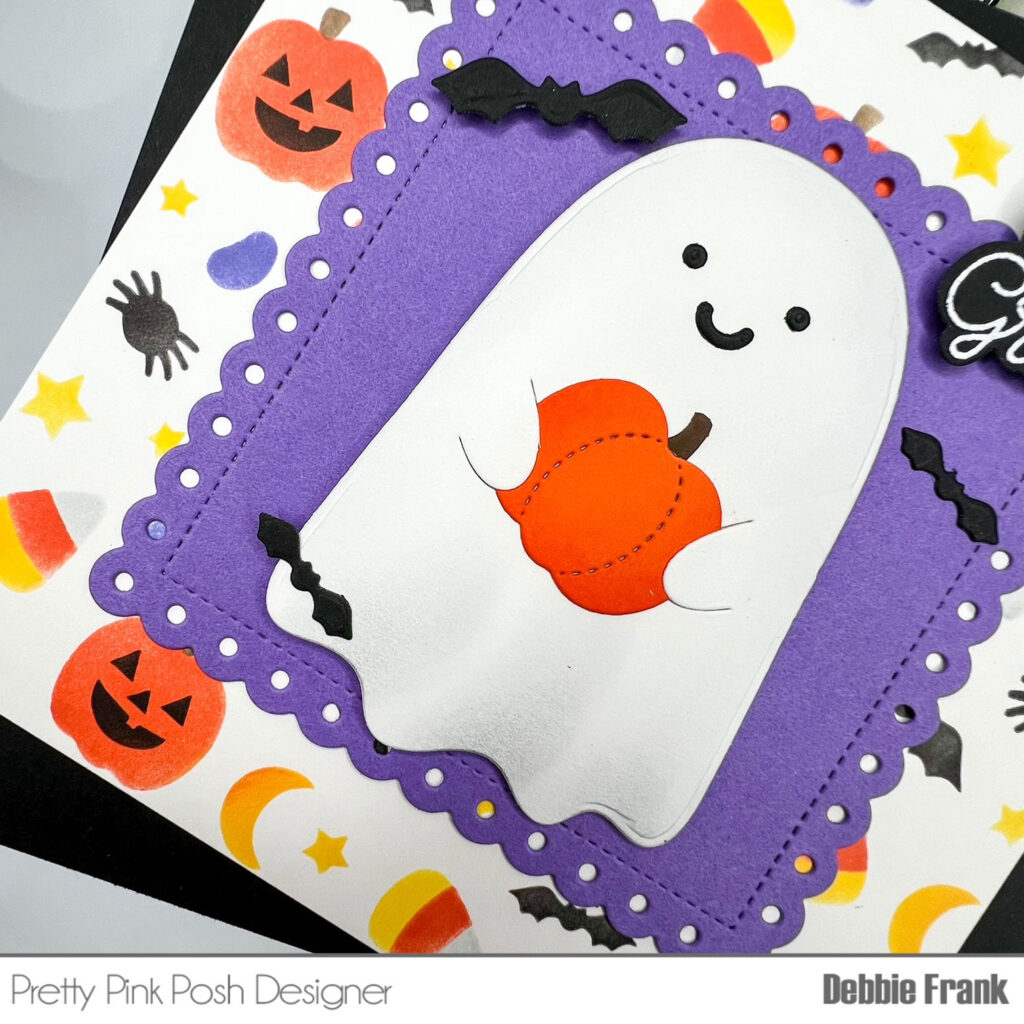
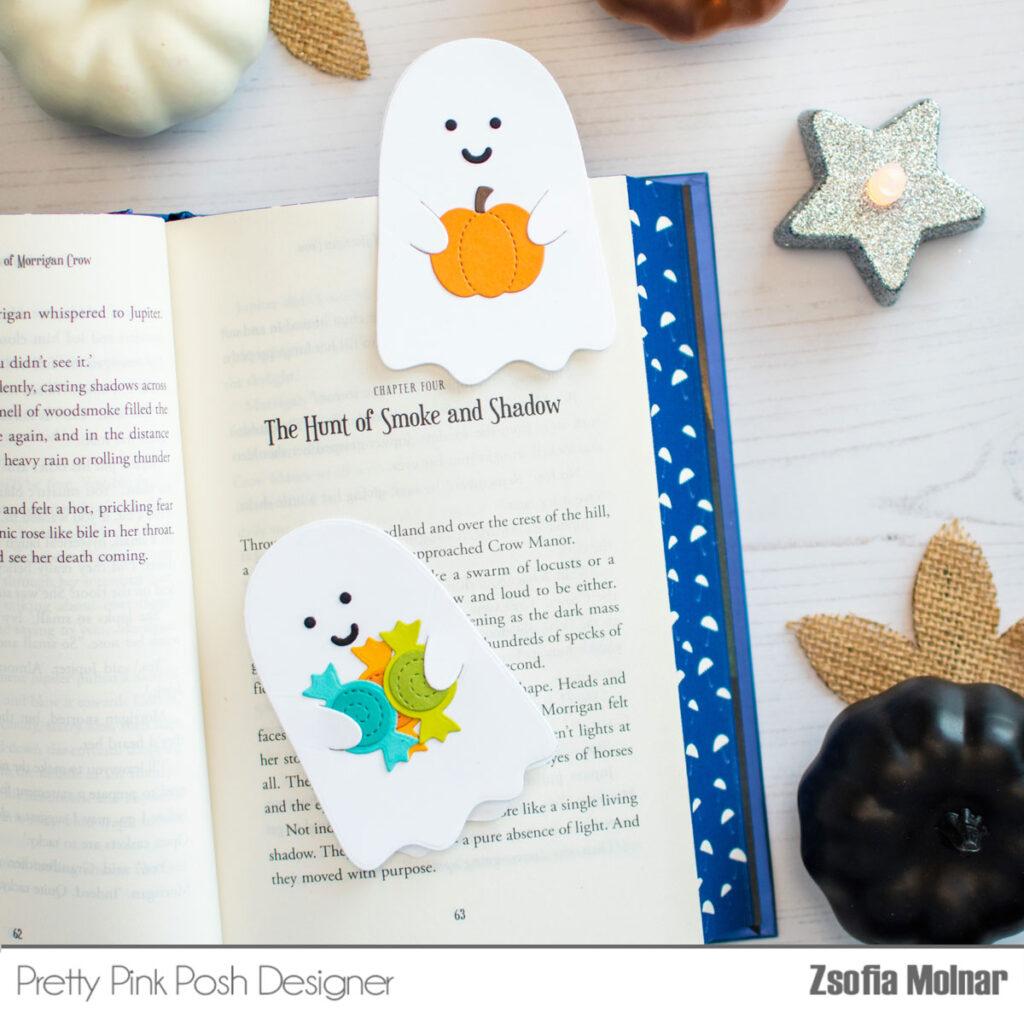
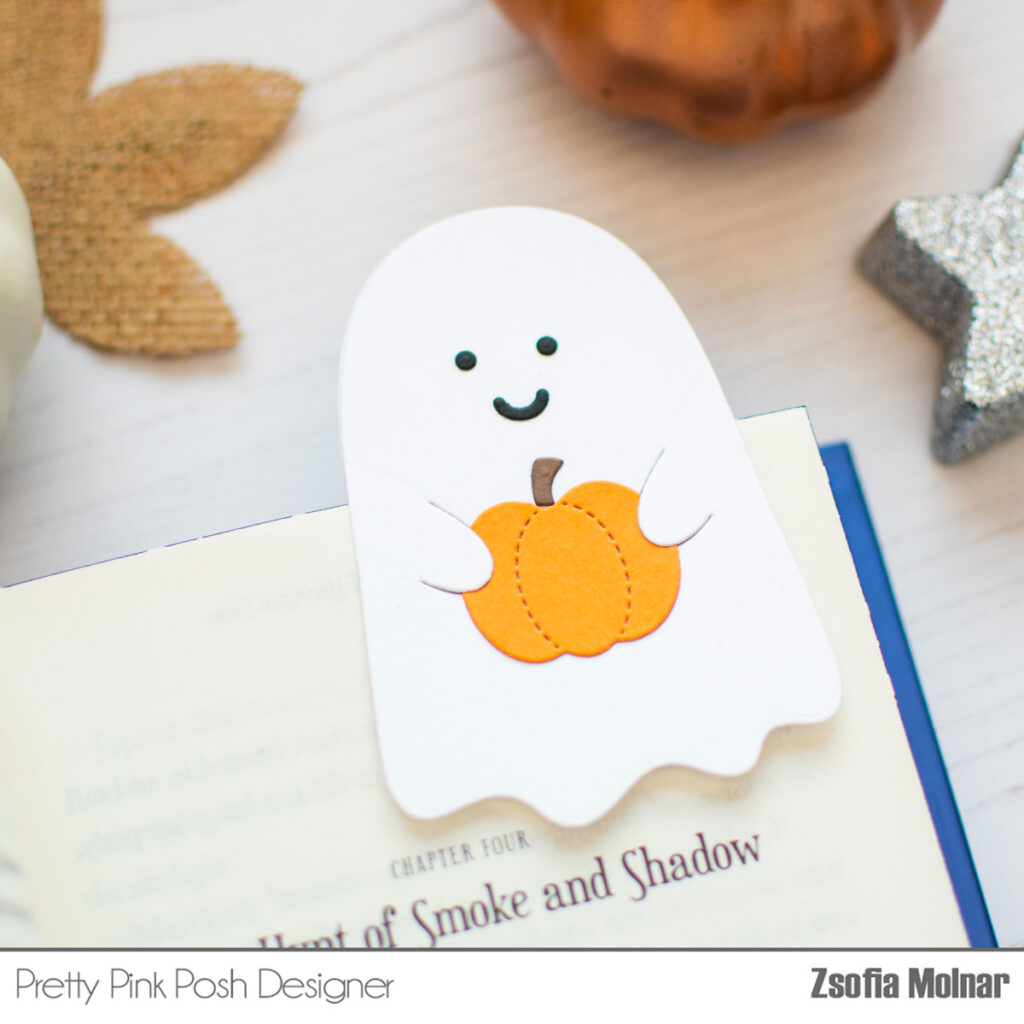
I made one which is holding a pumpkin. You can decorate the 2 sides the same way or just get creative and make them different.
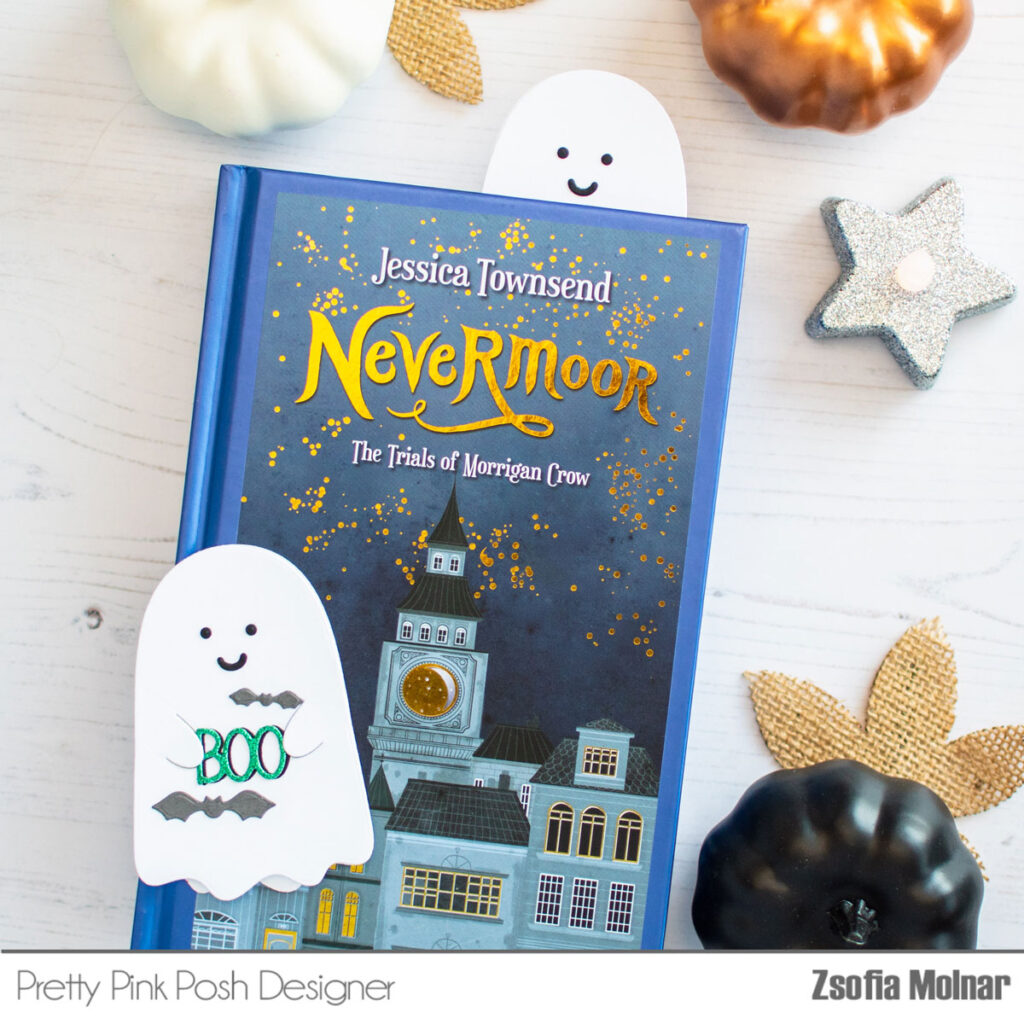
For the second one I tucked 3 candies in the ghost’s hands, while on the last I simply added the Boo sign and some bats.
Look how adorable they are while in the book? They peek out when the book is closed, isn’t that adorable? And so fast to make, even as a Halloween crafting with kids!
I wish you liked this bookmark idea and got inspired. I will share a secret; the Build a Monster die set would also look gorgeous as bookmarks and the kids would love that too!
Thanks for stopping by and hope to see you soon,
Zsofi