Sneak Peek: Birthday Cupcakes + Birthday Train
Hello crafty friends, Arsenia here! First, Happy 10th Birthday to Pretty Pink Posh! I’m thrilled to share these sneak peeks using the Birthday Cupcakes stamp set with coordinating dies and Birthday Train stamp set with coordinating dies! The images are fun and coordinate well with past products. I absolutely adore these products!
New release will be available February 7th
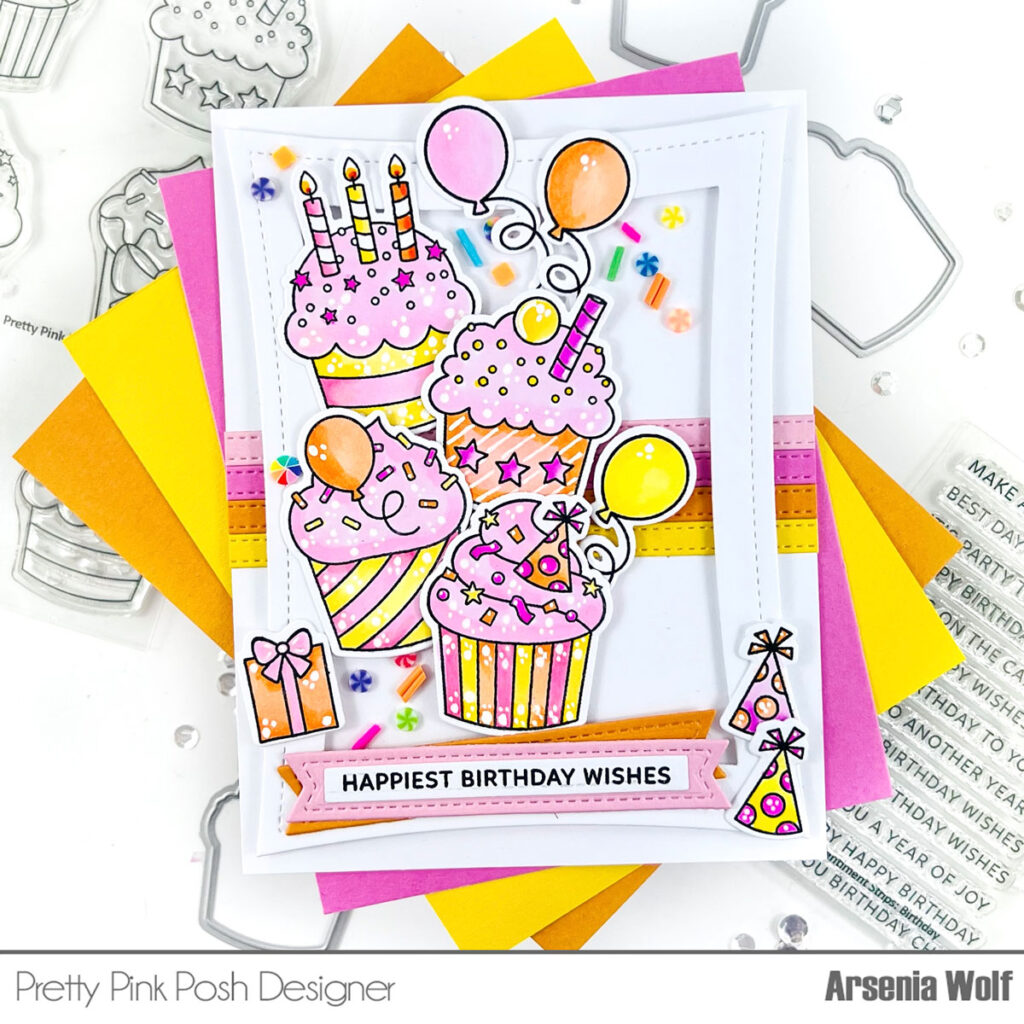
For my first card I stamped, colored, and die cut the images from the Birthday Cupcakes stamp set. I colored the images with Olo alcohol markers and added some white gel pen highlights. For my background I took a A2 card panel and added some strips of cardstock using the Stitched Strips Dies. Once I adhered the strips to the card panel, I added a frame using the Wonky Stitched Rectangles Dies. I decided to add a few more elements to card, I pulled out a fun birthday set from last years release called Wish stamp set with coordinating dies. This set coordinates perfectly with the Birthday Cupcake Set! I adhered all the images to the card base.
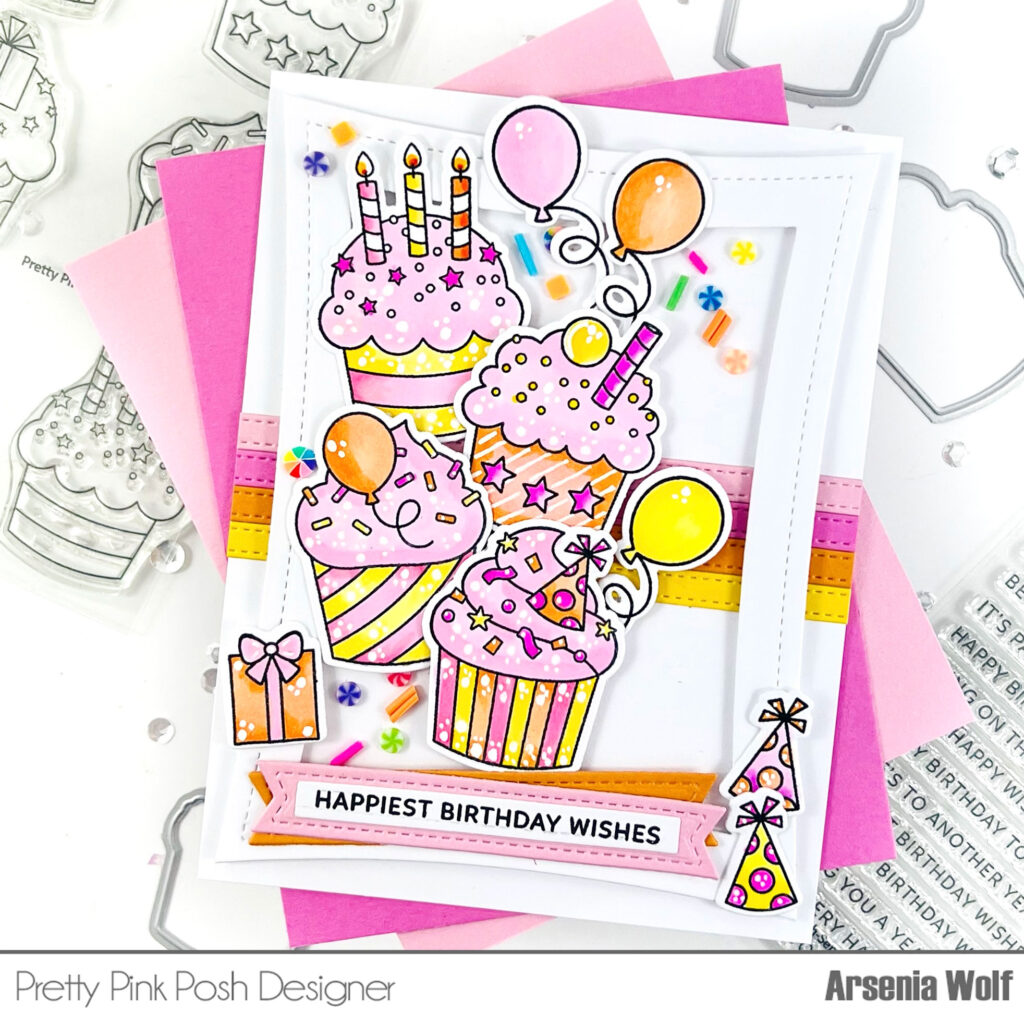
To finish the card, I added a sentiment from the new Sentiments Strips Birthday stamps! I adhered the sentiment to one of my most used die sets, Sentiment Strips Dies! I added lots of clay confetti from the new Over the Rainbow Mix! I adhered the clay pieces to resemble a faux shaker and ta-da all done!
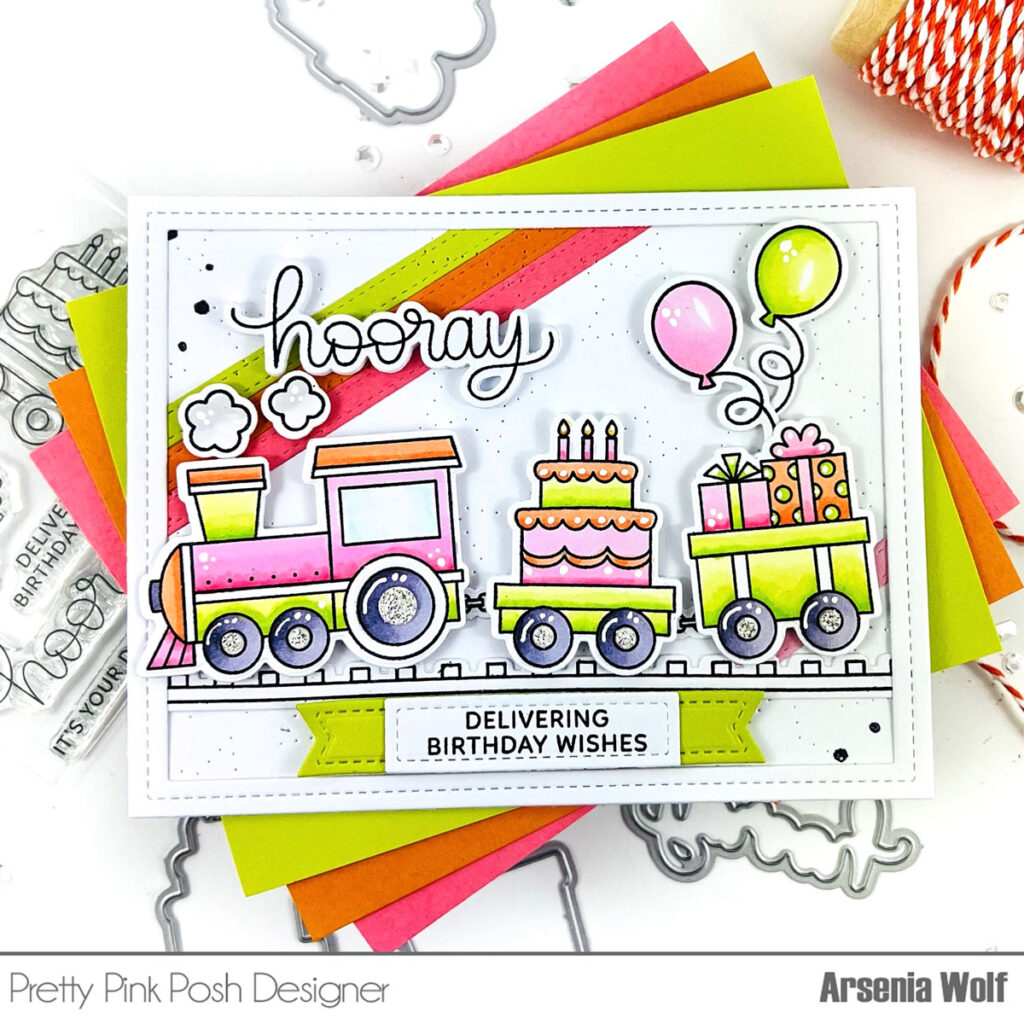
Now onto my second card using the adorable Birthday Train stamp set with coordinating dies! This train is becoming a favorite of mine in my crafty realm! I stamped and colored the images with an array of Olo markers. For the background I took a A2 card panel and added some strips of cardstock using the Stitched Strips Dies. I then ran the panel through the die cutting machine using a brand-new product called Pierced Stars Plate Die, I love the extra texture it adds to the A2 panel. I added a few faux black splatters to the top left corner and the bottom right corner. I adhered the images to the panel and decided I needed a frame. I used the Fancy Cake Dies and I love the way it framed the images.
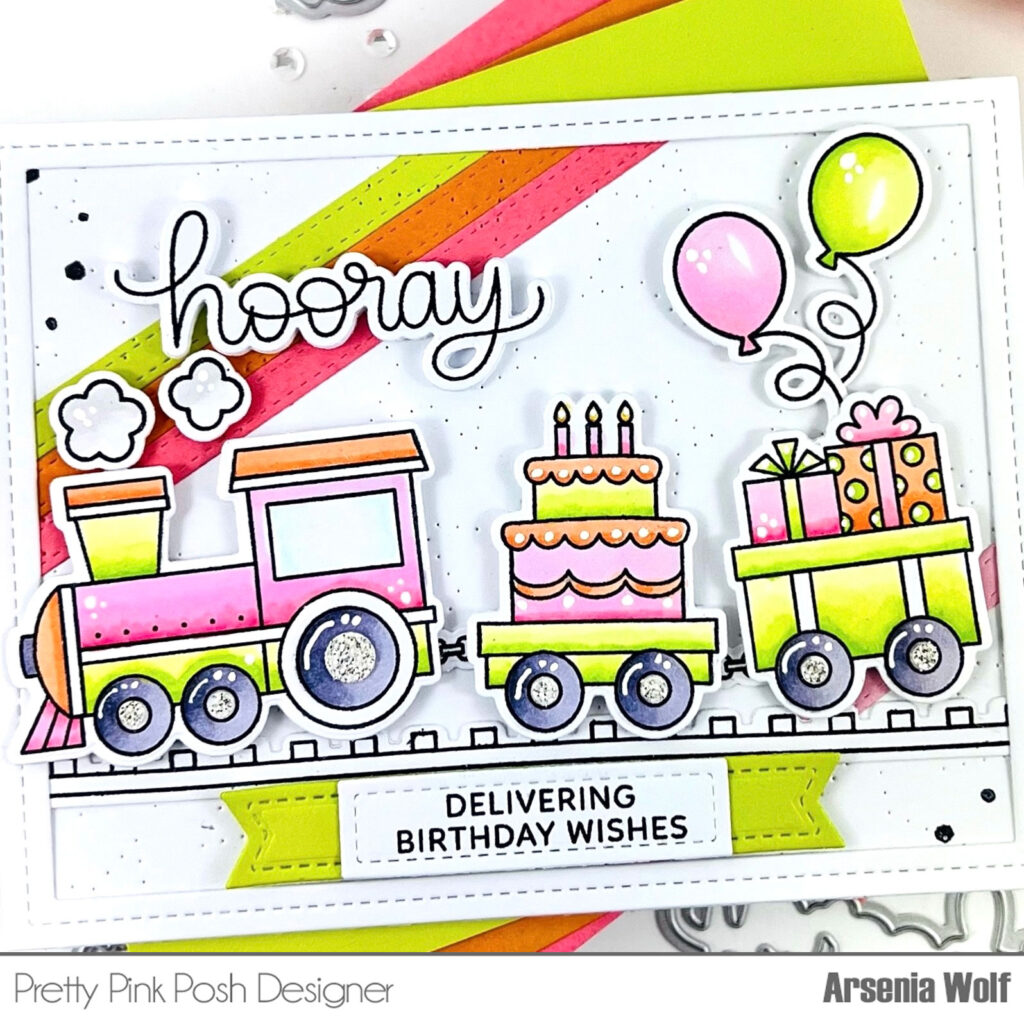
To finish card, I stamped one of the sentiments from the Birthday Train stamp set and adhered the sentiment to some layered Sentiment Strips Dies! I added a few extra balloons from a fun birthday set from last year’s release called Wish stamp set with coordinating dies. My last step was to add some white gel pen highlights and I absolutely love how this card turned out.
Friends the release is amazing, it’s chock full of Birthday goodness! Lots of fun stuff, stay tuned for more sneak peeks, blog hops, and Instagram Hops all in celebration of Pretty Pink Posh 10th birthday. I’m so grateful to be a part of this amazing celebration! Pretty Pink Posh has superb, fun, timeless products! Happy Birthday Pretty Pink Posh and many more to come!!!

