Day 1: March Blog Hop + New Release Now Available
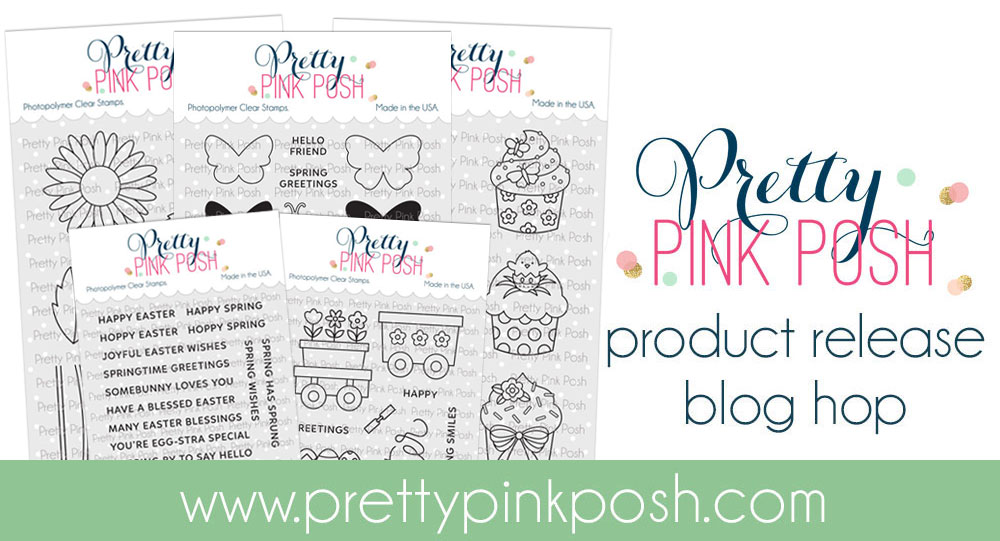
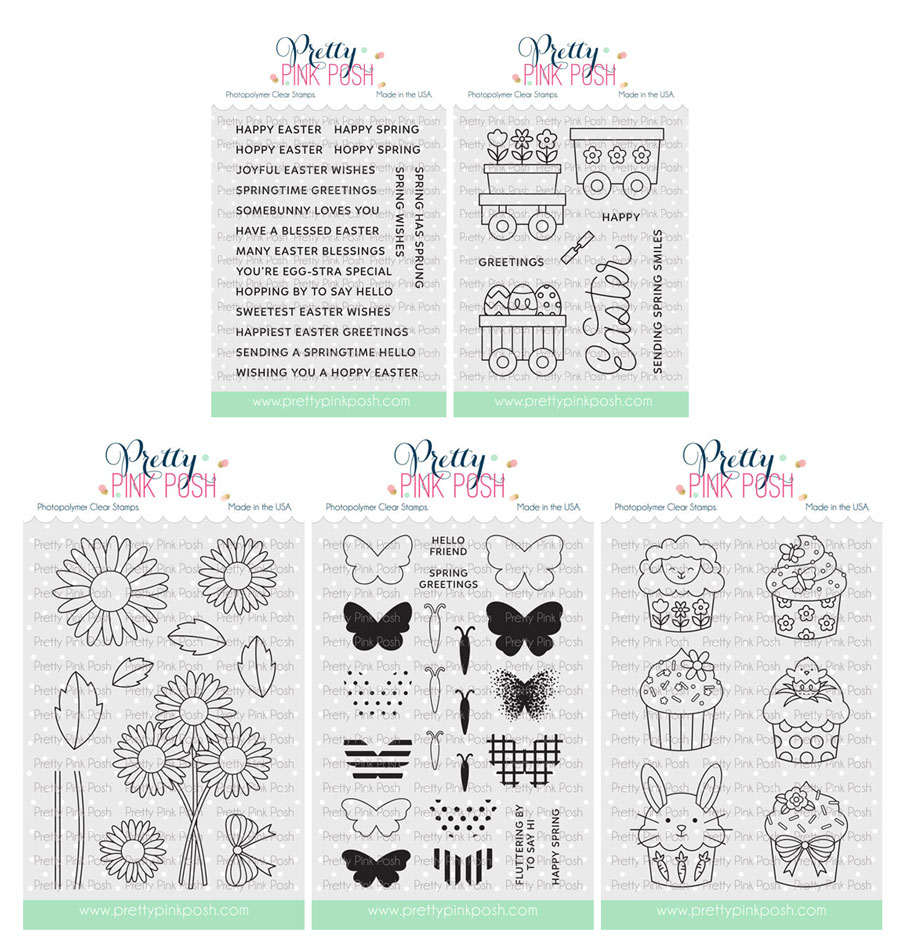
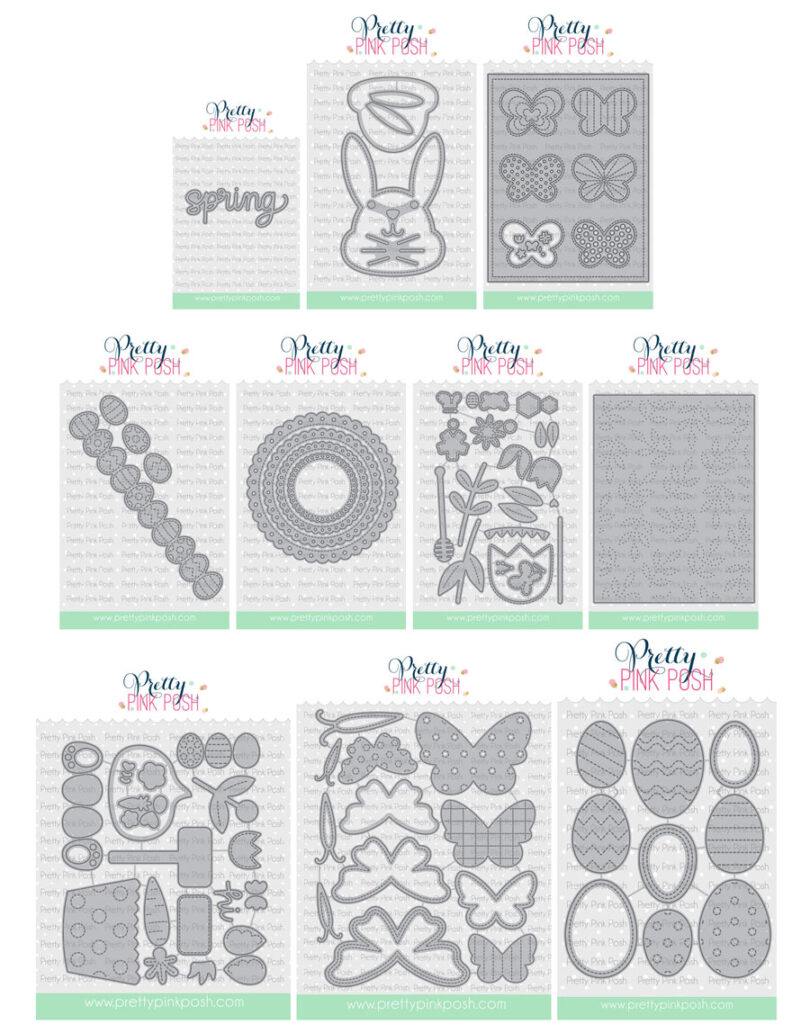
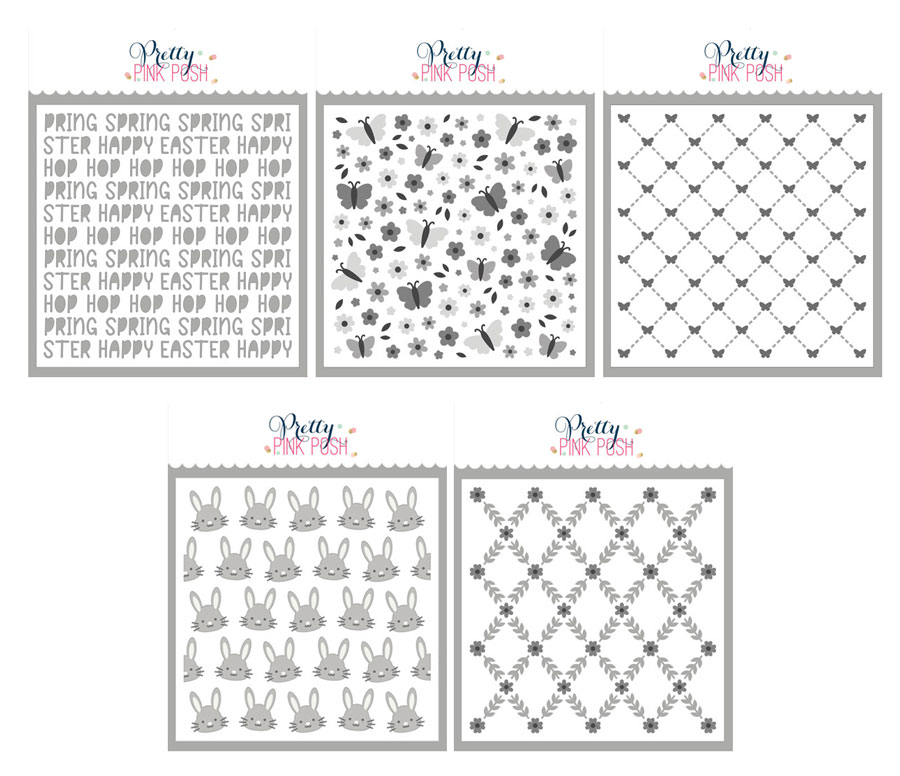
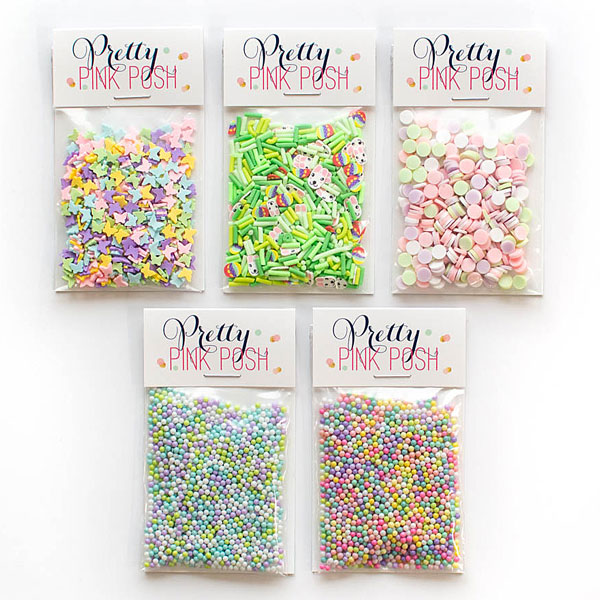
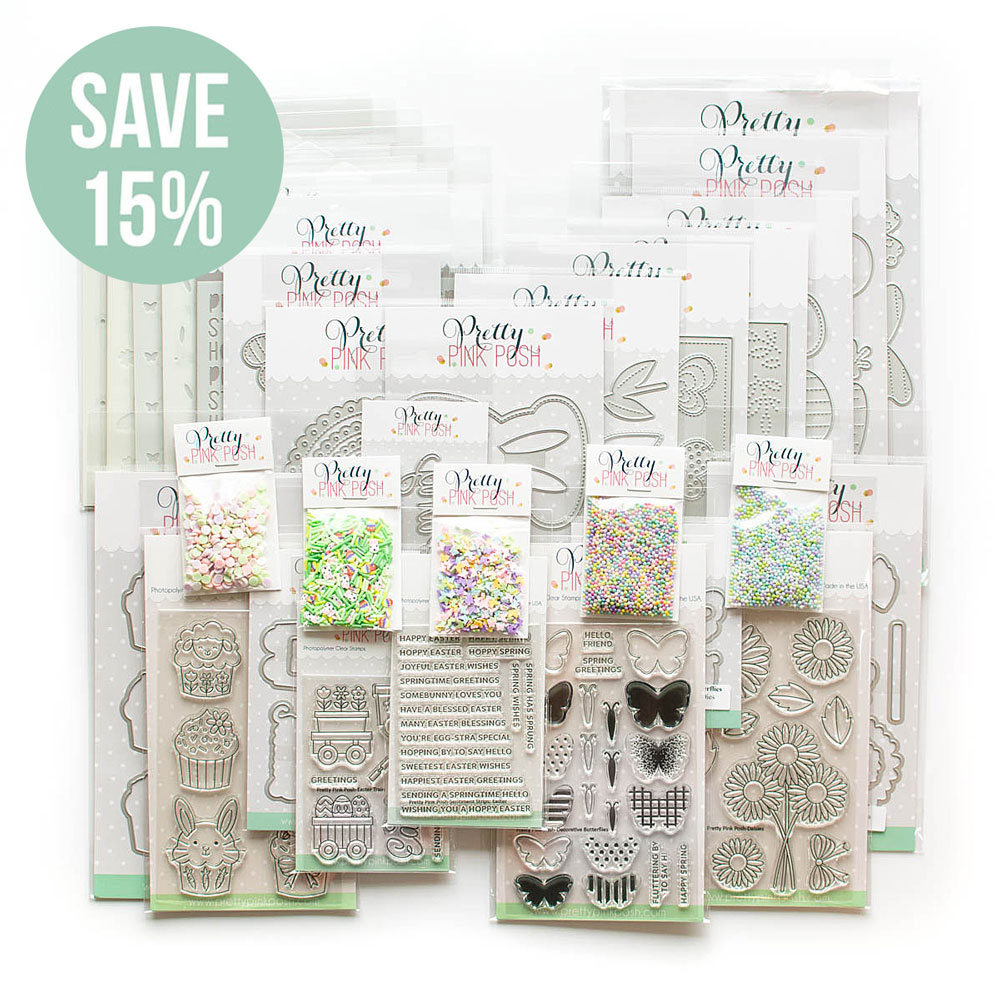
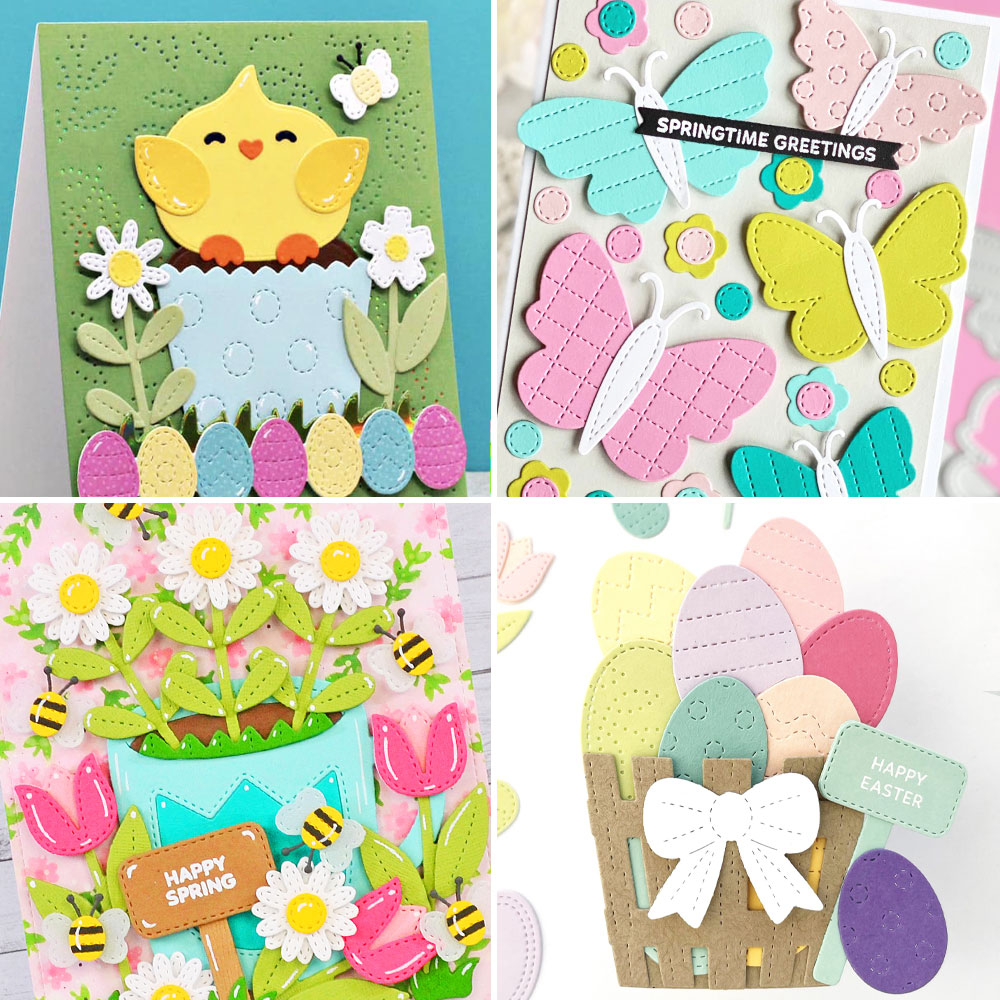
The March 2024 Release is now available in the Pretty Pink Posh Shop and select retailers that carry our products. If you missed our post yesterday, we revealed all of the products in picture form, but if you would like to see them in a video, Mindy has that for you today!
Watch the video above I Watch the video in HD on YouTube
Hi crafty friends! It’s Dana here today and I am back with a fun Springtime card to share with you all.
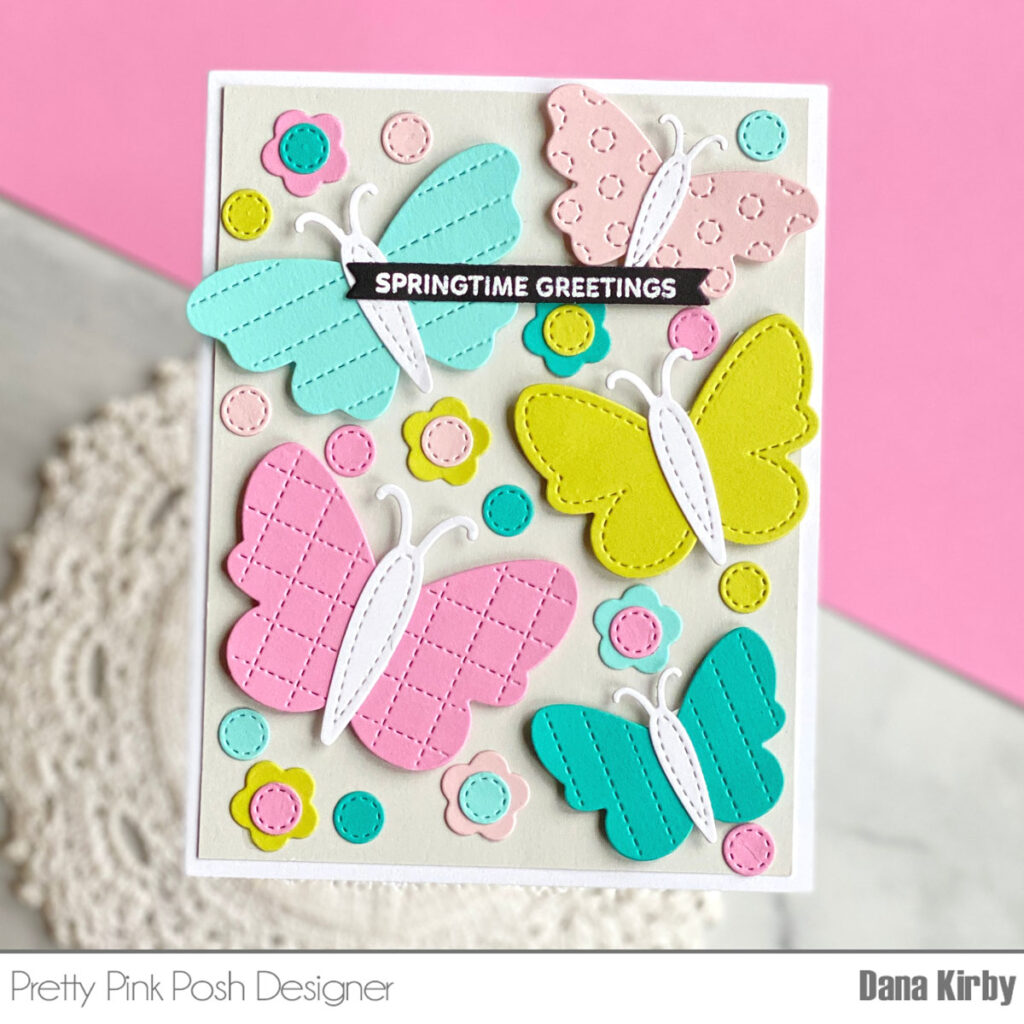
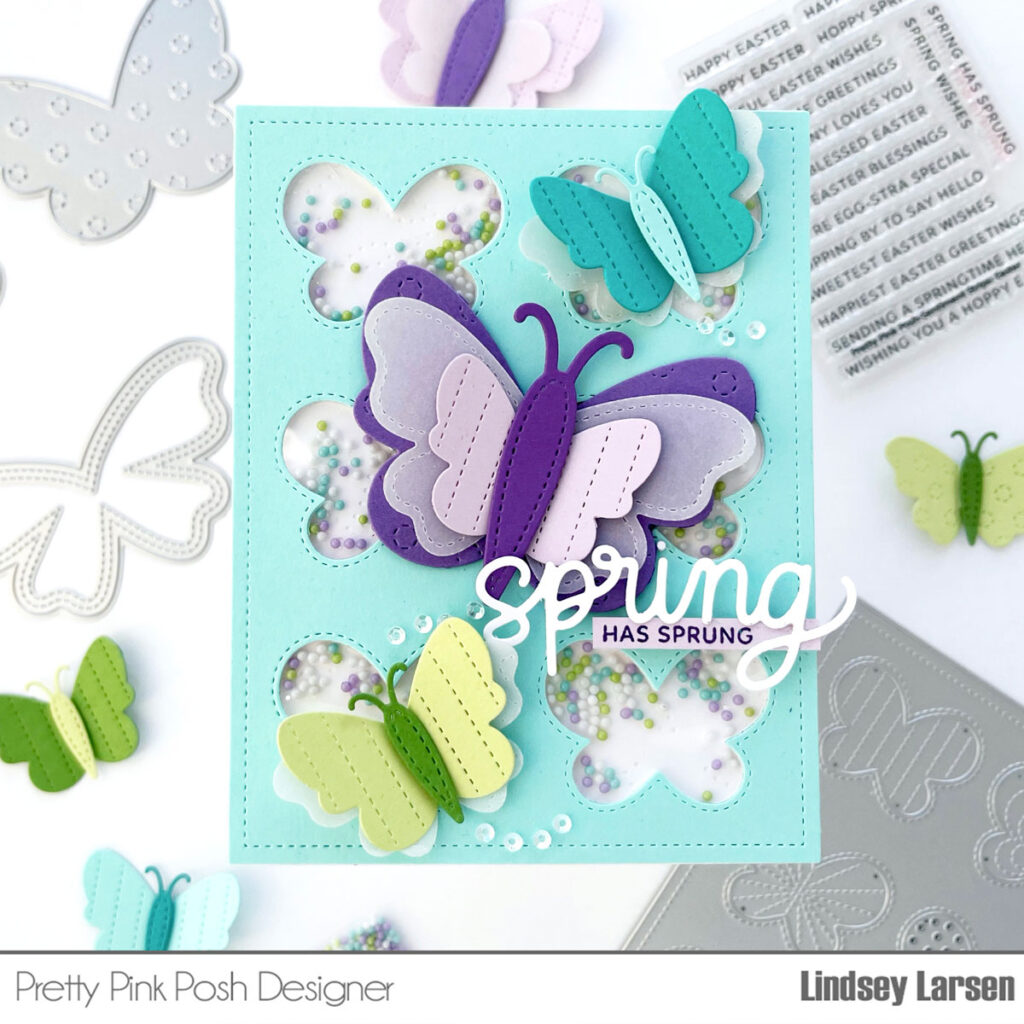
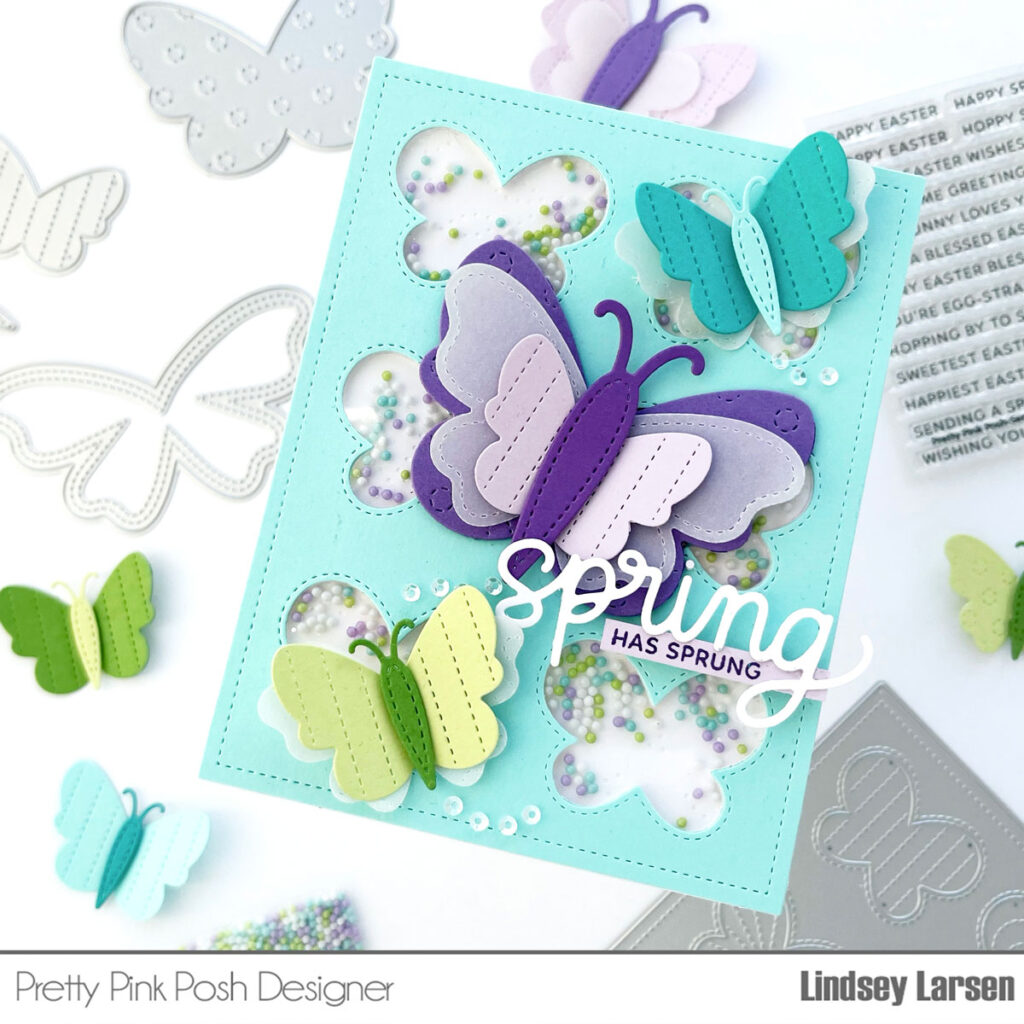
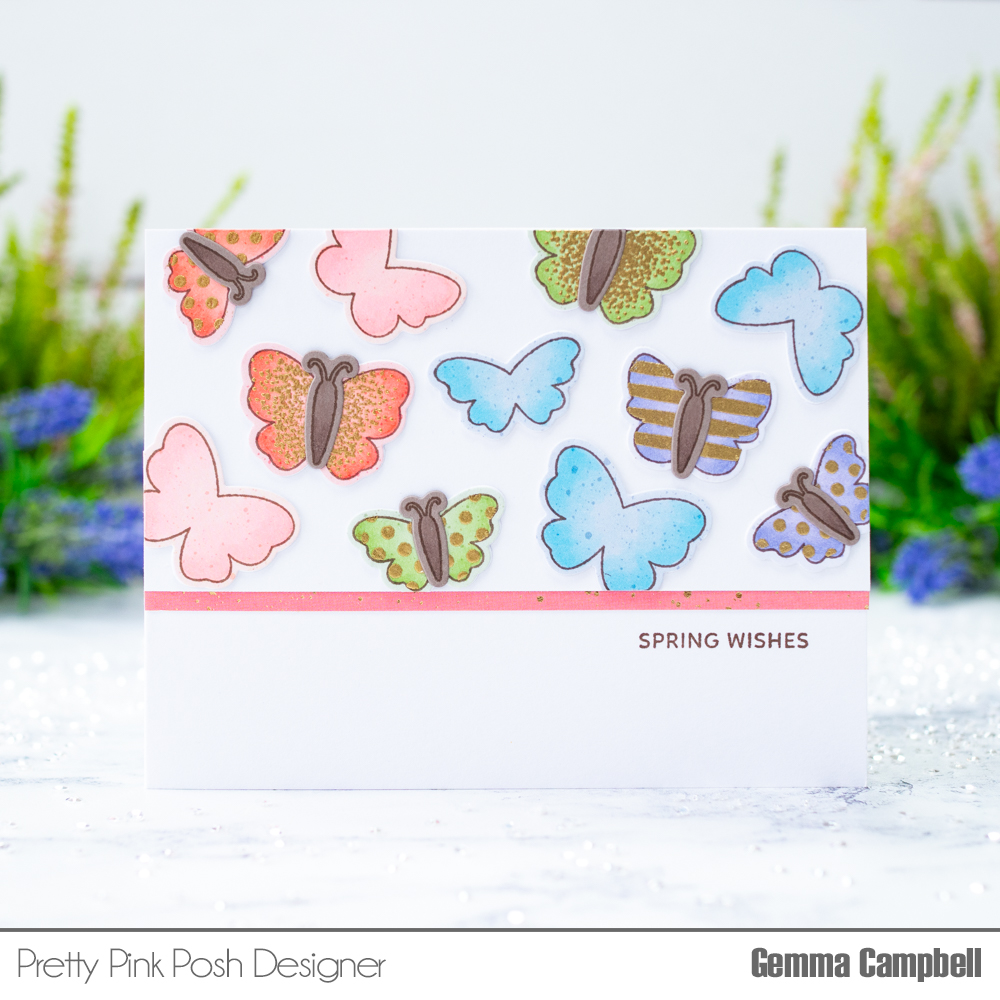
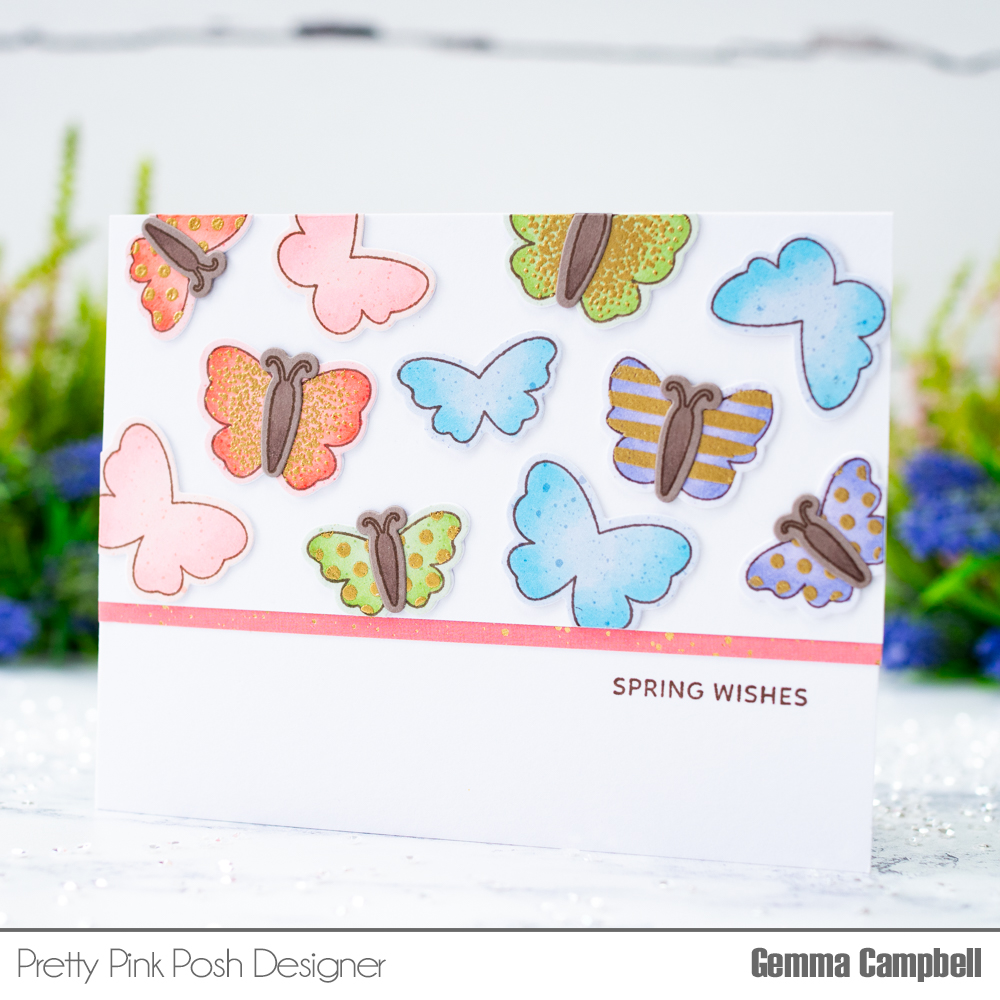
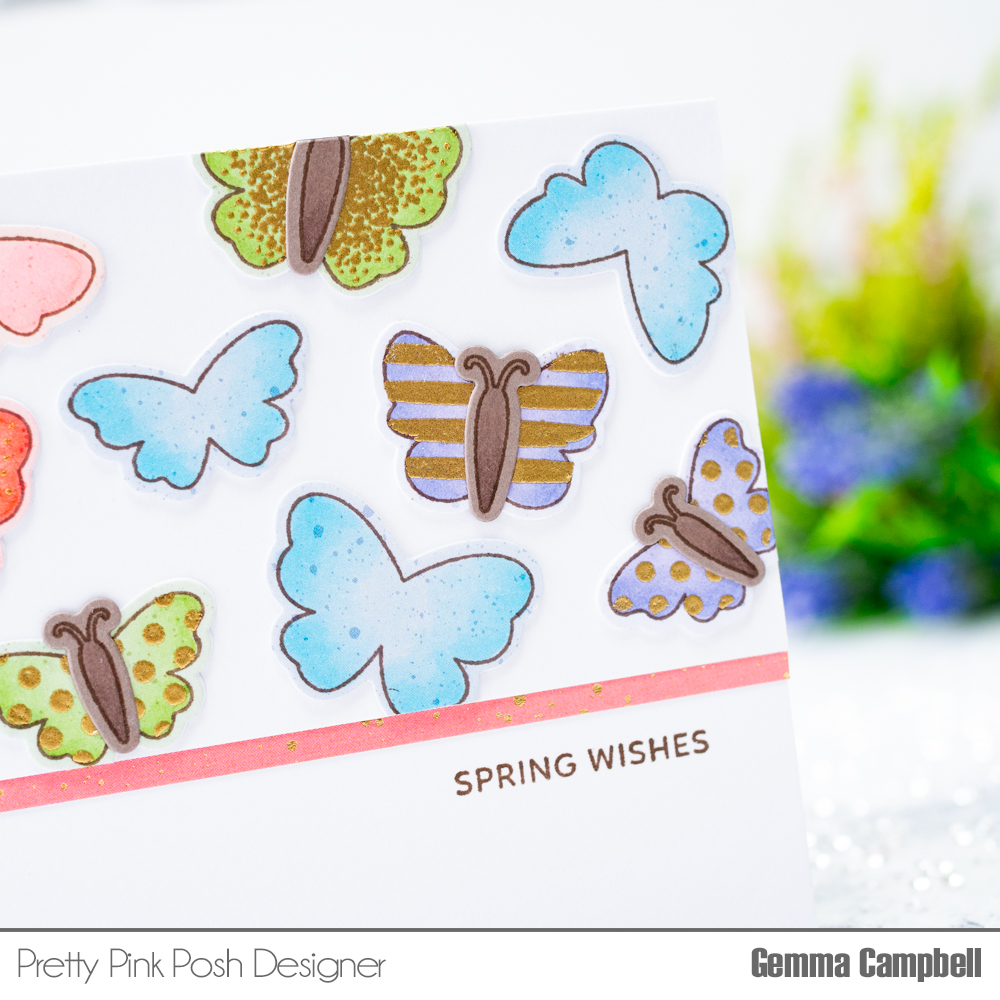
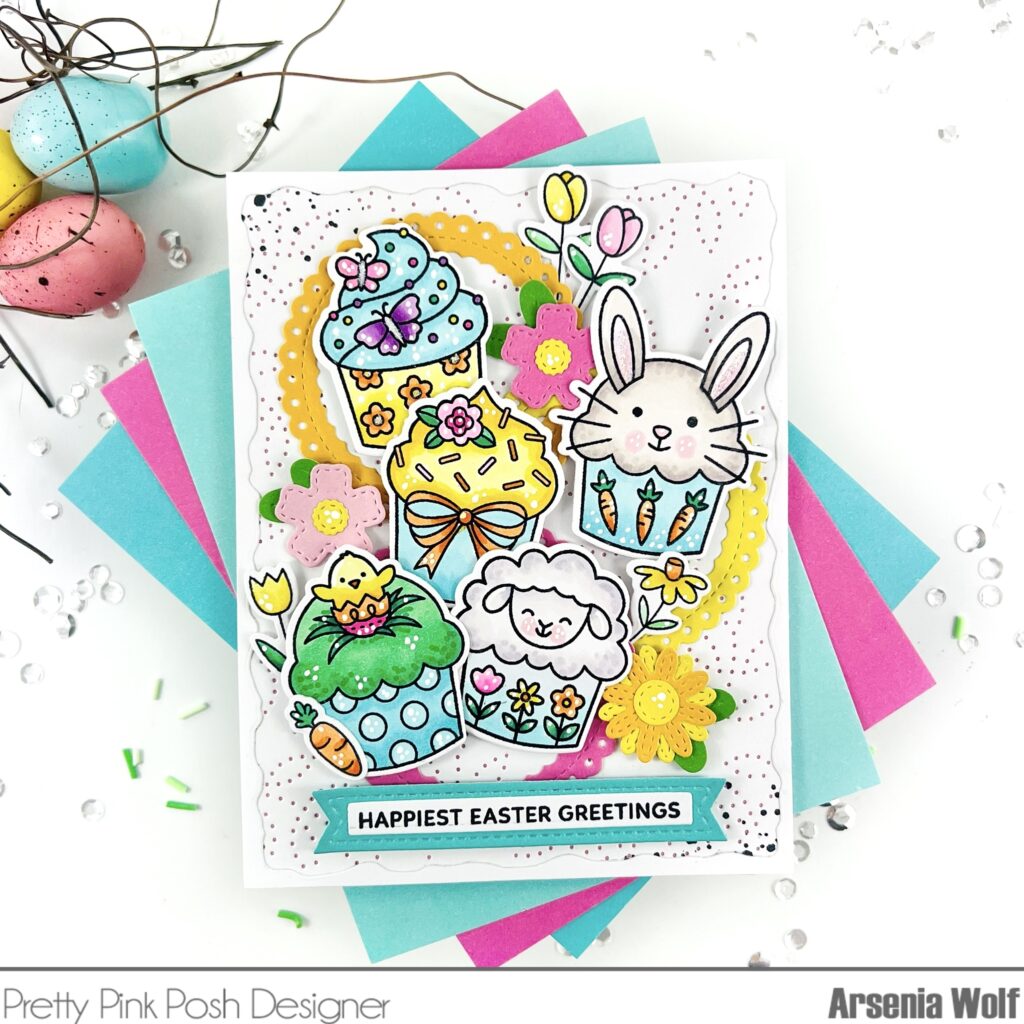
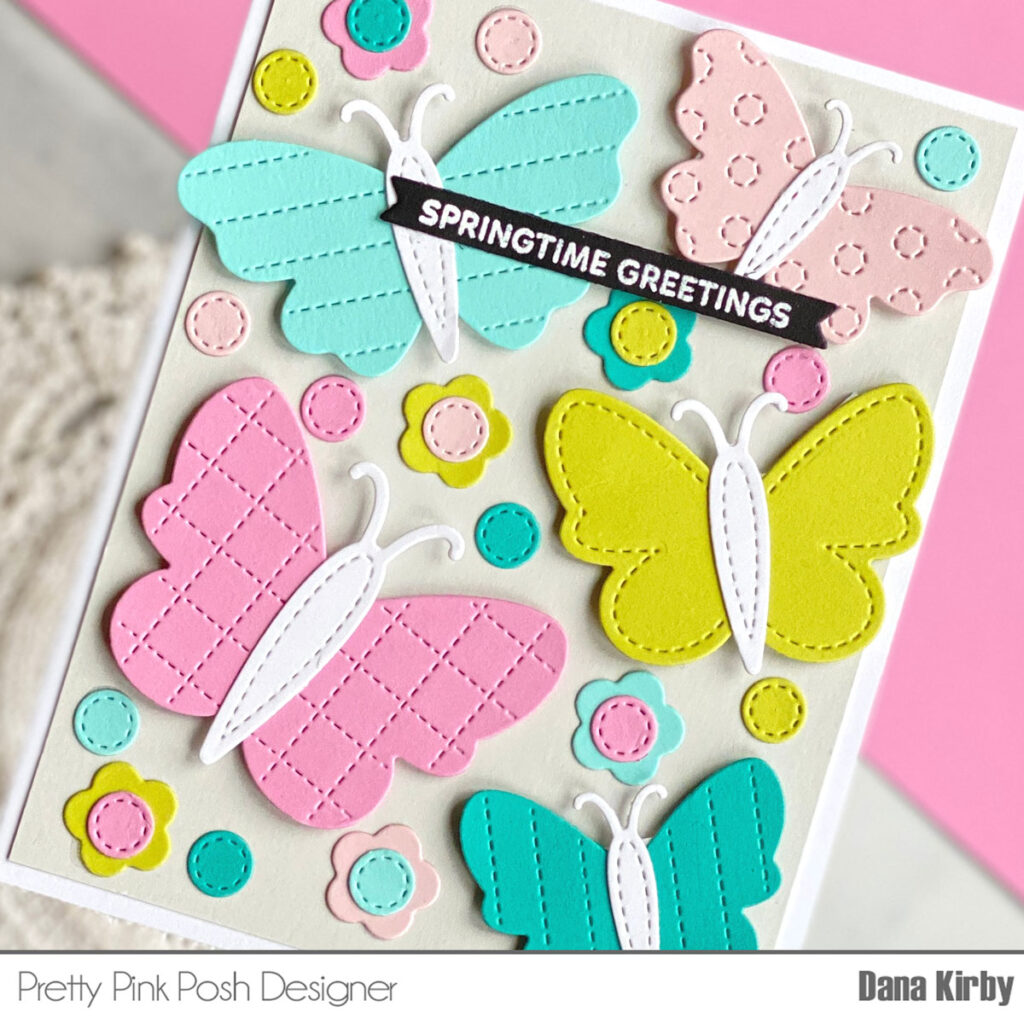
I started my card by die cutting my butterflies with the Stitched Butterflies die set. I attached the butterflies to a soft gray card panel with foam adhesive. Next, I used the Spring Mug Additions die set to die cut my small stitched circles and the Big Easter Cupcake die set to die cut the small flowers (which actually can be used as a bunny tail). I then attached the small flowers and stitched dots to fill in my panel in a random pattern.
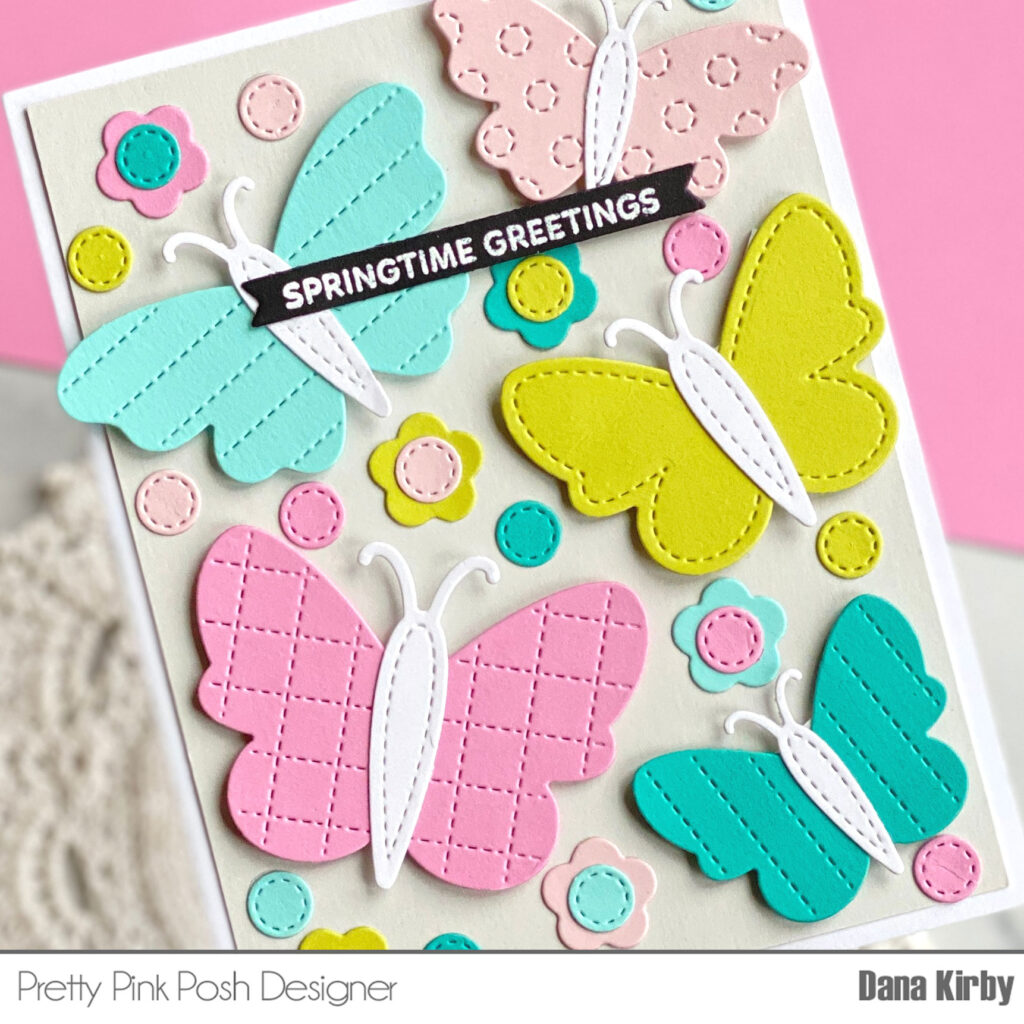
Lastly, I used the Sentiment Strips: Easter stamp set to stamp my sentiment. Although I made a springtime/Easter card I think this same design will work great for a birthday card or even to welcome a new baby. The color combinations are endless! I hope I inspired you to create a similar card of your own.
PRIZES: be sure to leave comments on each stop. We are giving away 3 $30 gift certificates to three random comments (1 winner each day) left before March 13, 2024 at 11:59 PM PST. I’ll be announcing the winners next week, so be sure to return and see if you are one of the winners.
Pretty Pink Posh blog << you are here
Nichol Spohr
Amy Rysavy
Marine Simon
Barbara Tarayao
Lindsey Larsen
Kristie Marcotte
Lea Lawson
Carly Minner
Davina Cantrell
Be sure to leave comments on all the stops- we’ll be randomly picking comments to win gift certificates. Thanks for joining us!

