
Christmas Dinosaur Tags + Video
Hello friends. It’s Lisa Mears on the blog today and I’m popping in to share some Christmas tags that I made, along with a tutorial on how to make them.
Watch the video above I Watch the video in HD on YouTube
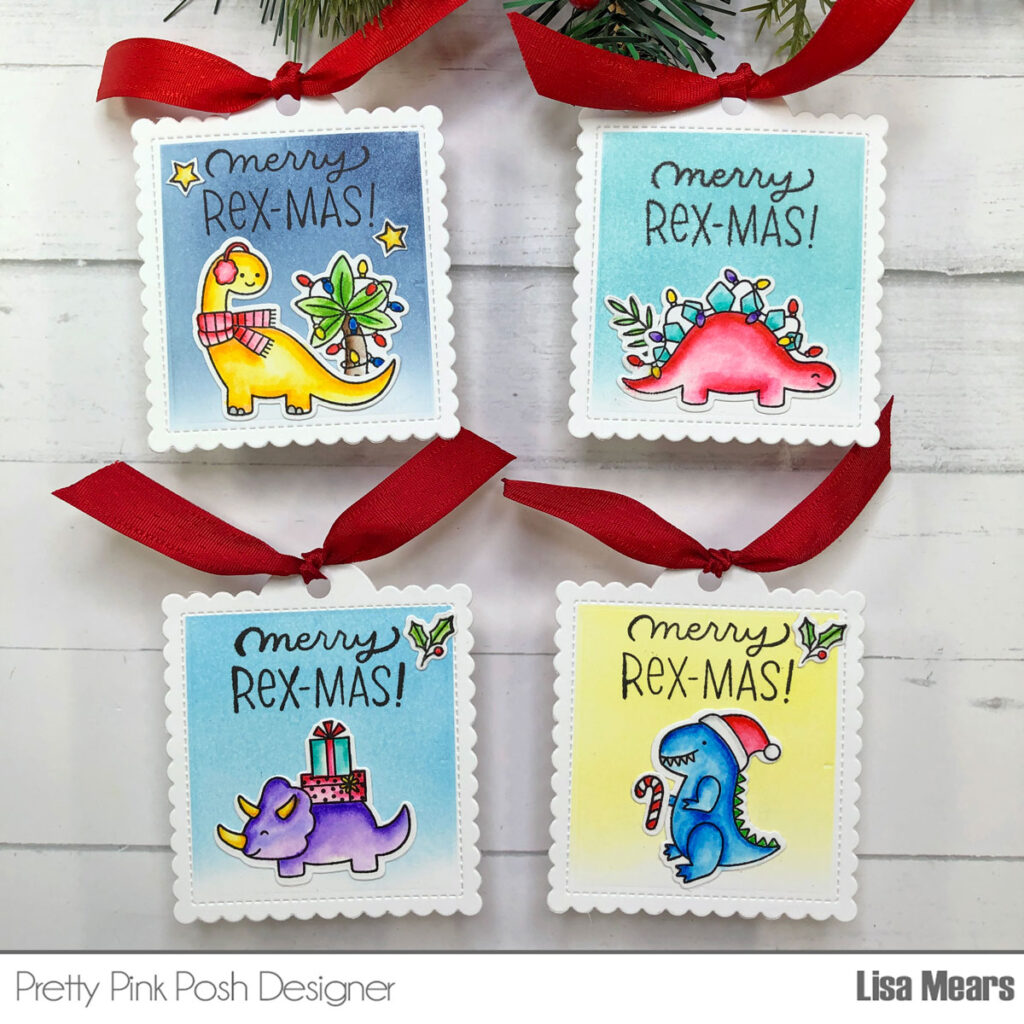
I used the largest die from the Scallop Square Tag dies for the base of my tags. I die cut the tag from white cardstock. I masked off the sides of the tags with Scrapbook.com Mint Tape and then inked a background inside the square. I added ink to the top of the tag to resemble the sky, but I did not ink the bottom of the tag. Instead, I left the bottom of the tag white so that it would resemble snow.
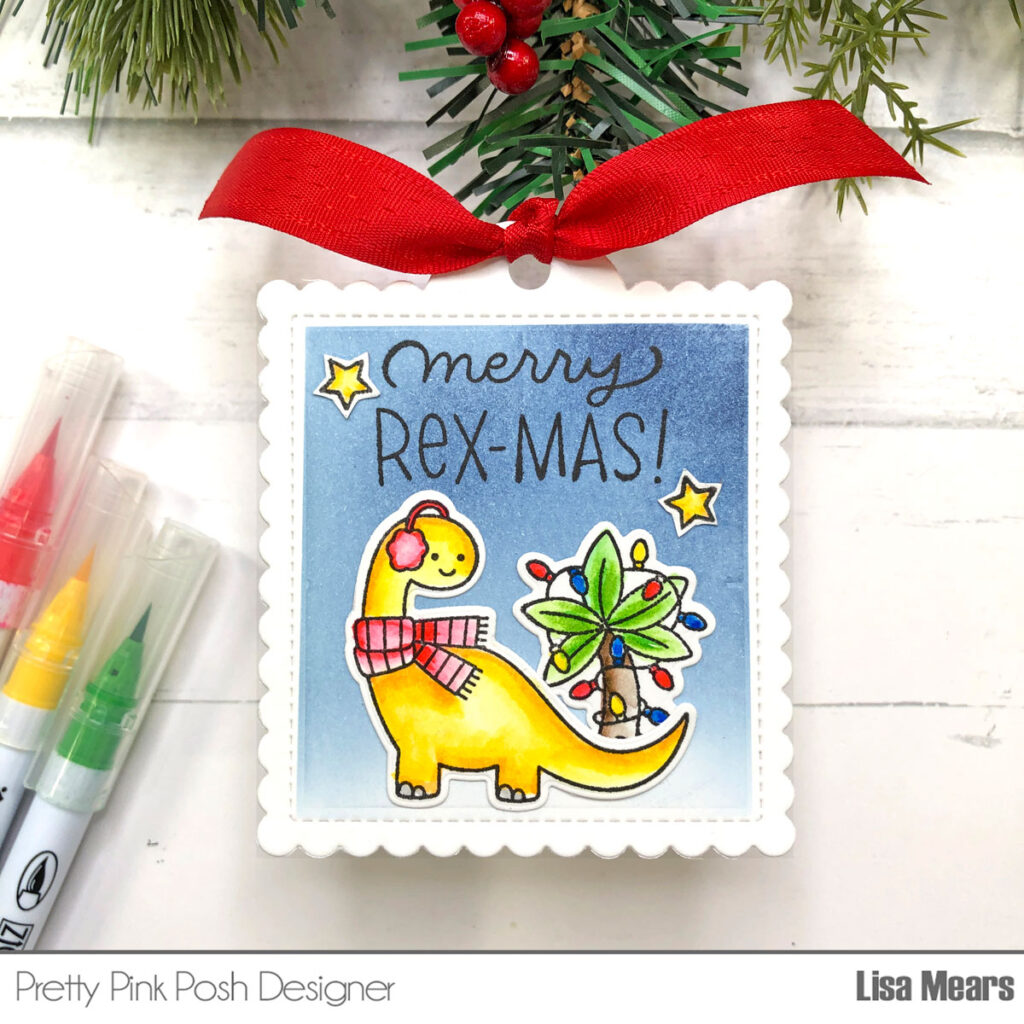
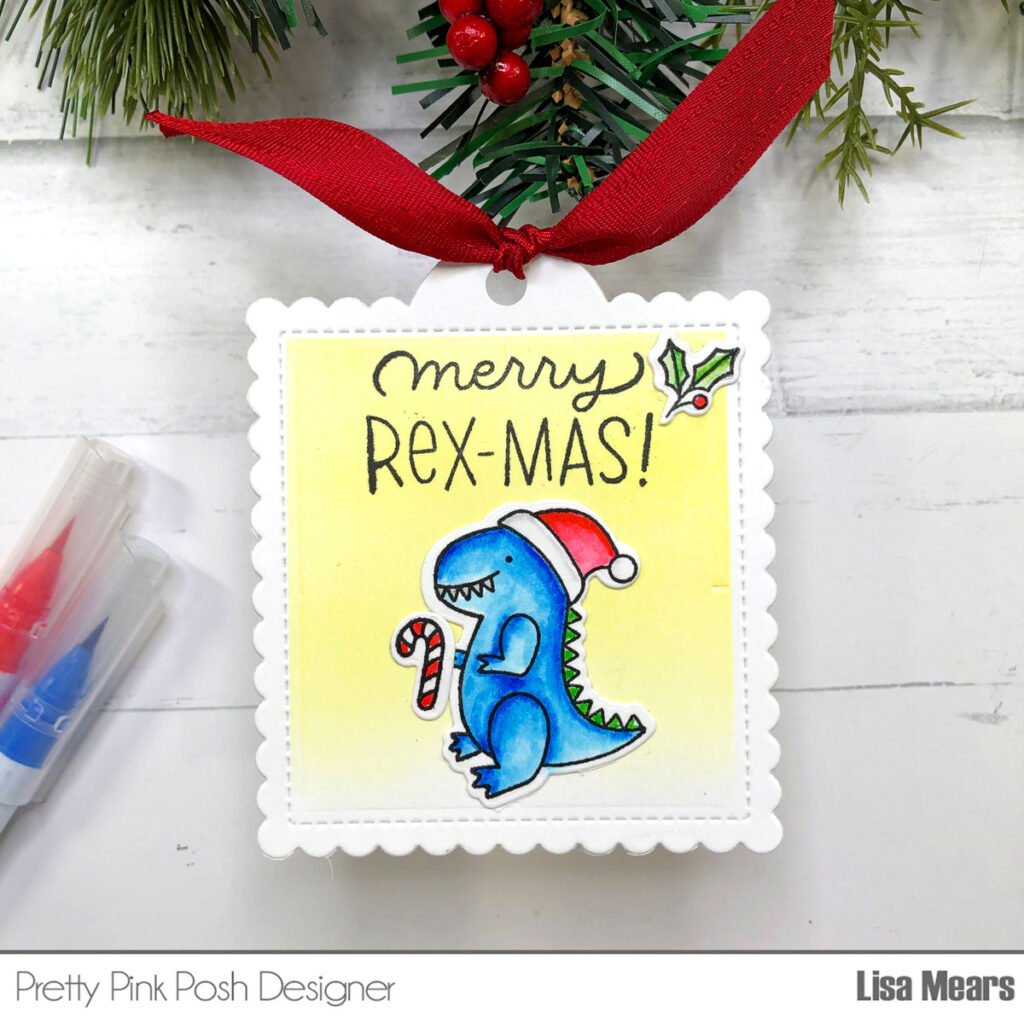
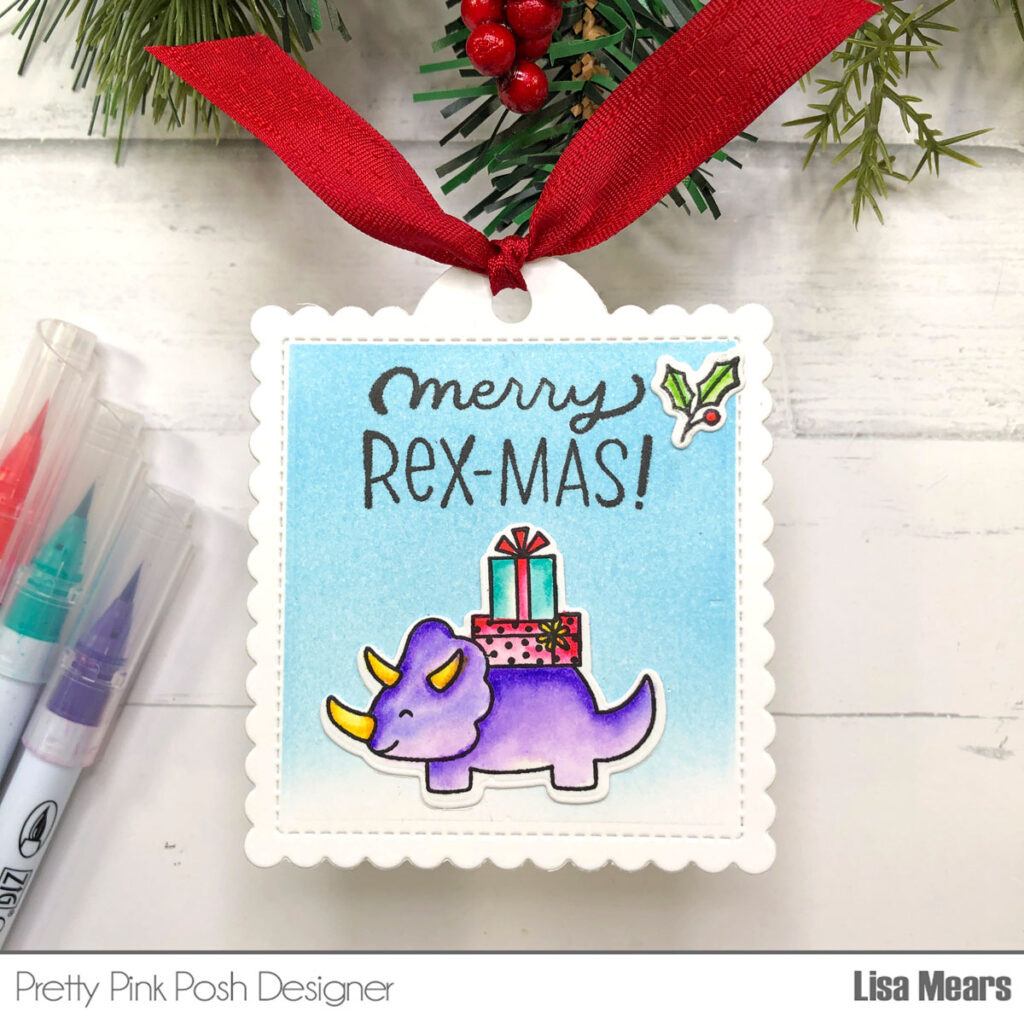
For the images of my tags, I used the Christmas Dinosaurs stamp set. I stamped the images onto Bristol Smooth Cardstock and colored them with Zig Clean Color Real Brush pens in the following colors: Bright Yellow, Yellow, May Green, Light Green, Mid Brown, Turquoise Green, Carmine Red, Red, Violet, English Lavender, Persian Blue, Light Gray and the Blender.
After coloring the stamps, I die cut them with the coordinating dies. Next, I arranged the stamps onto the tags and stamped the sentiment. I punched a hole in the top of the tags and added a red bow.
Thank you for stopping by today. Have a great day!
Lisa Mears
These are a hoot! TFS –
Lori S in PA
Just when you thought that the Dino’s couldn’t get any cuter 😍