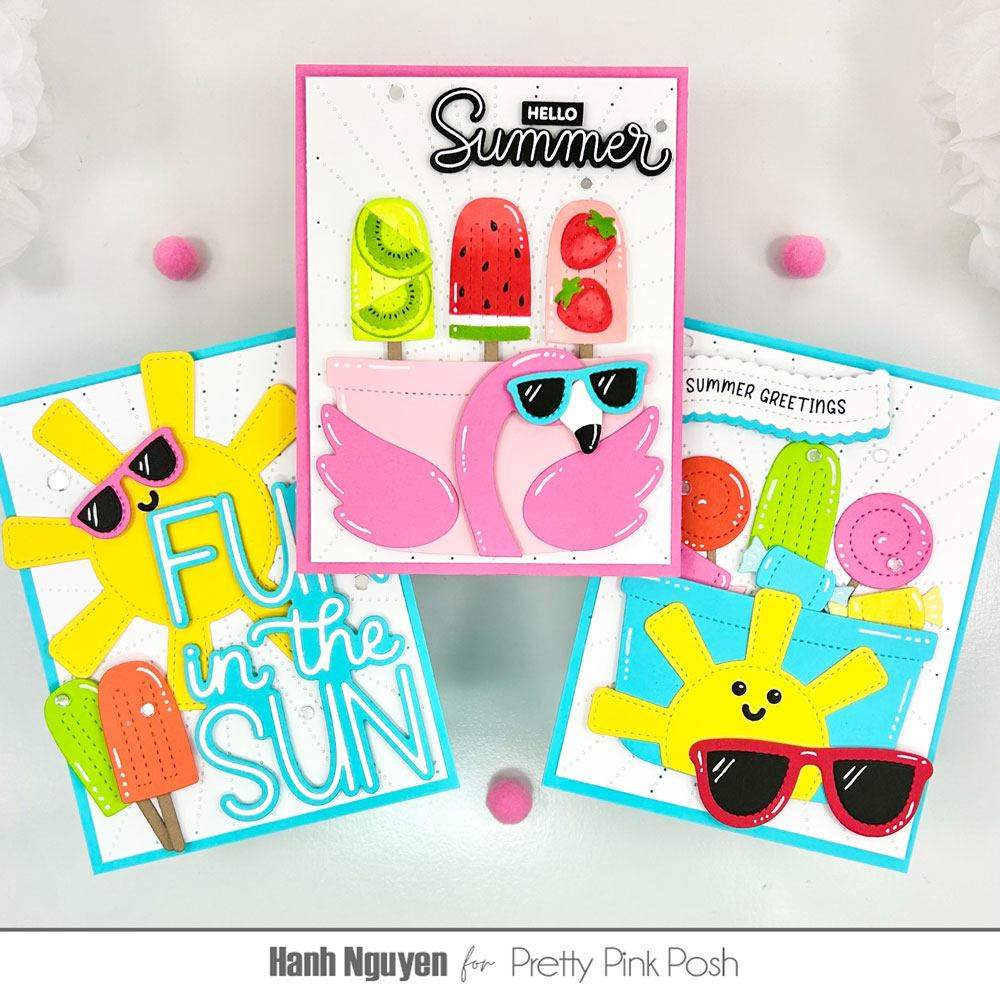
June Release Now Available
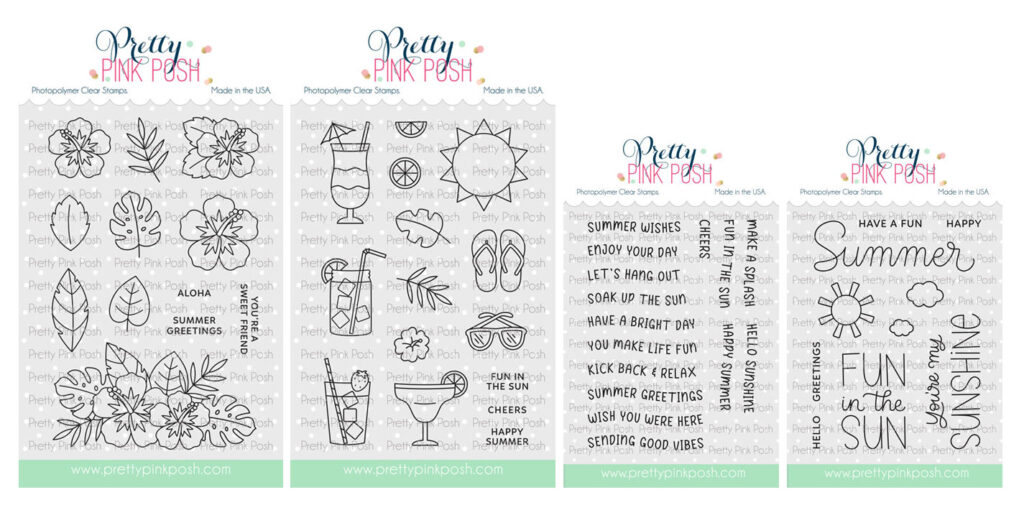
Hi friends! The June 2026 Release is now available in the Pretty Pink Posh Shop and select retailers that carry our products. If you missed our post yesterday, we revealed all of the products in picture form, but if you would like to see them in a video, Mindy has that for you today!
Watch the video above I Watch the video in HD on YouTube
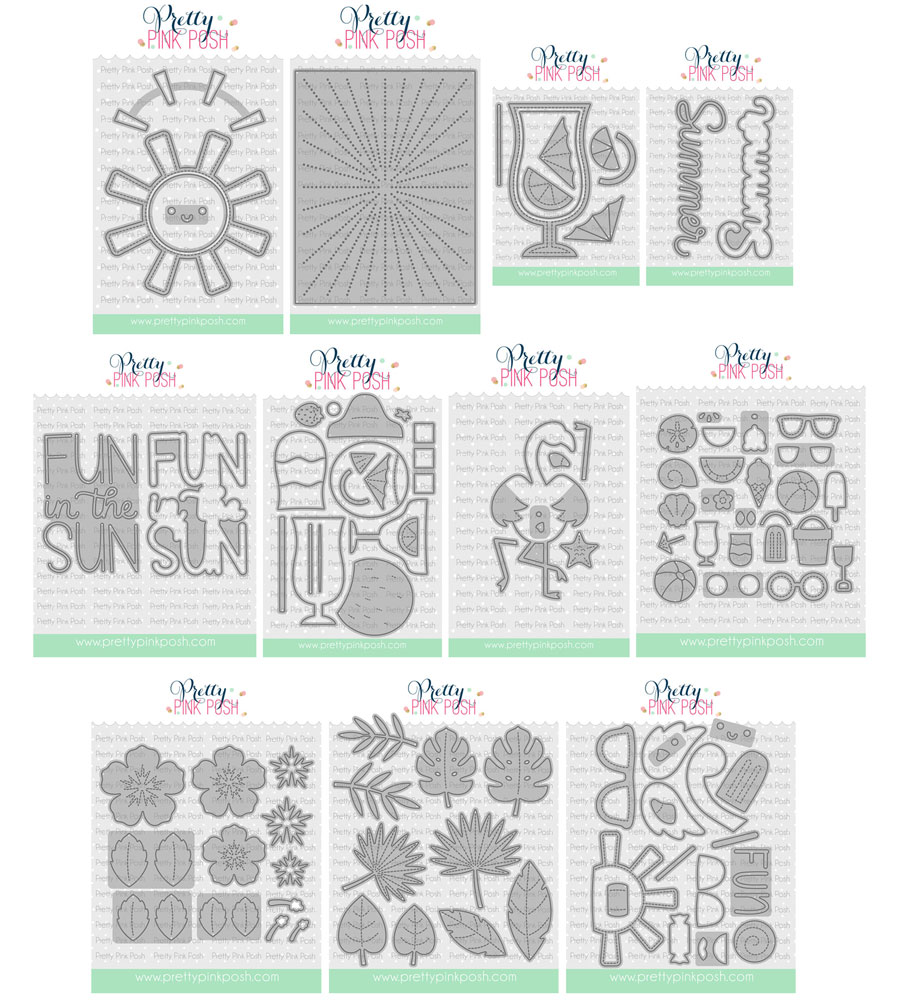
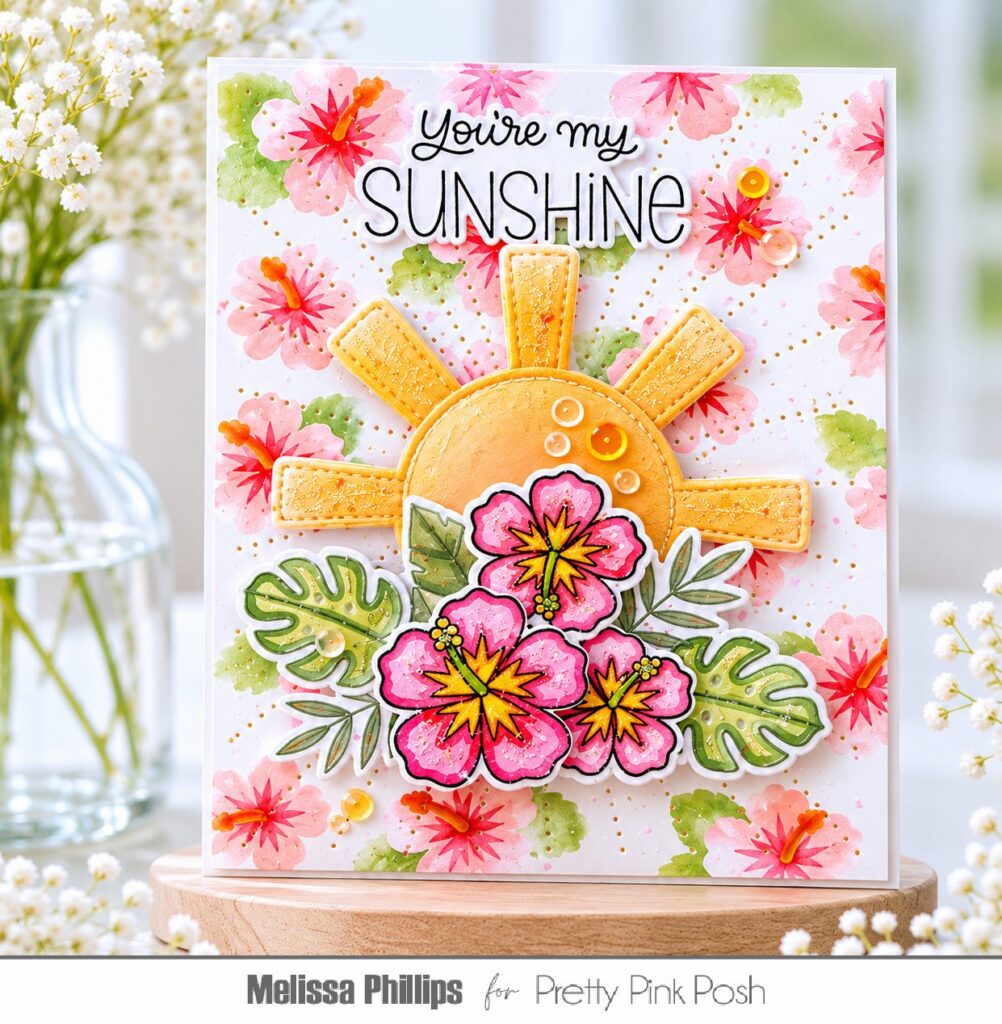
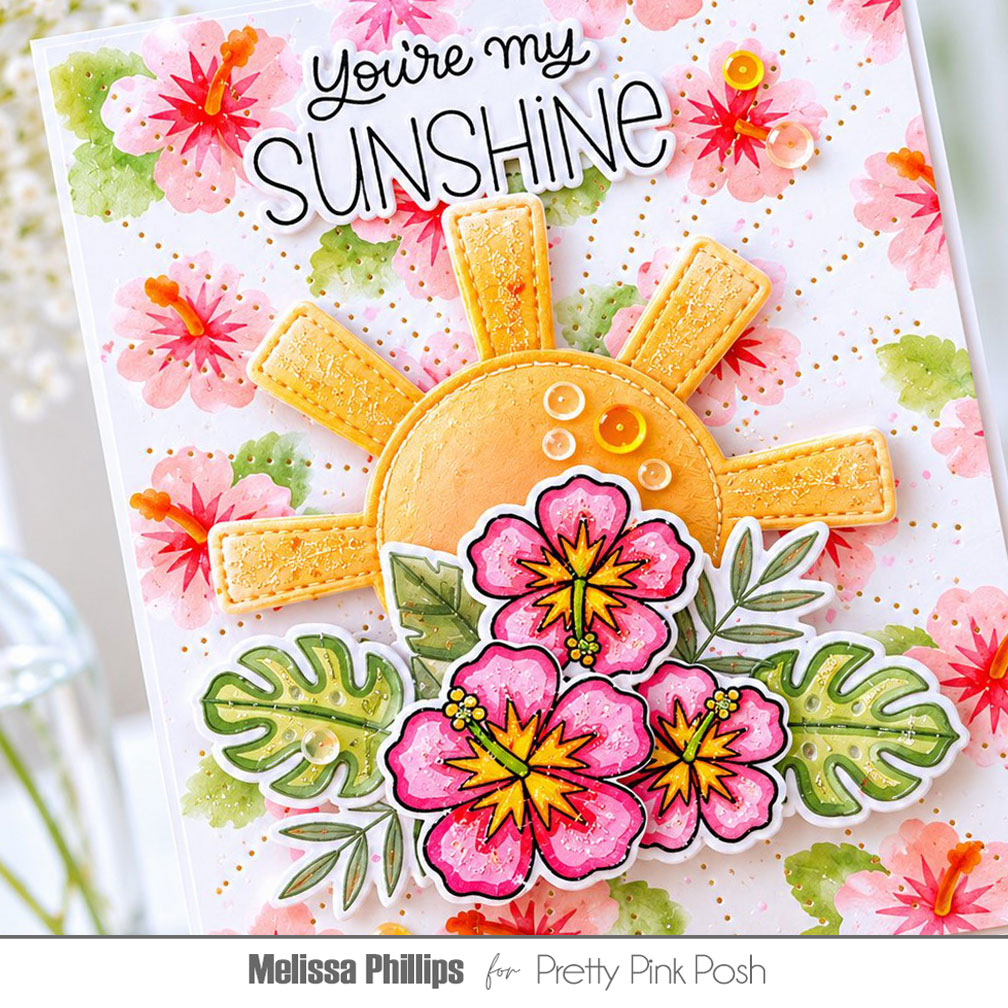
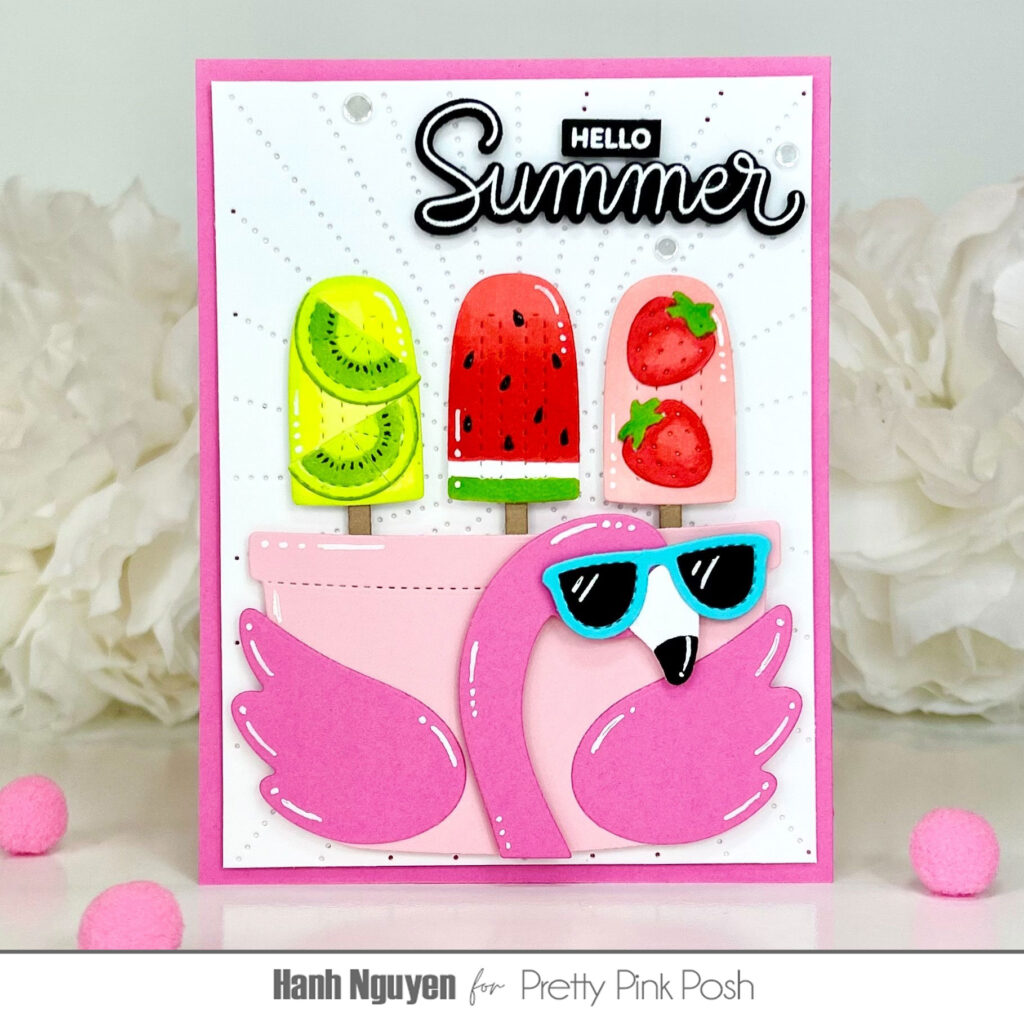
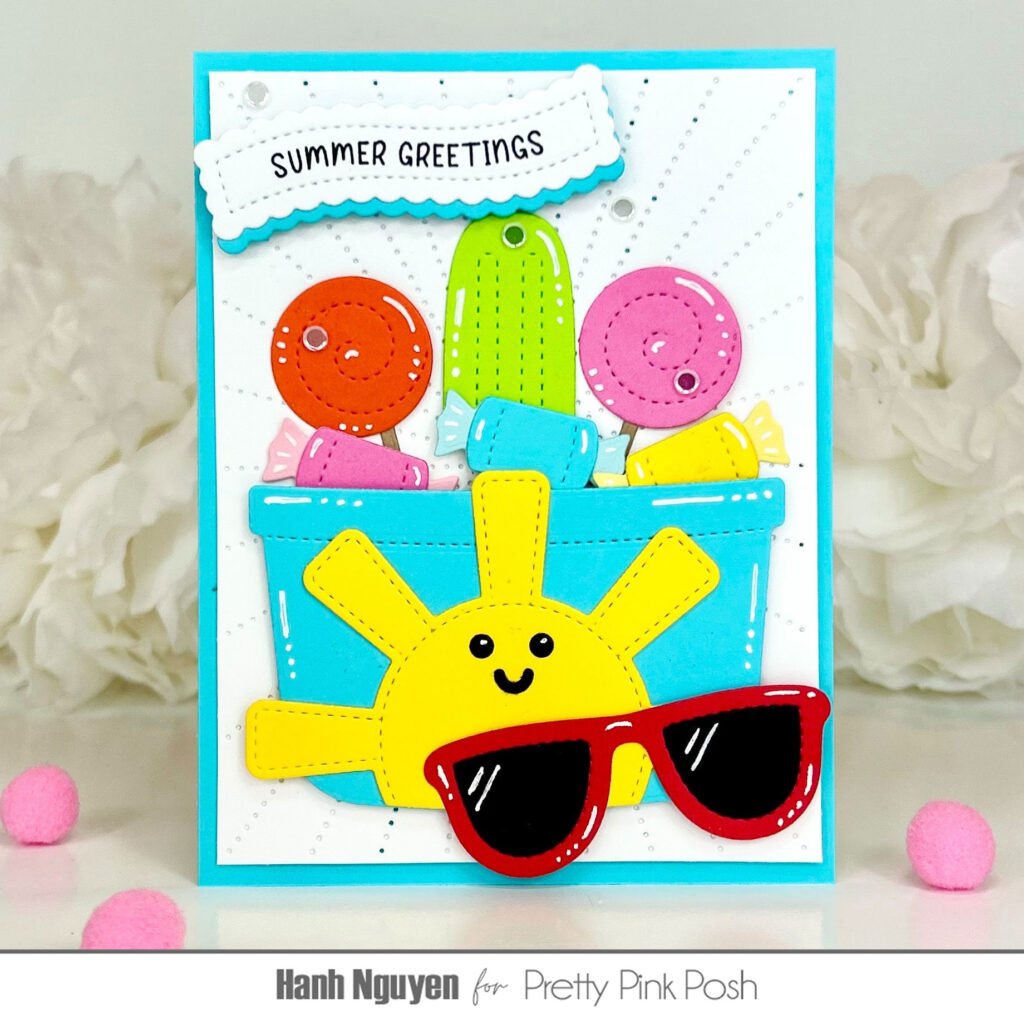
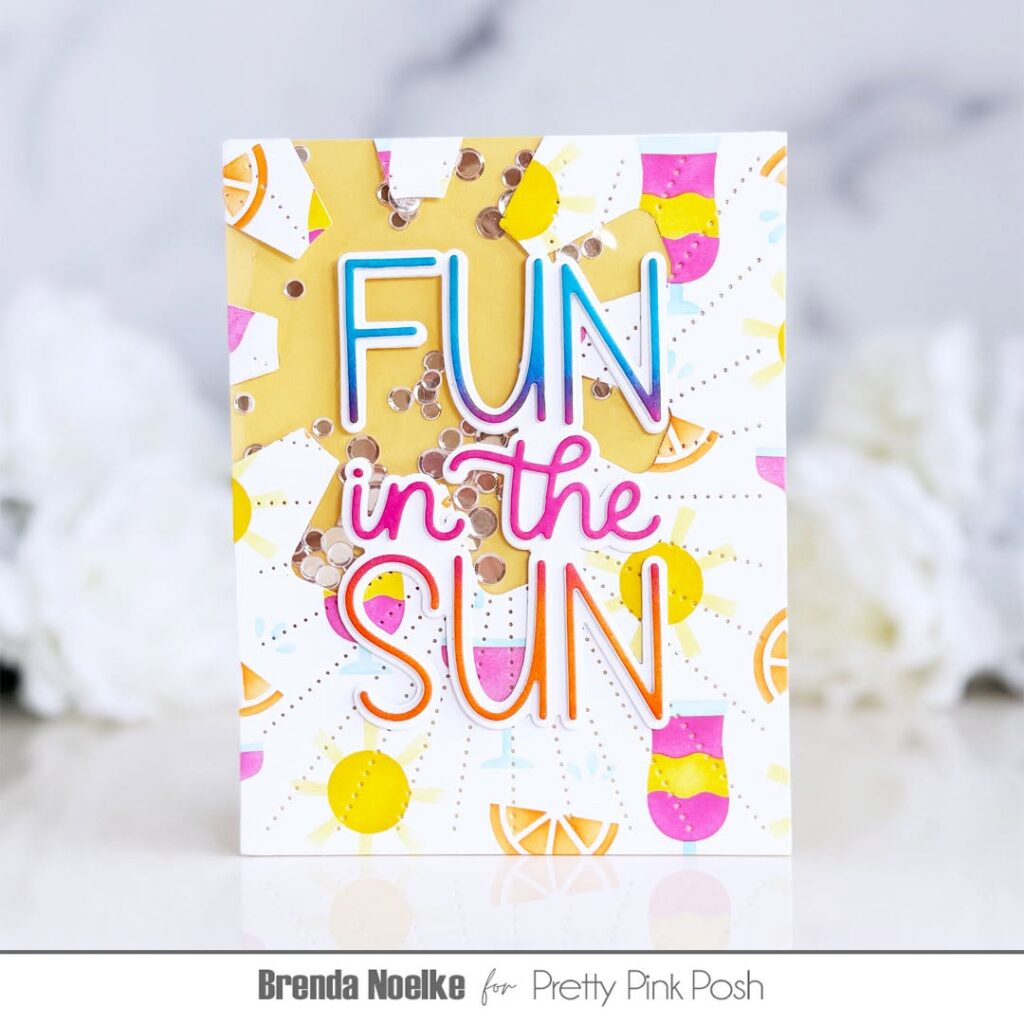
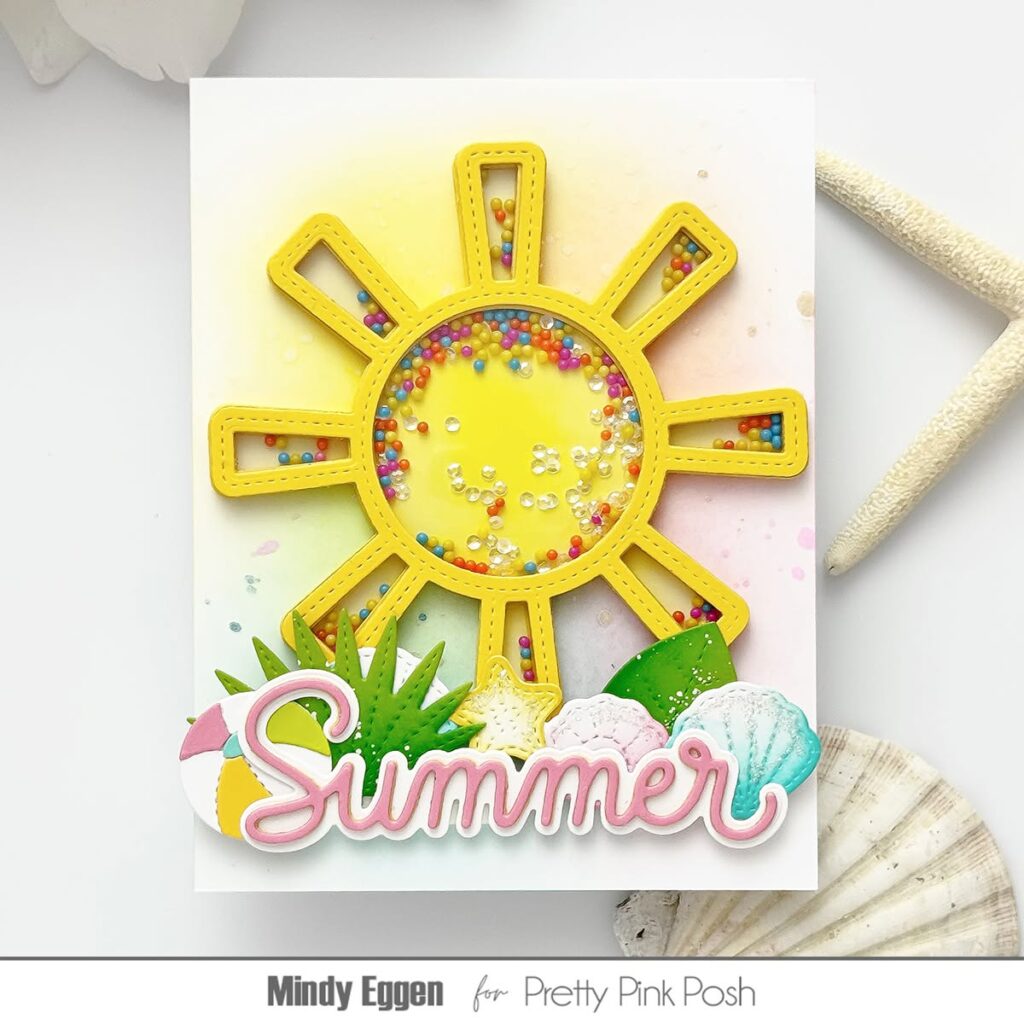
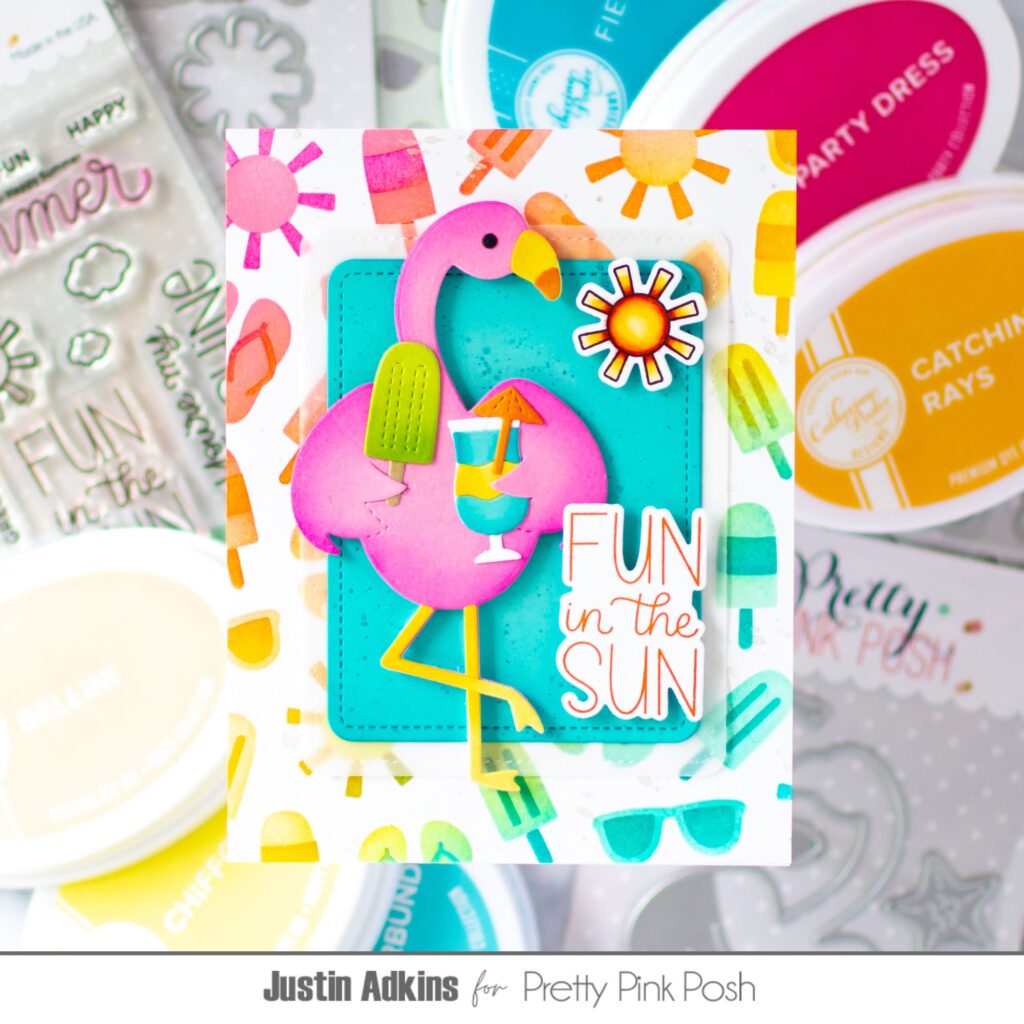
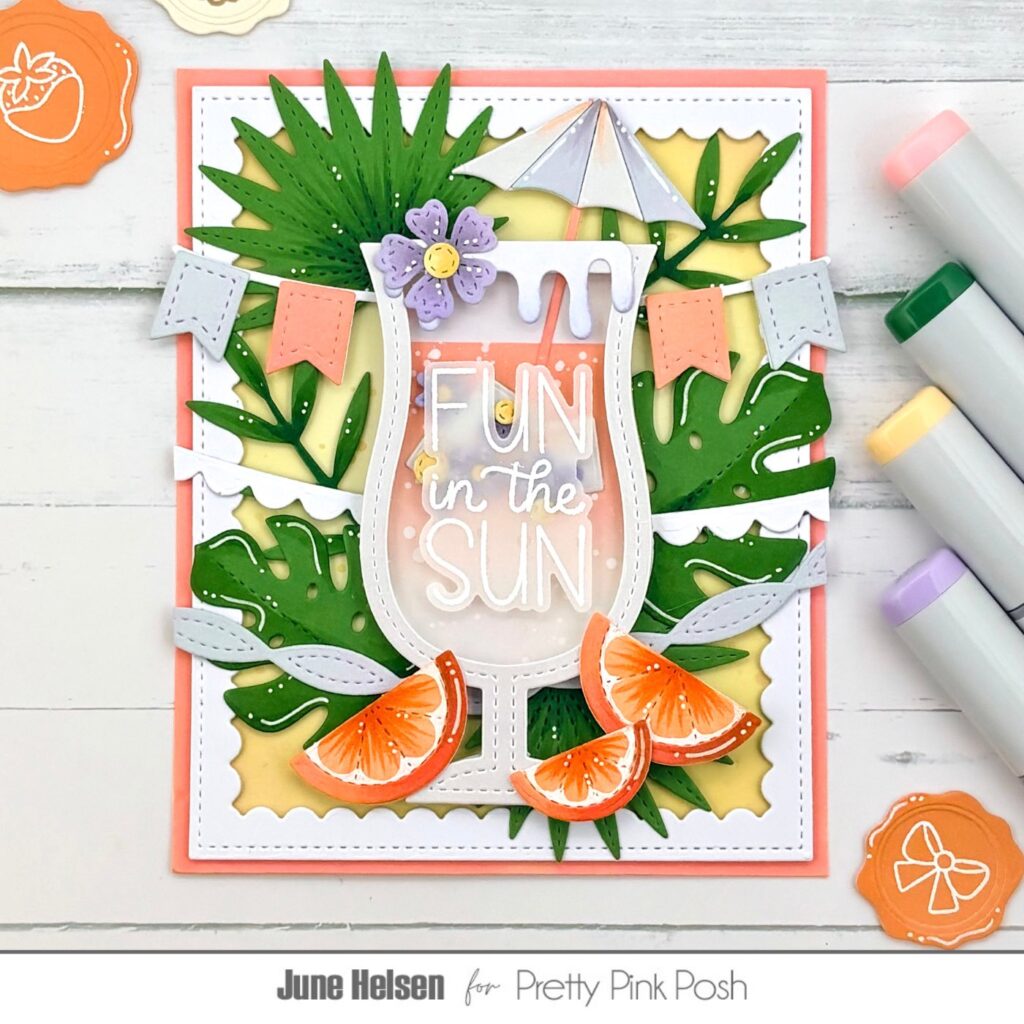
Hello crafty friends, June here! Today I’m sharing my favourite card I made using supplies from the new June release. The Sun Shaker was a die that instantly stood out to me, so I had to create a card where it was the main focus! Let’s get started!

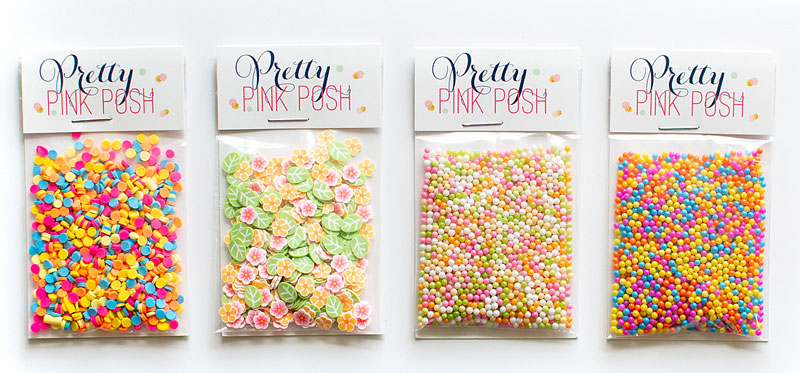
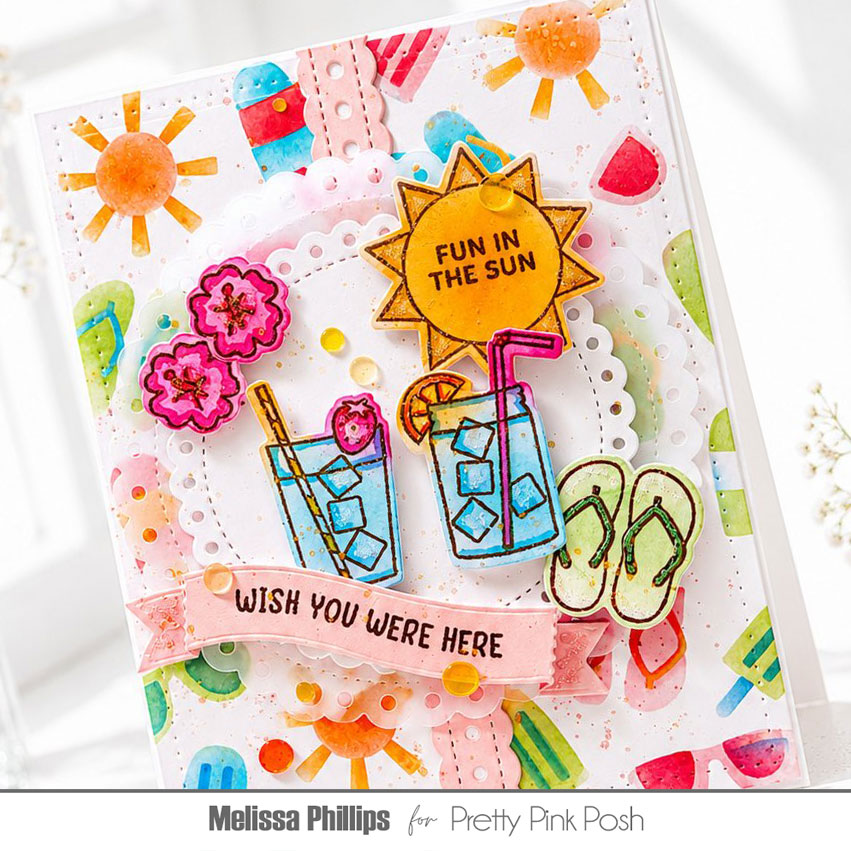
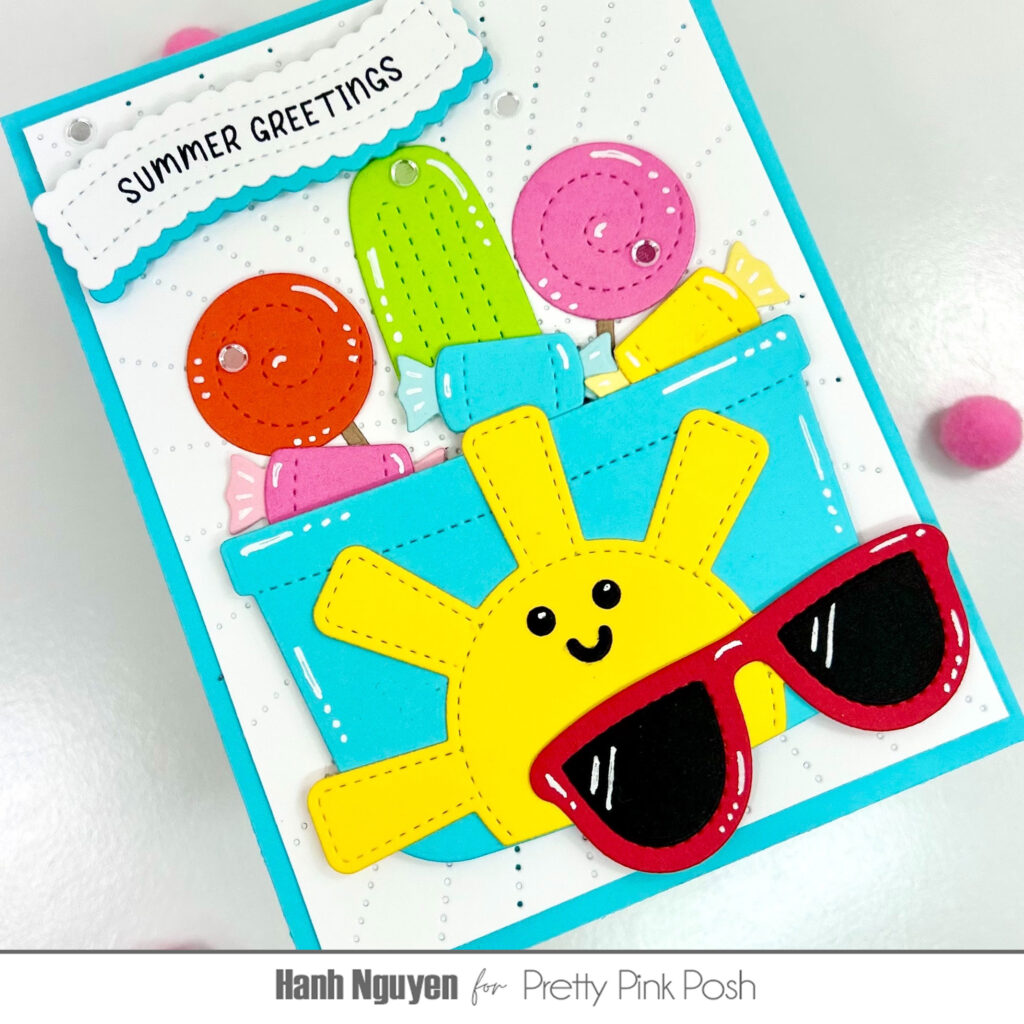
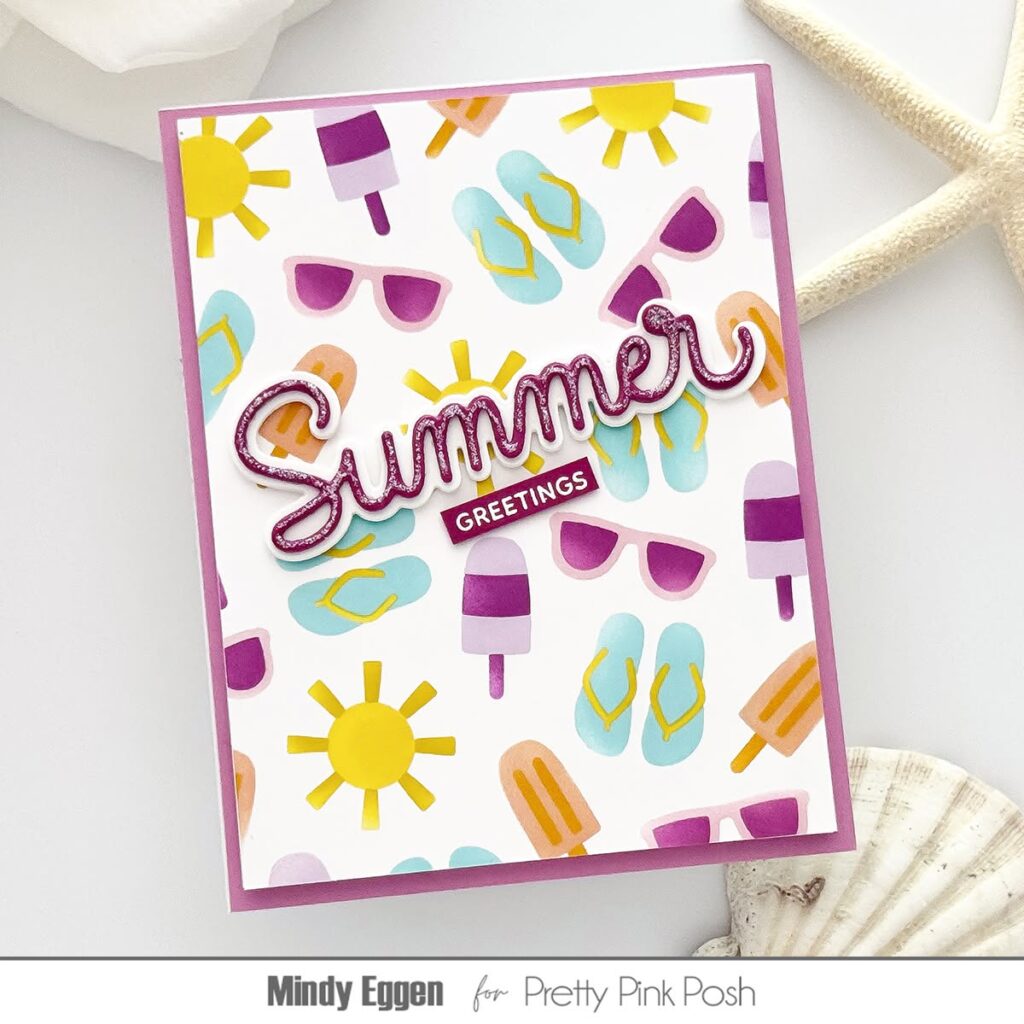
I cut the Sun Shaker from yellow cardstock and did some light ink blending on just the back piece of the shaker. I only used the middle shaker inlay piece, but also cut the ones that are supposed to make the rays part of the shaker from a darker shade of yellow cardstock so I could add a bit of detail to the sun. I filled the sun with the Summer Blooms Mix and the Rainbow Sherbet Shaker Beads, because it’s gonna be a great match for the floral background I have planned.
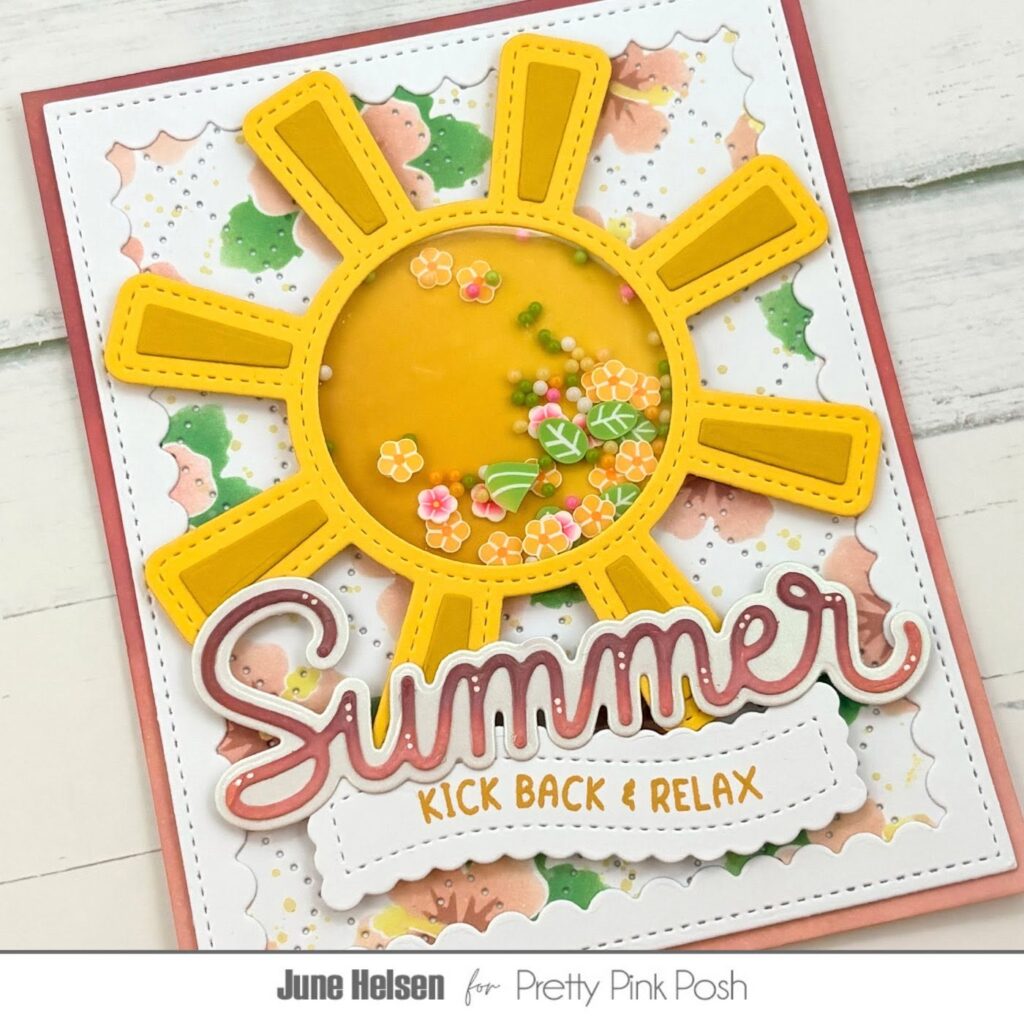
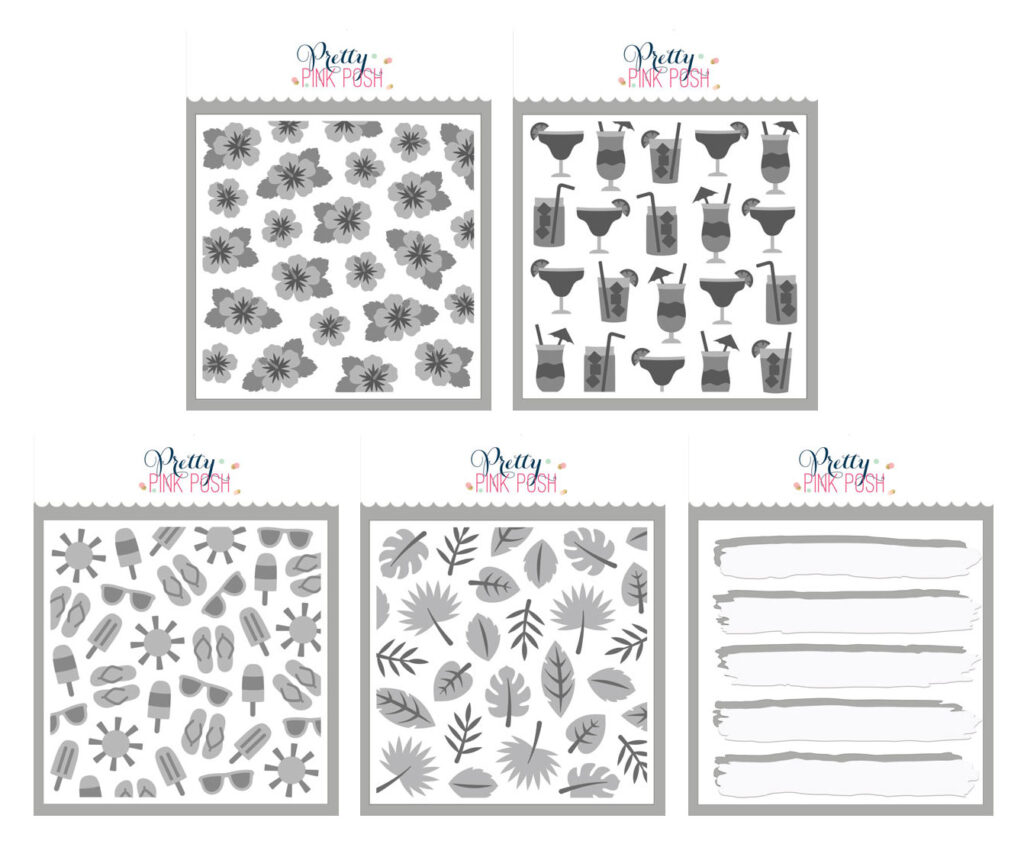
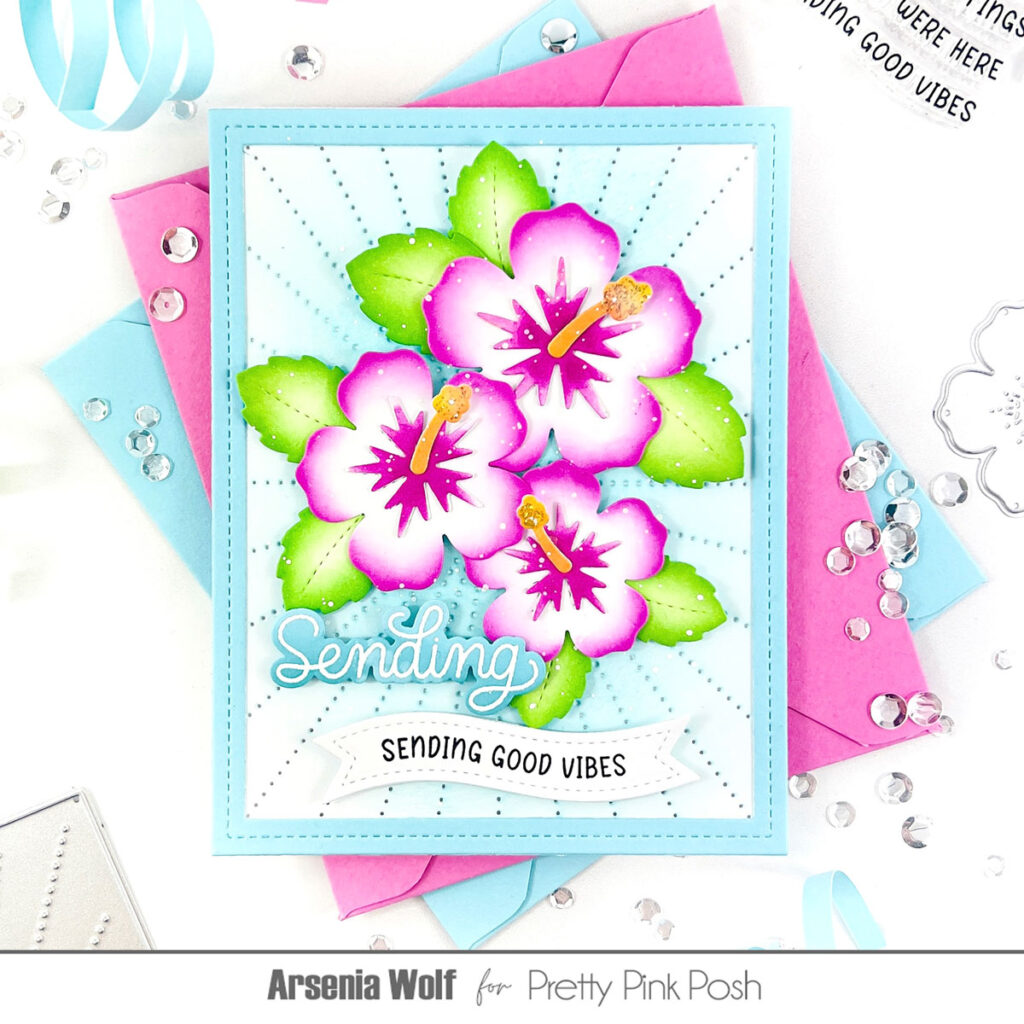
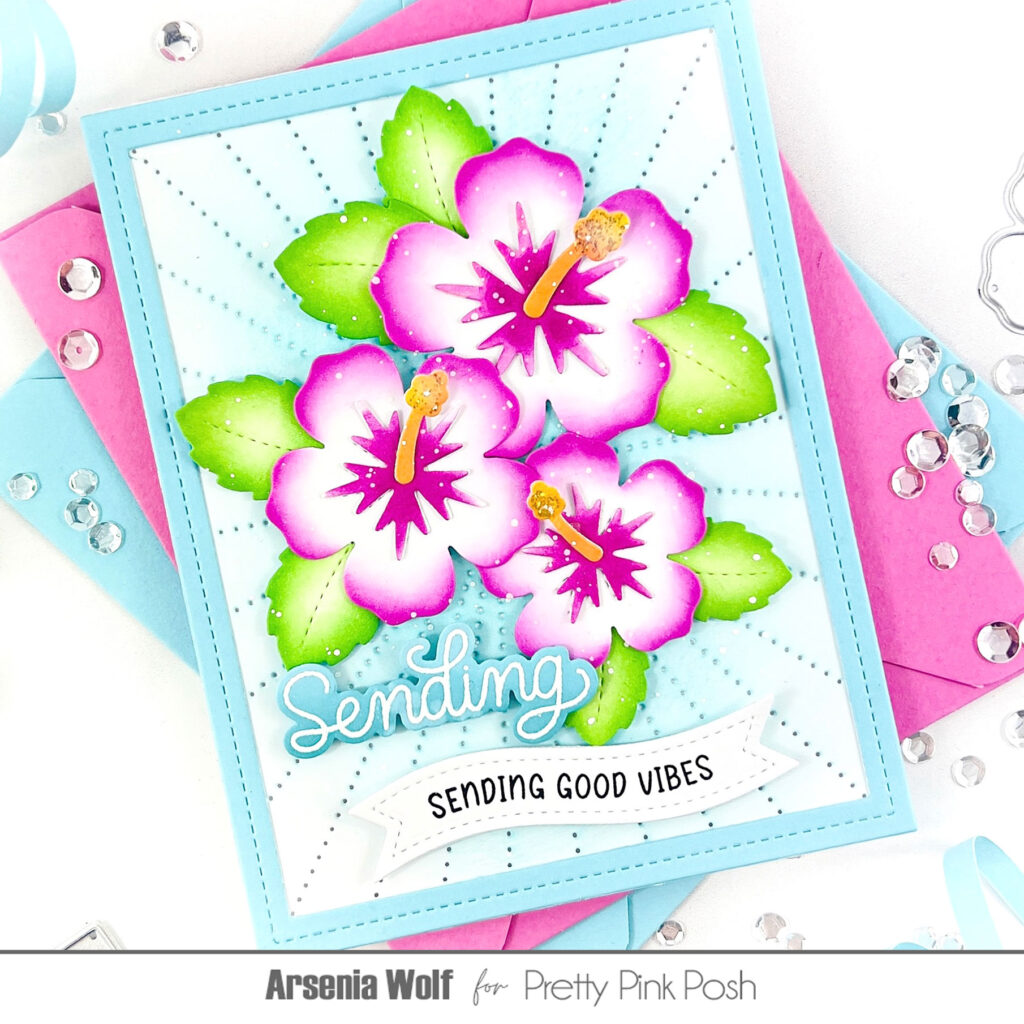
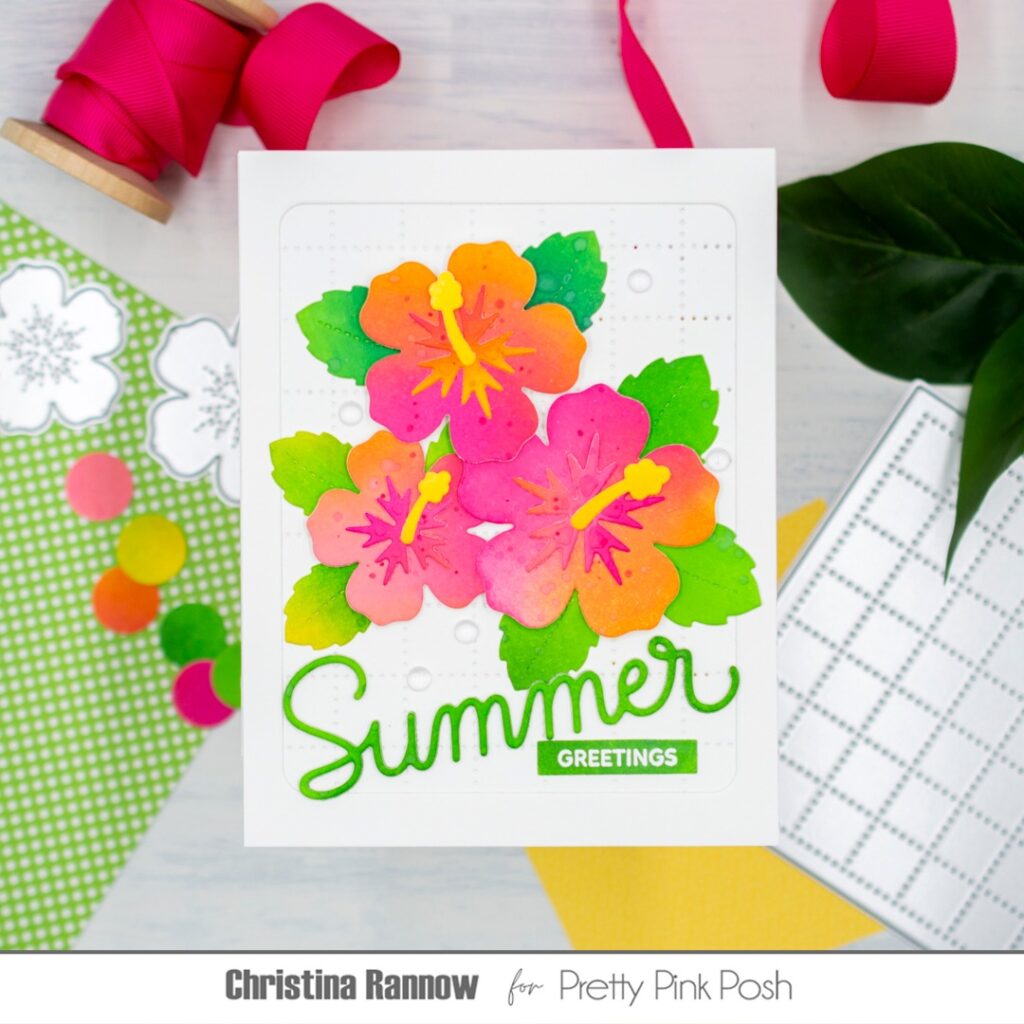
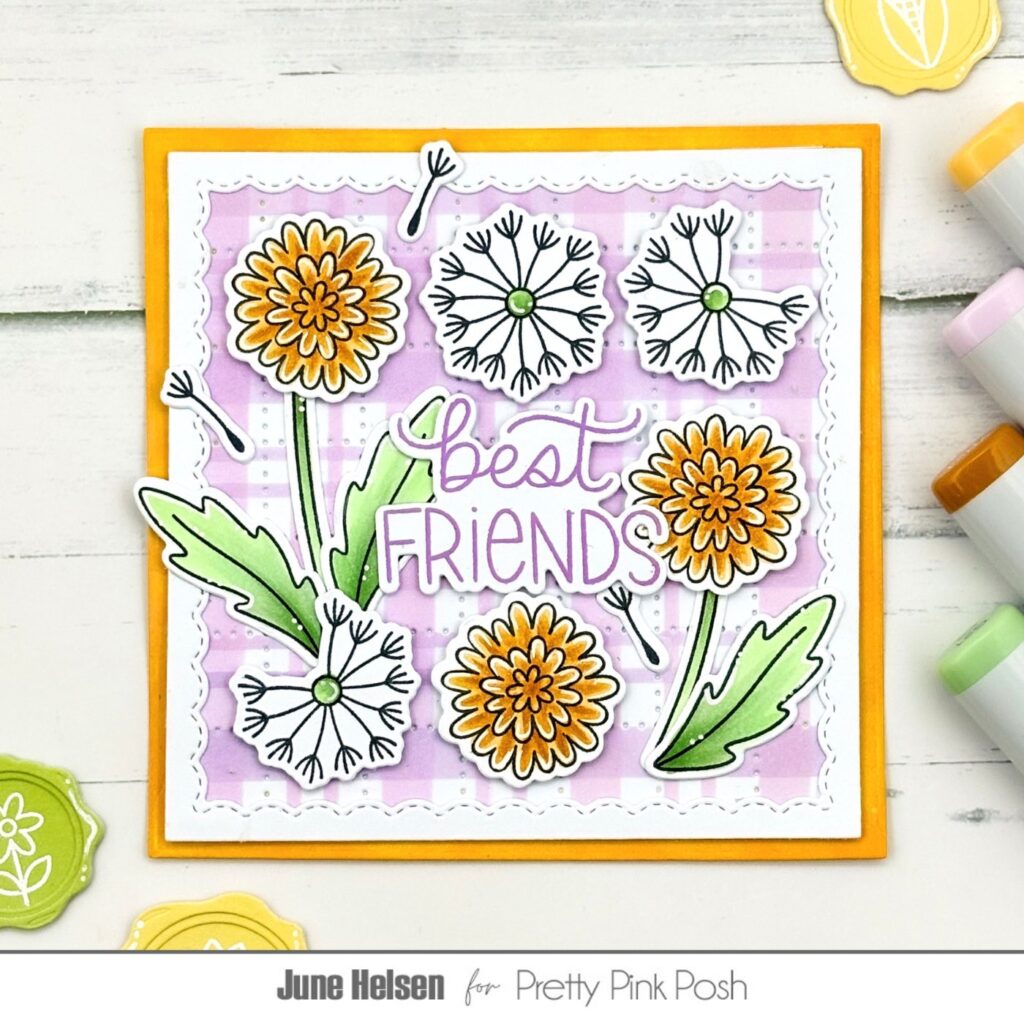
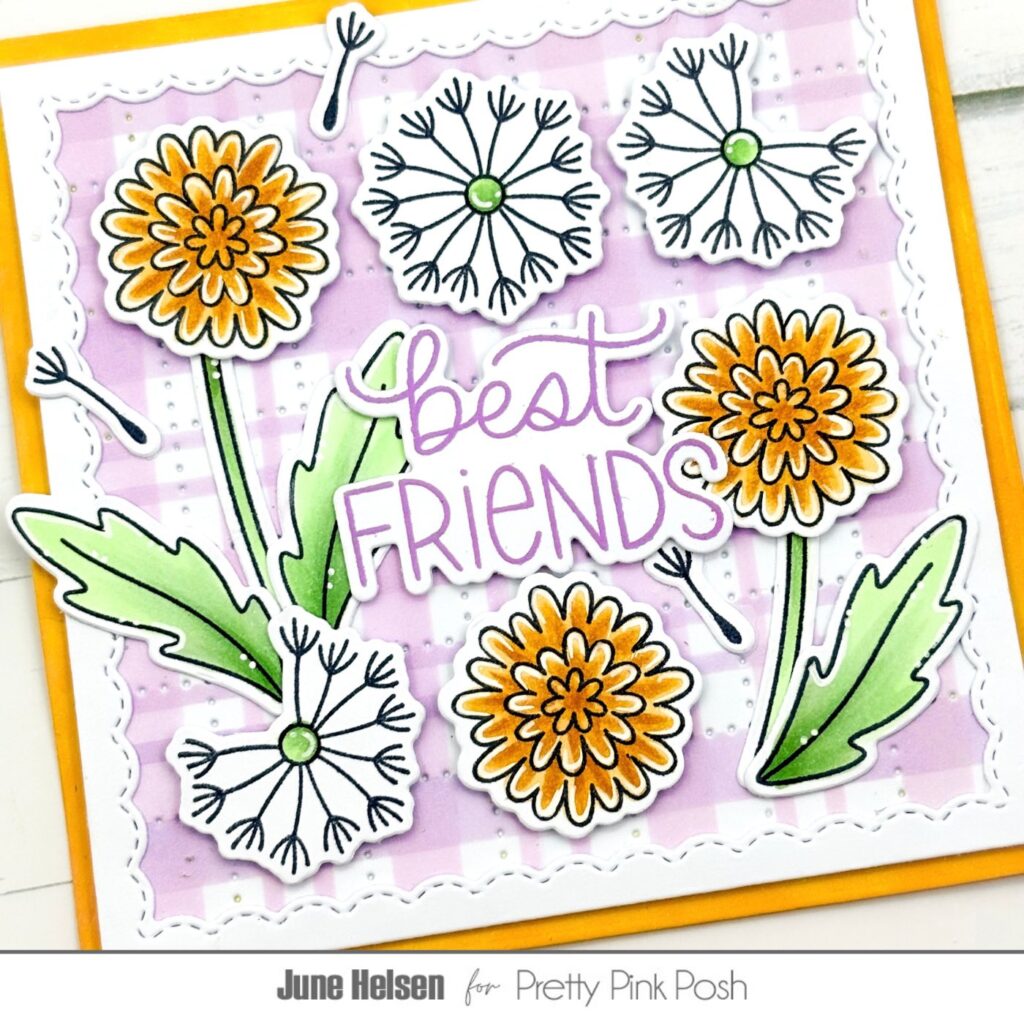
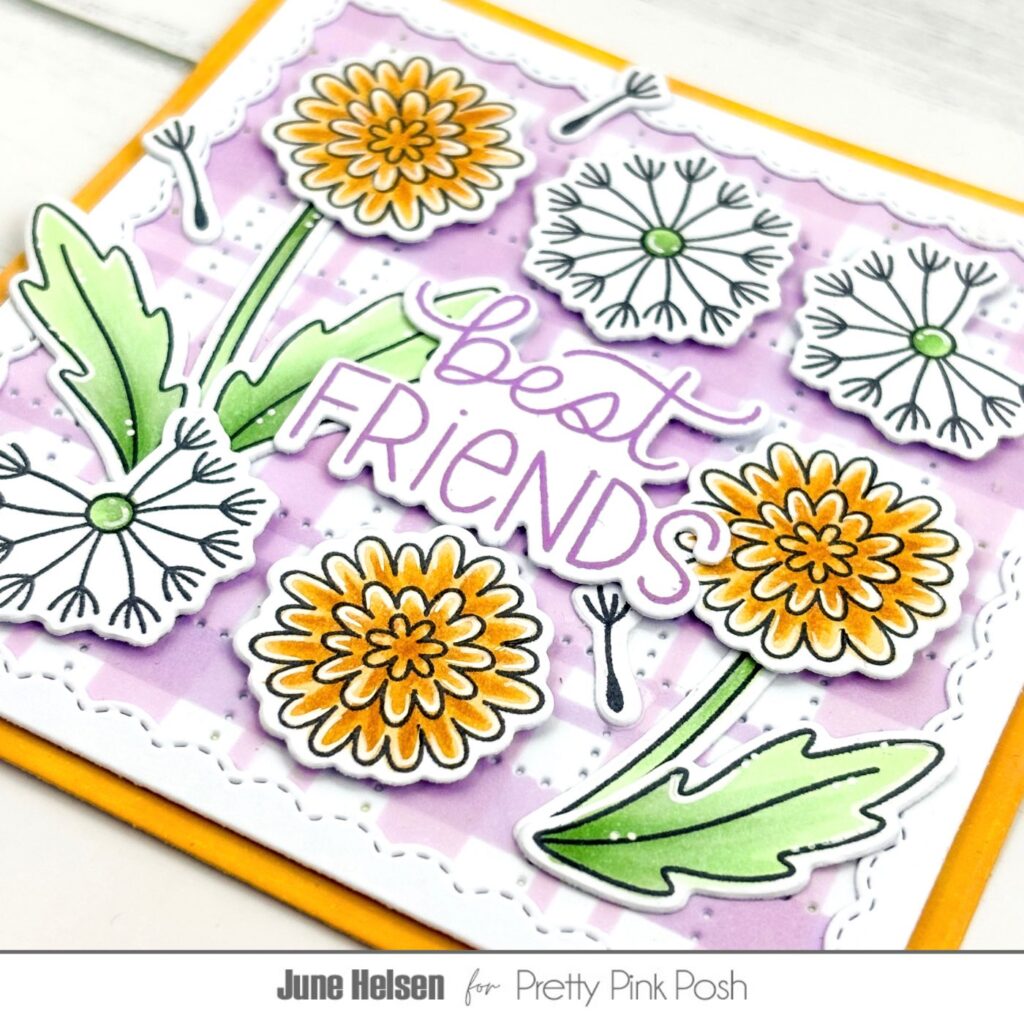
I stencilled a background with the new Layered Hibiscus stencils and Distress Oxides. I used Victorian Velvet, Aged Mahogany, Scattered Straw and Rustic Wilderness. I also used the Victorian Velvet to splatter around my flowers to fill the white space. Once dry, I ran my background through my die cutting machine using the Argyle Pierced Plate. I love the combination of this with the floral print, it looks exactly like a vintage quilted plaid I used to own. To keep up with that theme, I cut a Scallop Frame cause I thought it would add to the vintage look. I matted the background onto a panel that I blended a gradient on using the same Victorian Velvet and Aged Mahogany.
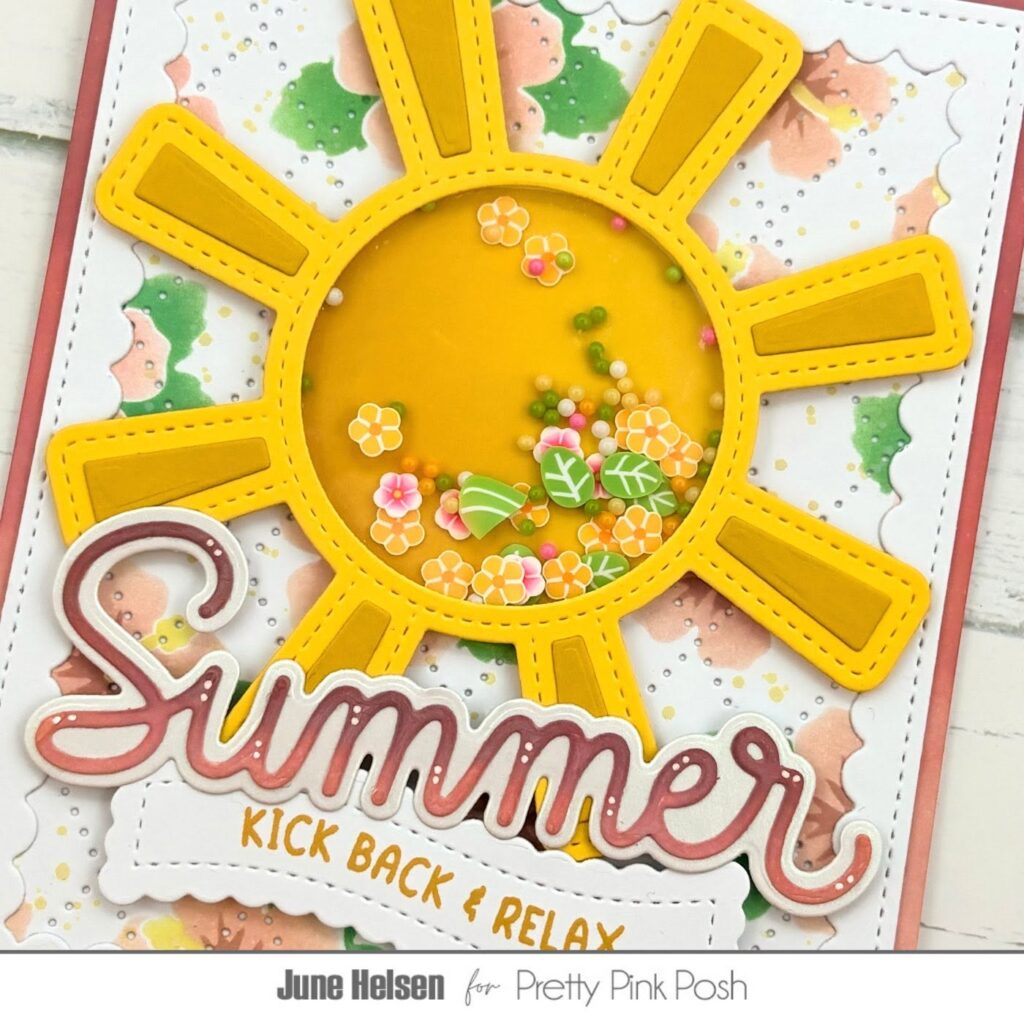
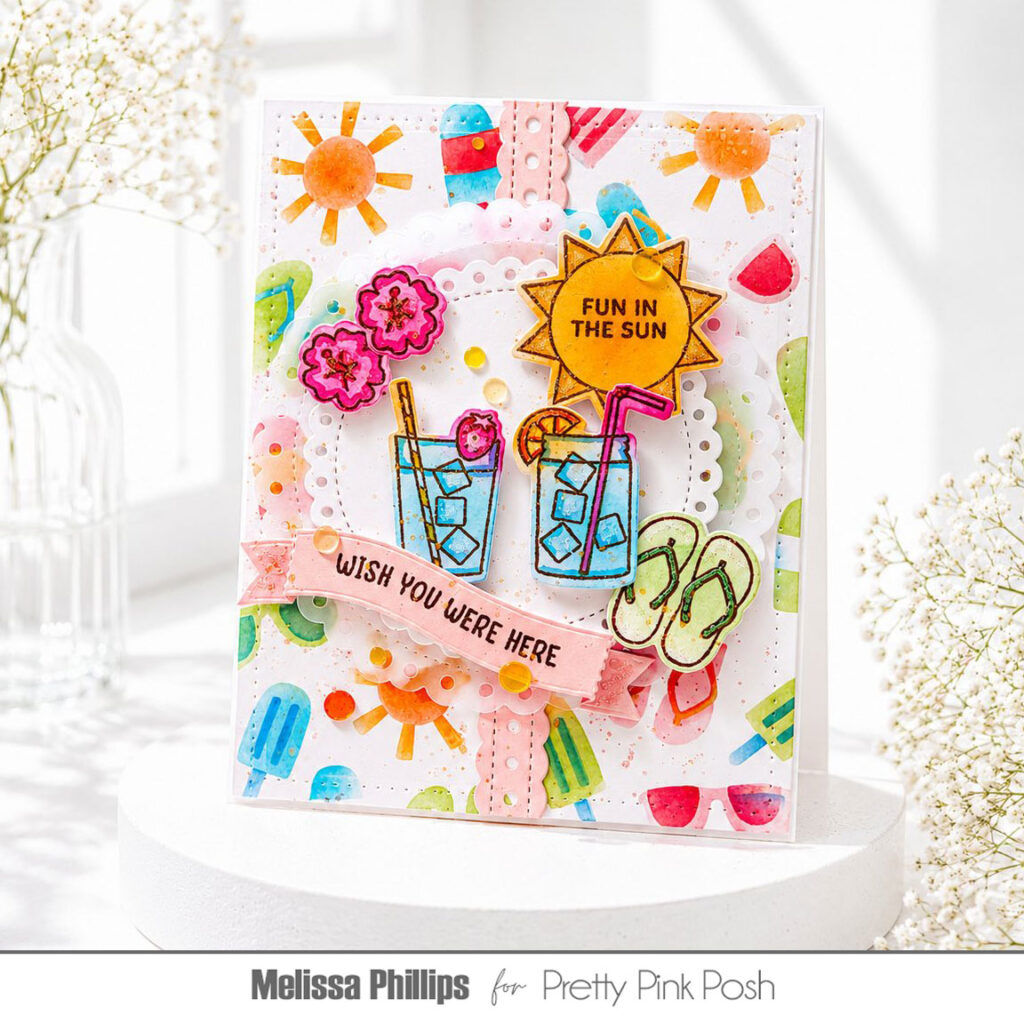
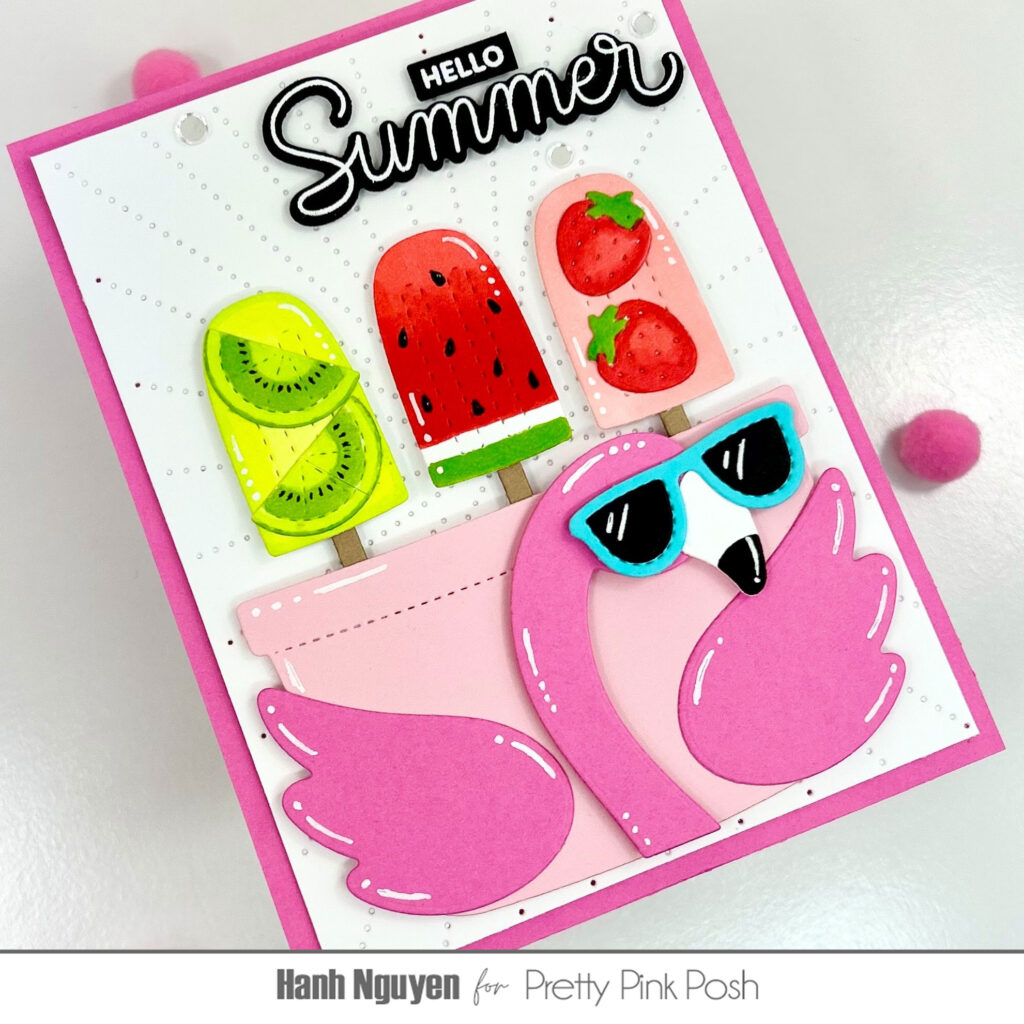
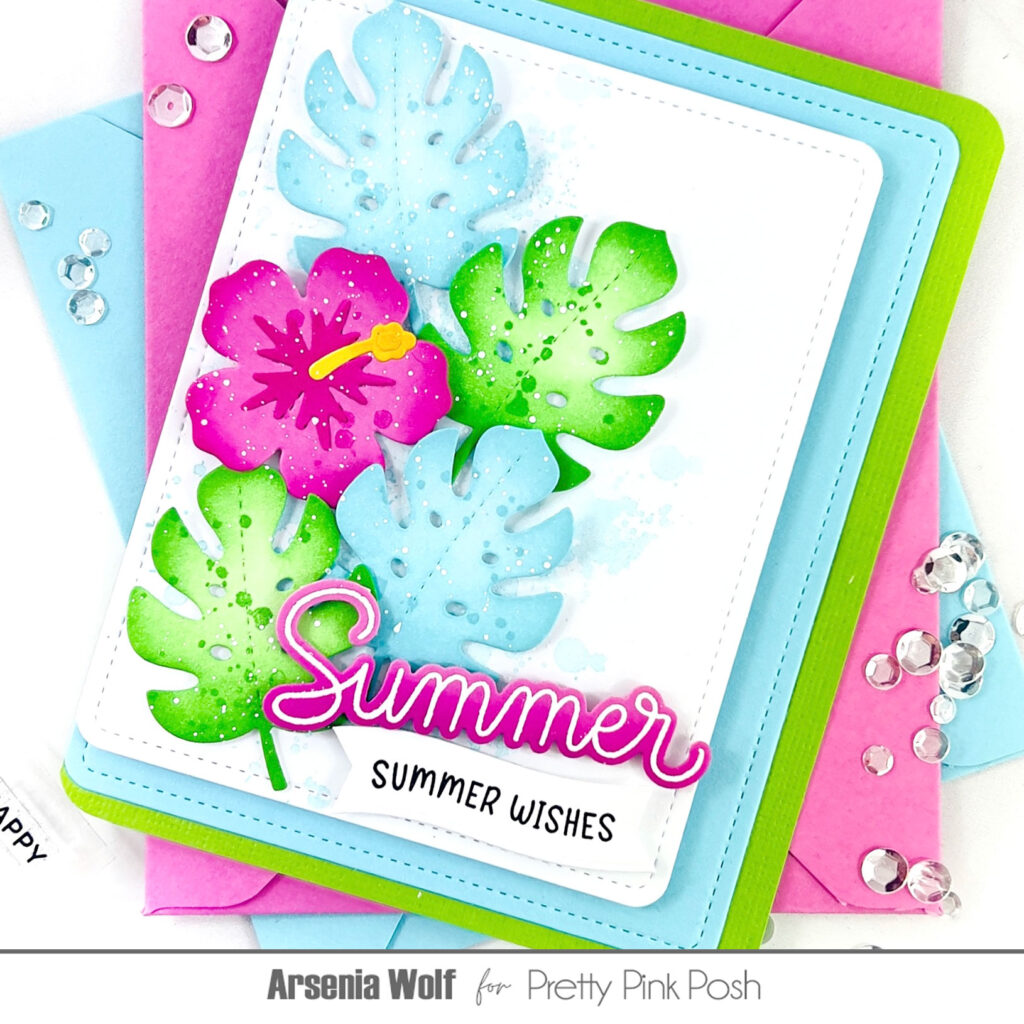
For the sentiment, I cut the new Large Summer Shadow from white cardstock and carefully did the same blend on it. I backed it using the shadow piece cut from iridescent cardstock. It’s not visible in my photos, but it matches perfectly with the pink and green color scheme when the light hits it just right. I also added a banner from Banner Greetings 2 and stamped one of the new Summer Banner Greetings on it using a dark yellow ink to match the sun.
This new release is SO getting me into a summer mood! How about you? The weather was so warm a while ago and it completely turned around, so I can use all the summer vibes I can get! I hope to see you again soon, bye!