Hello Ladybug
Hi Everyone! It’s Melissa here with you today, and I’ve got Summer on my mind, how about you? Join me as I use my Pretty Pink Posh supplies to create a fresh and friendly “Hello” card for a special friend.
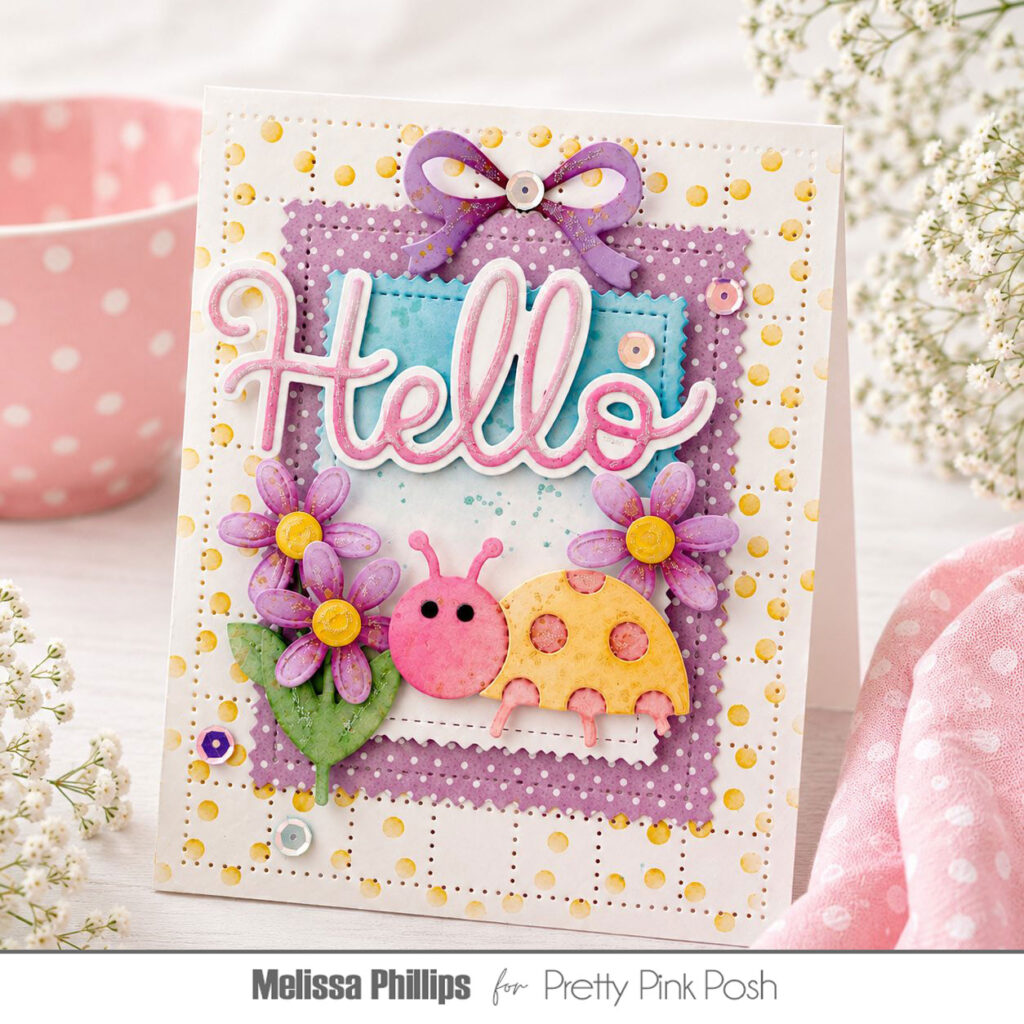
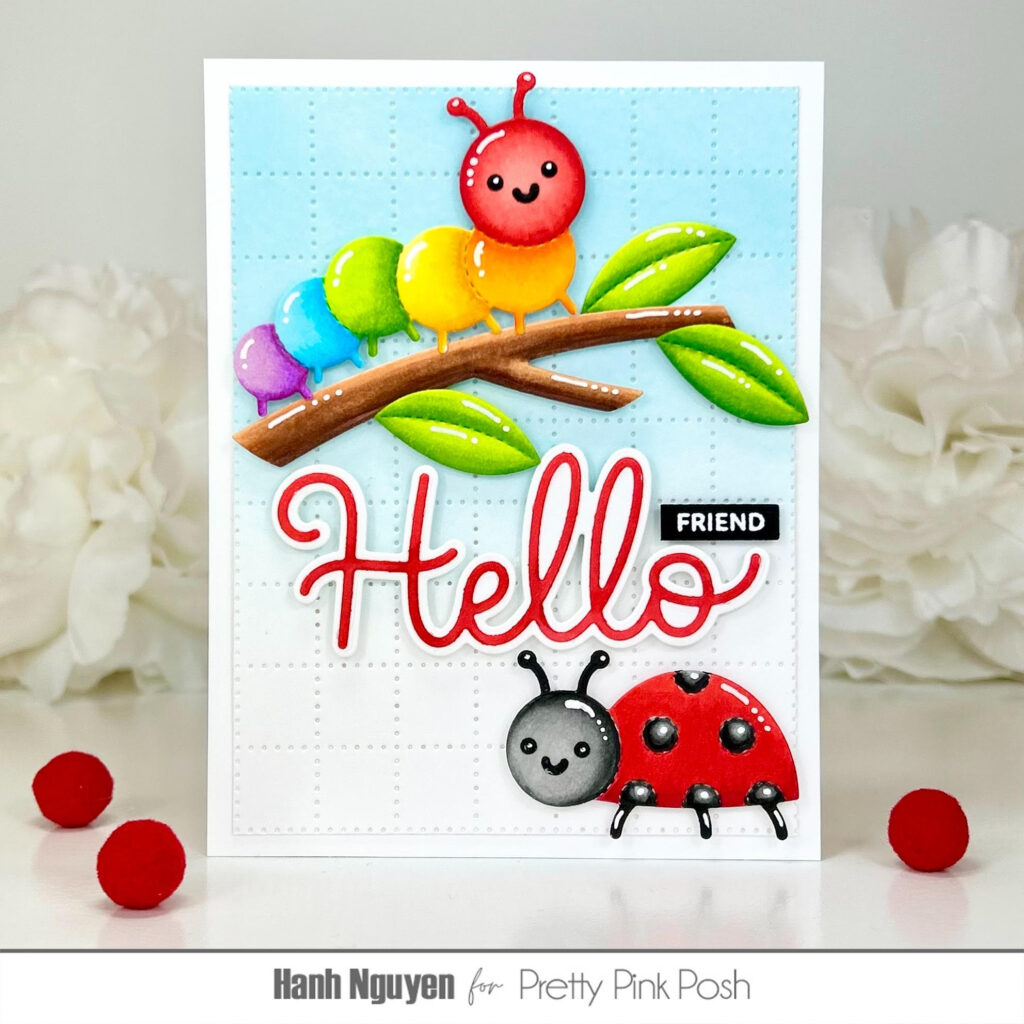
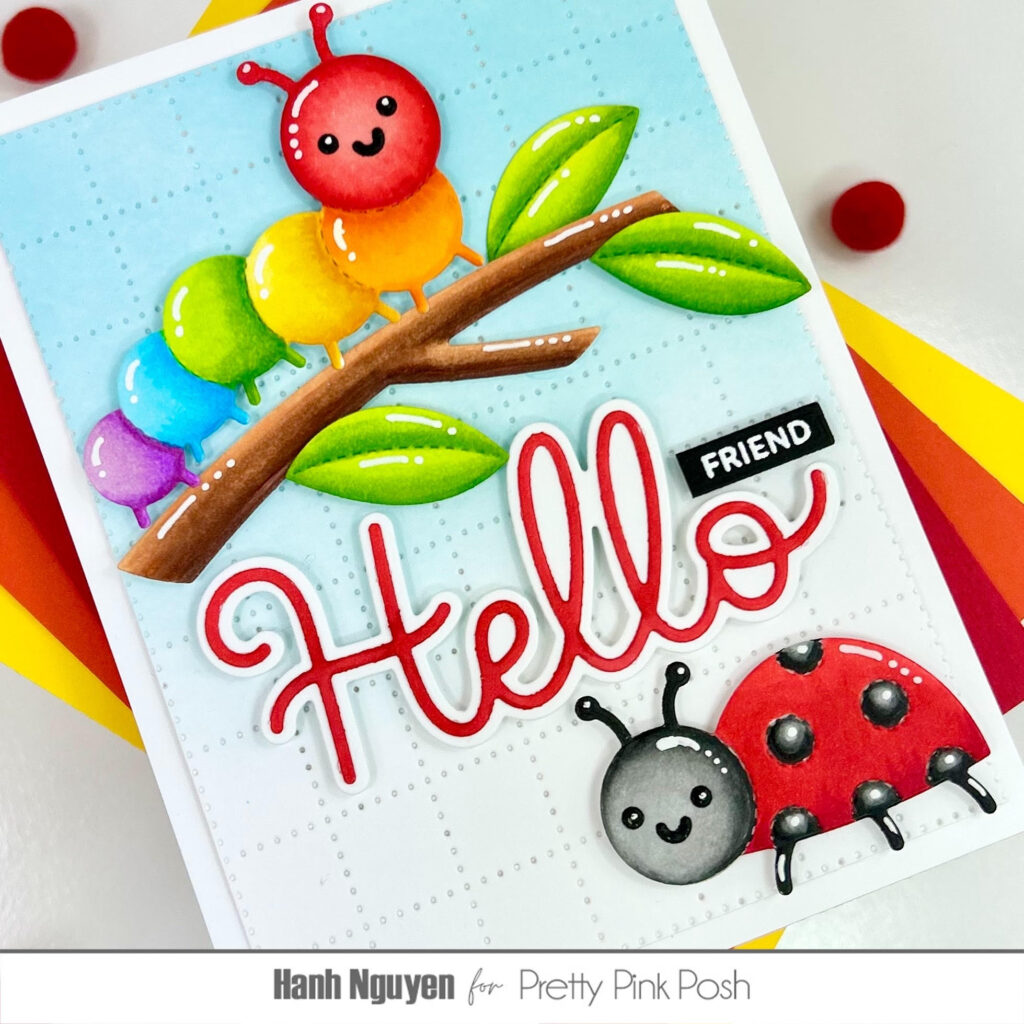
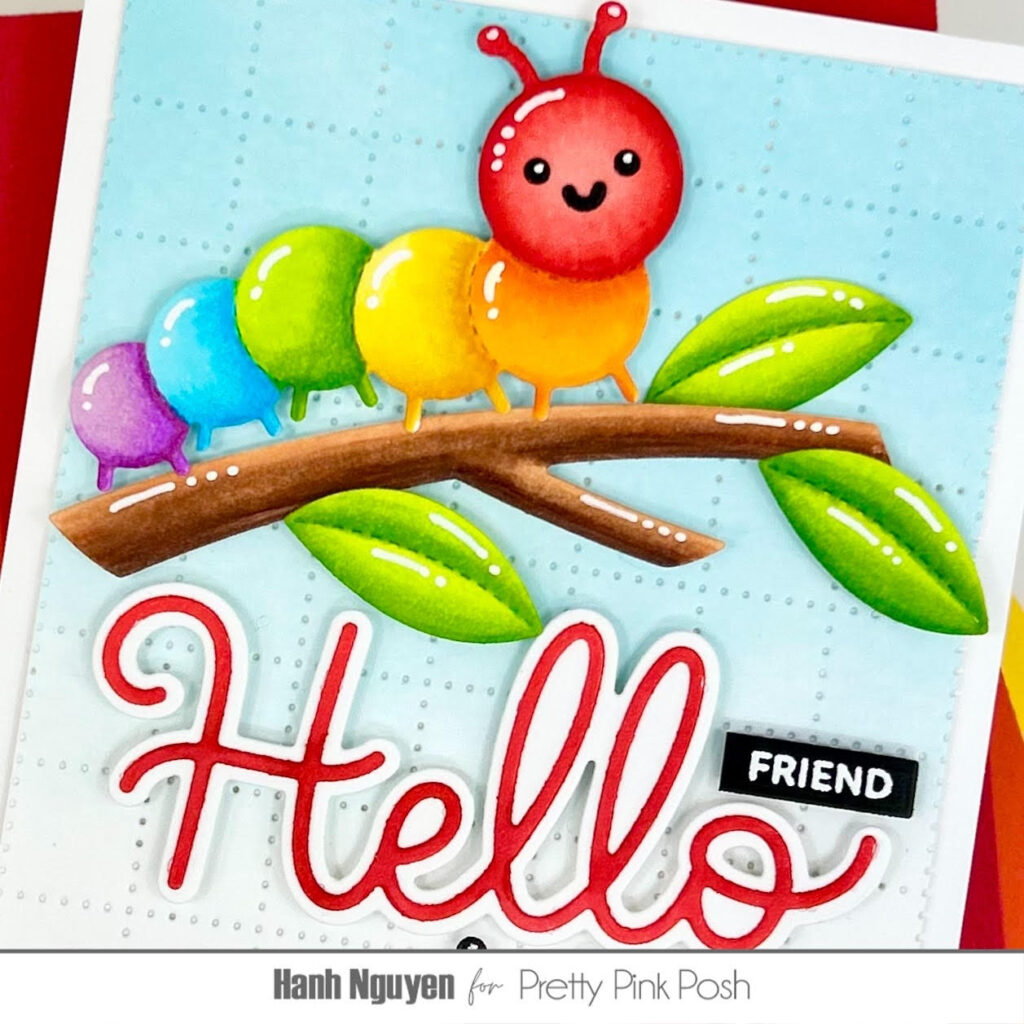
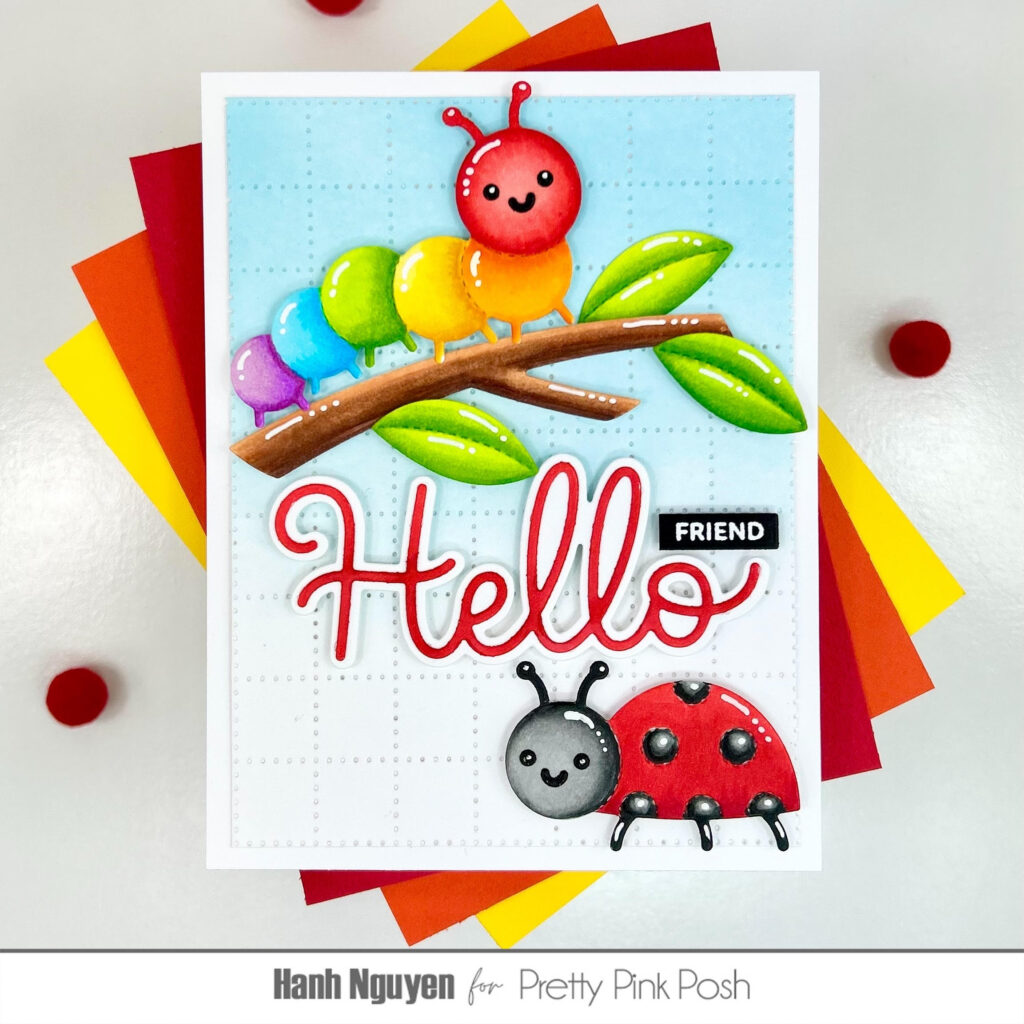
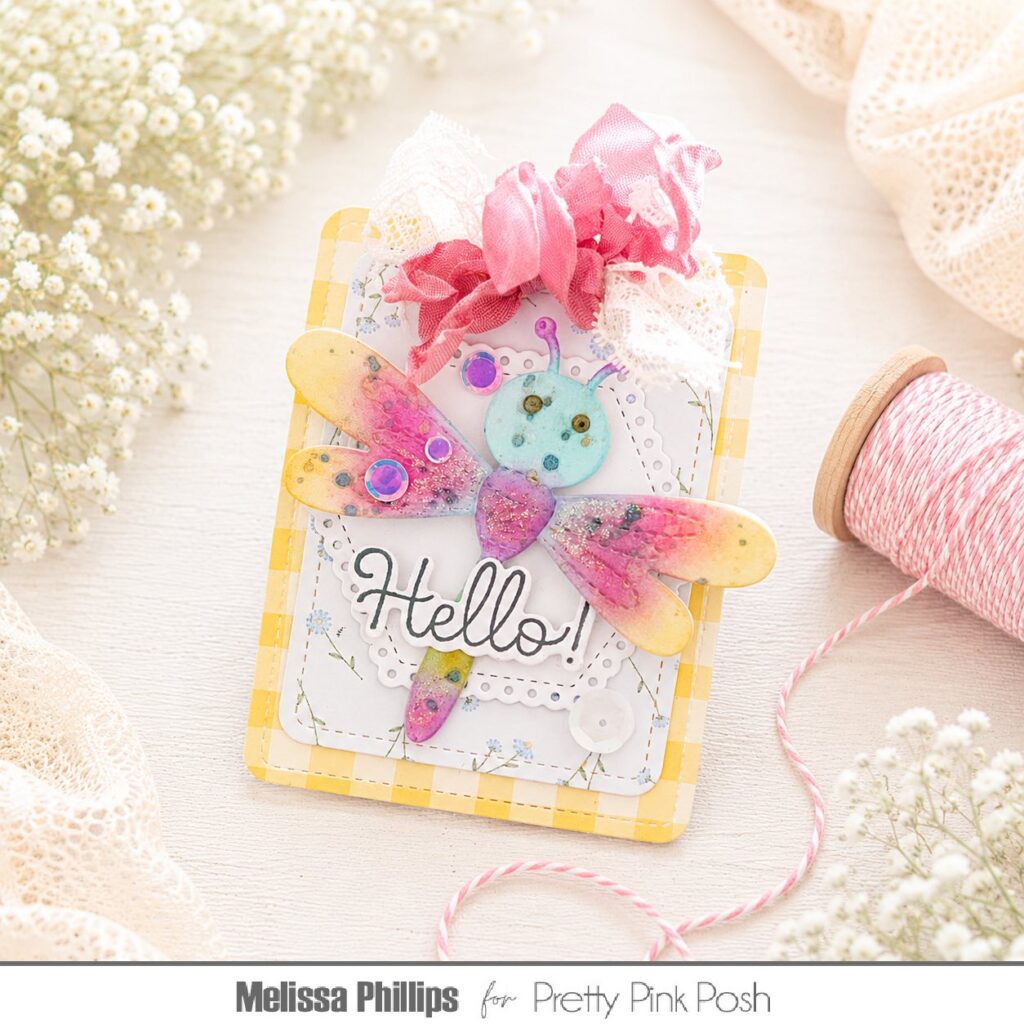
I began with the Checkered Pierced Plate and white cardstock. After running it through my die cut machine, I added some yellow polka dots, stenciled using the Mini Polka Dots Stencils. Next came some soft lilac paper, cut using the Pinking Rectangles die. I also cut my center rectangle from this same die collection, using the smaller size. Before adhering this smaller rectangle to the center of my card, I added some soft blue ink to the top to mimic the sky.
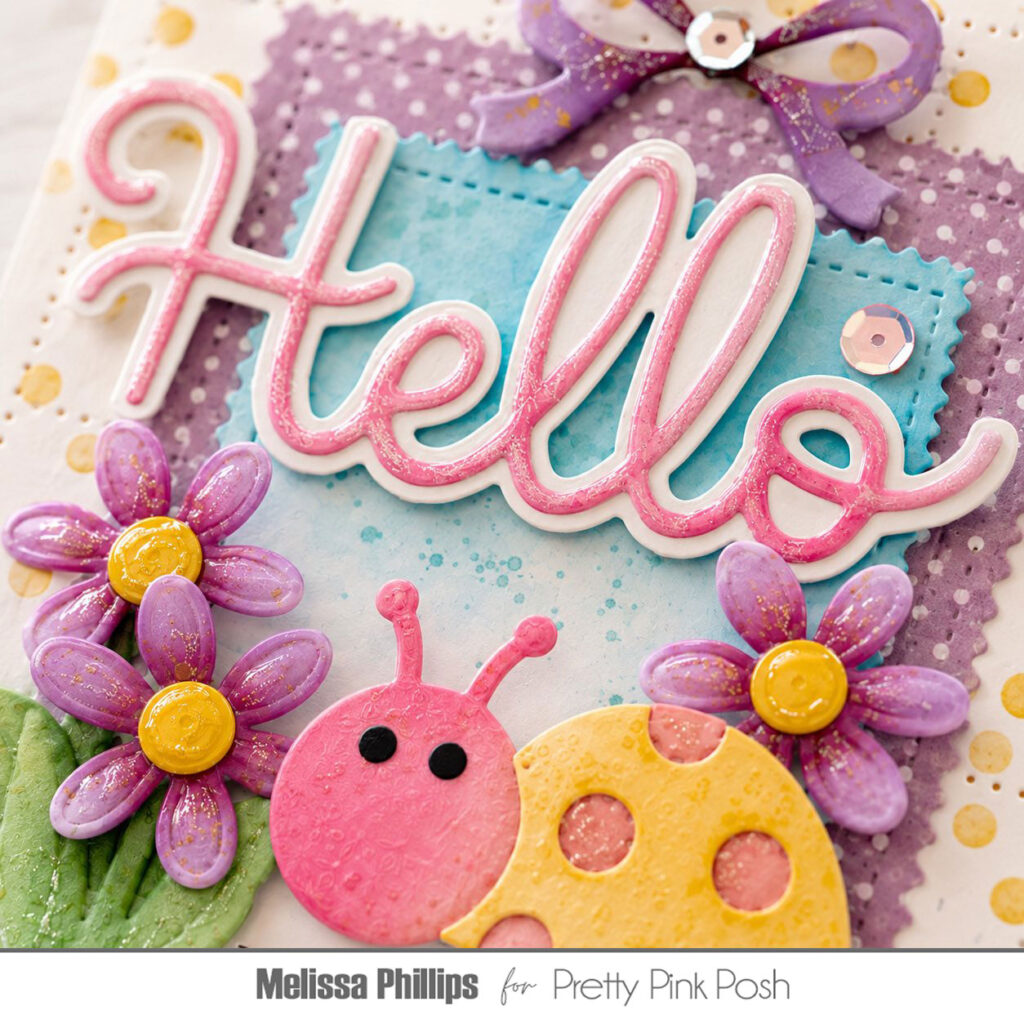
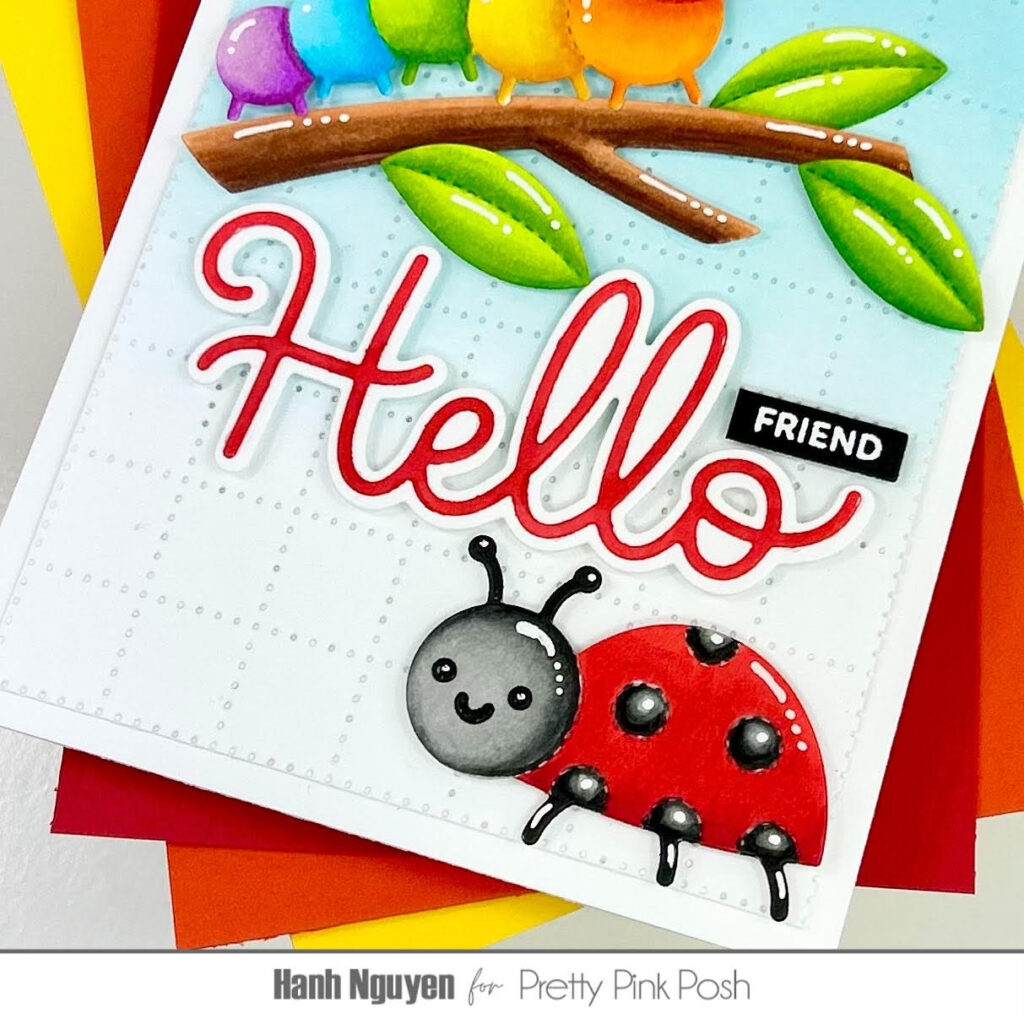
A ladybug from the darling, new Stitched Bugs die setwas used in the lower right of my card, popped up using foam adhesive. My jumbo sentiment is from the new Large Hello Shadow die set. My shadow was cut from white cardstock, while my die cut sentiment was cut from pink cardstock. I love the effect these shadow dies add!
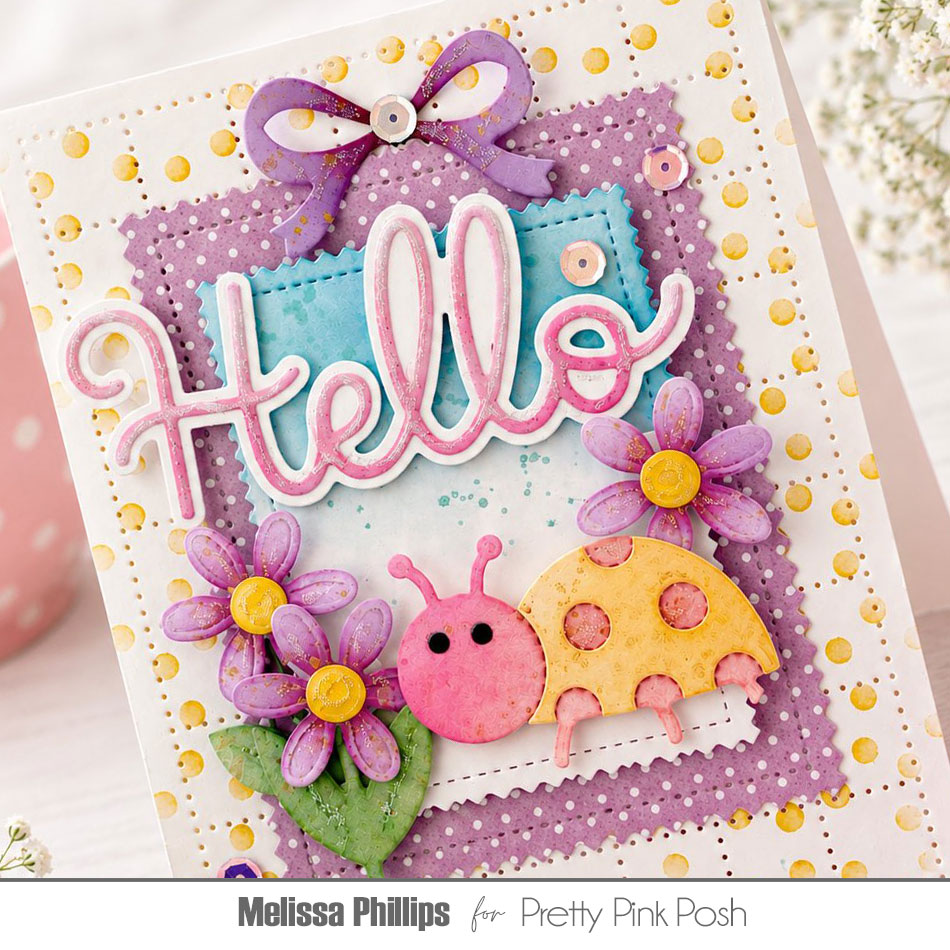
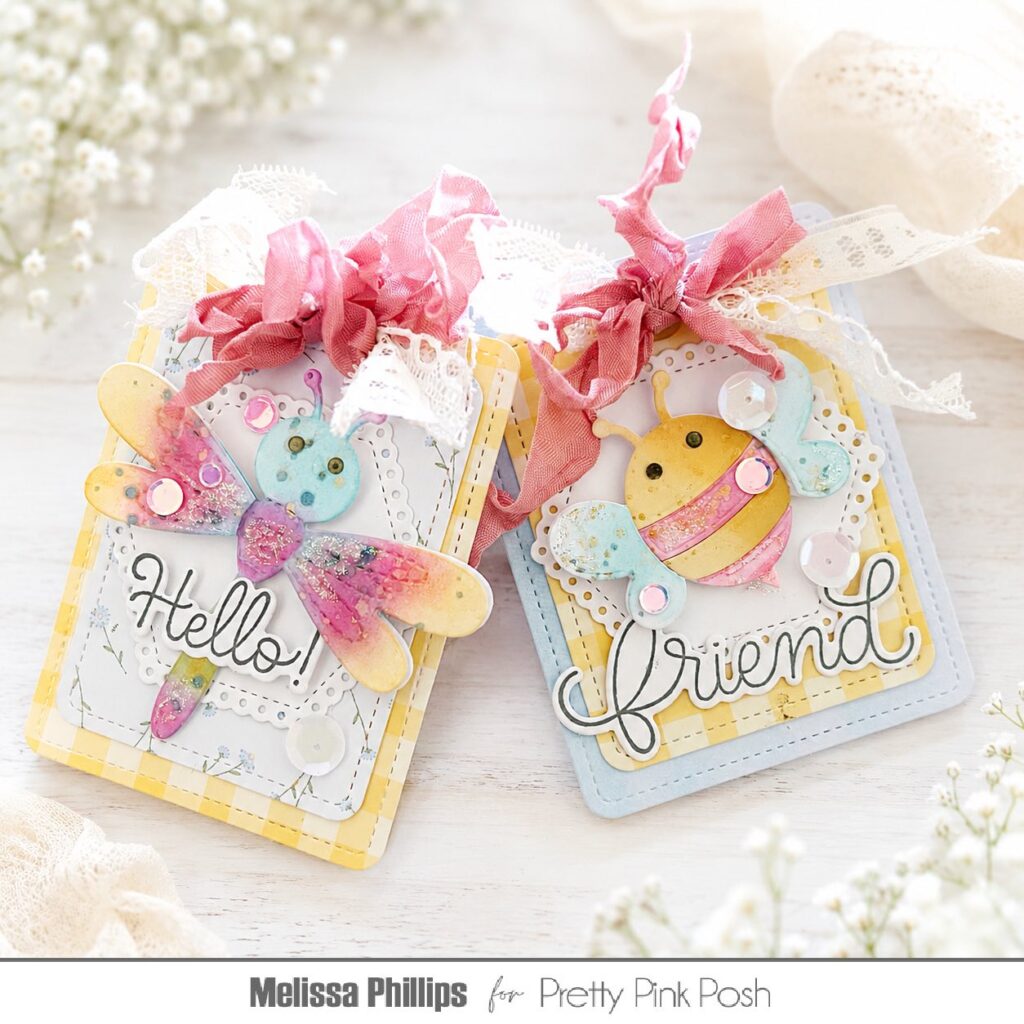
All that was left on my card were tiny flowers cut from the Easter Bucket Additions set. I ink blended them using purples, yellow, and green and added them around my ladybug to frame her in a bit. A tiny bow at the top of my card was added, also from the Easter Bucket Additions set. To add a little shimmer and shine, I used sequins and Crystal Stickles glitter. Such a fun way to make your products glow!
Happy crafting!
Melissa