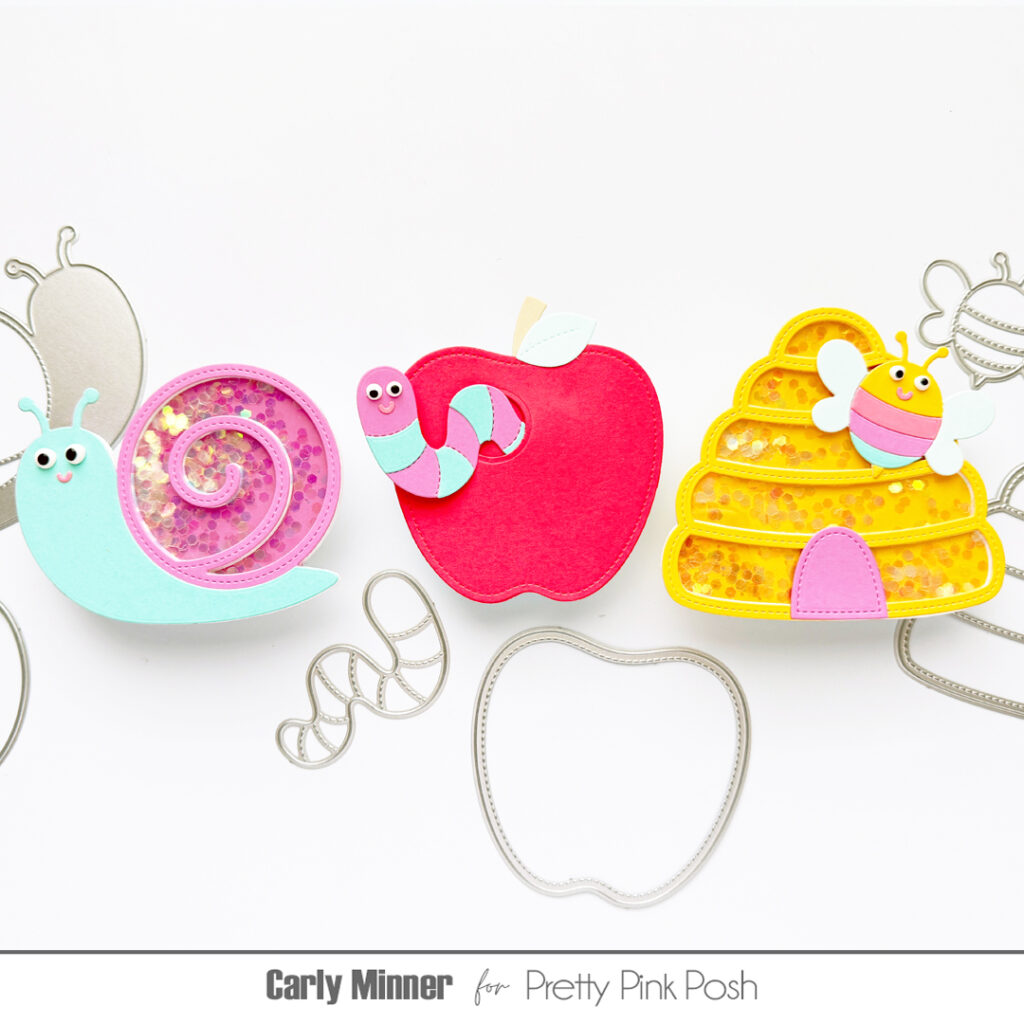
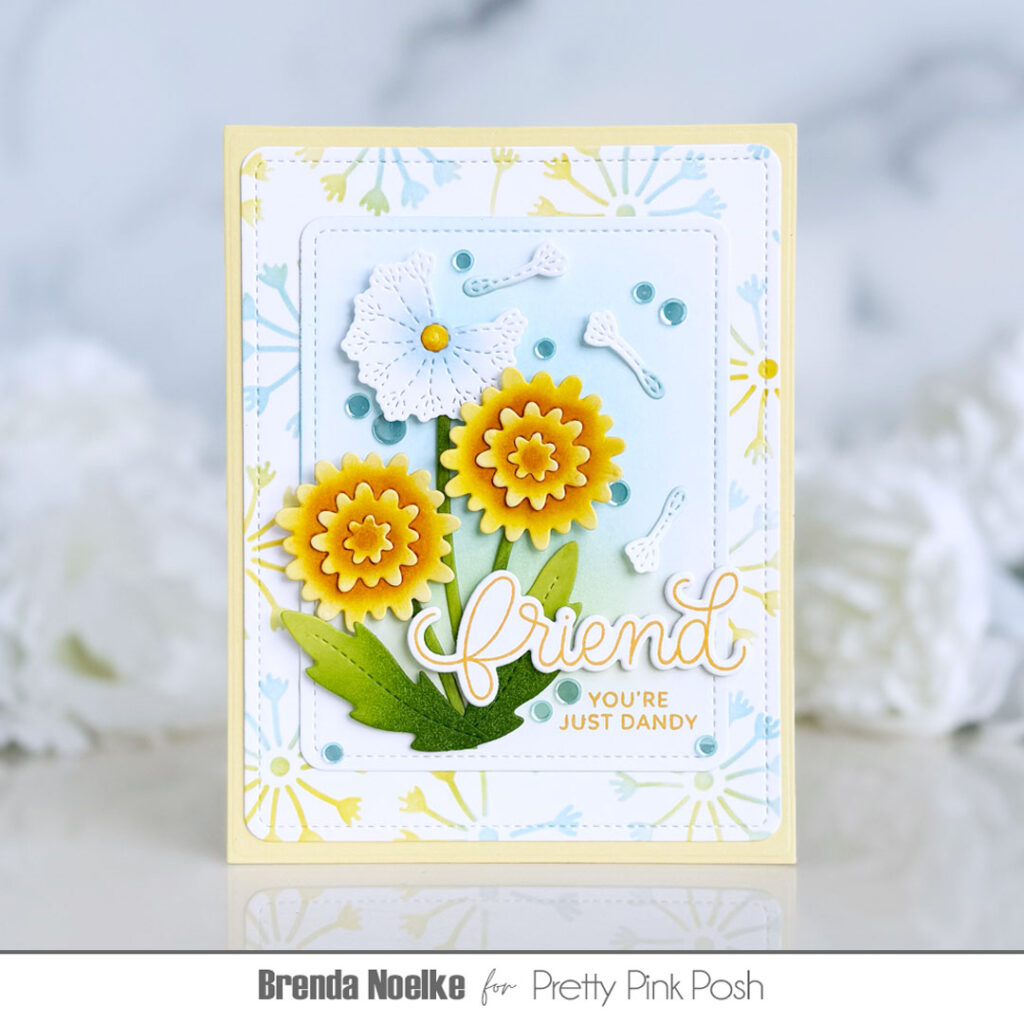
Hi friends, Carly here today. Do you like shaped cards? I think there is something about them that feels extra special and extra fun! And shaped cards are super easy to make with so many of the Pretty Pink Posh shaker dies!
To create the base of the card I die cut the shape from a folded card, making sure to place the folded edge of the card inside the cutting edge of the die. I add at least one more complete shape on top to complete the look (and for stability) and then have fun decorating!
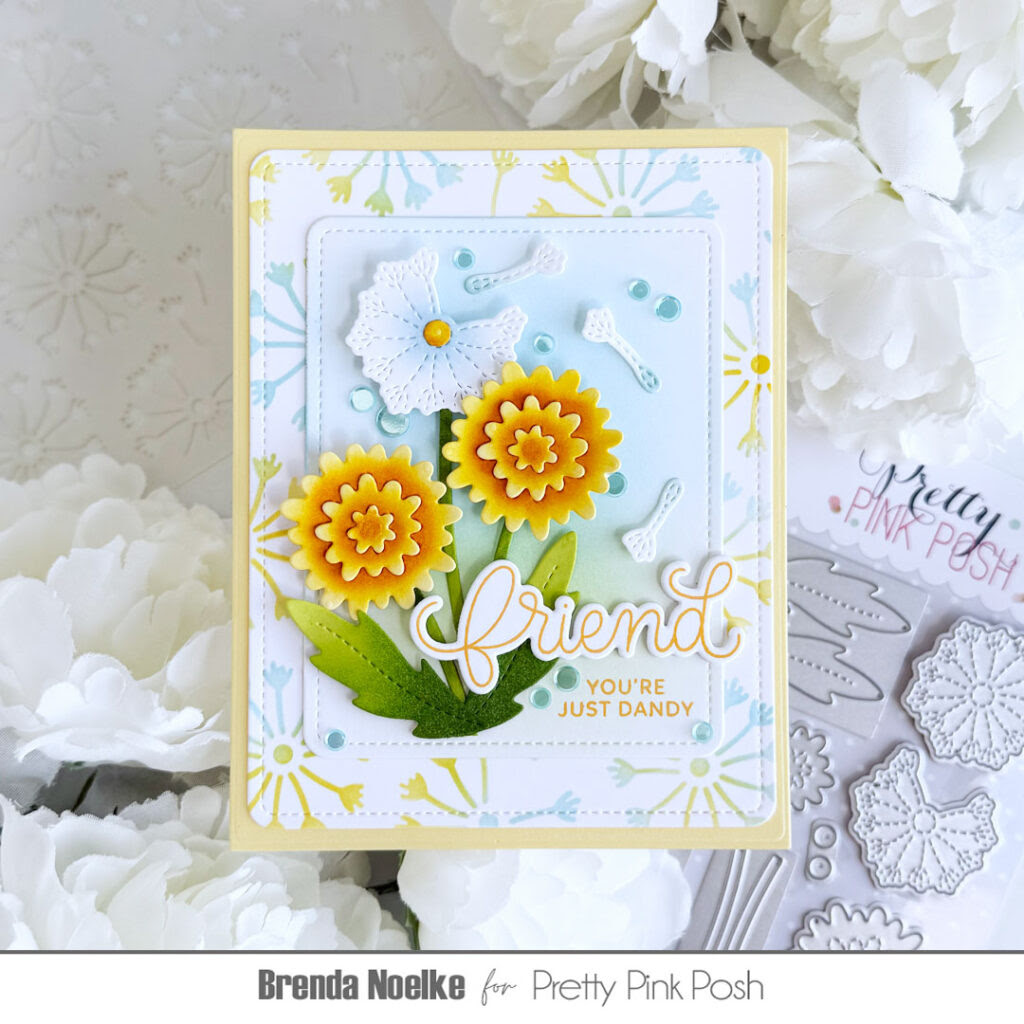
I began by stenciling theDandelion Background Stencilonto an A2 panel of white cardstock using blending brushes with Mustard Seed and Tumbled Glass Distress Ink. Where the two colors overlap, it gives you the prettiest green!! I die-cut the panel with the largest die in the Rounded Stitched Rectangles Die Set, then adhered it to an A2 panel of pale yellow cardstock. I also die-cut another panel of white cardstock with the third largest die in the same Rounded Stitched Rectangles Die Set and blended Tumbled Glass, Mowed Lawn, and Twisted Citron Distress Ink onto the center of the panel. It was then adhered to the background panel with liquid glue.
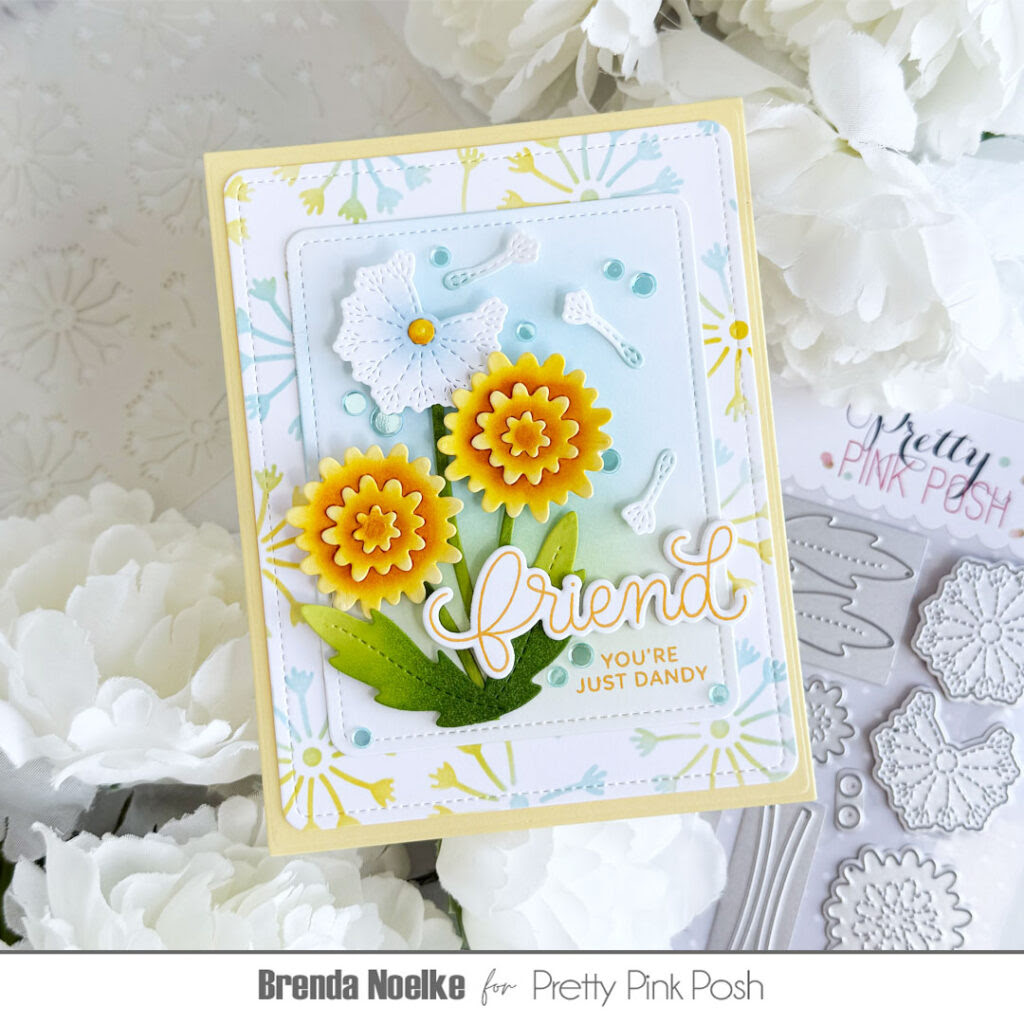
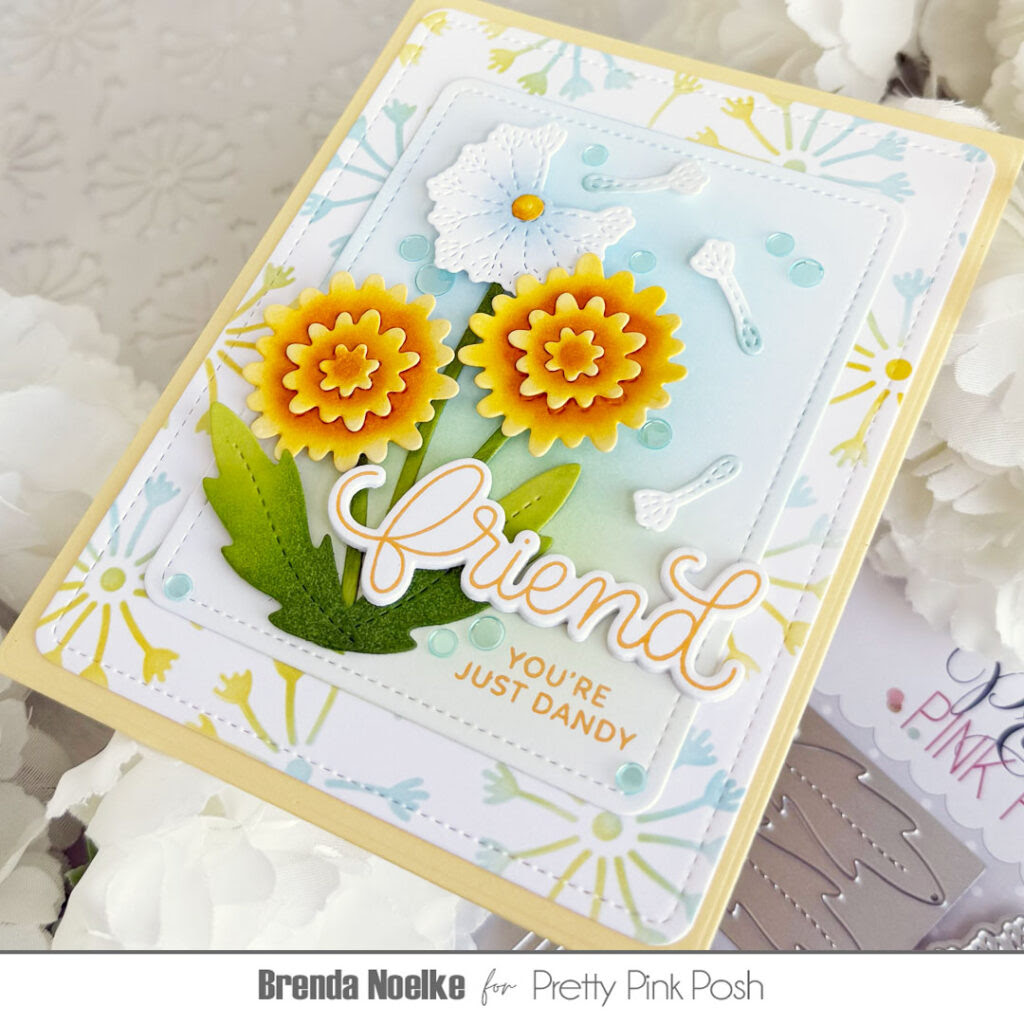
The blooms, stems and leaves from the Stitched Dandelions Die Setwere cut from white, light yellow and green cardstock. I added shading and dimension onto the die-cuts with Tumbled Glass, Mustard Seed, Wild Honey, Mowed Lawn and Rustic Wilderness Distress Inks using blending brushes. The die-cuts were arranged and adhered, using a combination of liquid glue and foam squares.
The supporting sentiment, from the Dandelions stamp set, was stamped onto the bottom, right area of the smaller rectangle panel with Wild Honey Distress Oxide Ink. The “friend” sentiment is from the Hello Friend stamp set. It was stamped onto white cardstock with Wild Honey Distress Oxide Ink and cut out with the coordinating die. I also die-cut three more layers from heavyweight white cardstock and adhered them behind the stamped one, then adhered it to the front of the card. Lots of Aqua Shimmer Confetti adds a ton of sparkle and shine to finish off the card.
Everything about this makes my heart happy…from the sweet blooms to the color combo!! Just the perfect way to let a friend know how special they are to you!
Thank you so much for spending a bit of your day with me!
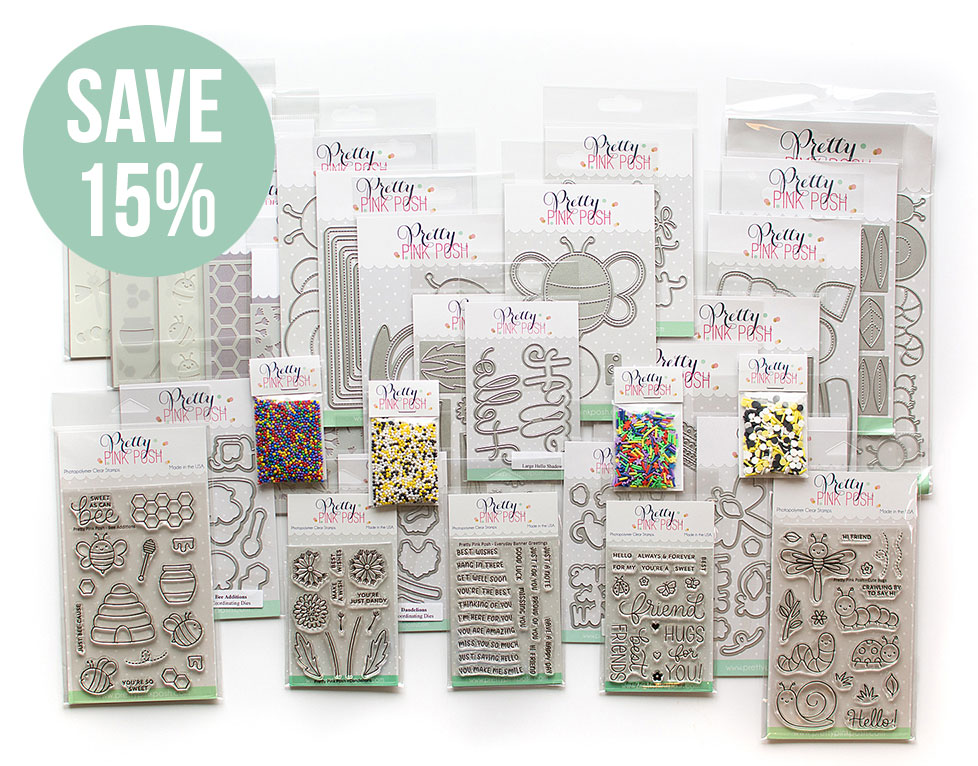
We are kicking off Memorial Day weekend with a HUGE sale! We rarely have discounts this large, so be sure to take advantage of these savings- items will sell quickly!
SHIPPING NOTE: Orders placed during the Memorial Day sale will be processed as quickly as possible. Please note that First Class Shipping is not insured and tracking is not always available. If you would like your package to be insured in case of loss or damage, please choose Priority Mail.
Thank you for continuing to support our small business!
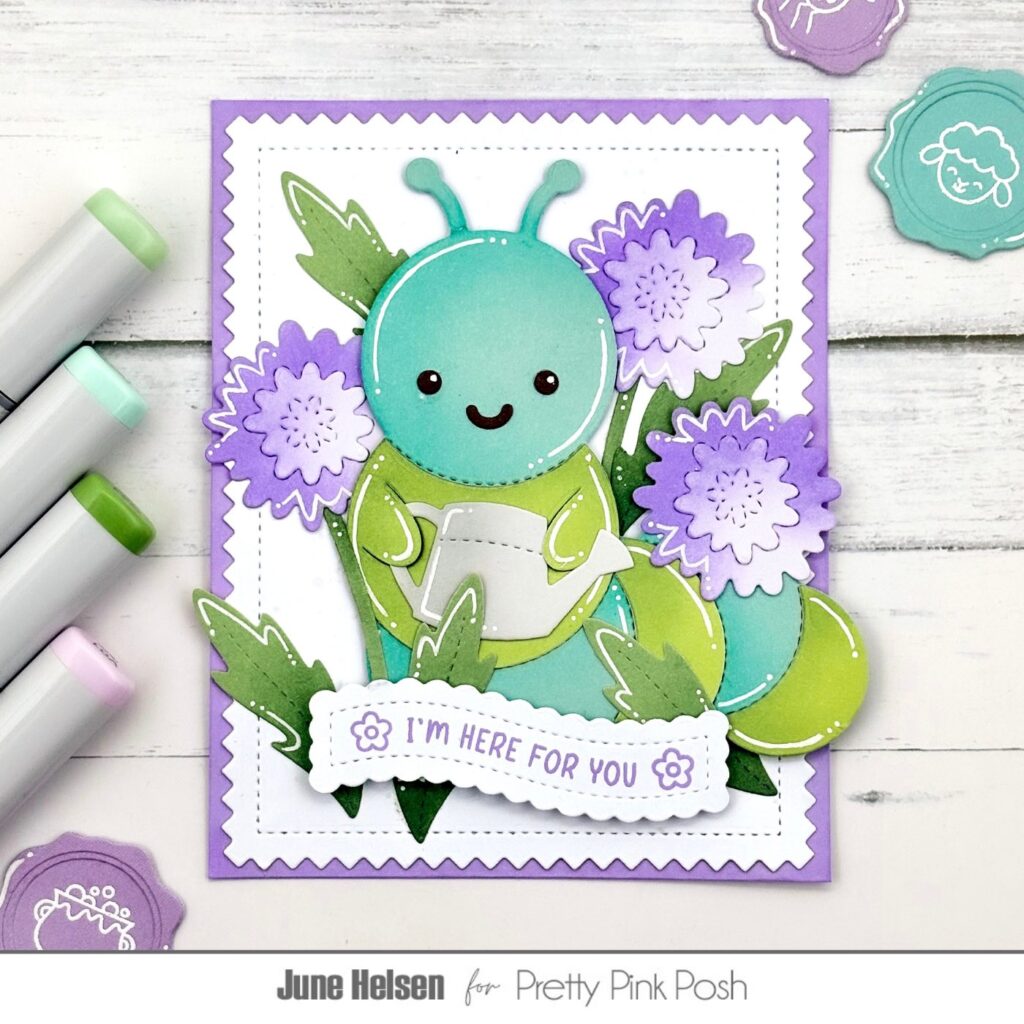
Hello crafty friends! It’s June here and today I’m sharing my process of this card featuring a cute caterpillar tending to its flower garden. Let’s get started!
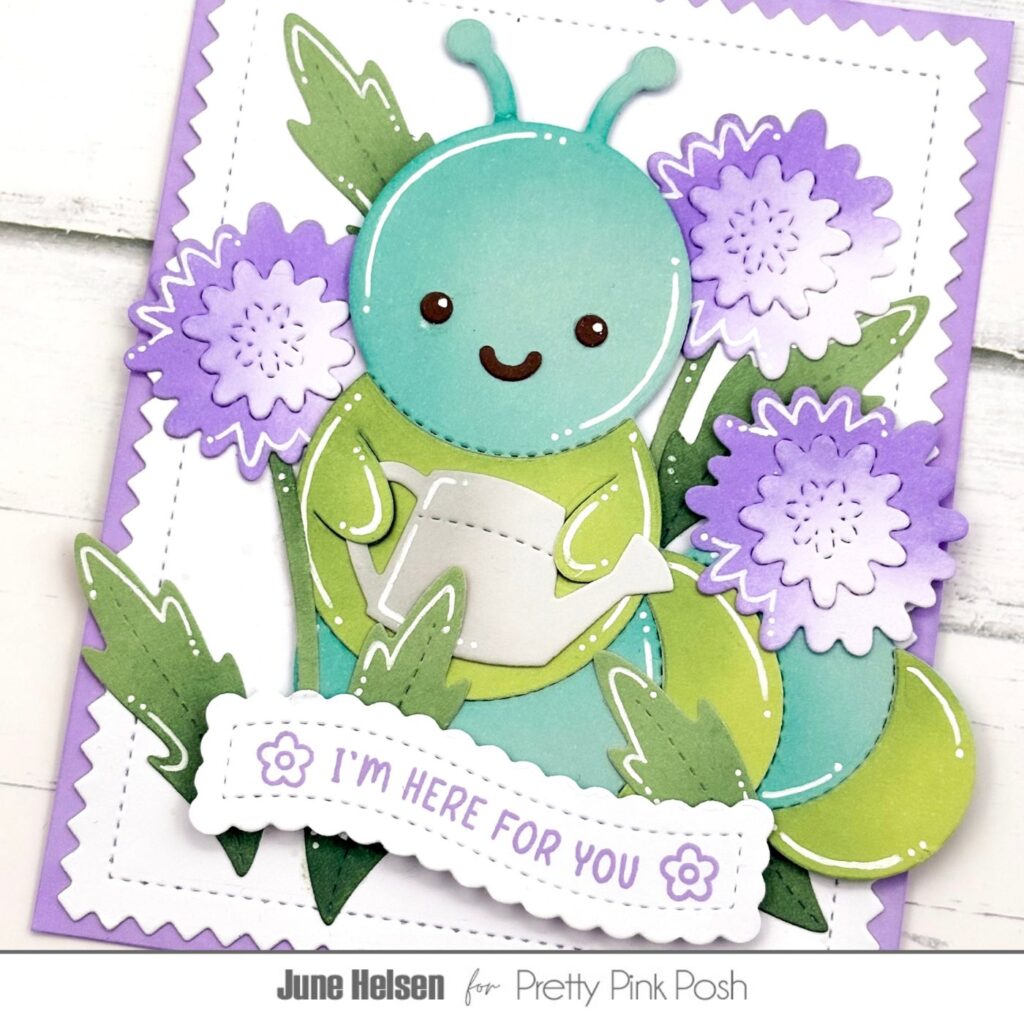
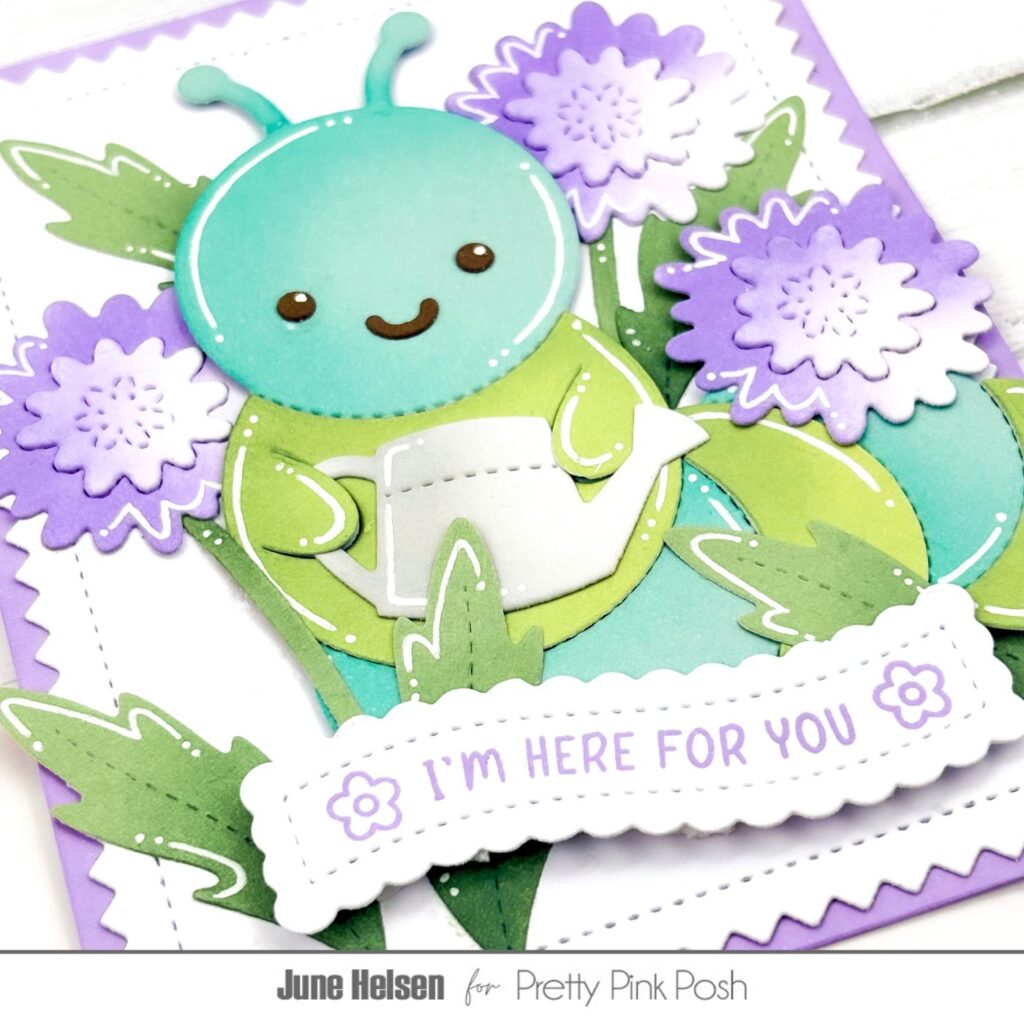
Okay so first off, the Caterpillar Holder is definitely my favorite holder die that Pretty Pink Posh has released so far! I love how you can cut the body sections from different colors to make him fit any color palette you want. Personally, I wanted to alternate between only 2 colors, so I did that with blue and green. I also added some light ink blending and gel pen details to make him pop. The spring release had a watering can die in the Springtime Holder Additions and I thought that would look really cute with this little guy!
To give him some flowers to tend to, I used the new Stitched Dandelions, but instead of going for a traditional yellow, I cut them from light purple cardstock and did some more ink blending on them to give them more contrast. I am so in love with the look of these flowers, they almost look like chrysanthemums in this colorway! I also cut the stems and leaves from the same die set so I could arrange the flowers as a flower patch around the caterpillar.
I cut the largest Pinking Rectangle from white cardstock and did some very light grey ink splattering on it. It’s barely visible in my photos, but it is there and in real life I feel like it adds a nice touch of texture. I backed the panel with purple cardstock to match the flowers.
For the sentiment, I used my favorite scalloped banner from Banner Greetings 2 and stamped one of the sentiments from the Everyday Banner Greetings onto it using purple ink, as well as 2 tiny flowers from Hello Friend to fill the empty space.
I had so much fun creating this card and I hope you enjoyed reading about it! I hope to see you again soon on the blog, bye!
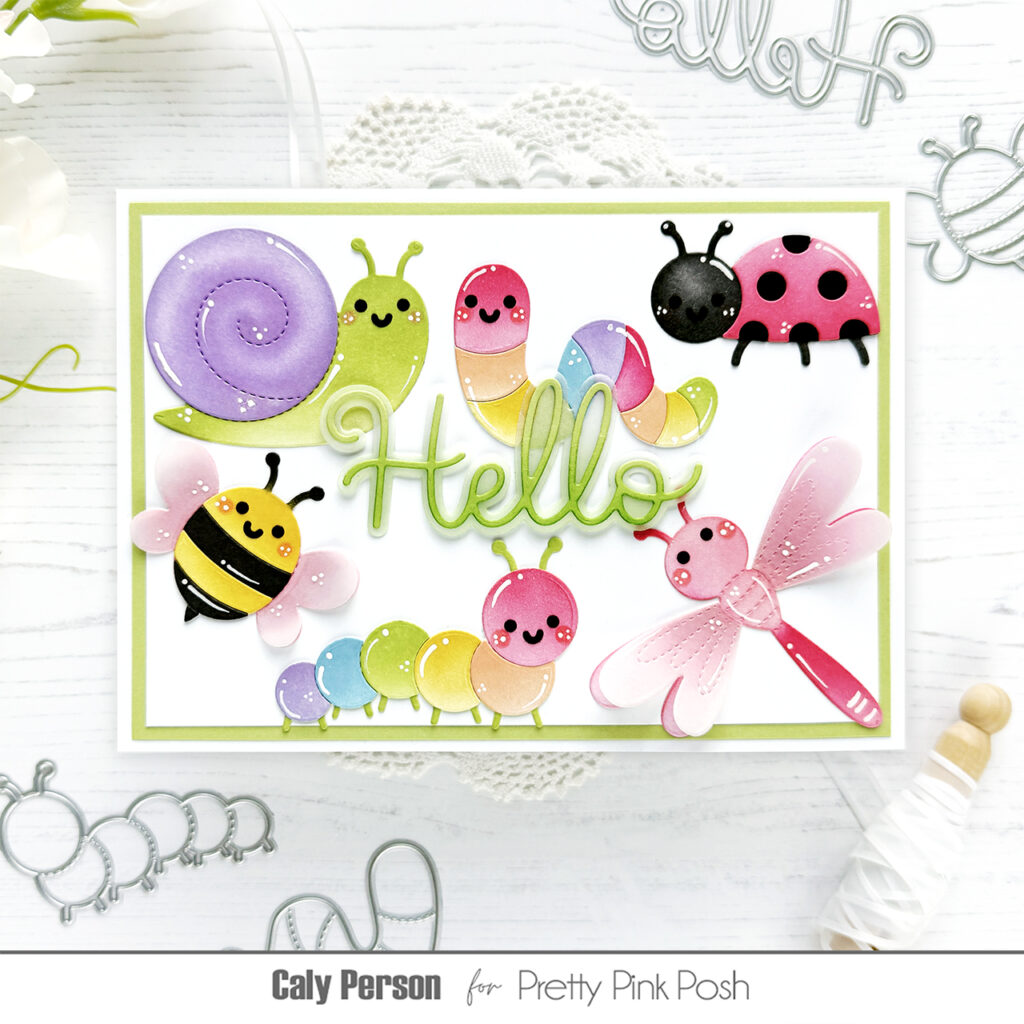
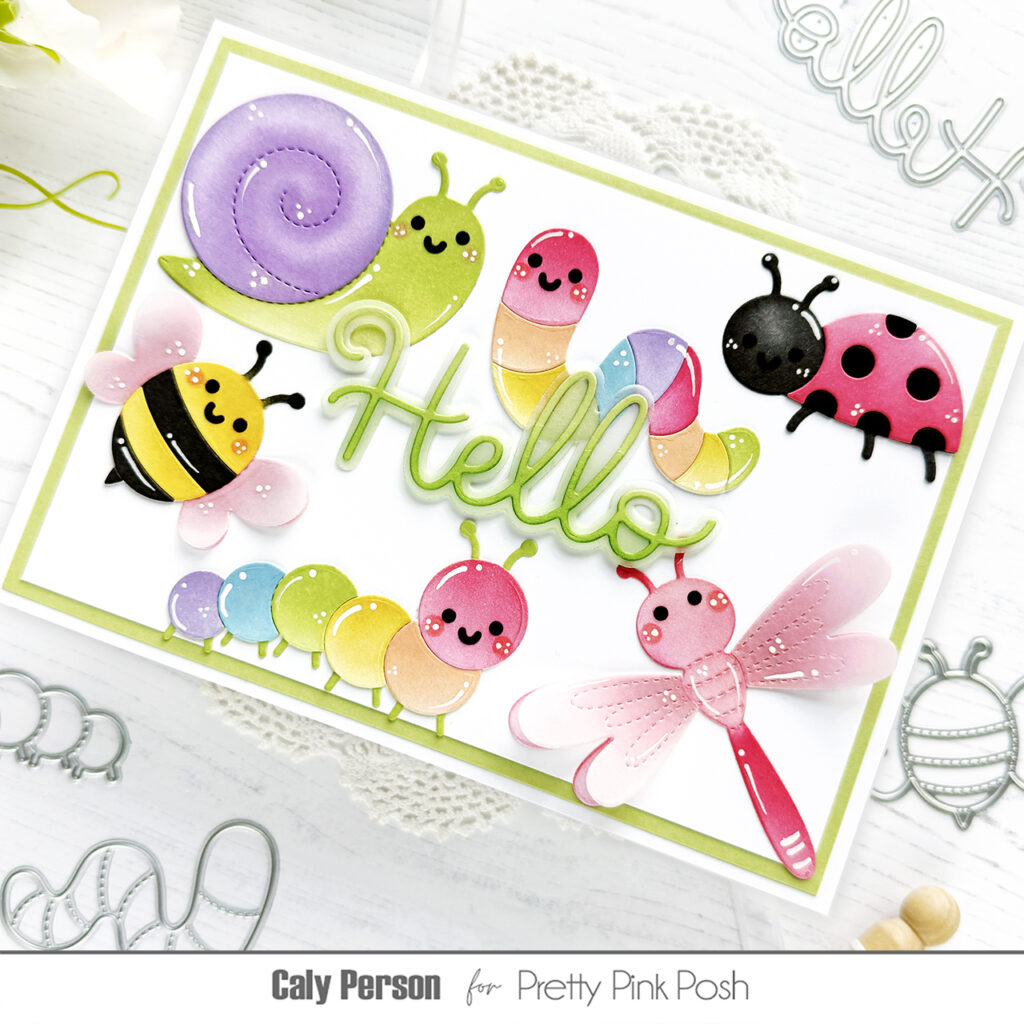
Hi there! This is Caly Person and I’m excited to share today’s card using the Stitched Bugs die set. I love ALL the bugs and couldn’t choose, so I pieced them all together on this project.
Because I wanted to use all the bugs on this card without cutting off any excess overhang, this card is a 5” x 7” card. I die-cut everything but the ladybug’s spots in white and ink-blended with a rainbow of colors.
I added some vellum accents for the bee and dragonfly’s wings to add a touch of dimension. Once I pieced all my bugs together, I added faces and white gel highlights to give them more interest.
The sentiment is die-cut from the Large Hello Shadow Dies in a light green cardstock. I also matted my card with the same color to frame things in.
I hope you enjoyed this card! I just think the bugs are so cute! Thanks so much for stopping by!
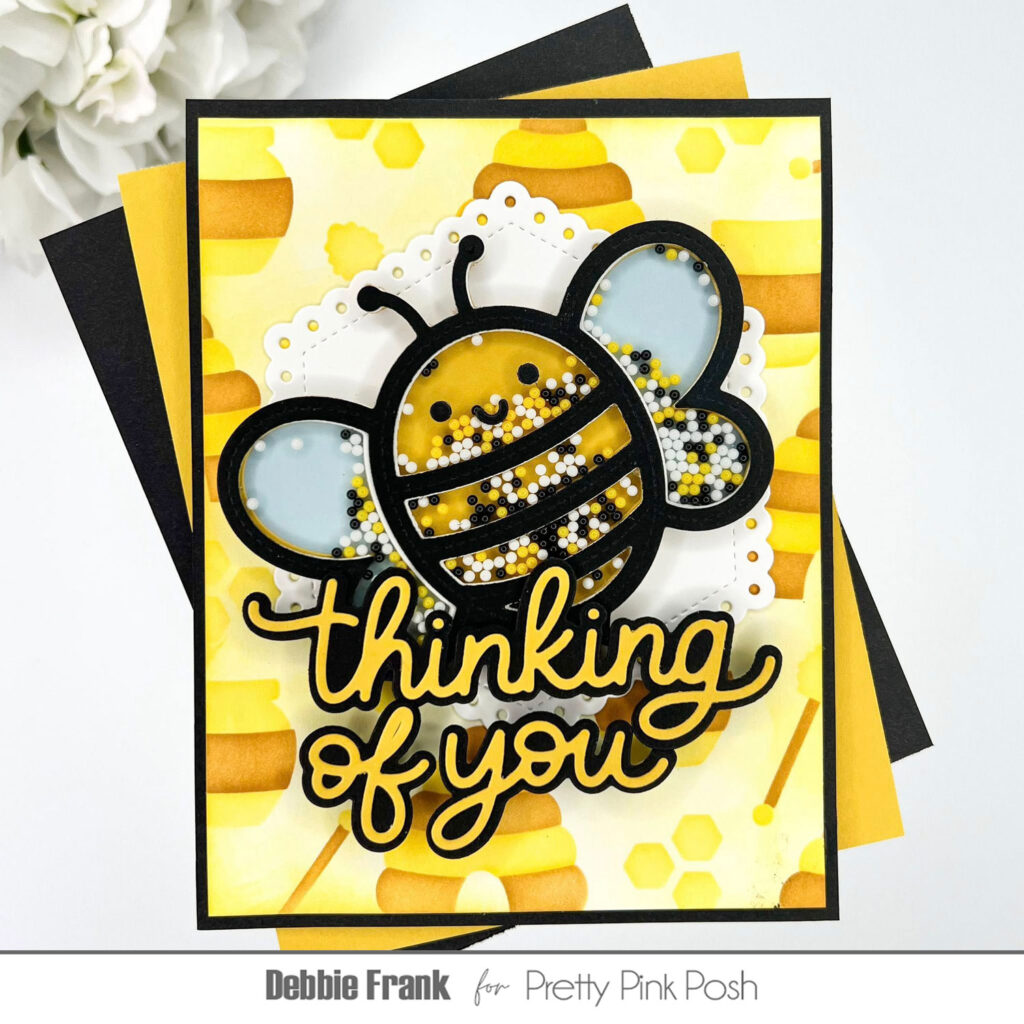
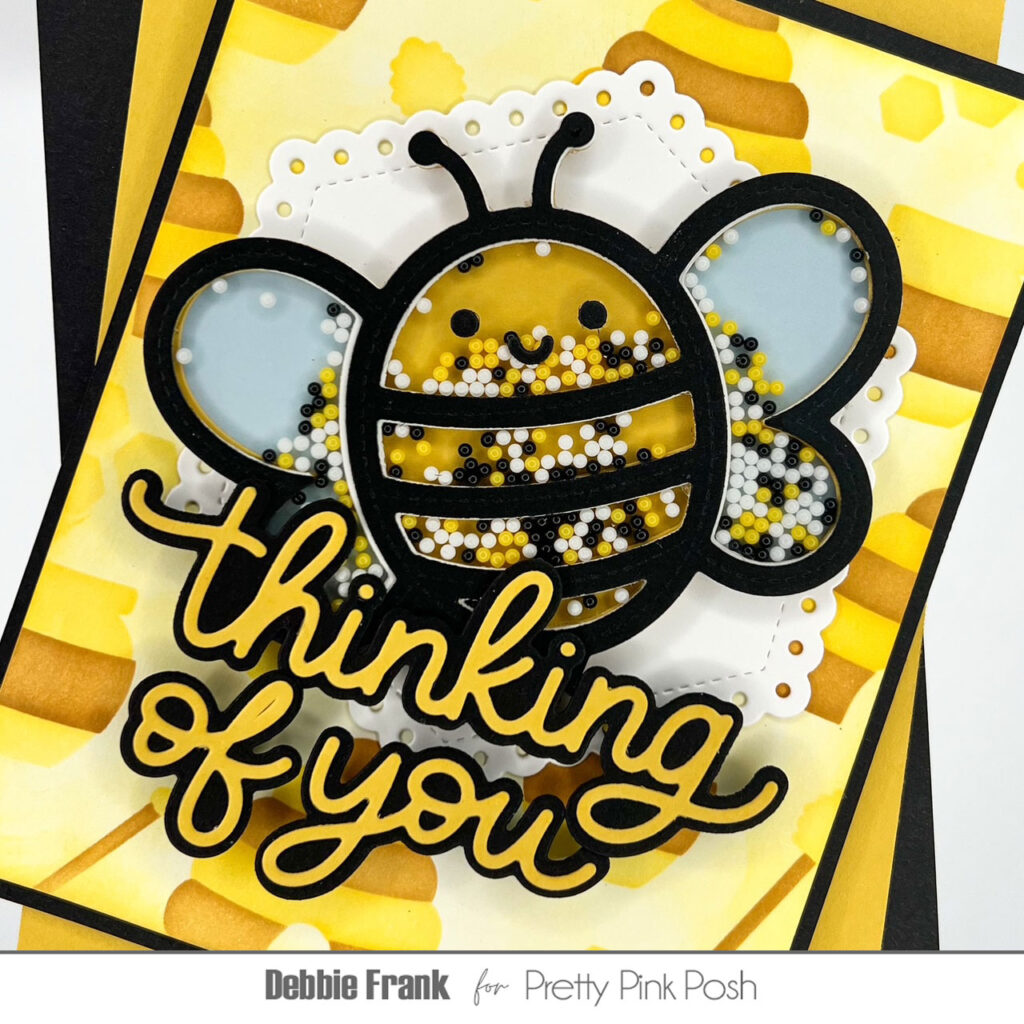
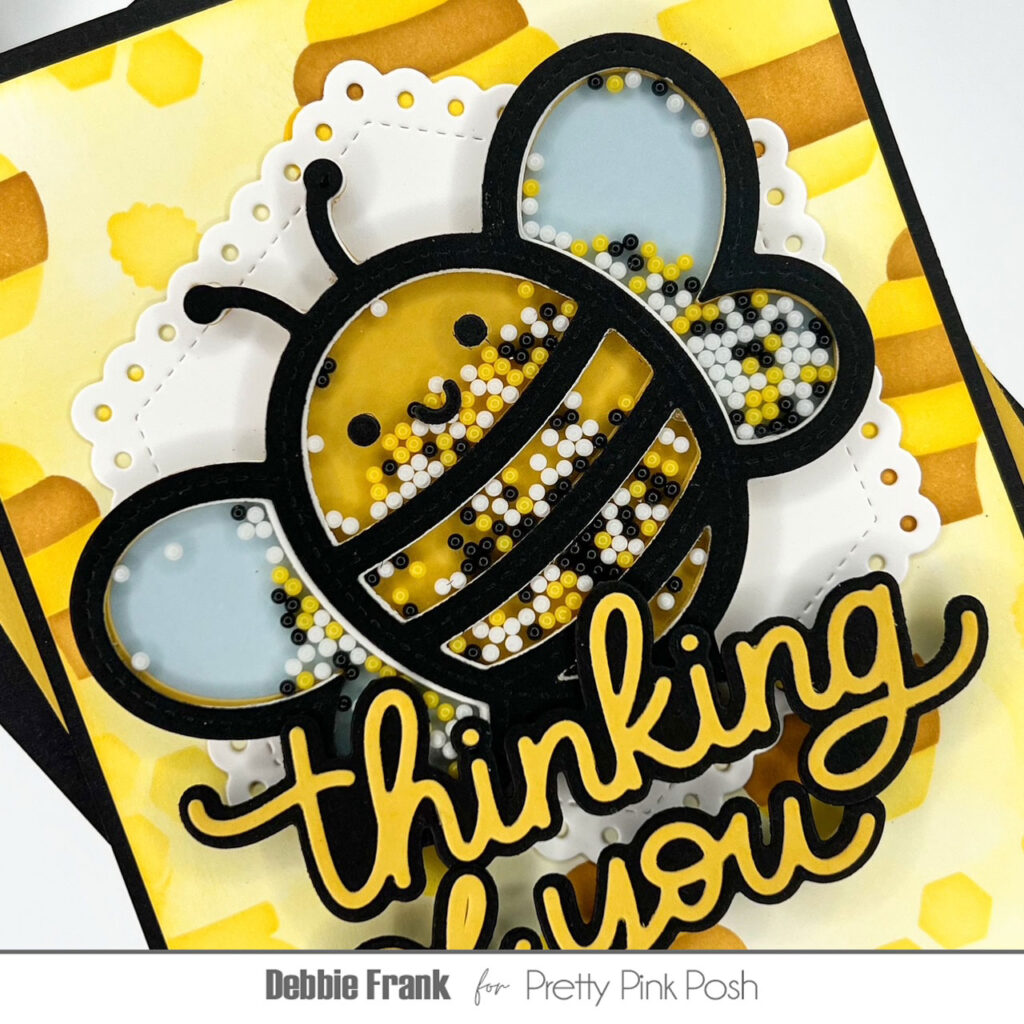
Hi crafty friends, have you heard the buzz? Pretty Pink Posh May Release is buzzing with cuteness! Sorry, I had to add some fun with puns! Debbie here with the Bee Shaker Die that is part of this huge release of all kinds of cute insects, which we all love on paper!
I started off with the Layered Bee Additions Stencilsand a standard A2 white panel on a grip mat. Using dye inks I colored on the hives and honey pots. After I removed the stencils, I went back over the panel with the residual ink left on my brush to calm the white down. Matting the panel with a black cardstock that was 1/8 inch bigger on all sides.
Next, with the Bee Shaker Die I die-cut it out 5 times with both of the dies to make the shaker windows from white card stock and then once with black for the top. With the outer die I die-cut out some acetate for the window, and another white, blue and Honeycomb card stocks. Trimming off the wings to both colored card stock and attaching to the full white bee panel.
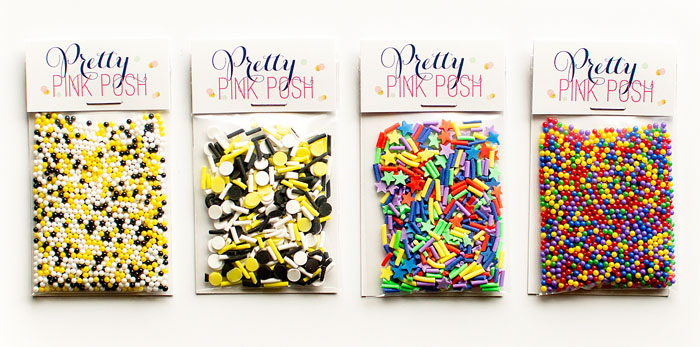
Once the layers for the shaker were adhered together I filled up the Bee Shaker with Bee Happy Shaker Beads then attached the back panel with liquid glue. I flipped it back over and added its cute little face with just a dab of liquid glue.
With the largest Eyelet Hexagons DiesI die-cut from white card stock and attached to the stenciled panel, then the Bee shaker on top at an angle.
Next, with the Thinking of You Shadow Dies I die-cut out the shadow and lettering from black and honeycomb card stocks adhering it together with liquid glue. With the sentiment overlaying the Bee Shaker I did have to add double foam squares to the back only where the bee shaker wouldn’t bee!
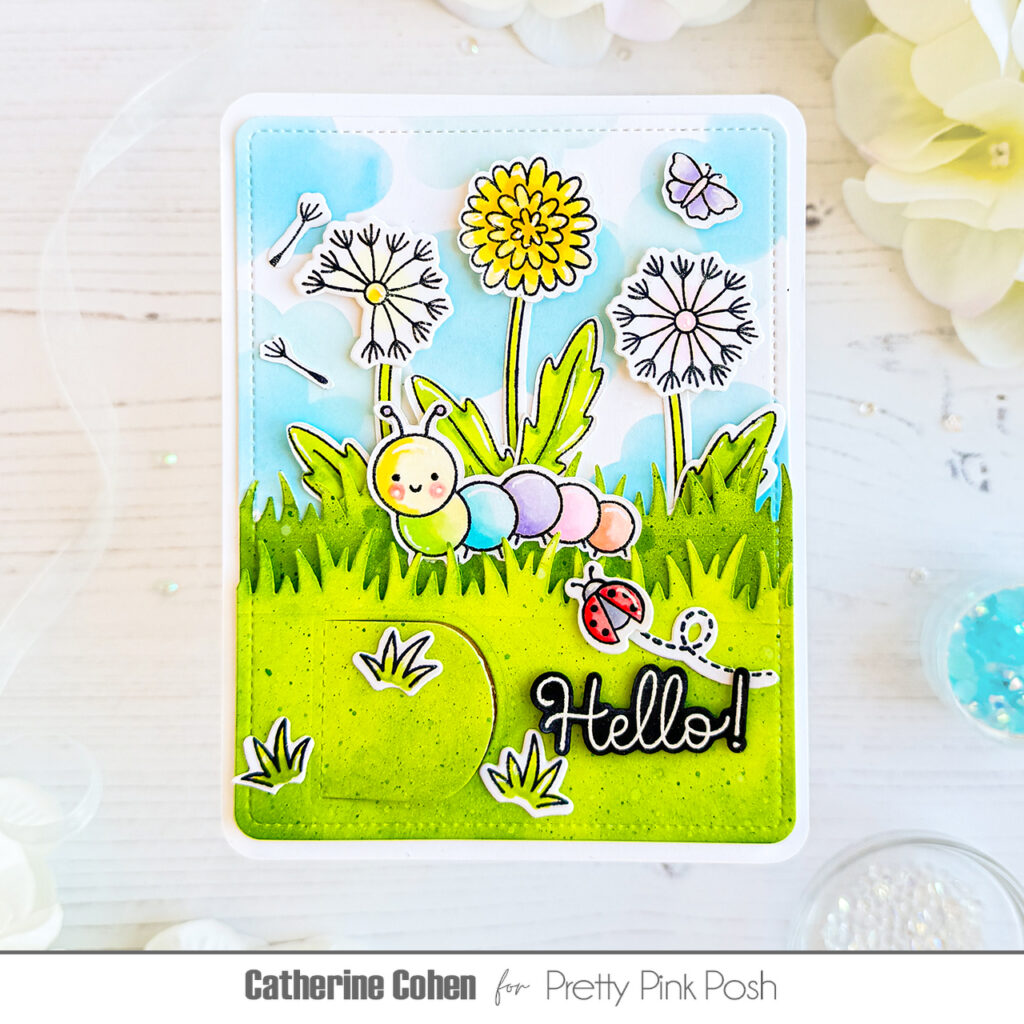
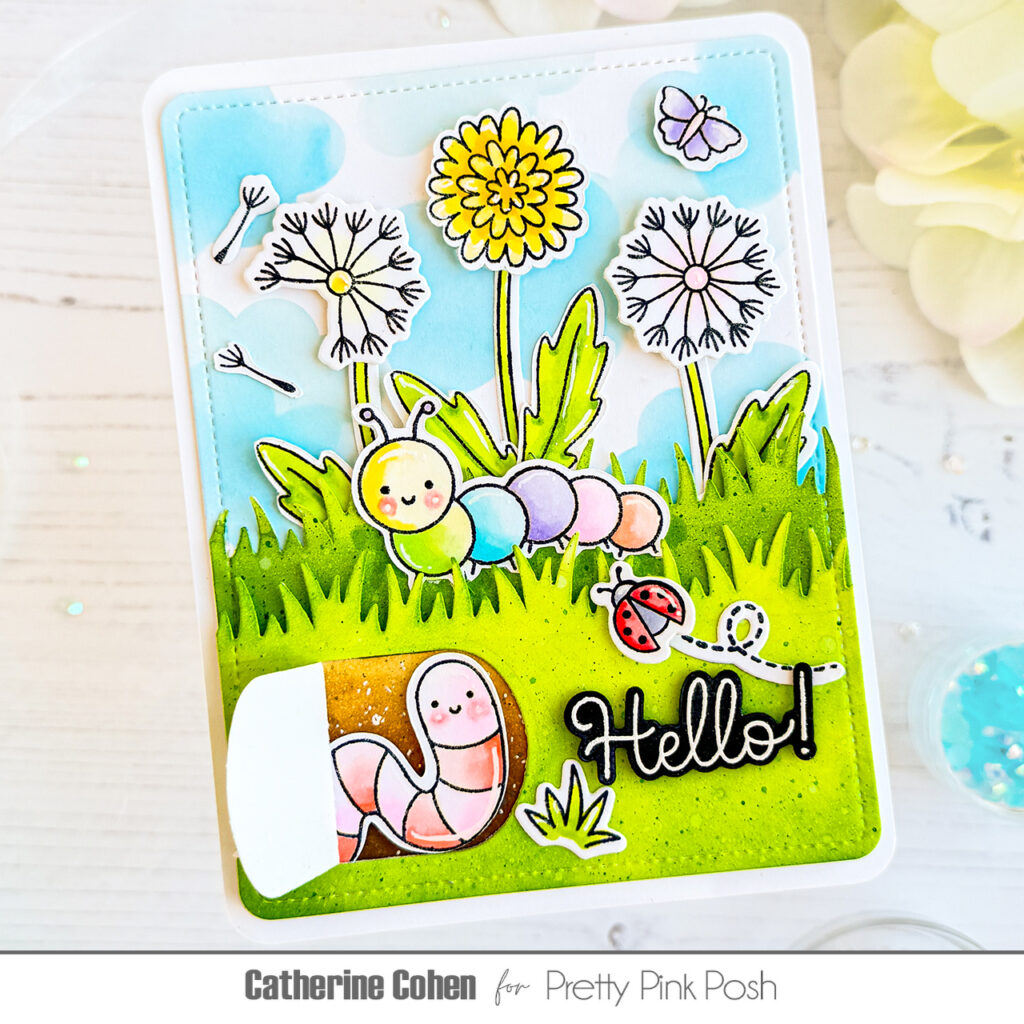
Hello Crafty Friends! Catherine here, and today I’m sharing a playful peekaboo window card featuring the adorable Cute Bugs,Dandelions, Hello Friend, and Rounded Stitched Rectanglesfrom the latest release. The Cute Bugs setis packed with charming little critters—perfect for creating a sweet garden scene full of personality.
To begin, I created the sky background by ink blending with the Layered Clouds Stencilsusing Salty Ocean and Tumbled Glass Distress Oxides on A4 white cardstock. I then used the largest die from the Rounded Stitched Rectangles die set to round the corners.
Next, I created two grassy borders from white cardstock using theGrass Border Die—one measuring 2″ high and the other 1¼” high. I ink blended the taller border with Rustic Wilderness and Mowed Lawn Distress Oxides, and the shorter border with Mowed Lawn and Twisted Citron Distress Oxides. To match the card design, I rounded the bottom corners of the taller grass piece using the same rounded rectangle die.
For the interactive detail, I die cut a peekaboo window into the lower left side of the taller grass border. To create the window background, I ink blended a scrap of white cardstock with Gathered Twigs and Antique Linen Distress Oxides, then splattered it with white and brown acrylic paint for added texture before setting it aside to dry.
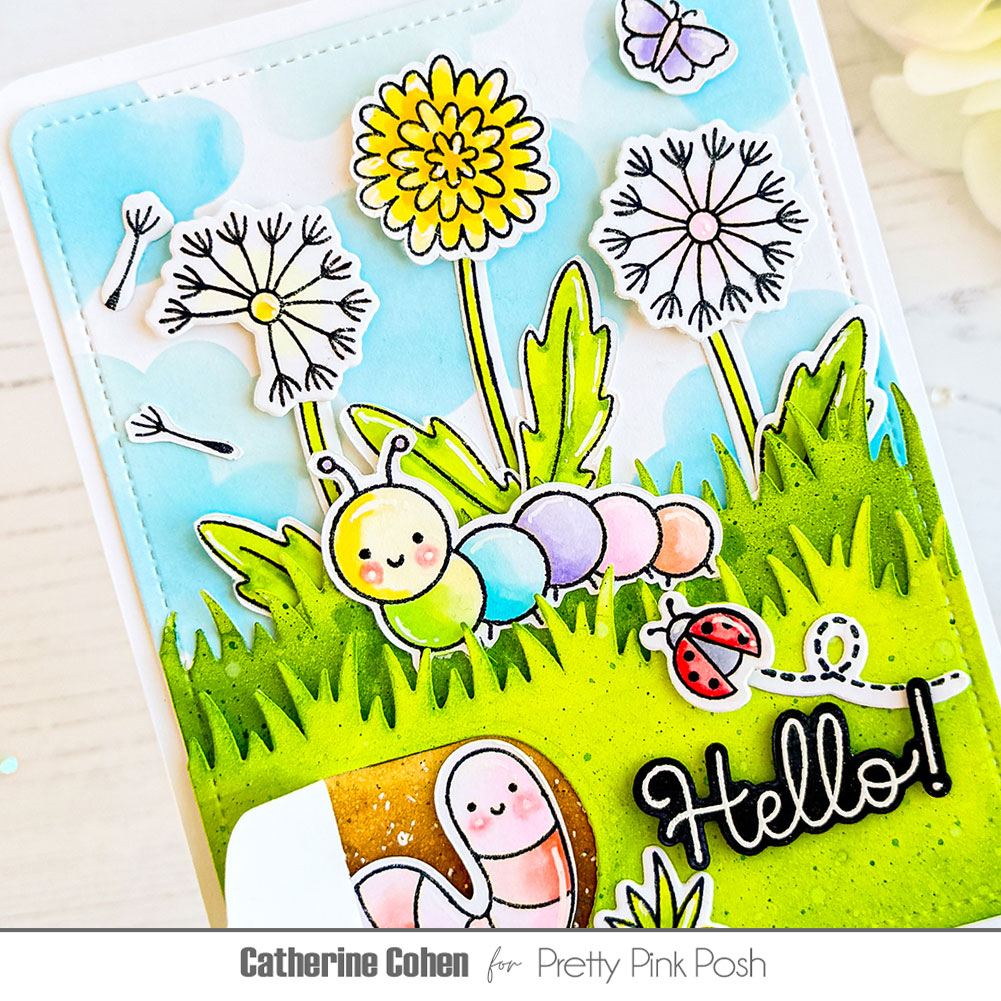
Copic Markers:
Dandelions-Y15, Y13, Y11, Y00, RV00, RV000
Stems, Grass Patches, and Leaves- YG17, YG03, YG01
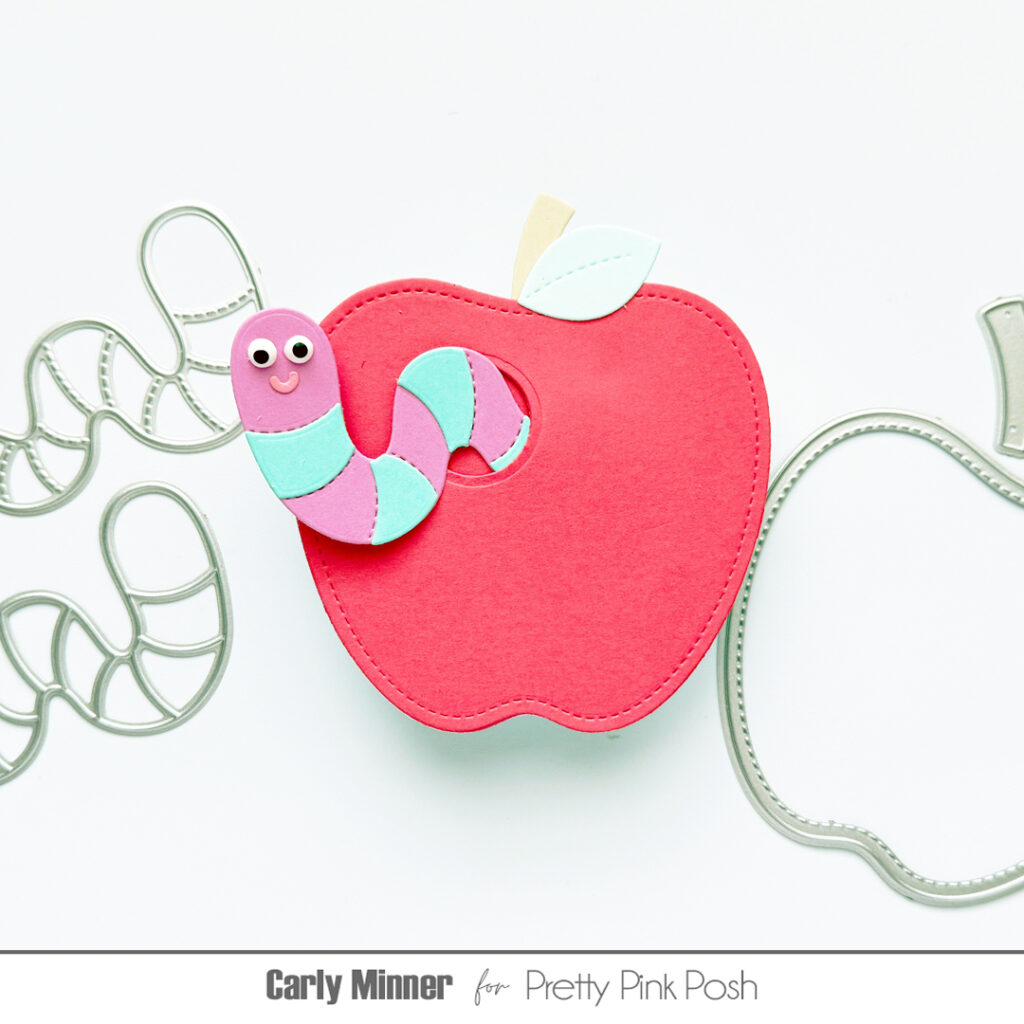
I stamped and die cut images from theCute Bugs, Hello Friend, and Dandelions sets, then colored them with the Copic markers listed below. The little worm was adhered to the dirt background and placed behind the peekaboo window for a fun surprise!
To finish the card, I added a white heat embossed “Hello” sentiment and framed the design with a white rounded rectangle border.
Thank you so much for stopping by today! Be sure to check out this adorable new release, packed with lovable critters, coordinating stencils, a fun stitched cover plate, and eyelet hexagons. Happy crafting!
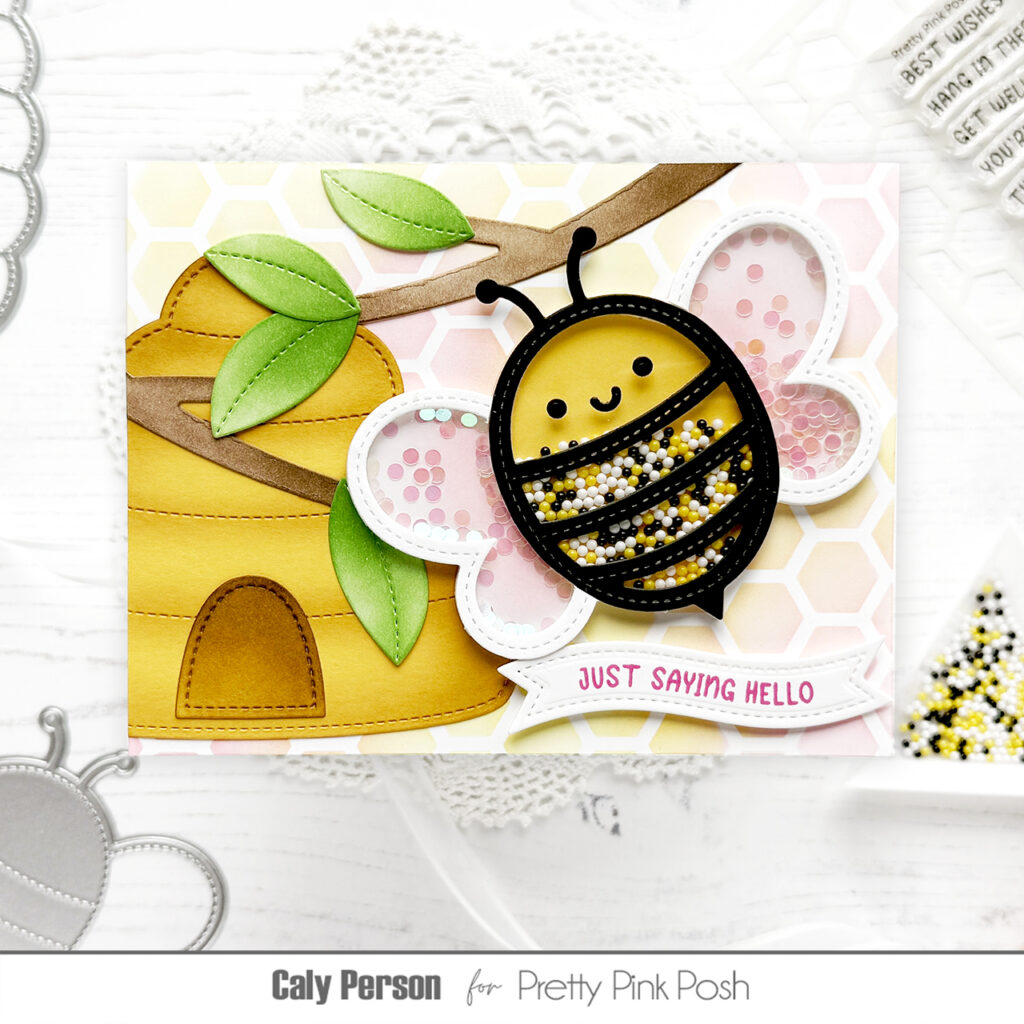
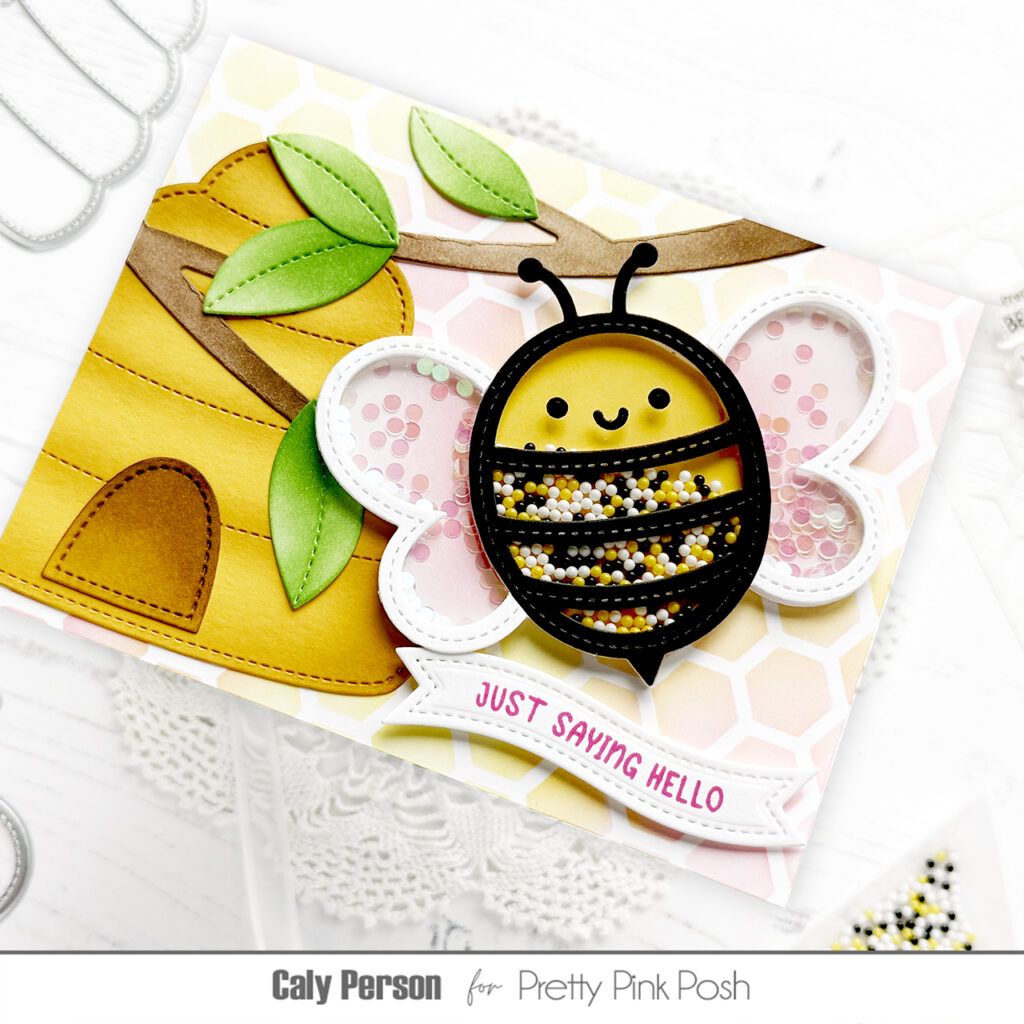
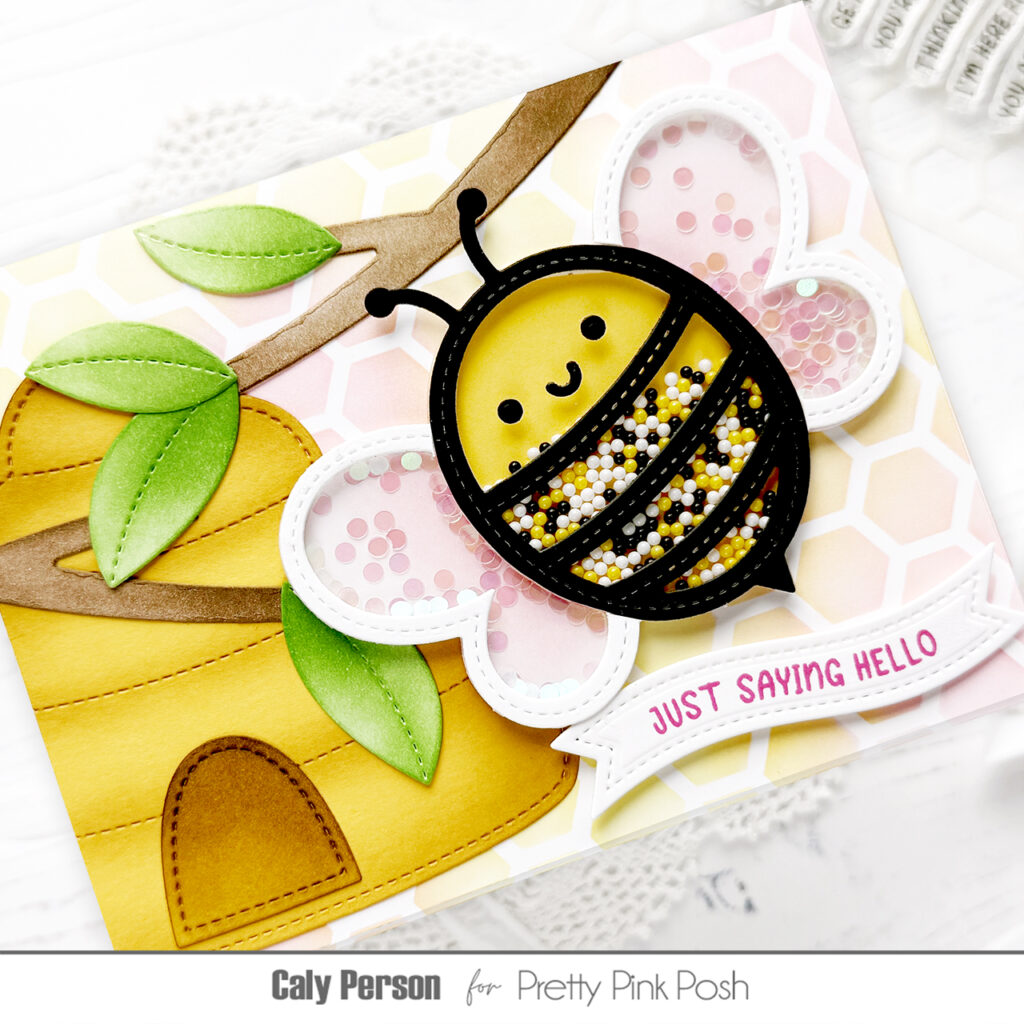
Hello, friends! It’s Caly with you today, celebrating the release of the Pretty Pink Posh May 2026 release! For today’s video hop, I’ve made a card featuring the Bee Shaker.
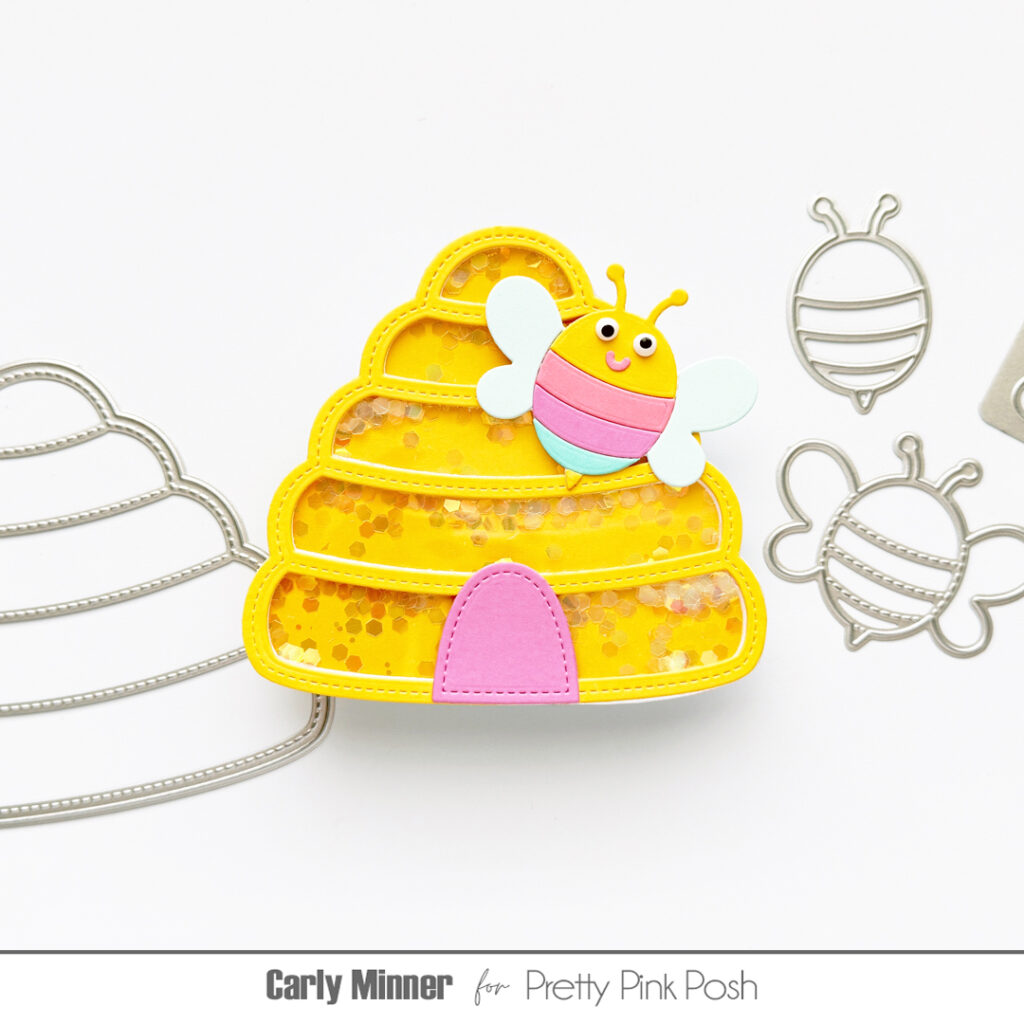
I added the beehive to give it a full scene, but the Beehive Shaker Diescan be used as a standalone centerpiece on any card! The Everyday Branches helps create pops of color against the yellow of the beehive and bee.
To give my bee more color, I pieced it together using black, yellow, and white cardstock. I made to sure to add more color with the addition of pink on the bee’s wings and in the honeycomb background.
I hope you enjoyed this project! Be sure to hop along and leave a comment along each video stop for your chance to win a $20 gift certificate to shop Pretty Pink Posh!
The May 2026 Release is now available in the Pretty Pink Posh Shop and select retailers that carry our products. If you missed our post yesterday, we revealed all of the products in picture form, but if you would like to see them in a video, Mindy has that for you today!
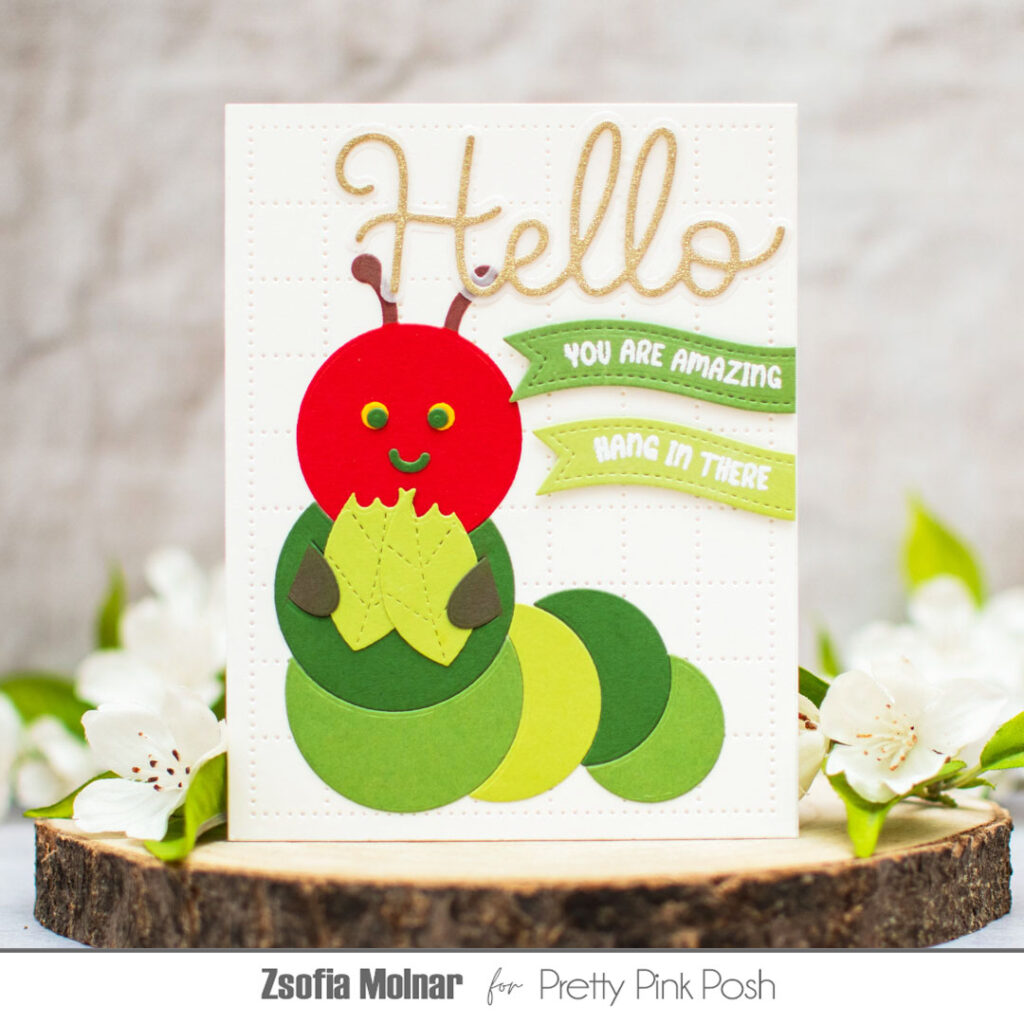
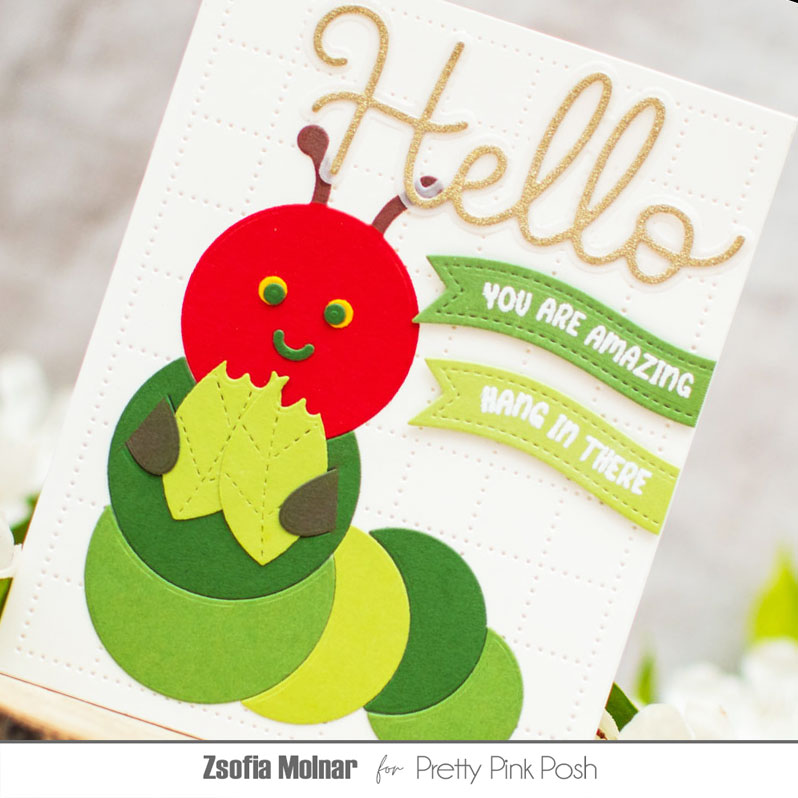
Hello Everyone! It is Zsofi here today with a cute caterpillar card using the May release. It is absolutely unique and full of cheerful little garden critters, perfect for the season. This card was heavily inspired by the famous children’s book, The Very Hungry Caterpillar. Let me show you how I made it.
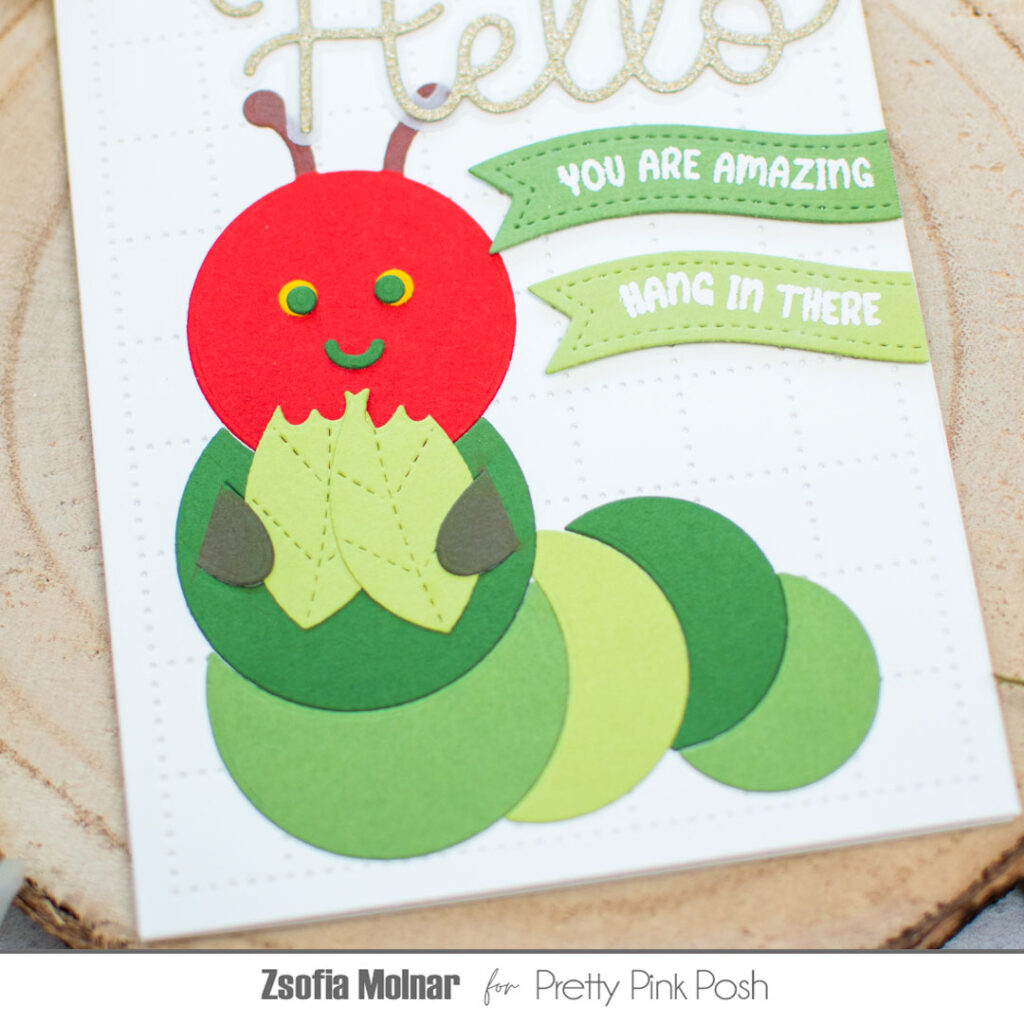
First I cut the Caterpillar Holder die 3 times from different shades of green cardstock. I kept the negatives to use as a template later. I also cut the head from a red scrap piece, masked off the head under the little aentenna with a piece of post-it and blended it with Gathered Twigs Distress Oxide ink. On the red it really looks purplish, just like in the book. I did the same with the little arms. Then I die cut the eyes and mouth from the darkest green cardstock and found a slightly bigger pair of circles in the Stitched Dandelions die set, which I cut from yellow cardstock to layer it under the green eyes.
I wanted the background to have some texture while still resembling the children’s book, so the new Checkered Pierced Plate was the perfect choice. I cut it from white heavy weight cardstock, and using one of the negative pieces of the caterpillar holder die cuts as a template, I assembled the little critter and adhered all the pieces directly on the background.
I wanted some leaves for this cutie to munch on, so I die cut two leaves from the Everyday Branches die set and used the edge of a dandelion die to create the “bite”. It looks so cool, having this very hungry caterpillar holding those half-eaten leaves!
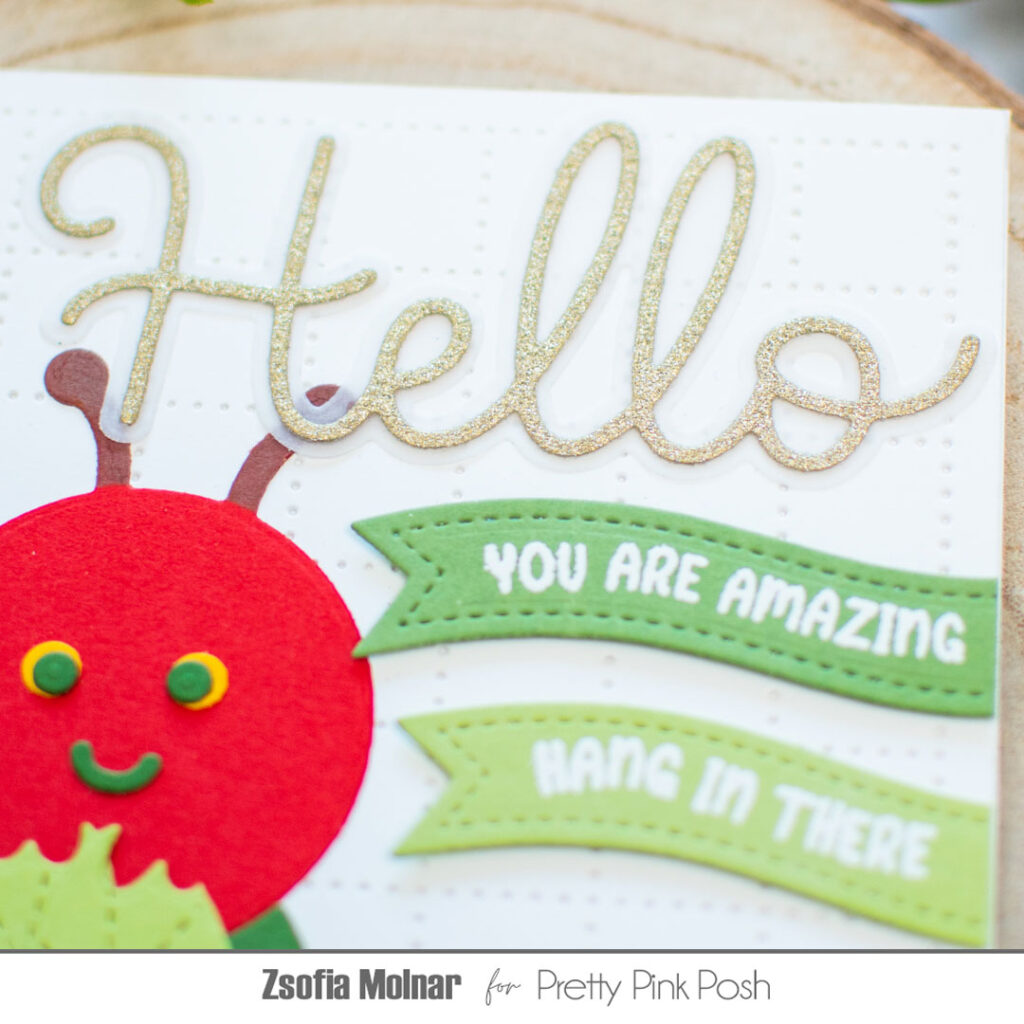
I wanted to keep the sentiment simple yet encouraging, just like the main message of the book. So I die cut the Large Hello Shadow die from gold sparkle cardstock and the shadow from vellum.
I also die cut 2 green flags with the Banner Greetings 3 die set and white heat embossed some encouraging words from the Everyday Banner greetings stamp set to complete the message. I popped them up under the big Hello using 3D foam squares for extra dimension.
Thanks for stopping by, I hopoe you were inspired by this card!
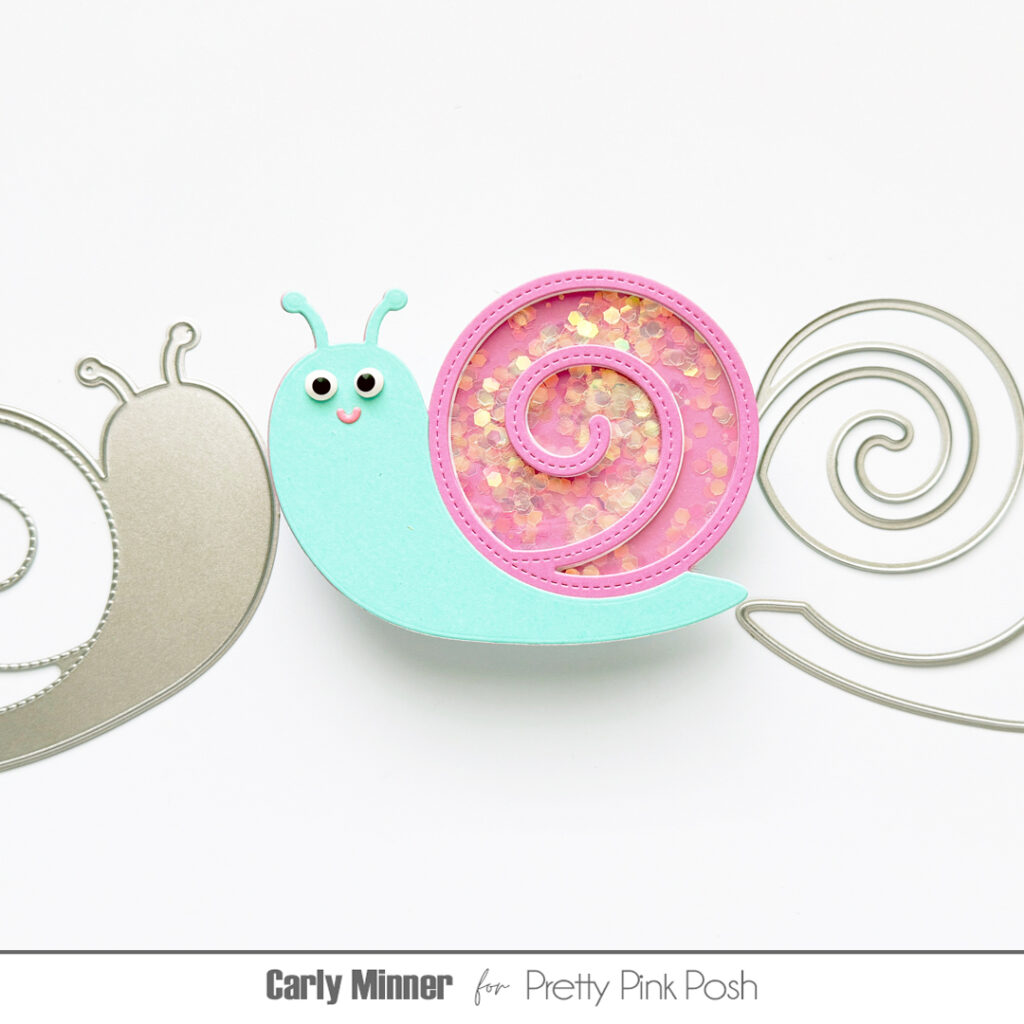
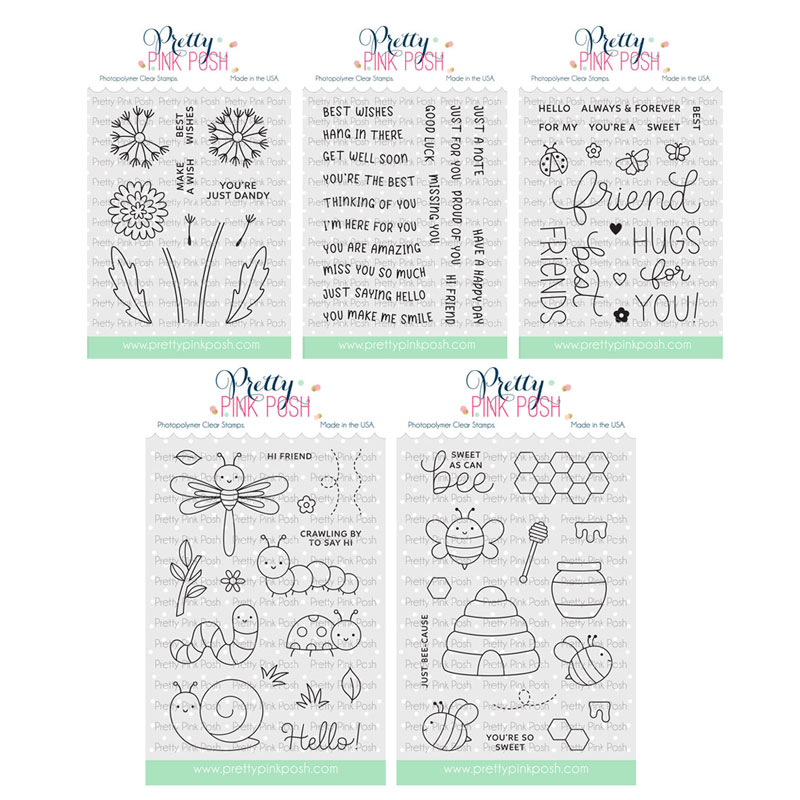
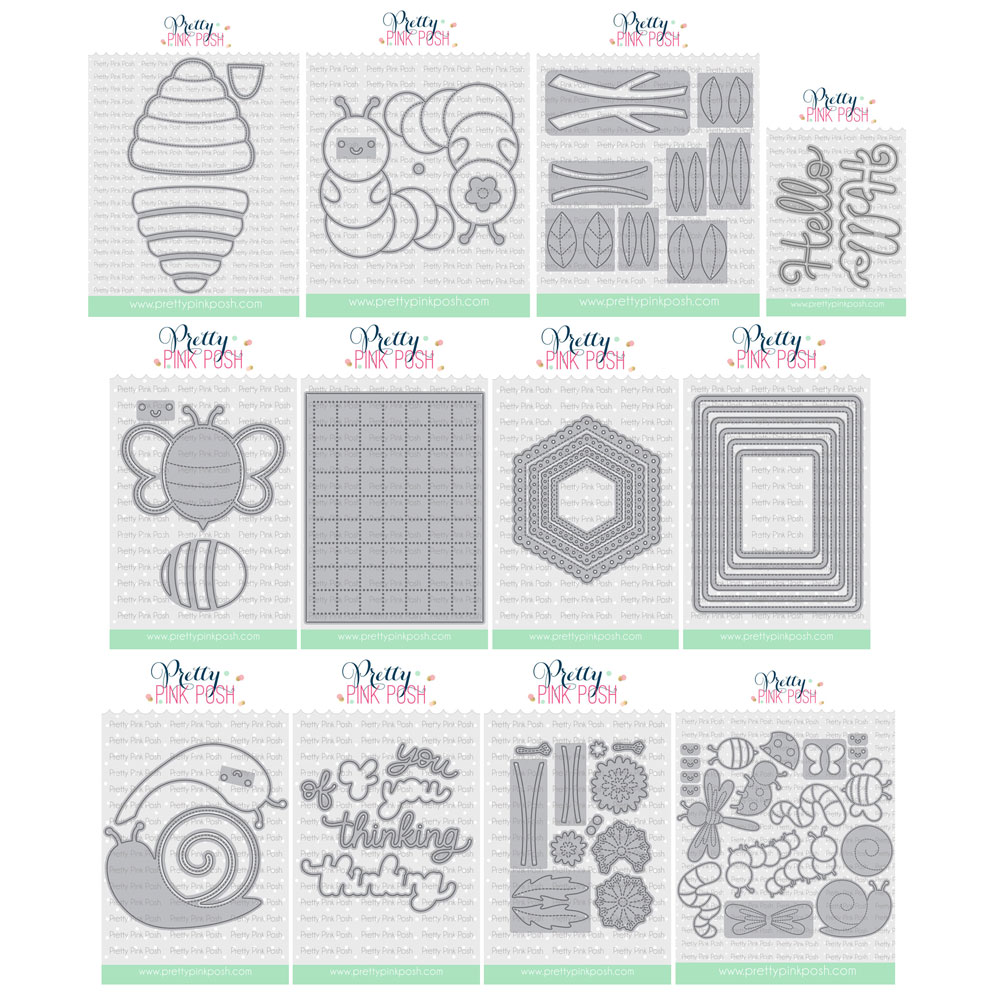
Hello friends! It’s time to reveal all of the products for the May 14th release. This collection of products is all about cute bugs—from bees, caterpillars, dragonflies, snails, and more!
We have a limited amount of bundles available where you can buy this release in one easy click. Plus, you’ll save 15% off when you buy it all together.
We will see you tomorrow as we show you the new products in a video. In addition, the products will go live individually, and we’ll also have a video hop!