Bee Friends Mini Cards
Hello, Pretty Pink Posh friends! Brenda here with a couple of note cards that would be perfect to tuck in a lunch box before a big test or add to a floral arrangement to let someone know that you’re thinking of them! The Bee Friends Stamps & Coordinating Dies pair perfectly with the Sweet Note Die Set to create these sweet note cards and envelopes that are sure to brighten anyone’s day!
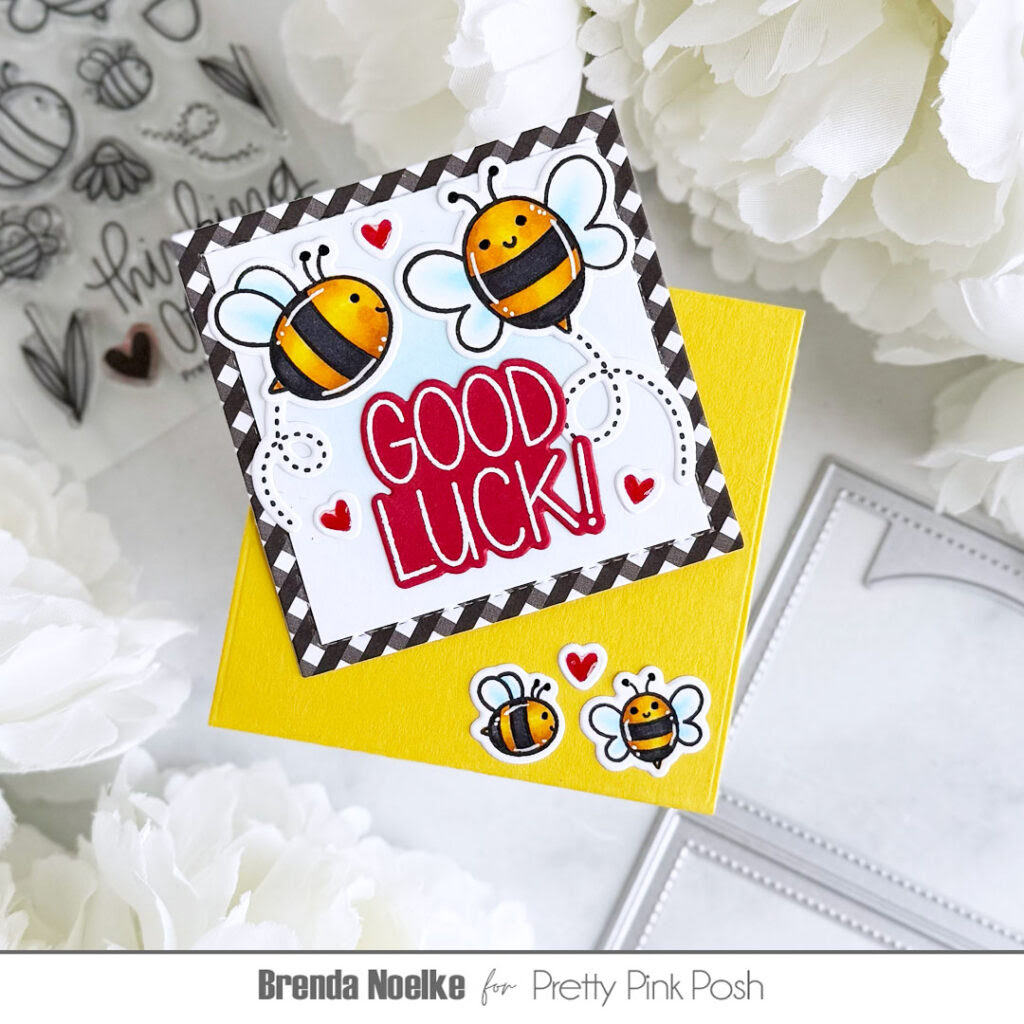
I began by stamping the bees and trails in the Bee Friends Stamp Set onto white cardstock with Copic-friendly black ink. I colored them with Copic markers, then used the Coordinating Dies to cut them out. I added a bit of shine to the eyes with a black glaze pen and used a white gel pen to add in some highlights.
Next, I die-cut the envelopes from yellow cardstock and the square from black and white gingham using dies from the Sweet Note Die Set. The envelope dies were folded along the score lines and the folds were reinforced with a bone folder. I adhered each side together with liquid glue, being sure to use a very thin bead of glue.
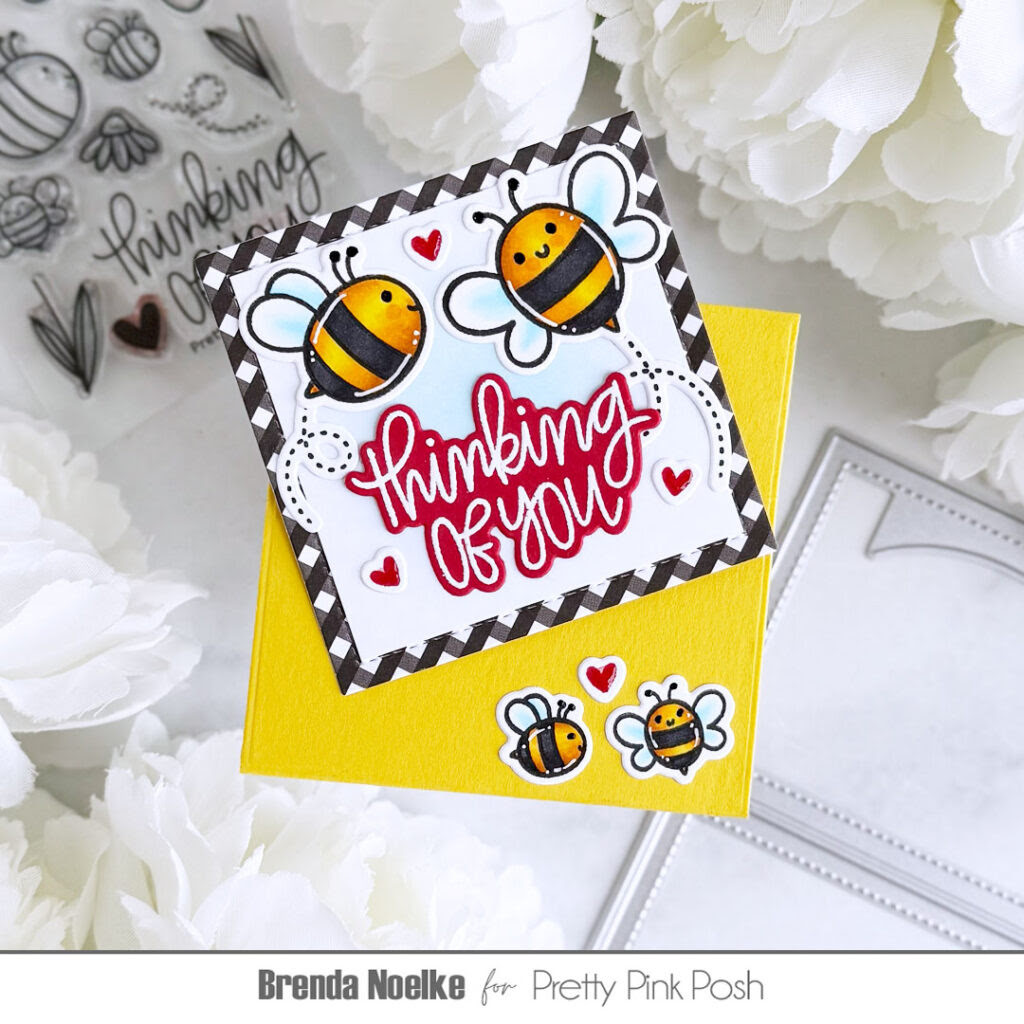
I trimmed white cardstock squares to fit just inside the stitched edge of the gingham panel and added a bit of Tumbled Glass Distress Ink to the centers of the panel with a blending brush, then adhered them to the gingham panel.
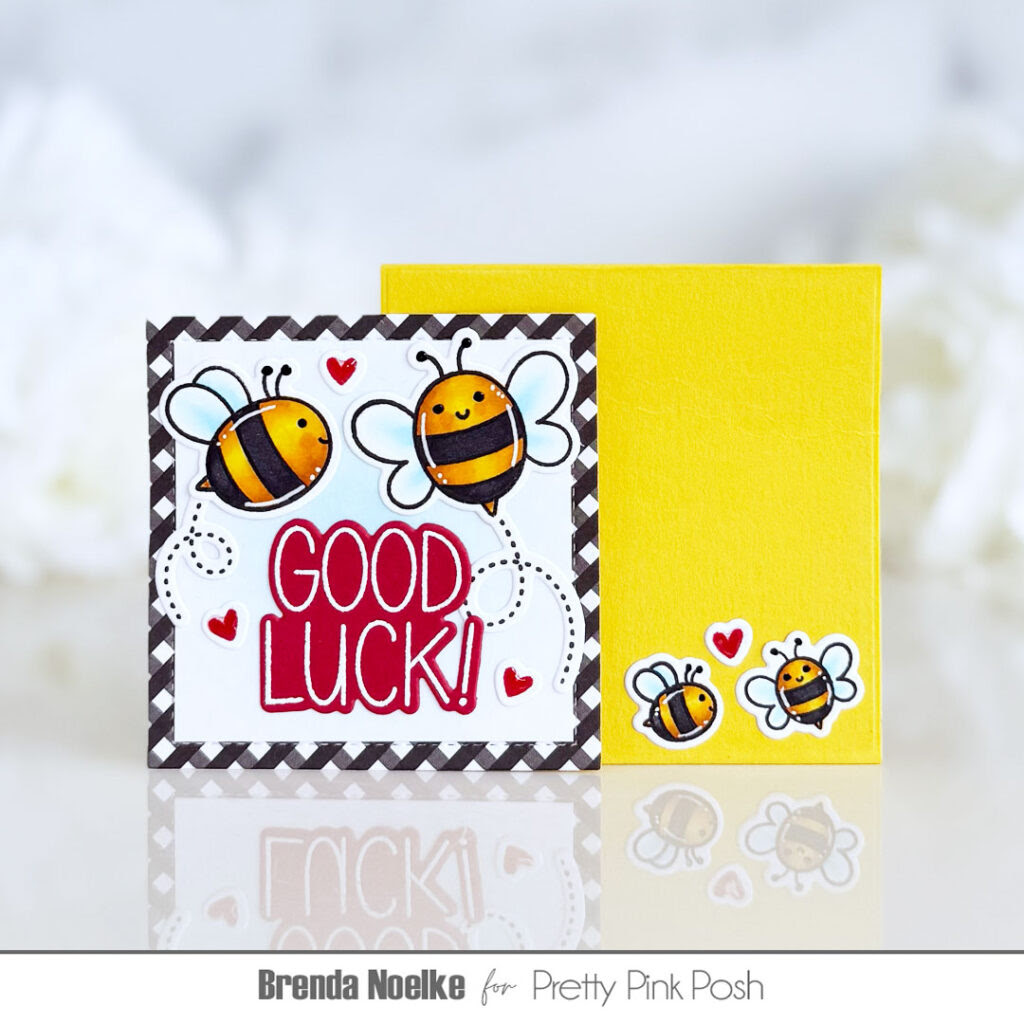
The sentiments, from the Bee Friends and Lucky to Know You Stamp Sets, were white heat embossed onto red cardstock and cut out with the Bee Friends and Lucky to Know You Coordinating Dies. The larger bees and trails were adhered with liquid glue. I added the small bees to the front of the envelopes.
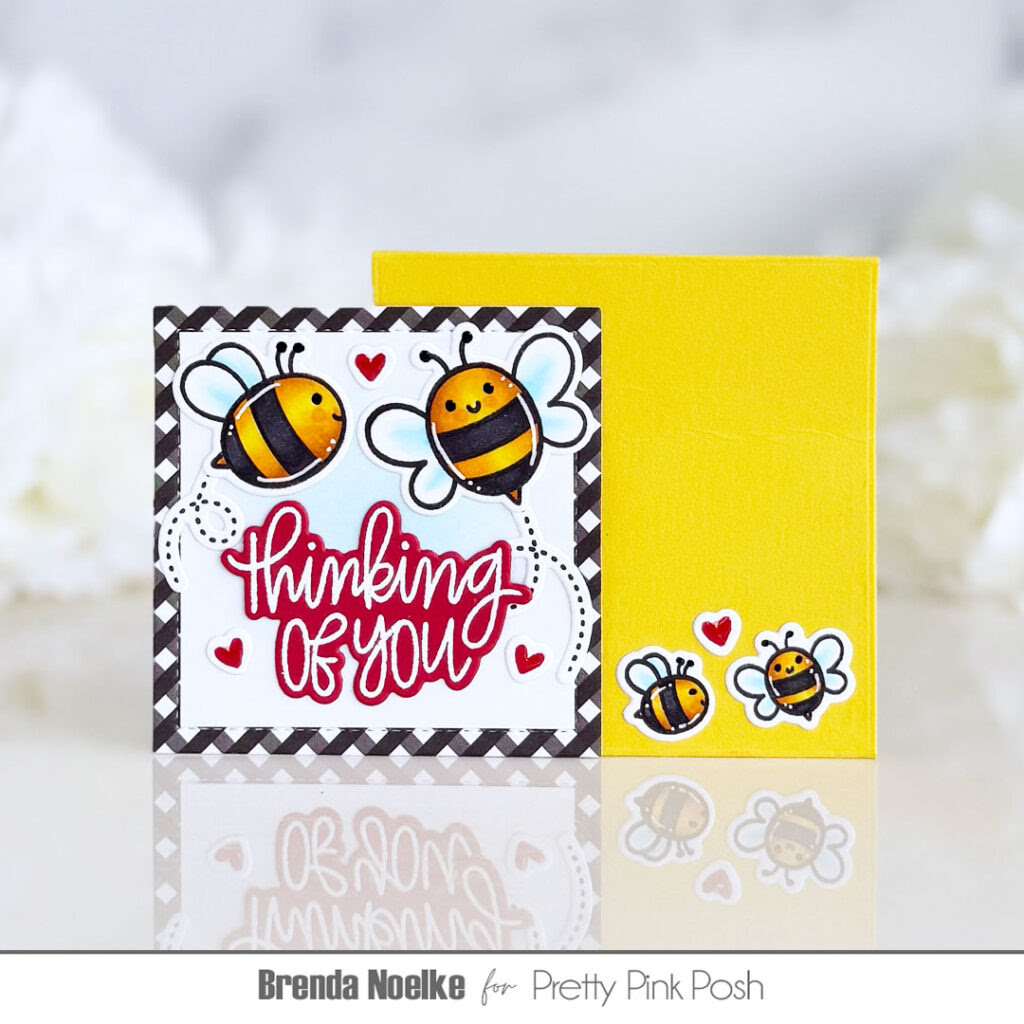
There are two sizes of solid hearts in the Bee Friends Stamp Set. I decided to use these as embellishments so they wouldn’t be too bulky to fit into the envelopes. The smaller heart was stamped onto white cardstock several times with red dye ink and cut out with the Coordinating Die. They were adhered to the note cards and envelopes with liquid glue. I added Glossy Accents to add a bit of shine to all of the hearts and that finished off these sweet note cards and envelopes.
That does it for me today!! Thank you so much for stopping by!