This is part of the Instagram Hop. If you’d like to hop along for more inspiration and a chance to win a gift card, visit us on the Pretty Pink Posh Instagram account.
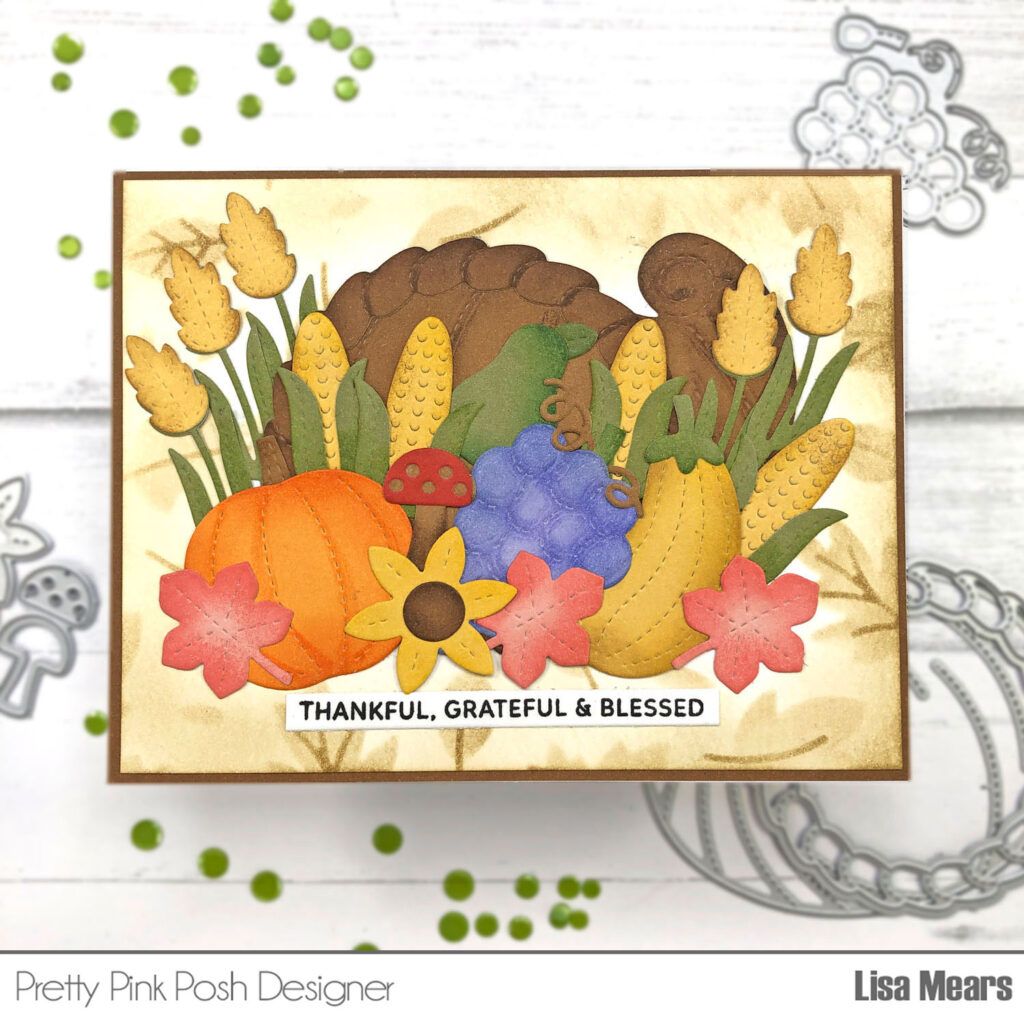
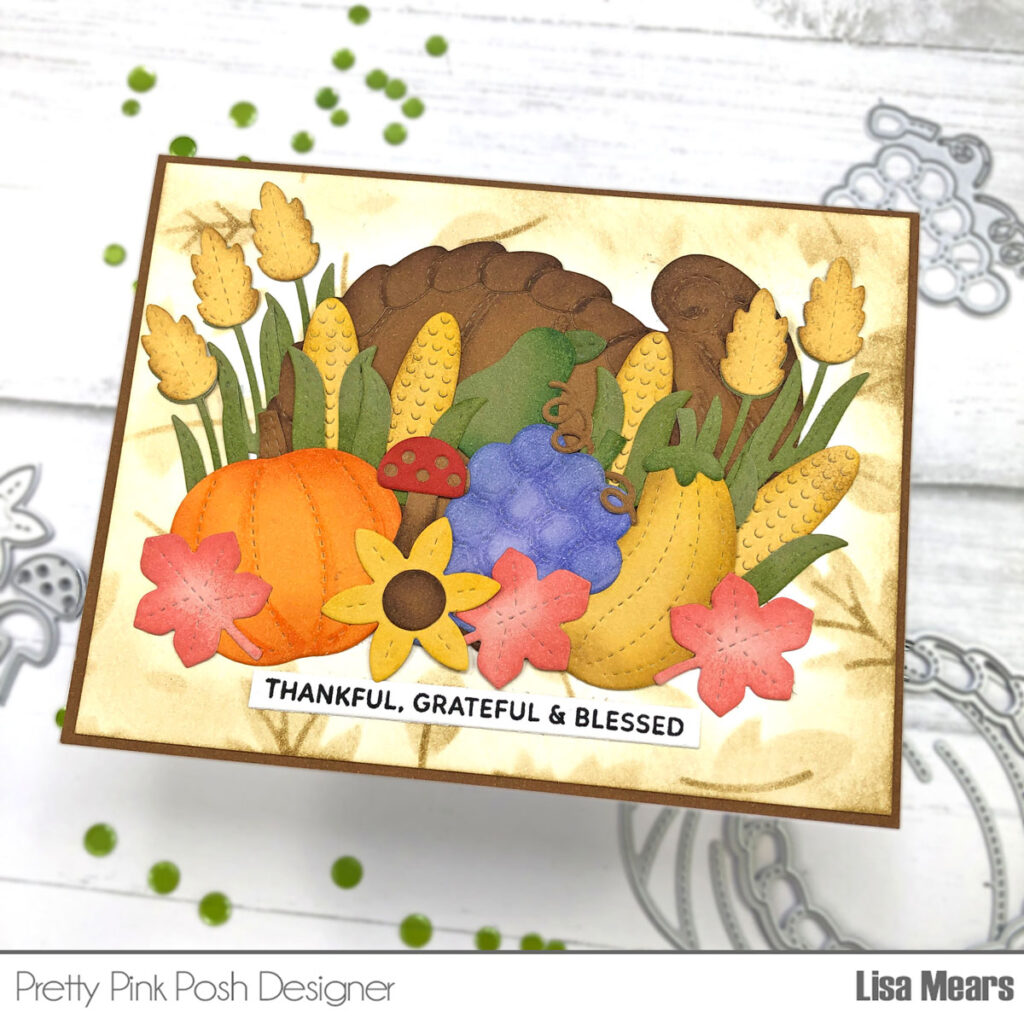
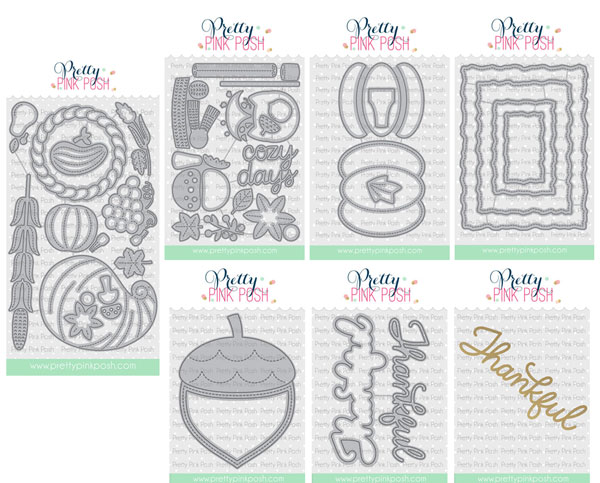
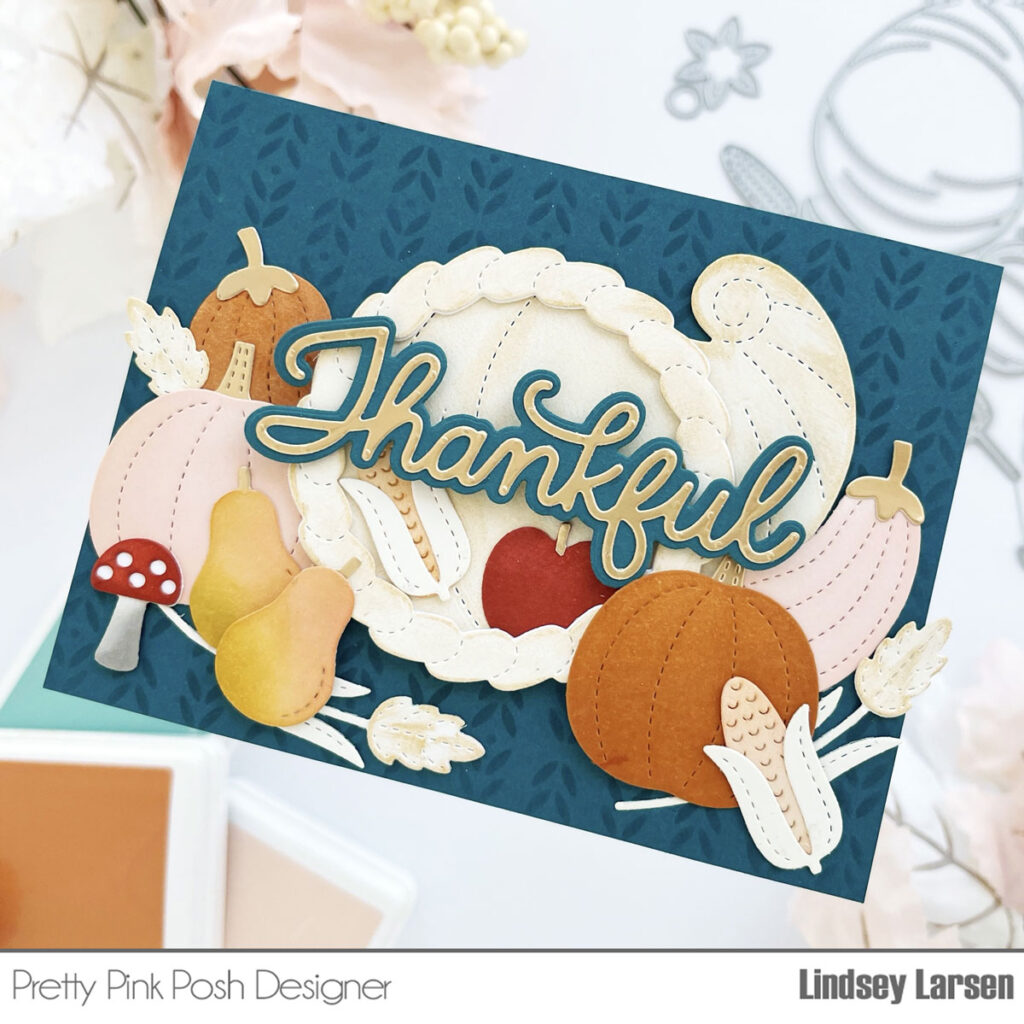
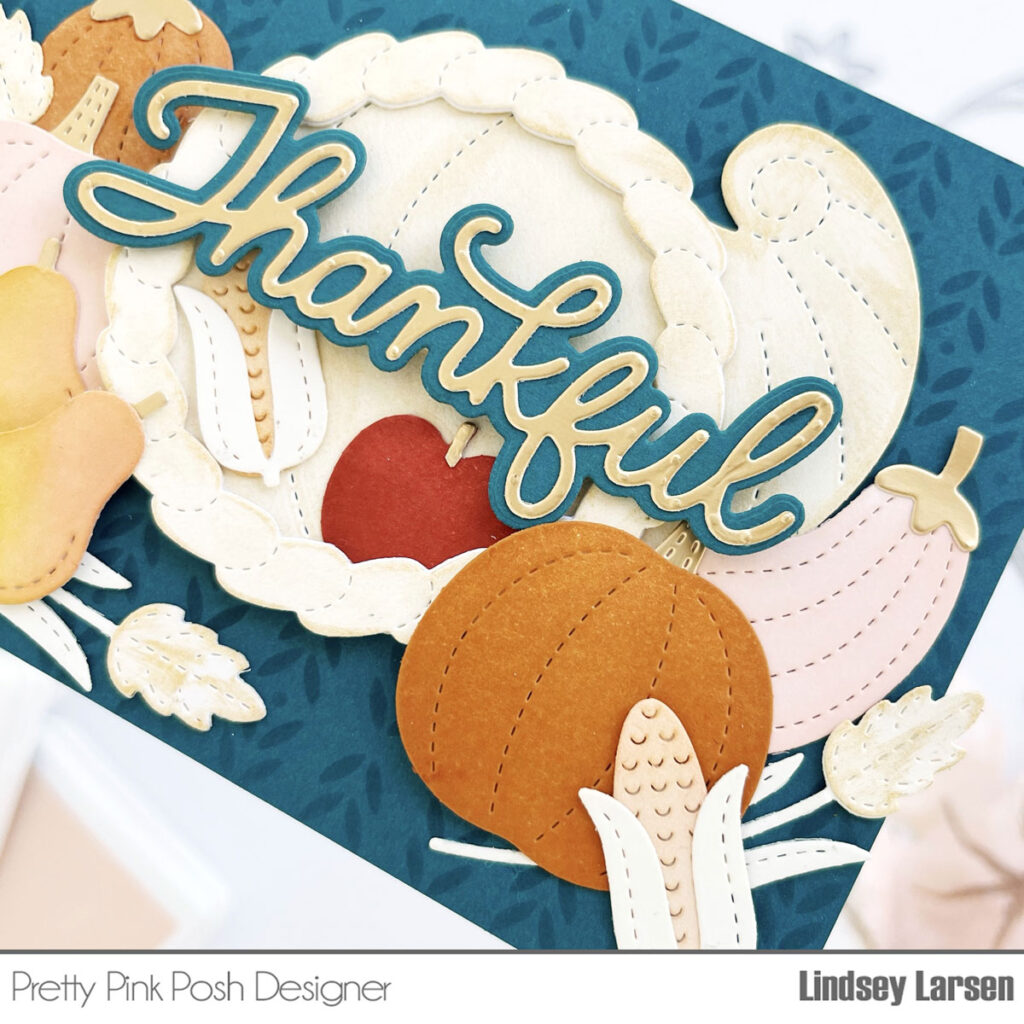
I used the Fall Cornucopia die set. This die set includes the basket and lots of fruits and vegetables to add to the basket. I die cut all of the pieces and added some ink to edges to add depth.
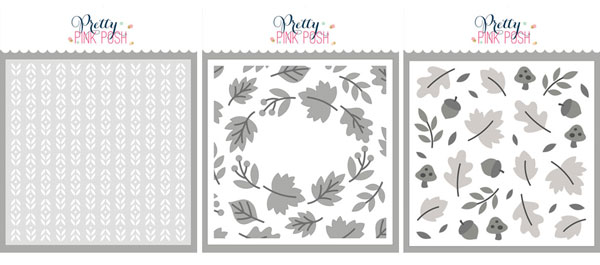
For the background of my card, I used the Layered Foliage Stencils. This stencil consists of fall leaves. I added a light brown ink to the stencil and then added the same ink to the edges of the cardstock. I wanted a very subtle background since the cornucopia would be the focal point of the card.
This is part of the Instagram Hop. If you’d like to hop along for more inspiration and a chance to win a gift card, visit us on the Pretty Pink Posh Instagram account.
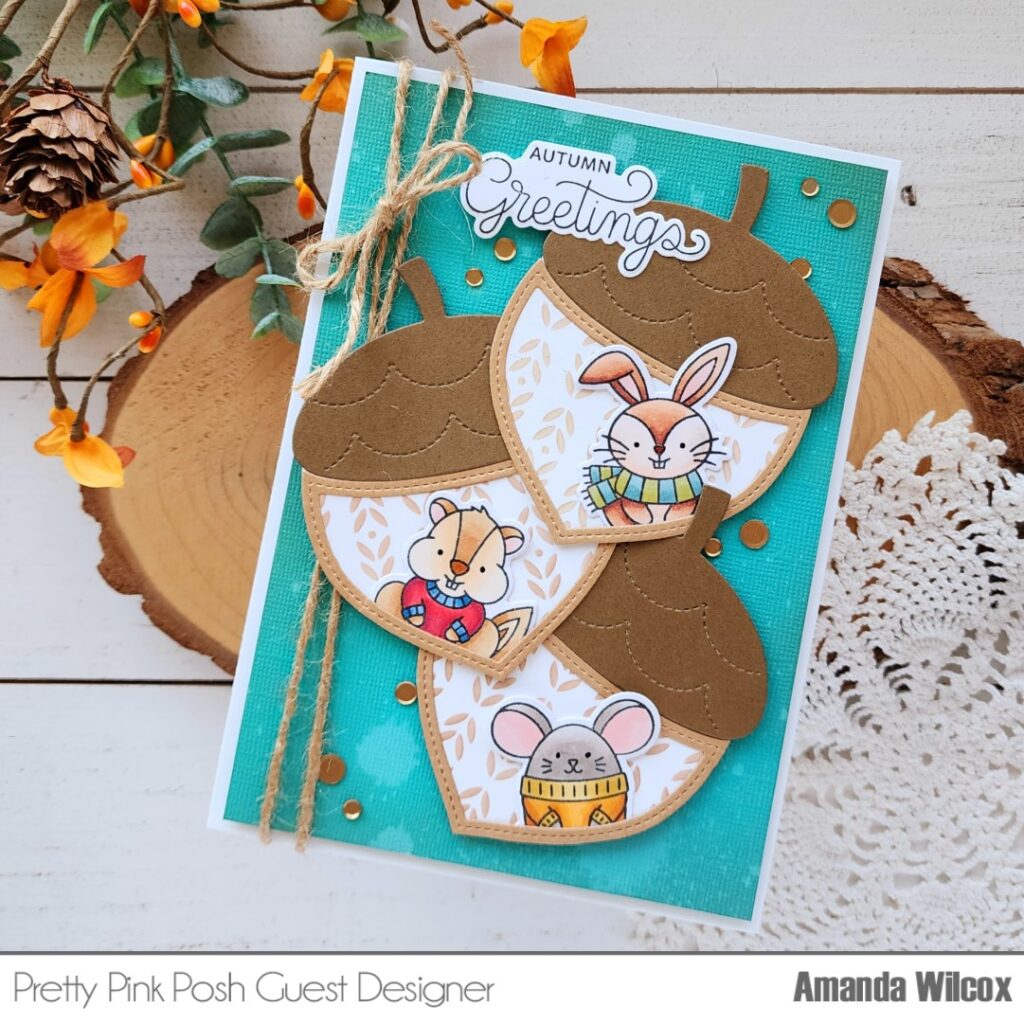
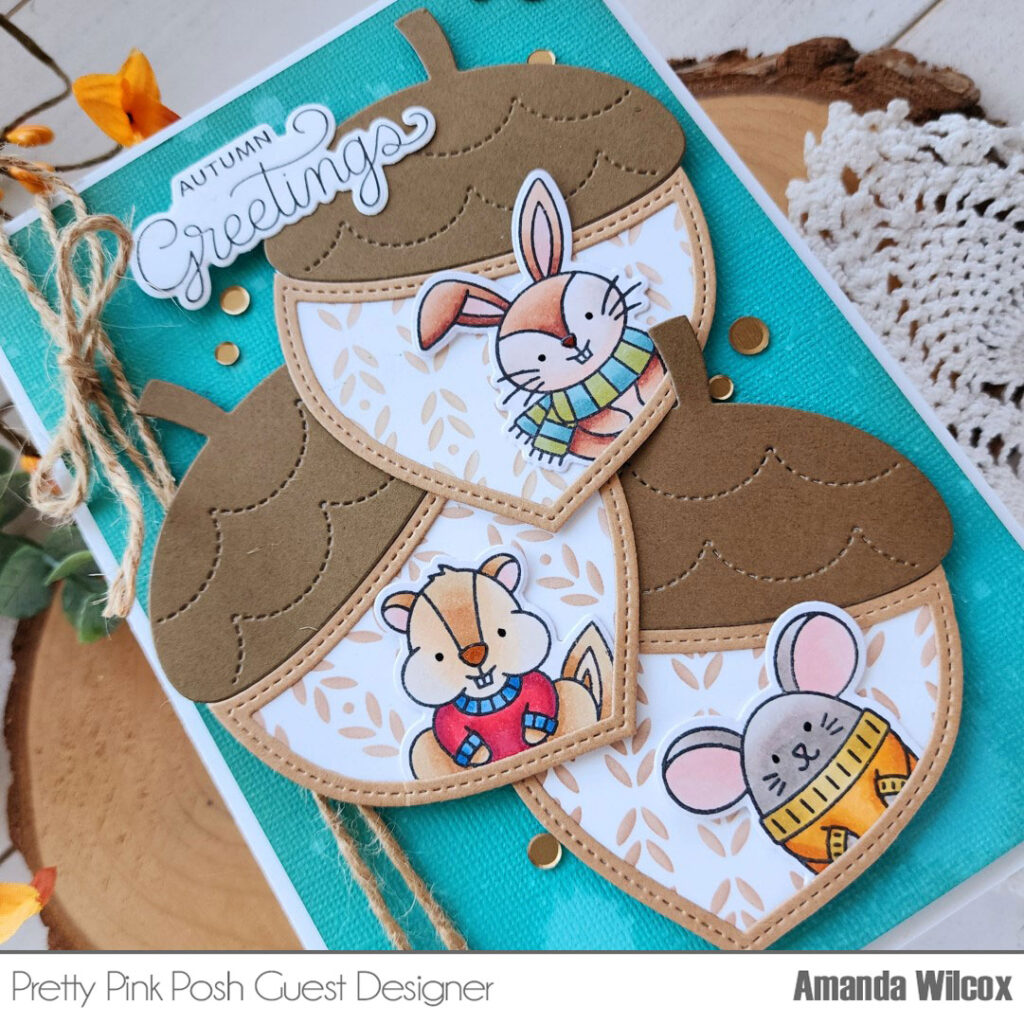
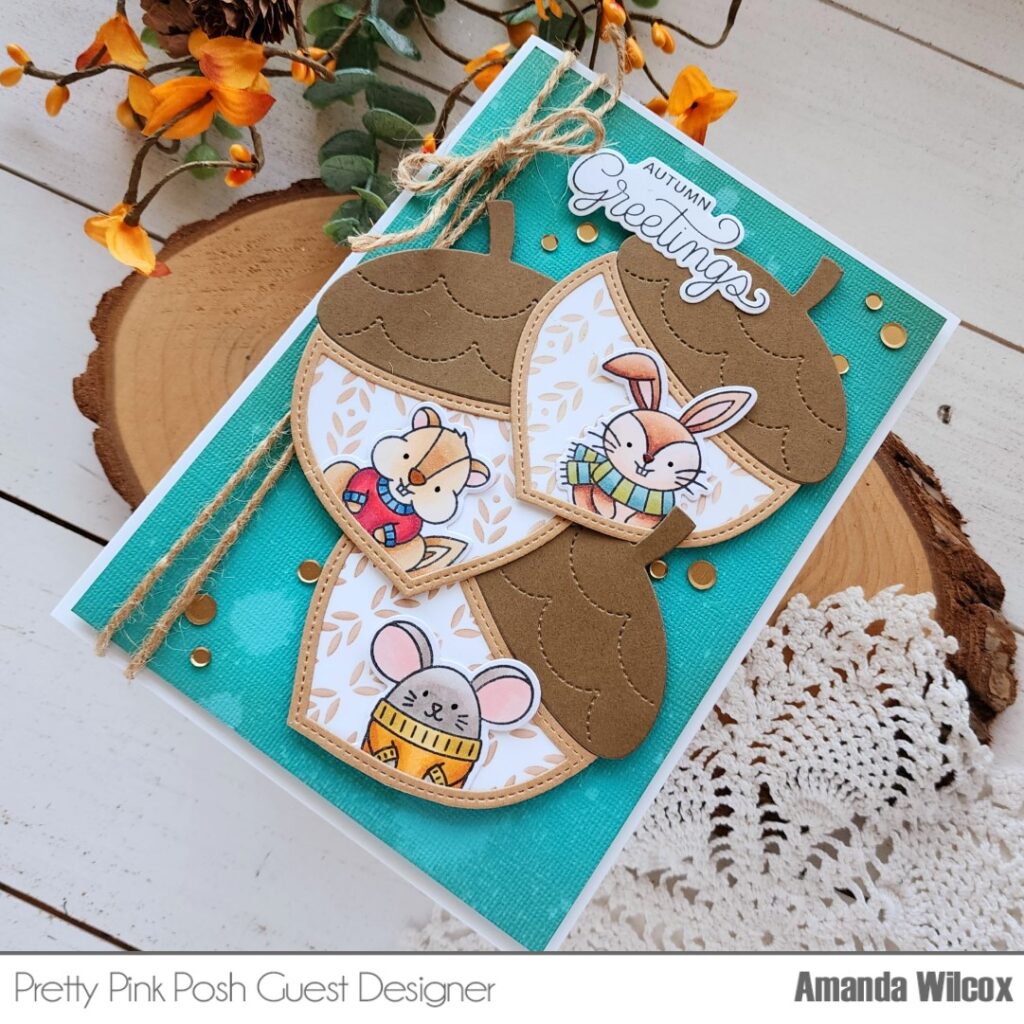
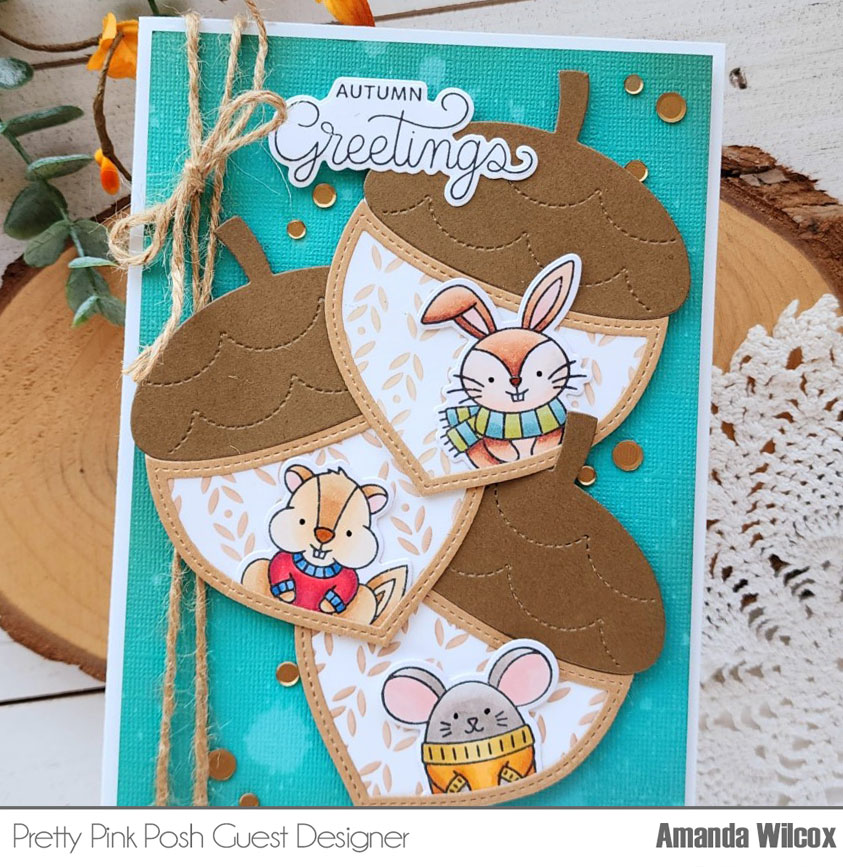
Welcome everyone. This is Amanda from Twiddler’s Nook. I’m excited to be here to share a card I created using the new Acorn Shaker dies and those adorable Cozy Fall Critters. Today’s card is a 5×7 card so that I could fit all three acorns on it without cutting too much off the edge. If you don’t like making large cards, you could reflect the design with only two acorns on a standard A2 card and it would be cute as can be!
I started with the acorns first. I inked up a couple white panels with the new Deco Leaves stencil, then traced the acorn shaker die and cut them out. Then I cut the pieces for my acorns with kraft and brown cardstock. Next, I stamped and colored critters fromCozy Fall Critters, then cut them out with the coordinating dies. I used liquid glue to assemble the layers together and then trimmed off any excess from the stenciled panels and my critters.
I created a white 5×7 inch card base and also trimmed a piece of teal cardstock to 4.75 x 6.75 inches. I inked the edges with peacock feathers and gathered twigs distress oxide inks and splattered the panel with water. After blotting it dry, I added foam tape to the back and adhered it to my card base.
Next, I positioned my acorns on the card front and used liquid glue to adhere them to each other. After letting it dry for a minute, I flipped them over and added foam tape to the back of them. I tied some jute twine around the left side of my card and then placed my acorns on the front.
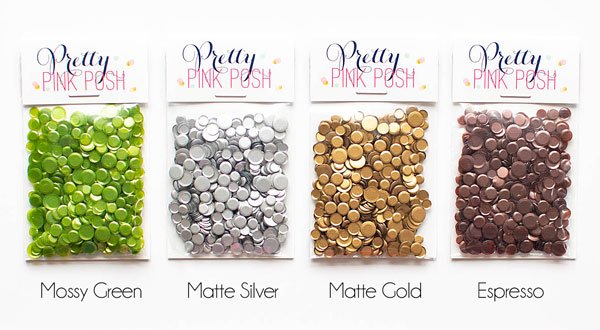
Last, I stamped a sentiment from Autumn Pumpkins and die cut it using the coordinating die. Then I added a scattering of espresso confetti bits around the design. A few other finishing touches were adding black glaze pen to the critter’s eyes and glossy accents their noses.
I appreciate you sharing your time with me. Have a fabulous day! Amanda
This is part of the Instagram Hop. If you’d like to hop along for more inspiration and a chance to win a gift card, visit us on the Pretty Pink Posh Instagram account.
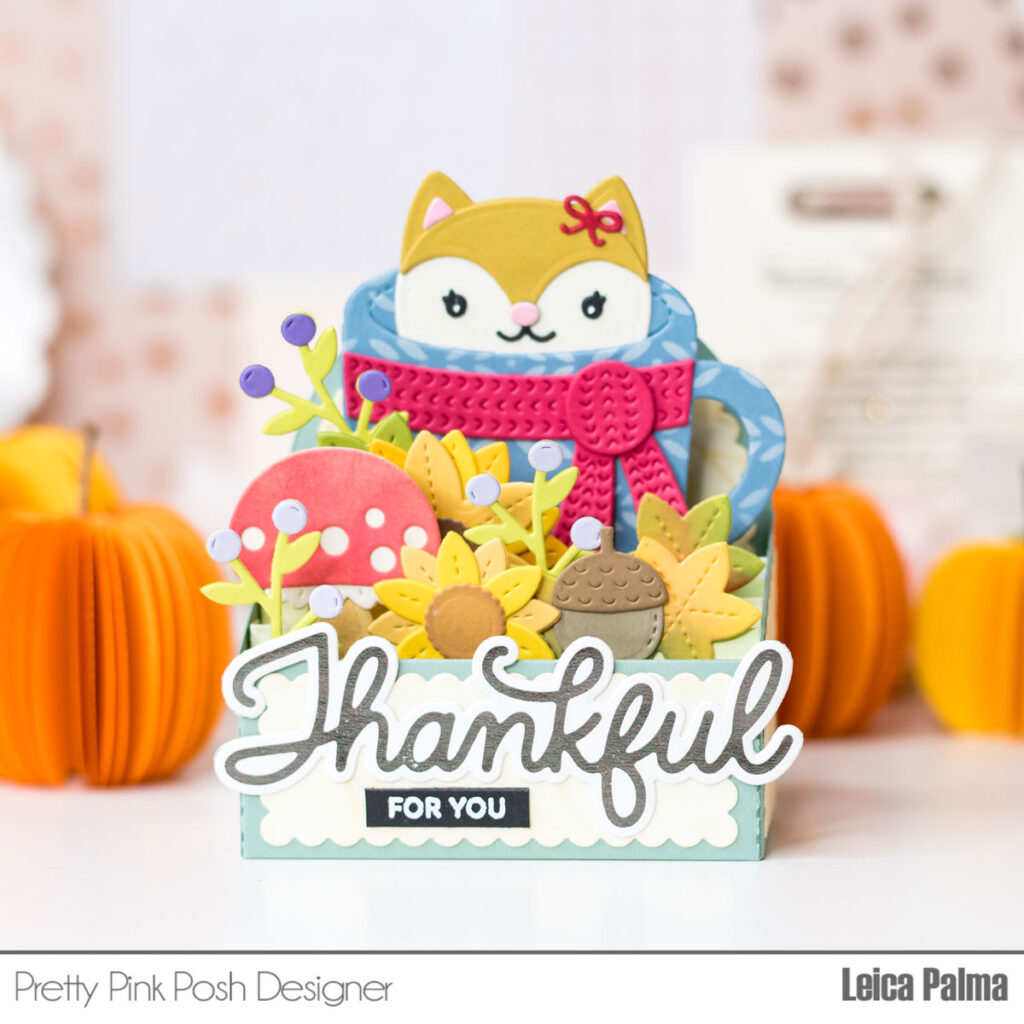
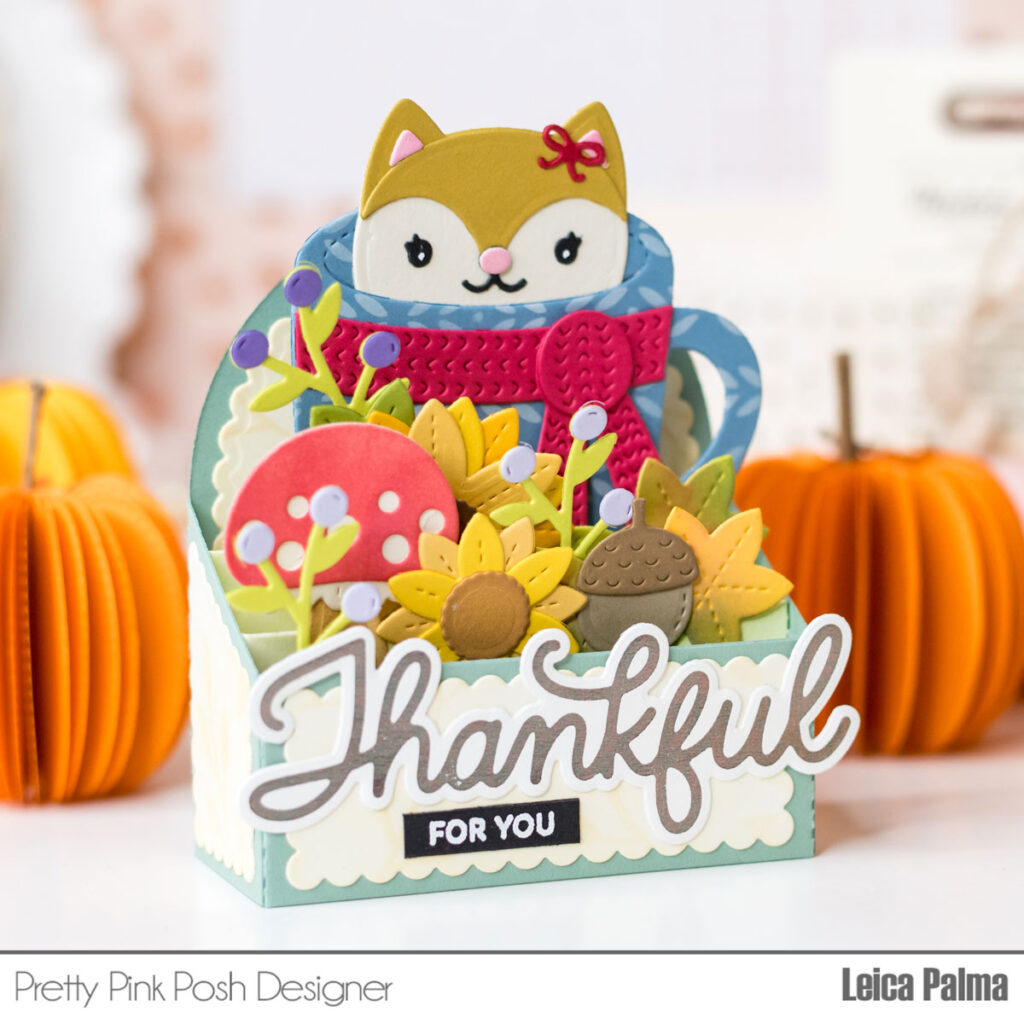
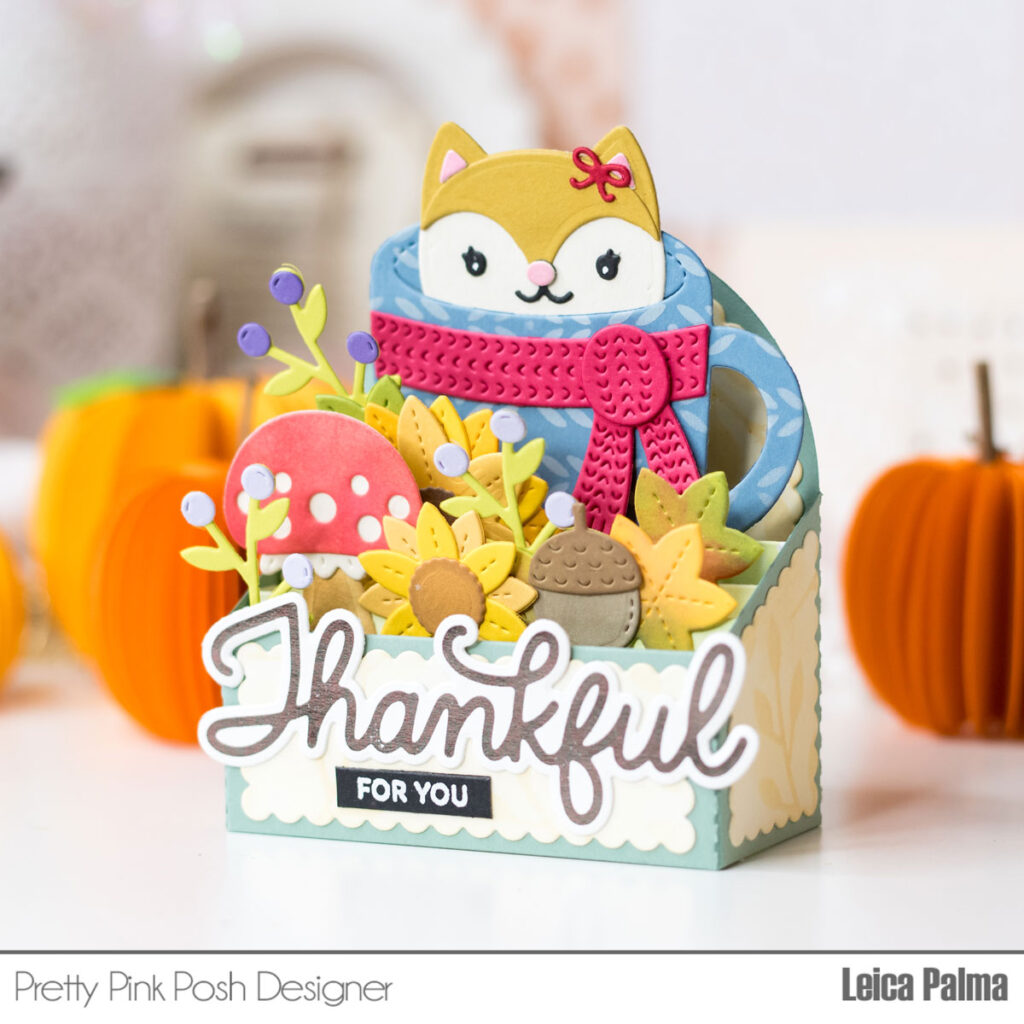
Hey crafty pals! Leica here with a cool box card to share. I had this idea of fitting the Winter Mug into the Scallop Box Card, and guess what? It totally worked, and I’m beyond thrilled!
So, let’s dive into the nitty-gritty. I grabbed some Sage green cardstock and cut out the box card. I assembled the box and added in three inserts and jazzed things up with dies from the Fall Cornucopiaand Fall Mug Additions Dies. I used Spellbinders cardstock for all those awesome dies. How adorable is that little fox peeking out of the mug, by the way? And speaking of the mug, I added a sweet design using the Deco Leaves Stencil and some Glacier White Ranges Pigment Ink.
Now, here comes the fun part. I used the Fall Mug Additionsdies and Fall Cornucopia dies to cut out various shapes in different cardstock colors. I glued these on the inserts, creating the cutest autumn scene you ever did see.
Next up, I used hot foil to make the Thankful Script shine, cut it with the Thankful Shadow, and glued it on the front of the box card. Then I added “for you” in white heat embossing on a black cardstock strip and glued it neatly under the Thankful script.
And that’s a wrap on my box card adventure. I’m hoping you’ll give this all-dies-on-a-box-card thing a try and create your very own autumn wonderland. It might even be a hit with the little ones! Happy crafting, everyone!
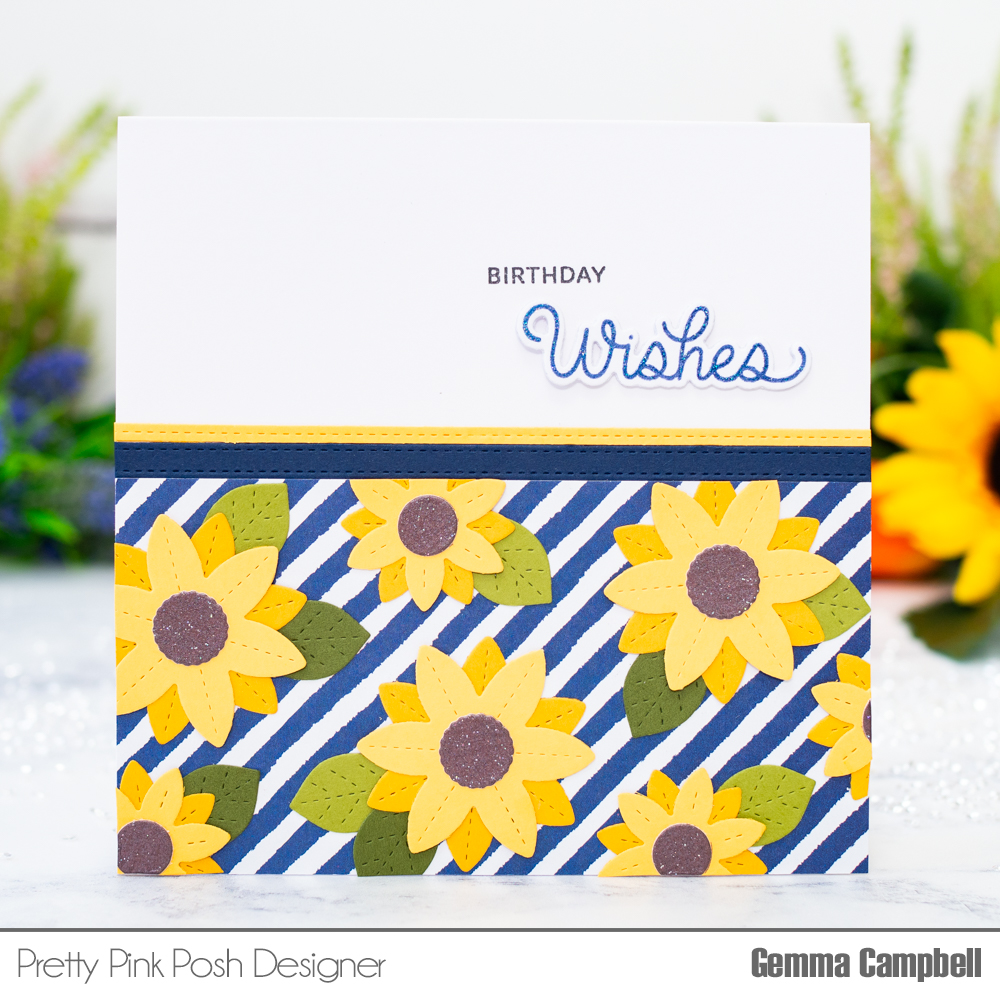
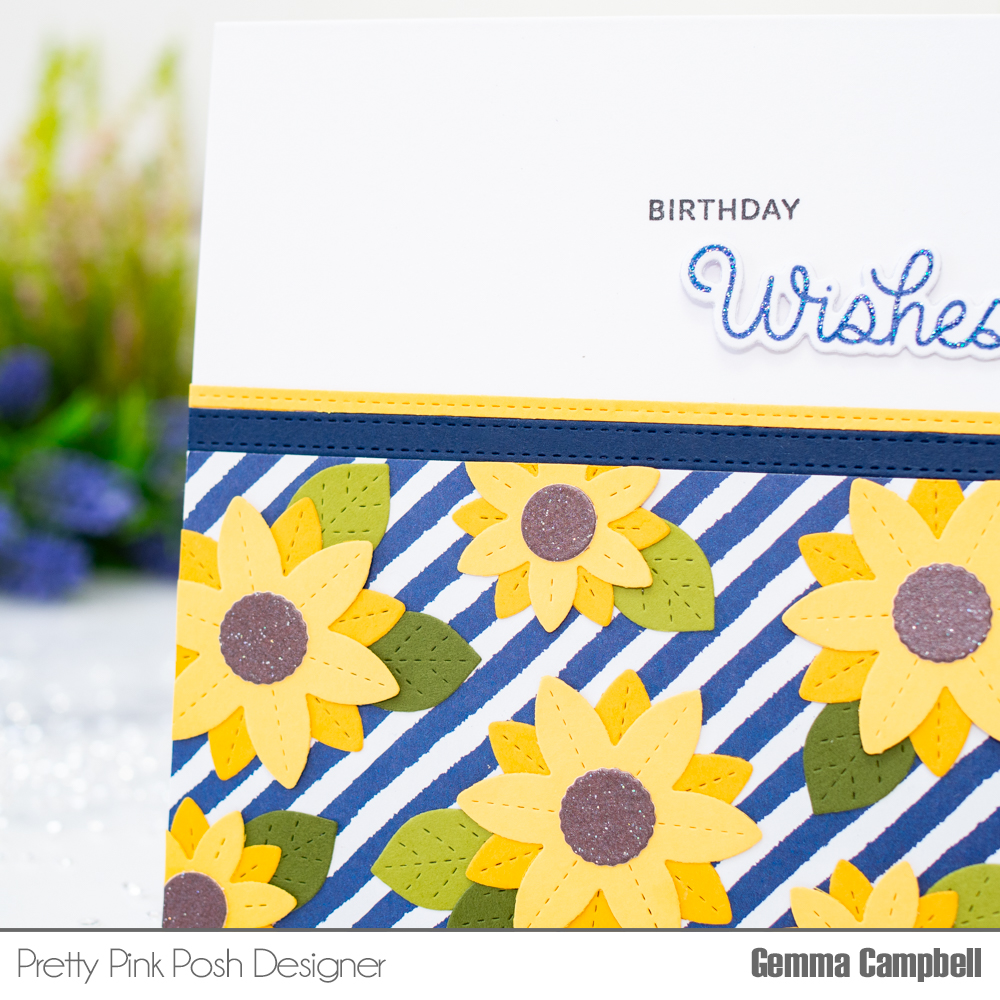
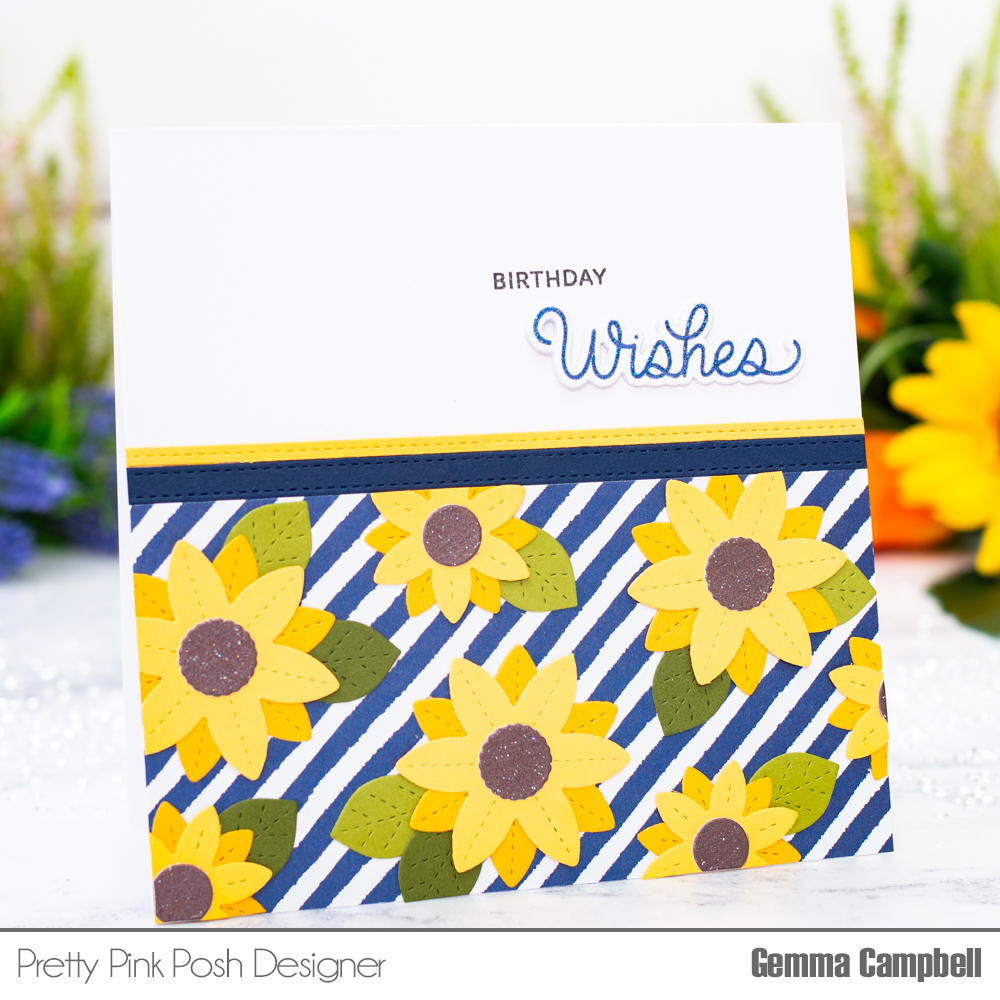
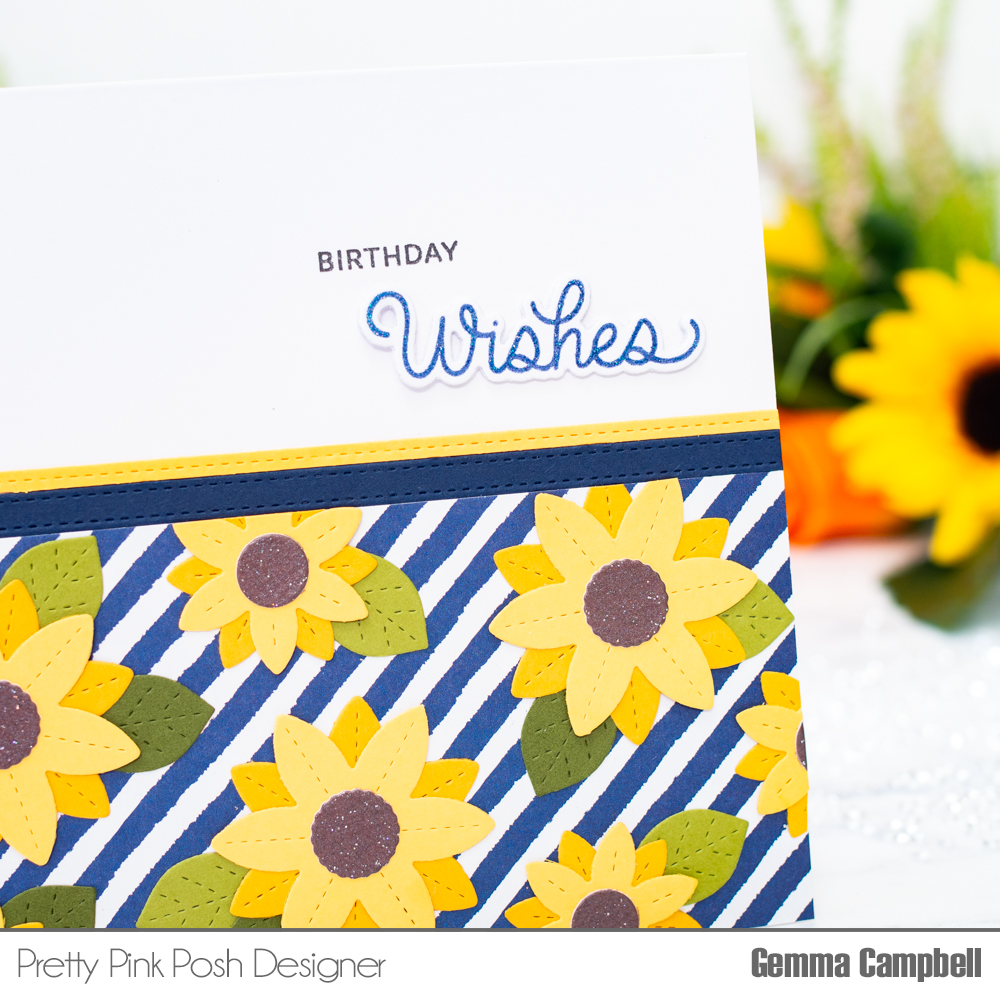
Hello, Gemma here today with a card featuring the sunflower dies from the new Fall Mug Additions and Fall Cornucopiadie sets. As the sunflowers in these sets are different sizes, they work really well together.
For both sizes of sunflower, I die cut two layers for the petals, from different yellow card pieces. I die cut the centres from pearl brown sparkle card, then adhered the pieces together with liquid glue.
Next, I die cut two Stitched Strips in dark blue and yellow. I took a panel of striped blue patterned paper, cut to 5.25 x 2.75”. I adhered the sunflowers and leaves, cutting away any overhanging pieces. I then adhered the patterned paper and stitched strips to a 5.25” square card base.
For the sentiment, I stamped the word ‘wishes’ from the Birthday Scripts stamp set, using faded jeans distress oxide ink. I covered the ink with WOW Neutral Ultra Shimmer embossing powder, then heat embossed the word. I die cut it with the coordinating die, and added two extra layers behind for dimension.
I stamped another sentiment from the Birthday Scriptsstamp set on the card base, then added the embossed die cut word underneath to finish.
Thanks so much for joining me today! I hope this card inspired you.
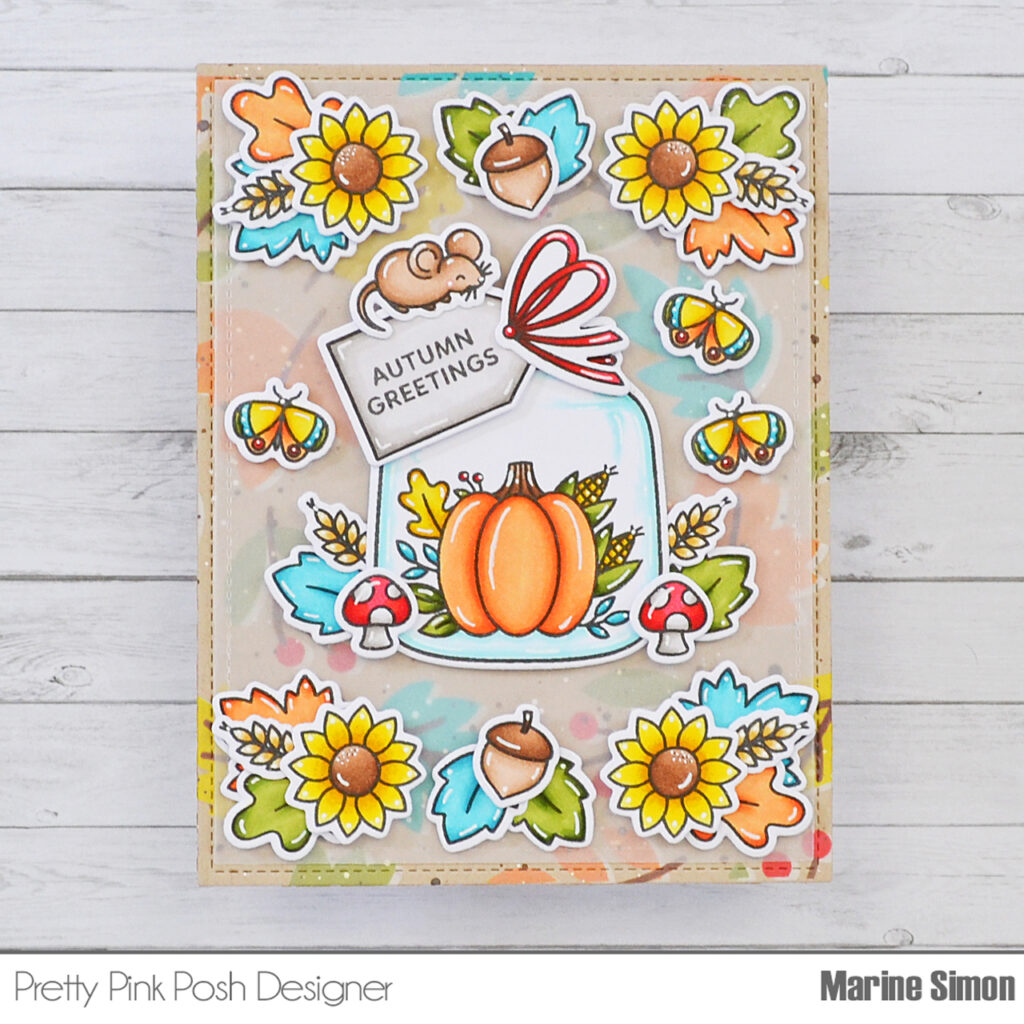
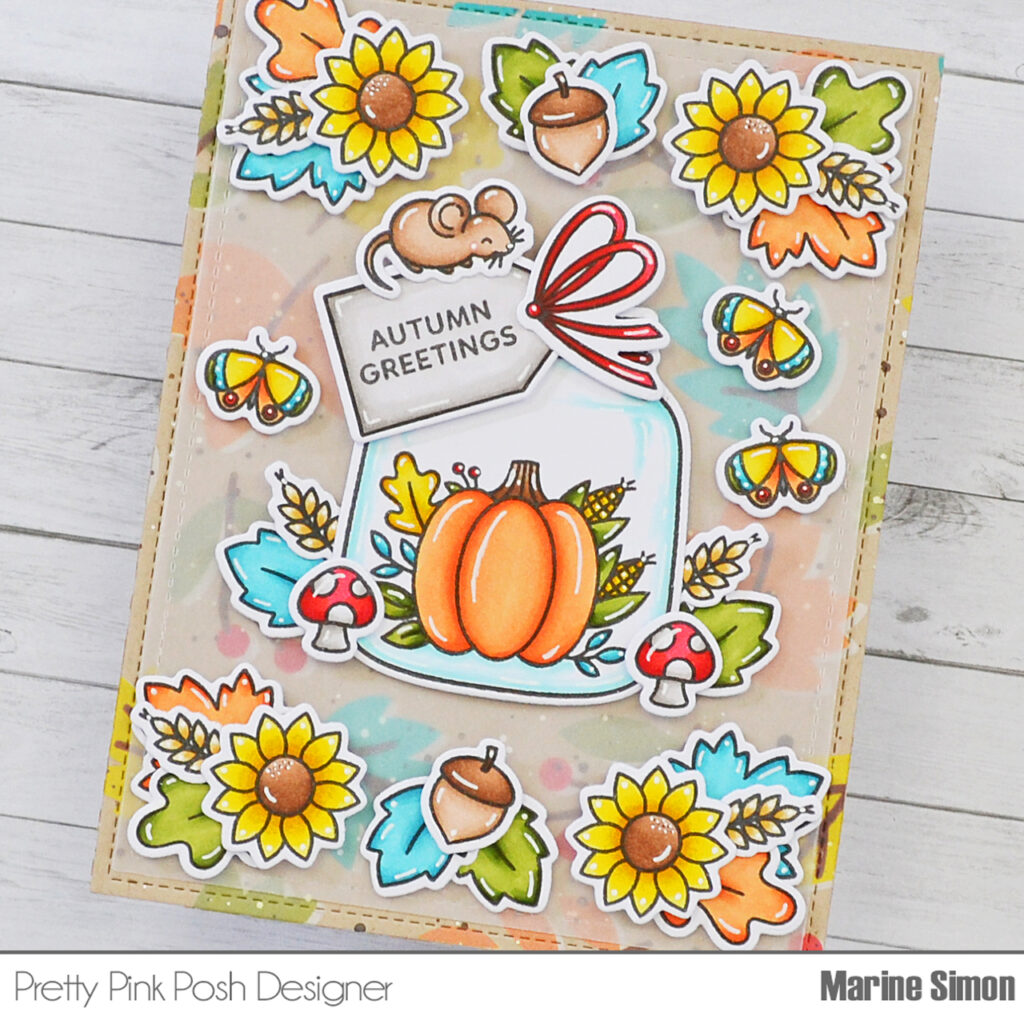
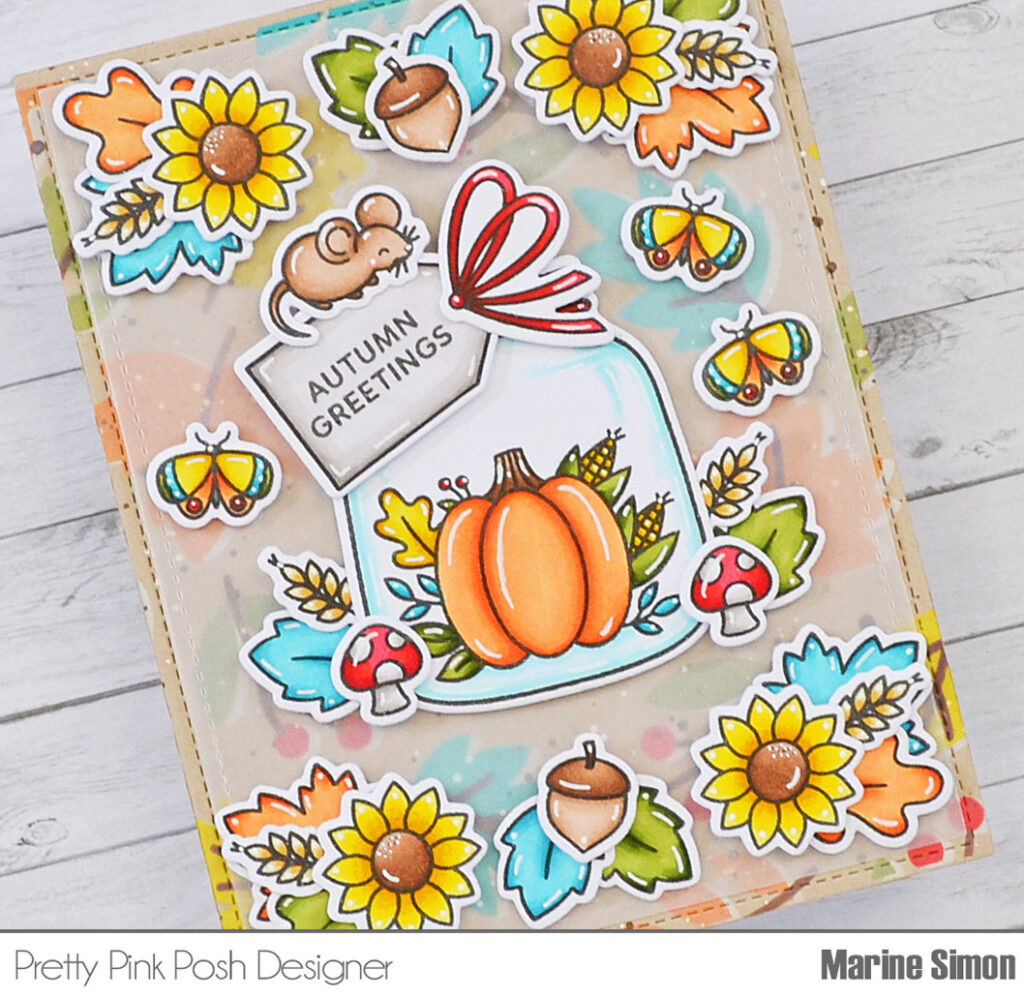
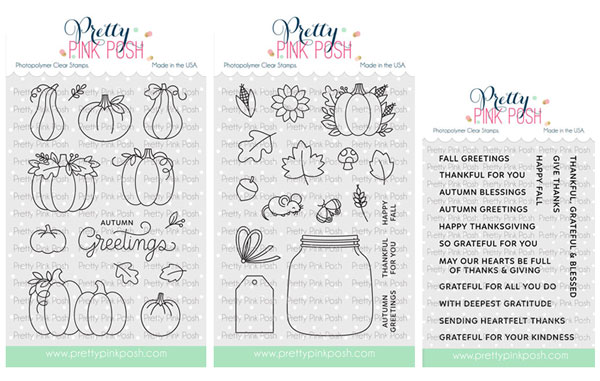
I started off by stamping the images from Fall Jar on Transotype perfect coloring paper using an alcohol marker friendly black ink, I cut them all using the coordinating dies, and then colored everything using my Spectrum Noir Illustrator markers and Graph’it brush markers.
I like to create small clusters of images on my cards, so among all the new products, this stamp set is my favorite because it includes many individual images, which allowed me to make clusters around the jar to frame it nicely. And to color everything, I chose an orange + yellow + brown + khaki green + turquoise color palette, which is one of my favorite color combos for the Fall season.
Next I used the Layered Fall Wreath stencils and some oxide inks to create a beautiful autumn background on a 5,5 x 4,25 inches kraft panel. Here are the oxide inks I used: mustard seed, peacock feathers, spiced marmalade, peeled paint, candied apple and vintage photo. Next I mixed a little bit of ground espresso oxide ink with water and used a small brush to make splatters on the panel, and I did the same with white ink.
I set the panel aside to dry, and cut a slightly smaller one out of vellum. I attached all the images on the vellum panel using foam squares, and then stuck my vellum panel on the kraft panel, making the glue invisible by adding dots of liquid glue at the back of the vellum panel, behind the images.
Finally I added highlights and details to the images using a white gel pen, and attached my panel to an A2-sized kraft card base. And that’s it! I hope that my card will inspire you to use small images to create your own clusters of images.
PRIZES: be sure to leave comments on each stop. We are giving away 3 $30 gift certificates to three random comments (1 winner each day) left before September 19, 2023 at 11:59 PM PST. I’ll be announcing the winners next week, so be sure to return and see if you are one of the winners.
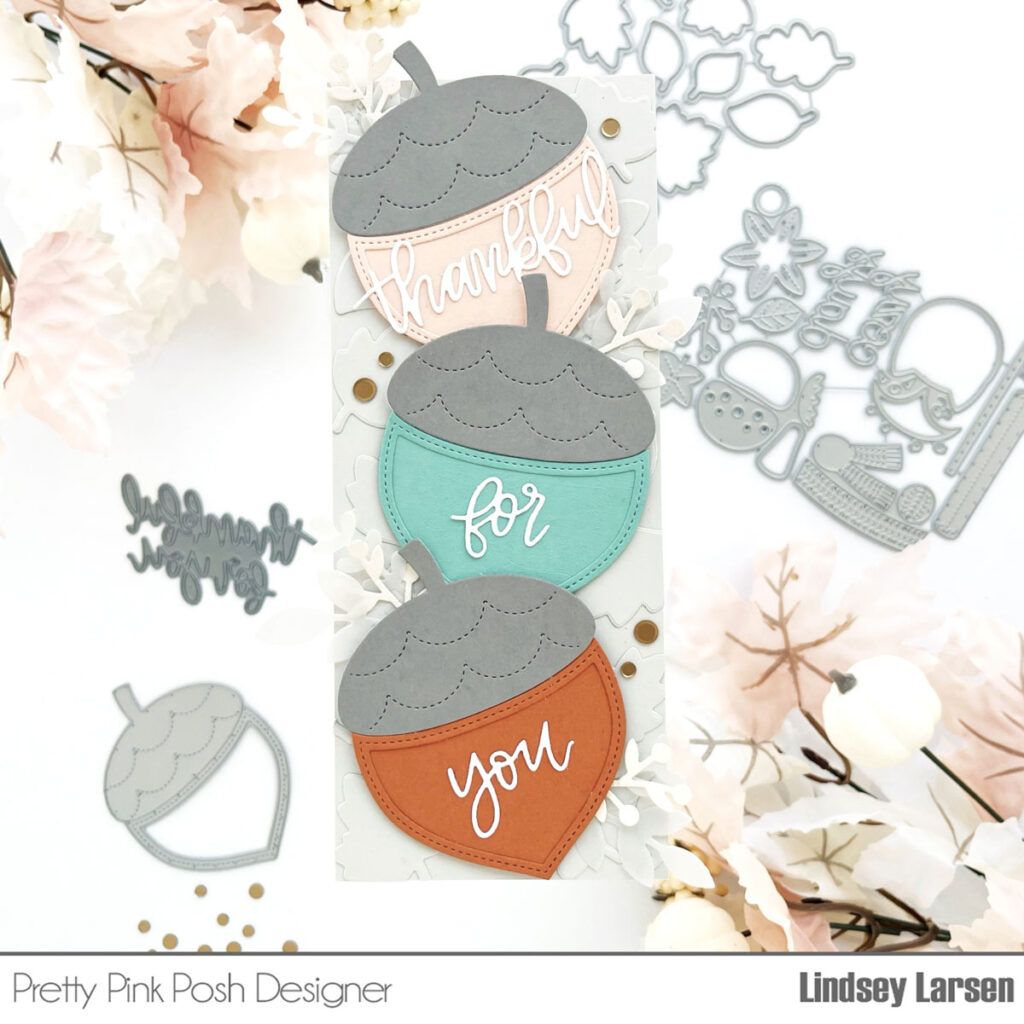
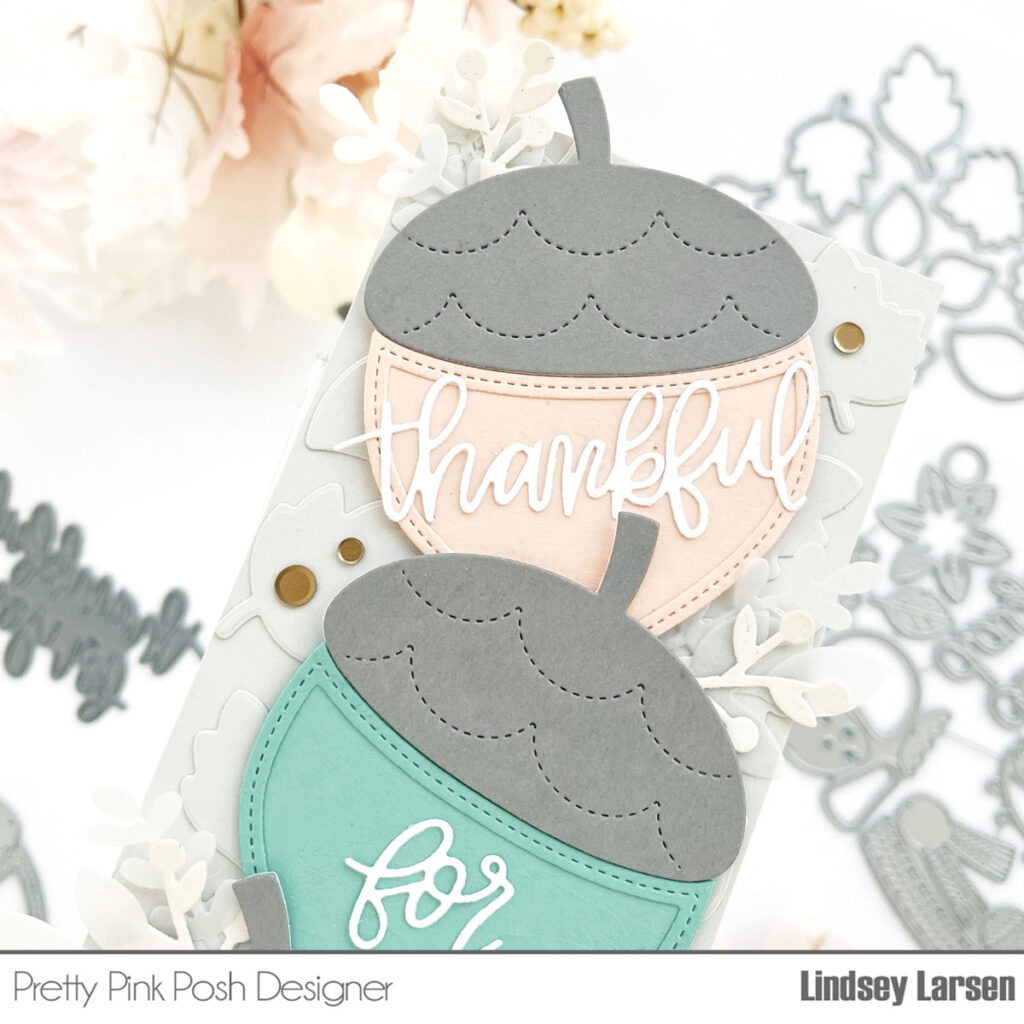
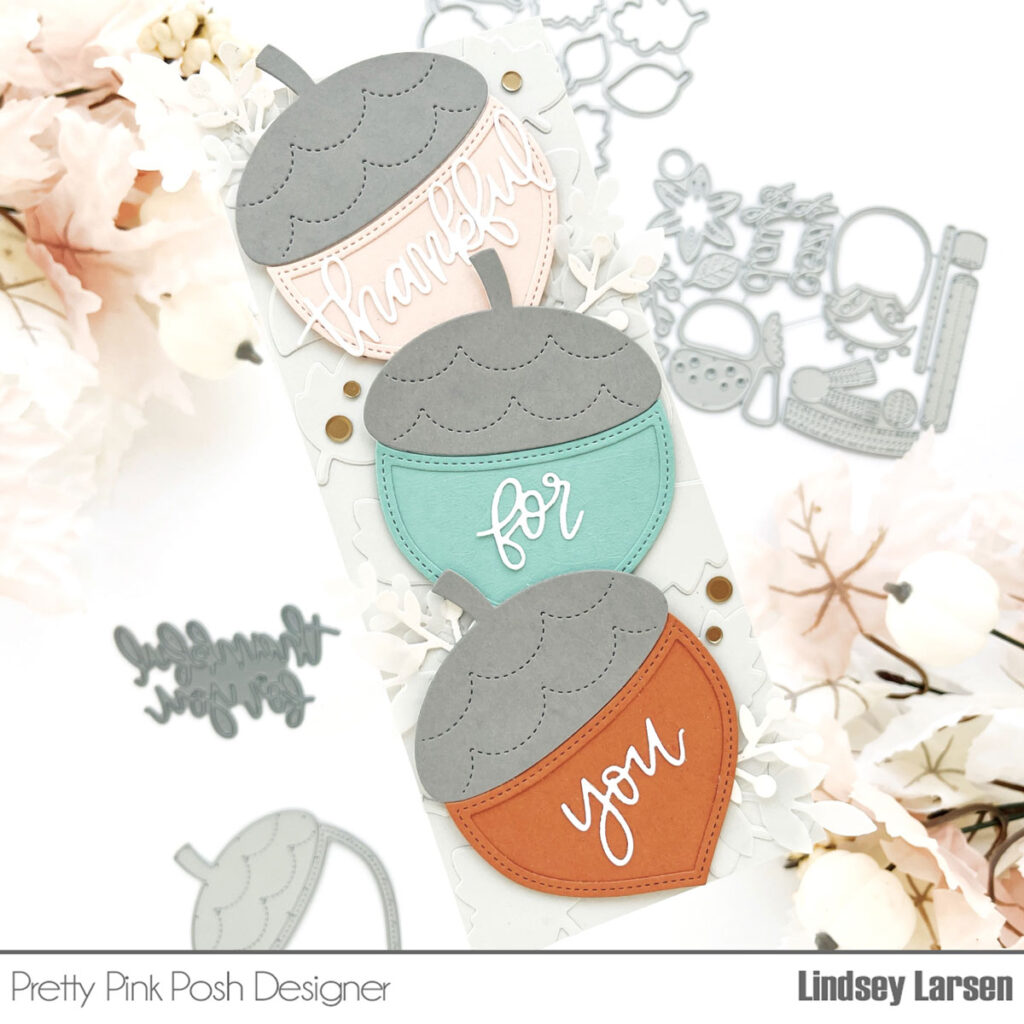
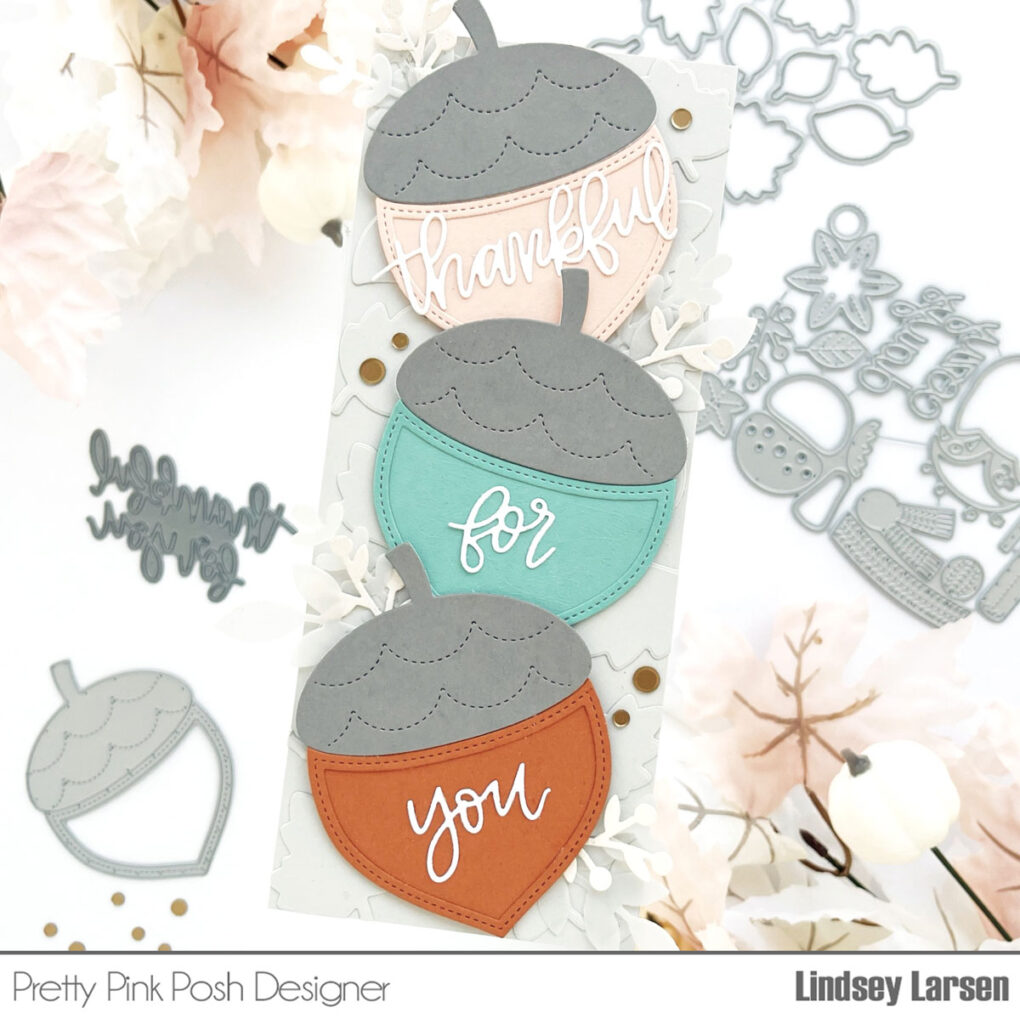
Good morning! It’s Lindsey here and I’m excited to share a card with you today that combines several of my favorite things. First up is the amazing new Acorn Shaker Die. I love all the shaker dies because of their larger size and because they look fantastic even if you choose not to fill them. I also happen to have a special fondness for acorns, so this die made me smile from the moment I saw it.
One acorn certainly wouldn’t suffice, so I created a stack of them on a slimline card using a few of my favorite colors. Then I added one word to each acorn using the Thankful For You Script Dies.
For my background, I die cut several of the leaves from the Falling Leaves coordinating dies in the same color as my card base. This added texture and interest but in a non-competing way.
Once I had all my acorns stacked up, I tucked in a little vellum and cream foliage from the new Fall Mug Additions Dies and the Fall Foliage Dies(a long-time favorite of mine). I added a touch of Matte Gold Confetti Mix(because I can’t stop using it!) and my card was complete.
PRIZES: be sure to leave comments on each stop. We are giving away 3 $30 gift certificates to three random comments (1 winner each day) left before September 19, 2023 at 11:59 PM PST. I’ll be announcing the winners next week, so be sure to return and see if you are one of the winners.
The September 2023 Release is now available in the Pretty Pink Posh Shop and select retailers that carry our products. If you missed our post yesterday, we revealed all of the products in picture form, but if you would like to see them in a video, Mindy has that for you today!
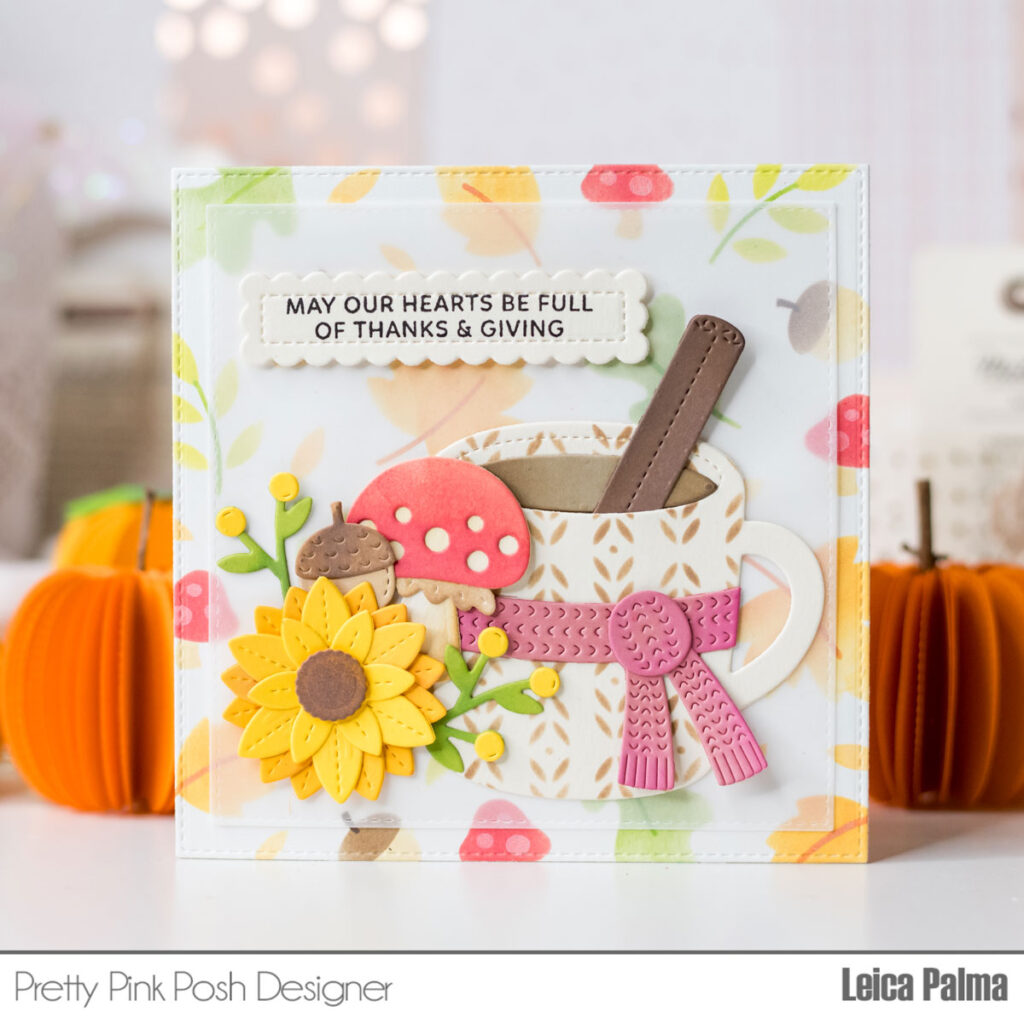
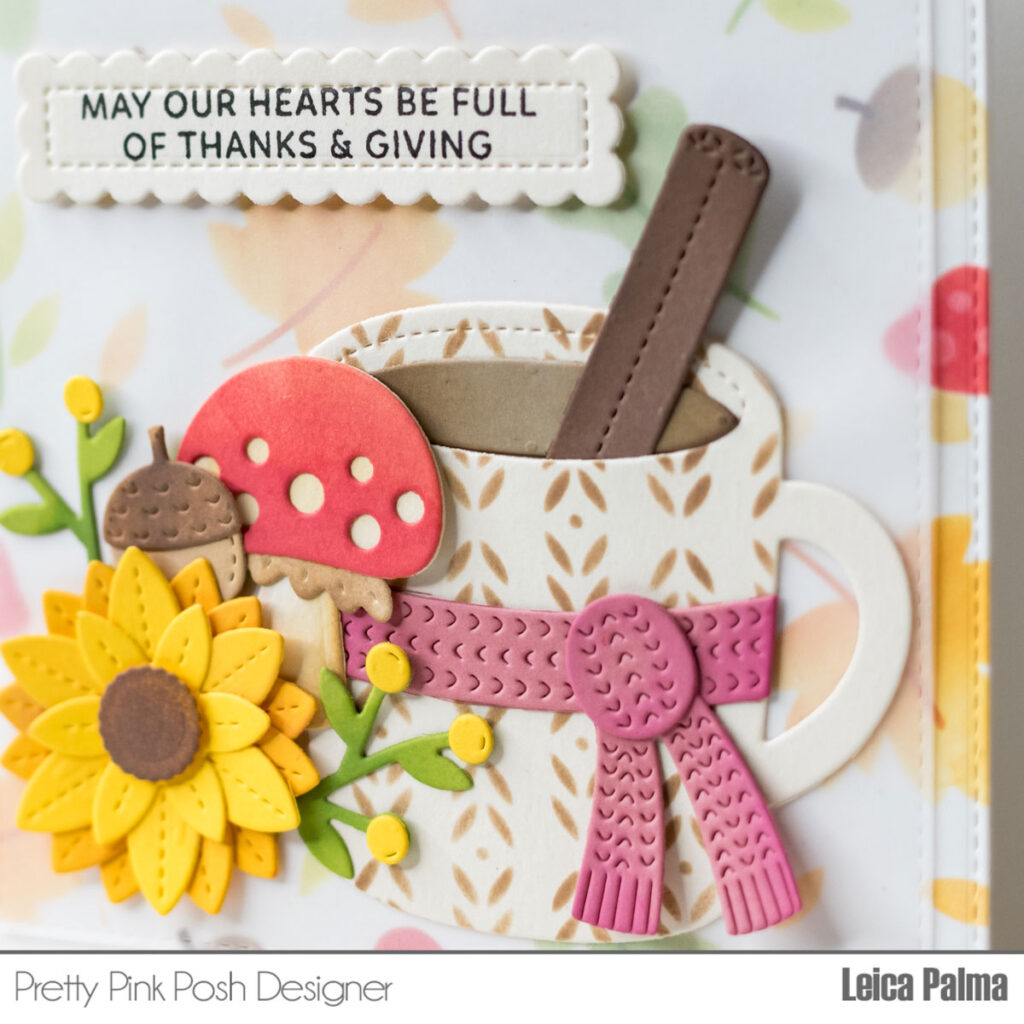
Hey, friends! Leica here with a Thanksgiving card to share. I’m so excited about how this turned out, and I got to use the latest stencils and dies from Pretty Pink Posh.
To get started, I cut a 5-inch square white cardstock. I used some inks and the Layered Woodland Stencils to make a fall-themed background. The inks I used are Antique Linen, Dried Marigold, Mowed Lawn, Ripe Persimmon, Twisted Citron, and Vintage Photo Distress Oxide Inks.
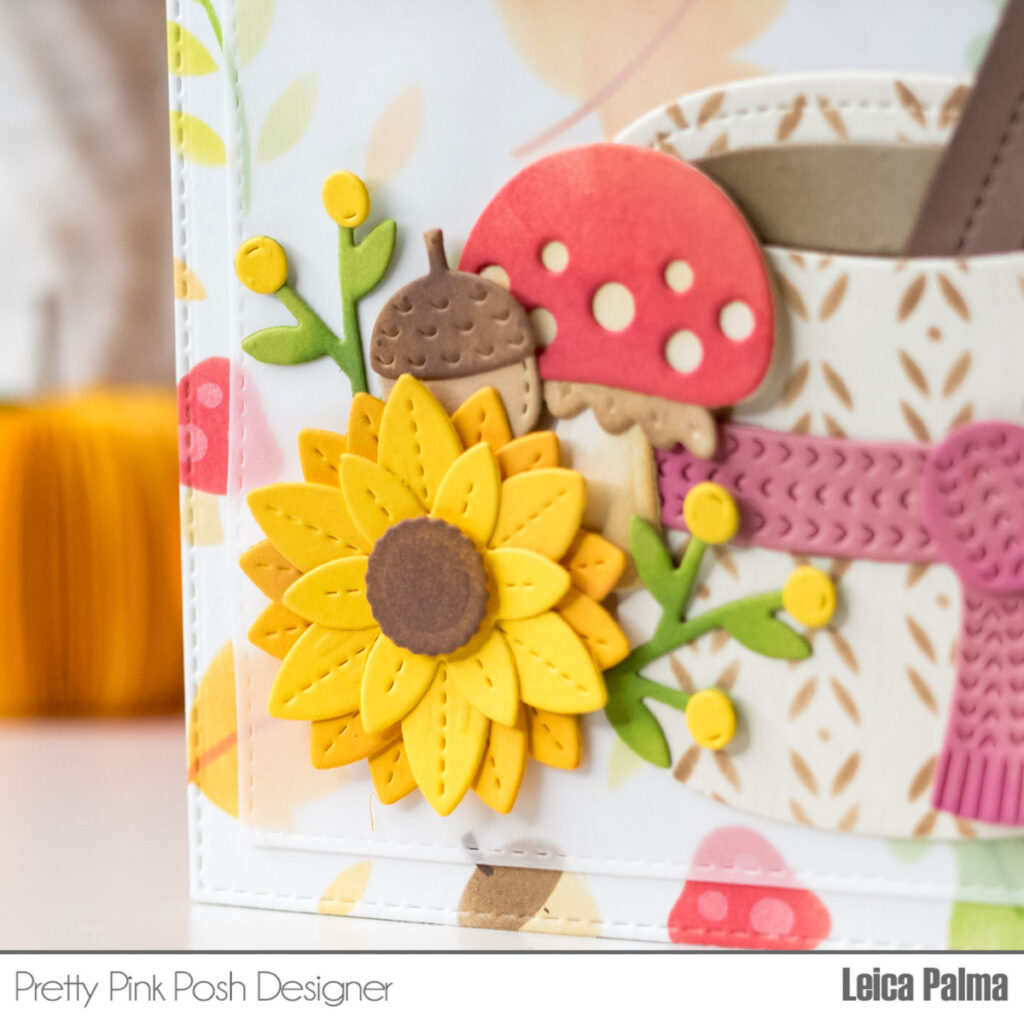
Next up, I used the Winter Mug Dies to cut out a mug shape from cream cardstock. I added a nice pattern to it using the Deco Leaves Stencil and Vintage Photo Distress Oxide Ink. For the other elements, I used the Fall Mug Additions and Fall CornucopiaDies, cutting them from various colored cardstock from Spellbinders.
To make things stand out, I added a vellum layer between the die-cut elements and the background. This softens the background and makes the elements pop and stand out. Lastly, I glued the card panel onto a 5-inch square card base.
PRIZES: be sure to leave comments on each stop. We are giving away 3 $30 gift certificates to three random comments (1 winner each day) left before September 19, 2023 at 11:59 PM PST. I’ll be announcing the winners next week, so be sure to return and see if you are one of the winners.
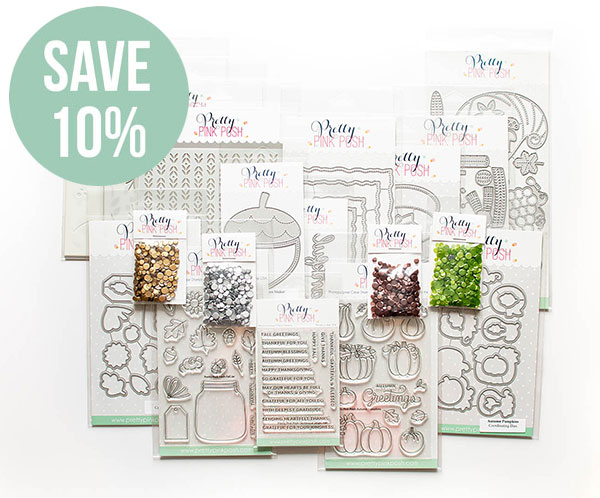
We have a limited amount of bundles available where you can buy this release in one easy click. Plus, you’ll save 10% off when you buy it all together.
Due to not everyone owning a hot foil machine, we did NOT include the hot foil plate in this bundle.
We will see you tomorrow as we show you the new products in a video and the products go live individually. Plus, we will be kicking off our three day blog hop!
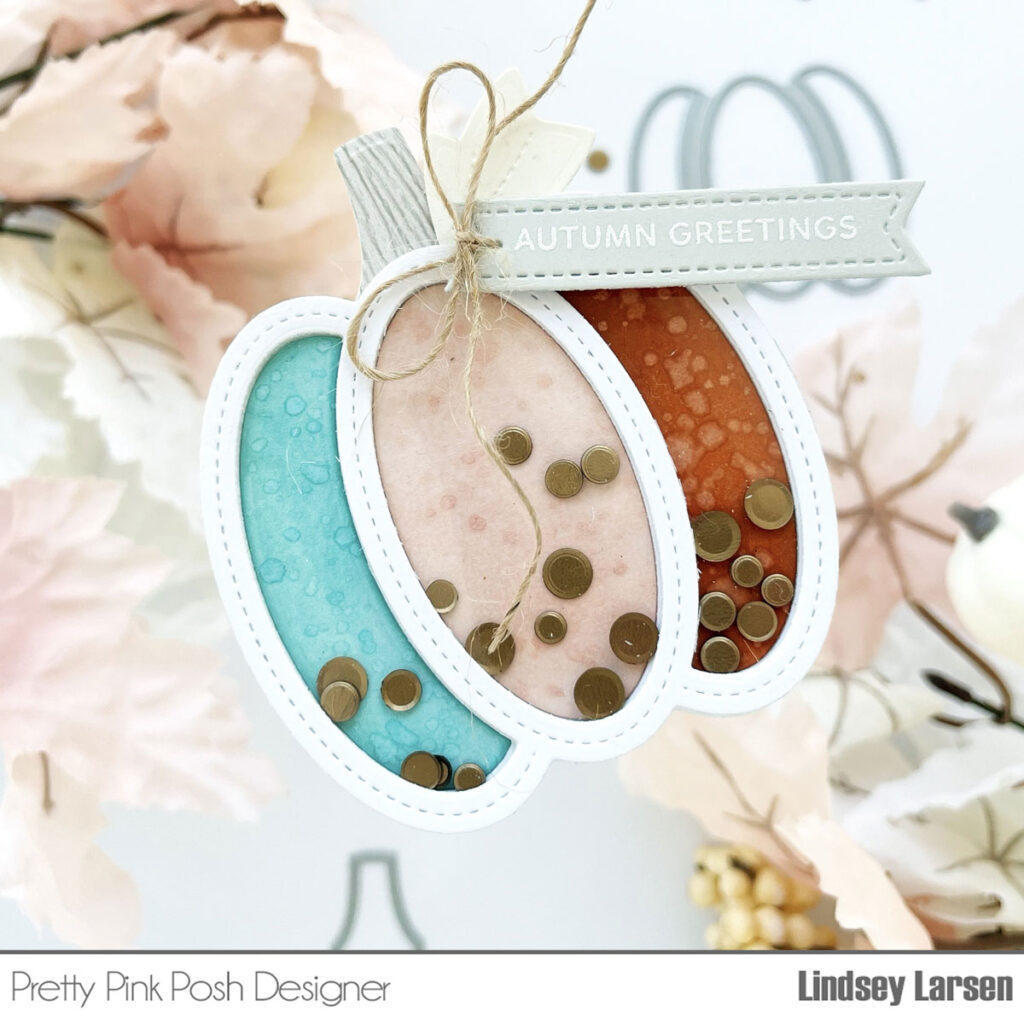
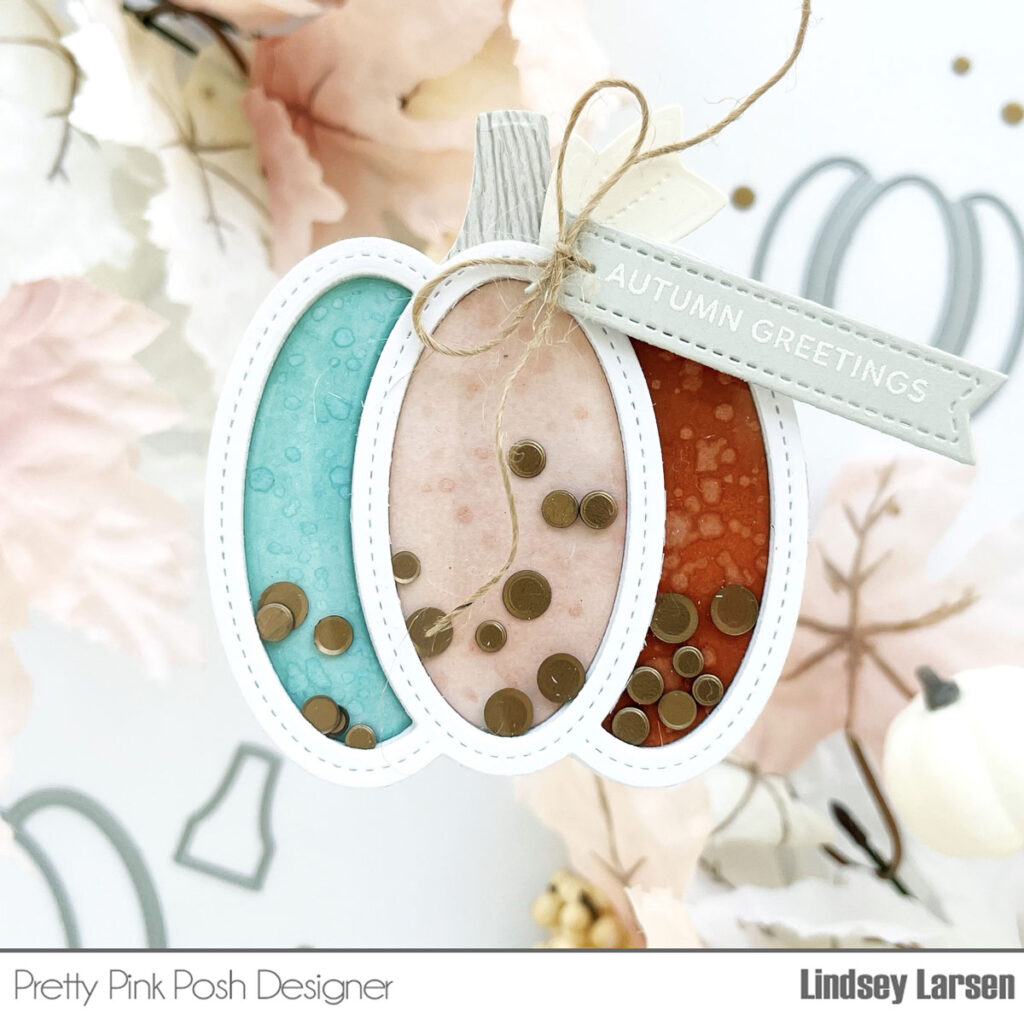
Hello, friends! It’s Lindsey and I’m happy to be giving you a peek of some of the new dies releasing this month. I was super excited to see two new shaker dies–the Pumpkin Shaker and the Acorn Shaker. If you were a fan of the Stitched Pumpkin Dies last month, you are going to love the Pumpkin Shaker. It is the exact same style, just larger in scale and with the added option of cutting out the centers to make it a shaker. I decided to make it into a little shaped card. It’s about 3″x3.5″ in size.
New release will be available September 12th
I die cut the Pumpkin Shaker several times. Then, I blended ink in three different colors onto the shaker negatives and gave them a good spritz. After inserting them back in, I filled my shaker with the new Matte Gold Confetti Mix. (I can’t get enough of the confetti mixes! You’ll love them!)
I jazzed the pumpkin stem up a bit by using woodgrain paper. I kinda love it. :) Then, I added a sentiment using the Sentiment Strips Dies and the new Sentiment Strips: Fall Stamps, both of which are must-haves in my opinion. They are a fabulous addition to anyone’s collection!
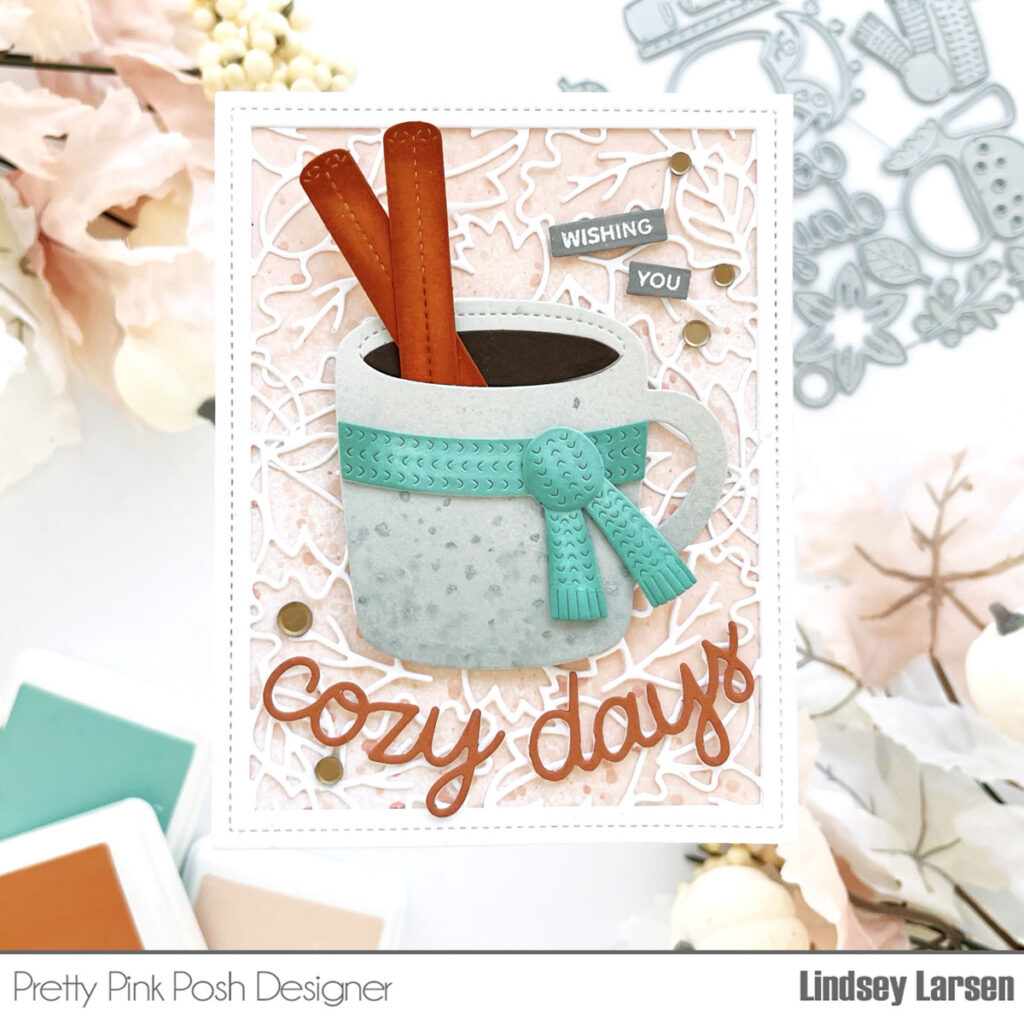
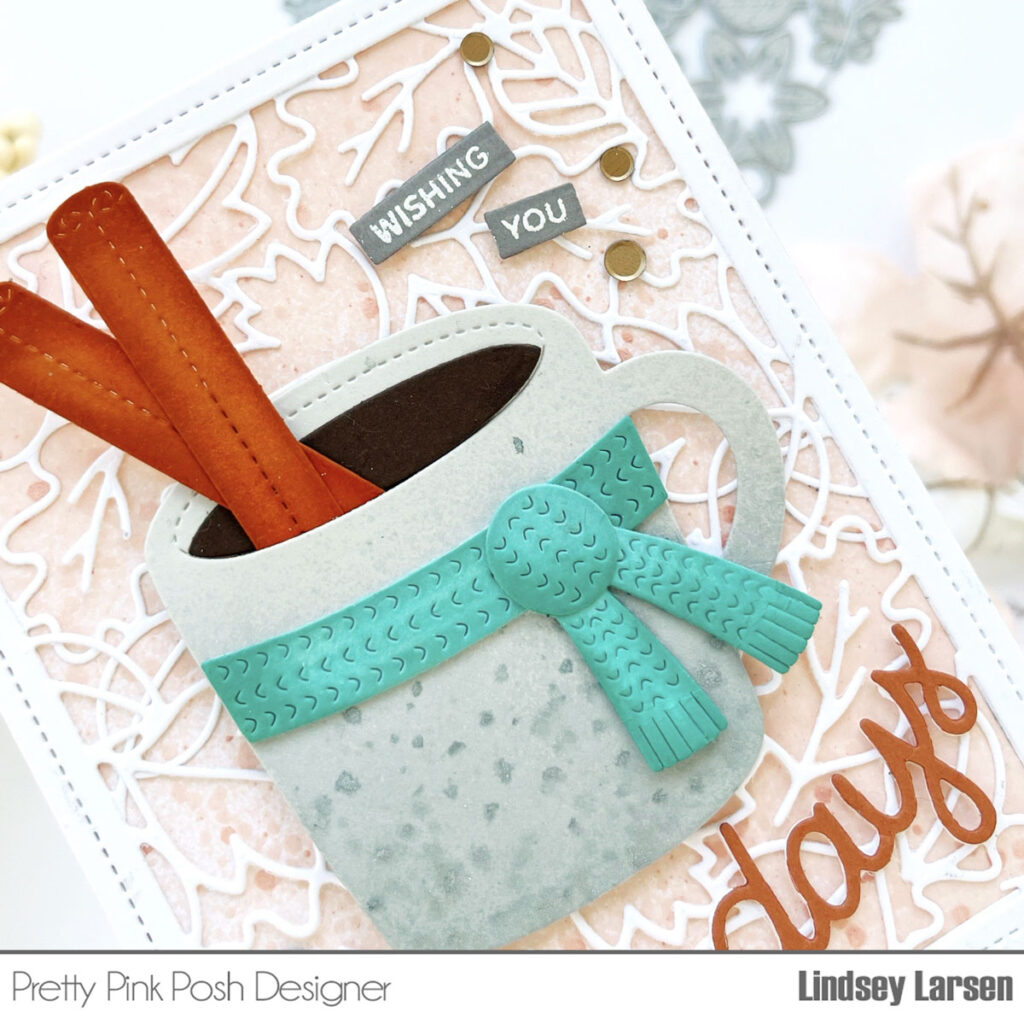
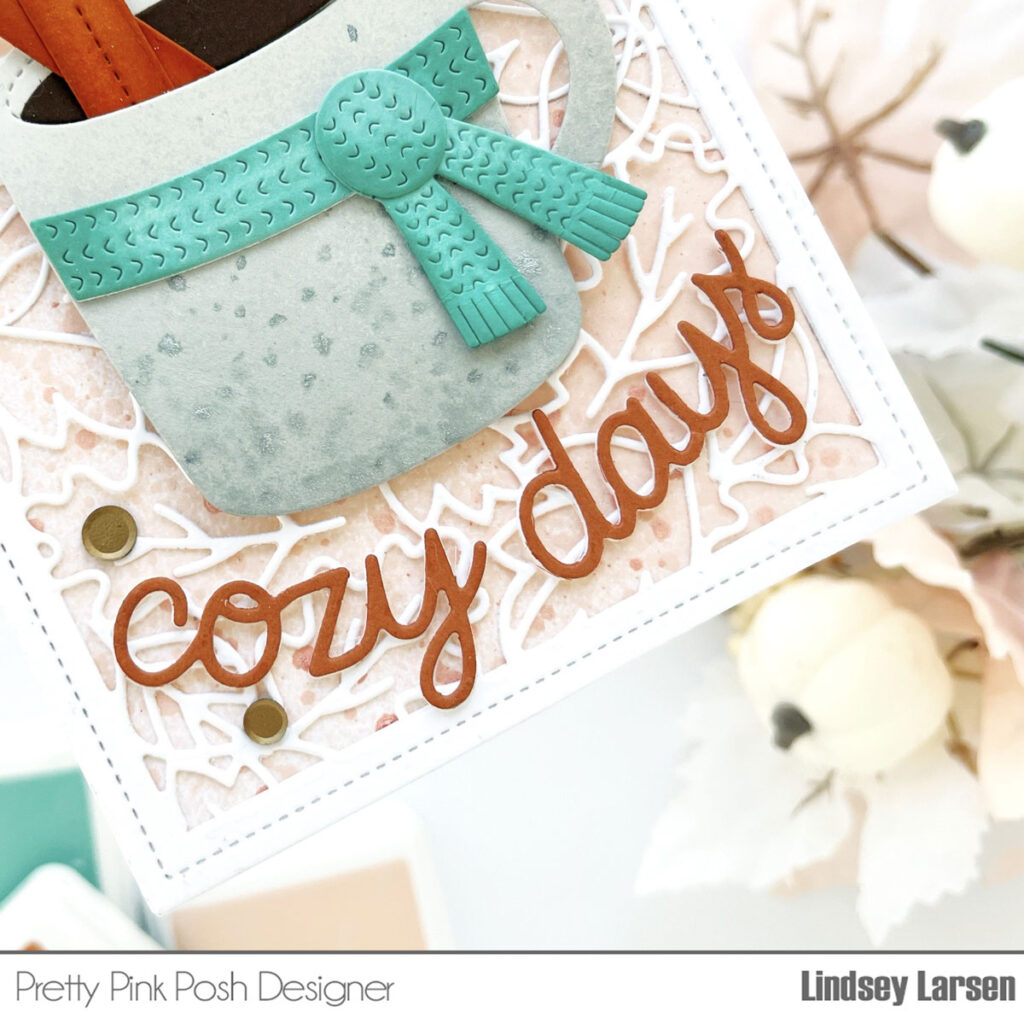
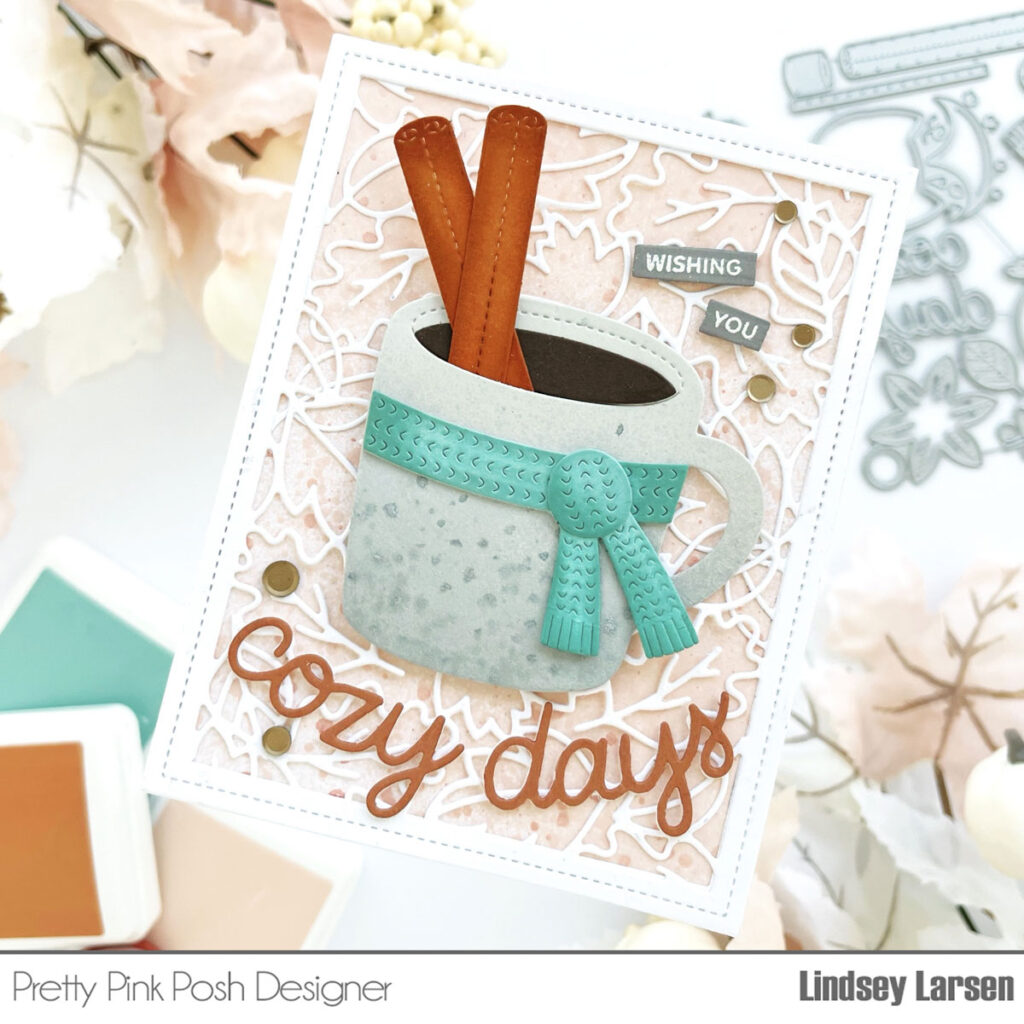
If you were wondering if the mug addition lineup is continuing, the answer is yes! Welcome Fall Mug Additions! This new set is full of all things warm and cozy and will be wonderful for your fall and winter crafting.
I kept my Winter Mug simple, spraying it with grey and silver, and then adding a knitted mug cozy from the newFall Mug Additions. I used the filler die (from the Winter Mug Dies) to add some cider and tucked in the new cinnamon sticks. They are my favorite!
I spritzed a light peach shimmery spray onto my card base and topped it with two of theLeaf Frame Dies, placing one upward and one downward, so they would cover the entire card base. Then following the slight curve of the leaves, I added “cozy days” from the Fall Mug Additions Dies.
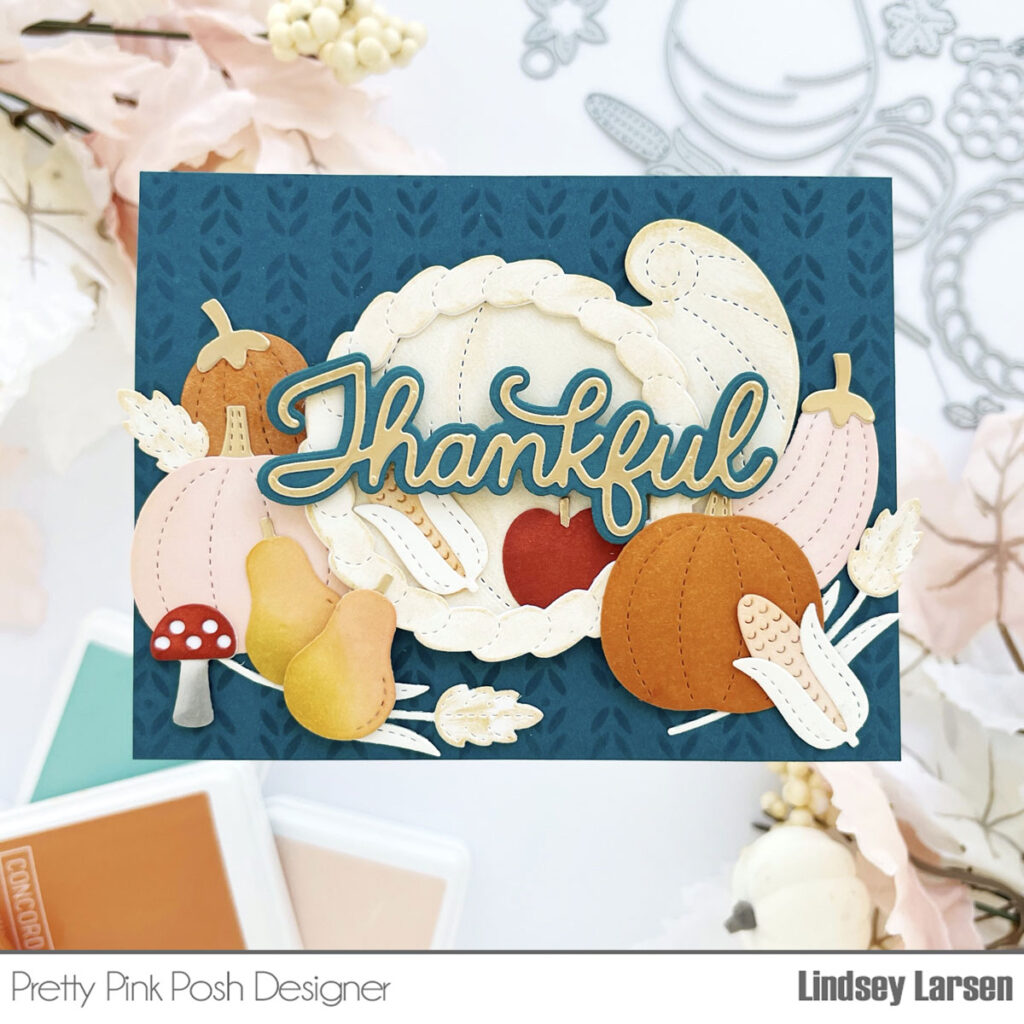
Last, but certainly not least, are the new FallCornucopia Dies. This set comes with a large, two piece cornucopia and LOTS of fillers. I used most of them on my card and also added an apple from last year’s Fall Basket Dies.
I have found the easiest way to create with sets like these is to die cut all the dies several times, so you have lots of pieces to work with. I did some simple ink blending and assembled all my pieces. I recently saw some pumpkins at the store with gold stems. I loved the bit of glam that added, so I did the same on my card. Once everything was ready to go, I got to work filling the cornucopia to overflowing with all the fall goodness.
The sentiment is another new die, the Thankful Shadow Dies, and it is lovely! And if you look closely, you’ll also see a peek of the new Deco Leaves Stencil on my card base.
That wraps up today’s sneak peeks, but there are a few more fabulous dies releasing this month, so keep you eyes peeled and make sure to come back tomorrow to see a preview of the whole release in picture form!
Hi, friends! It’s Lauren and I am so excited to be sharing a little peek at two new stencils: Deco Leaves Stenciland Layered Fall Wreath Stencils. These new 6×6 stencils are going to really step up your Autumn themed projects so let’s jump right in and take a look!
New release will be available September 12th
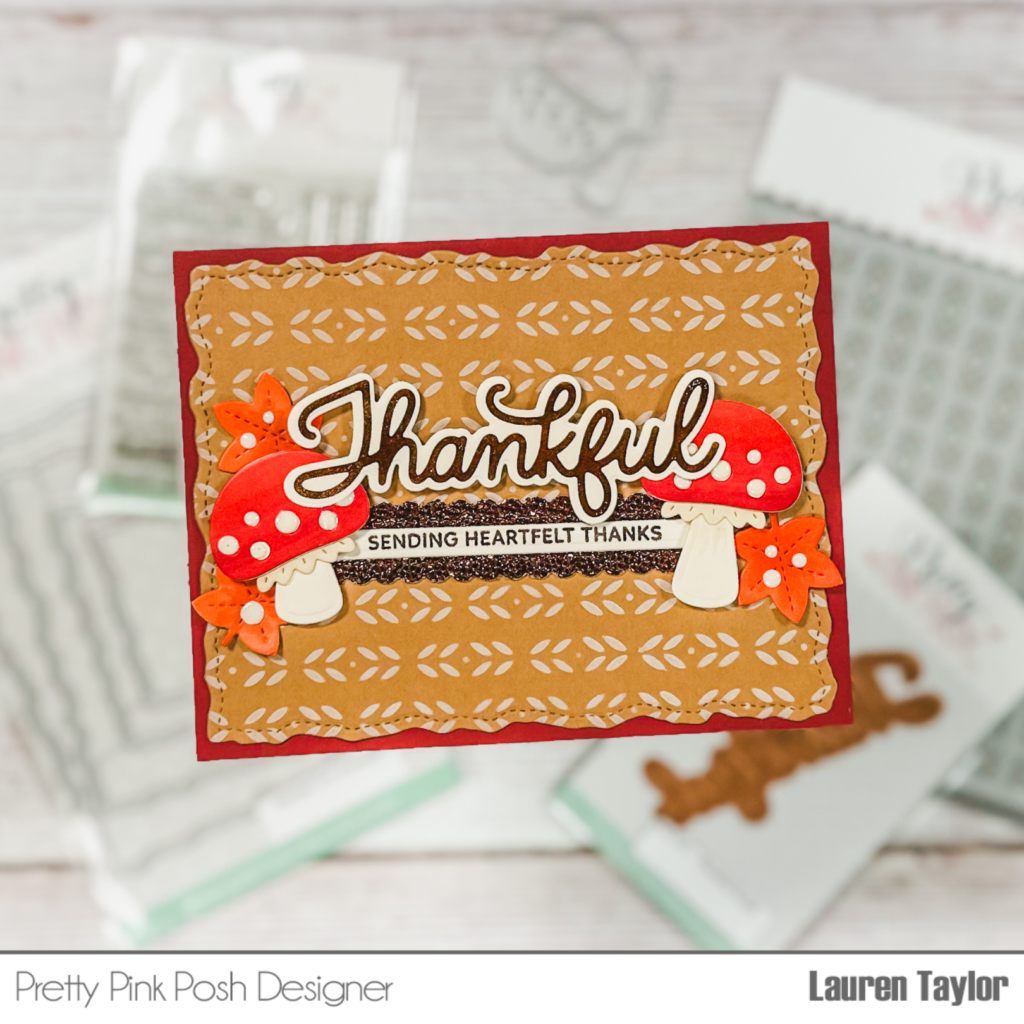
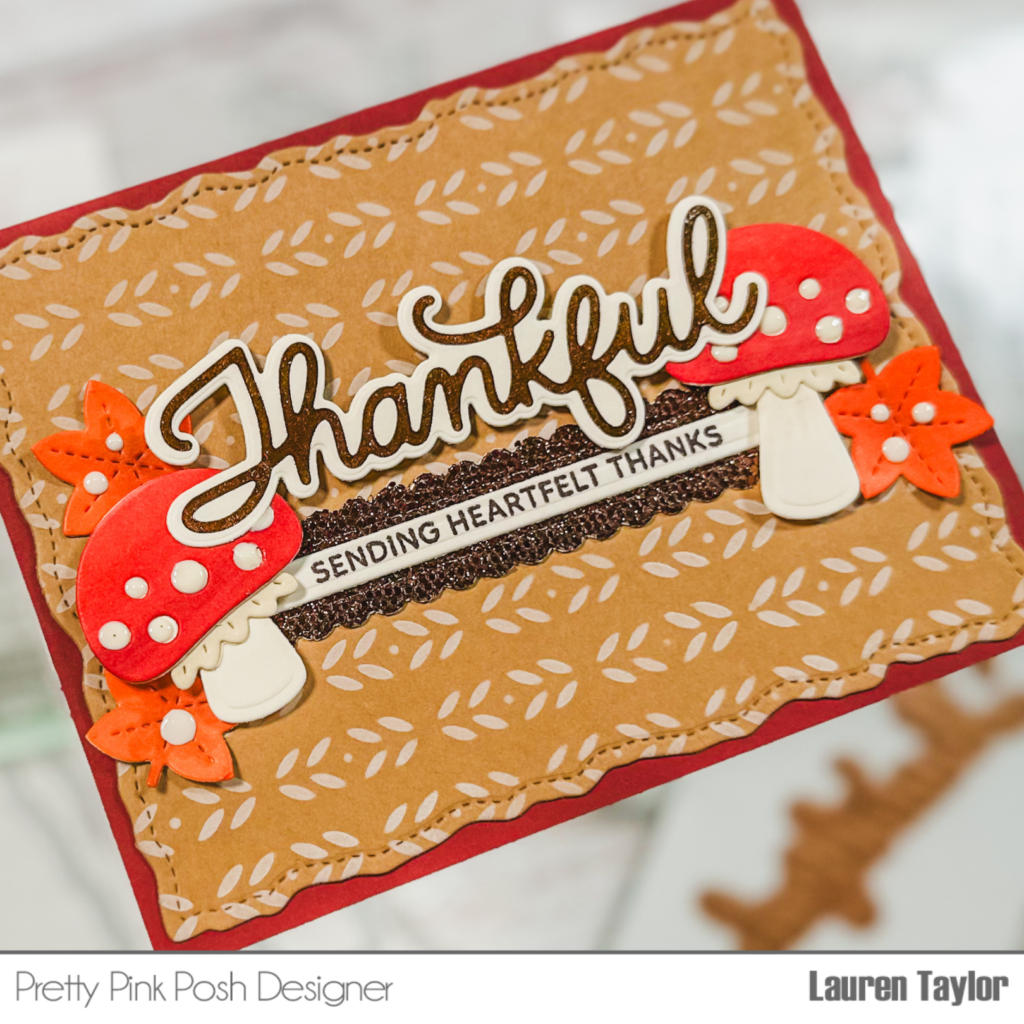
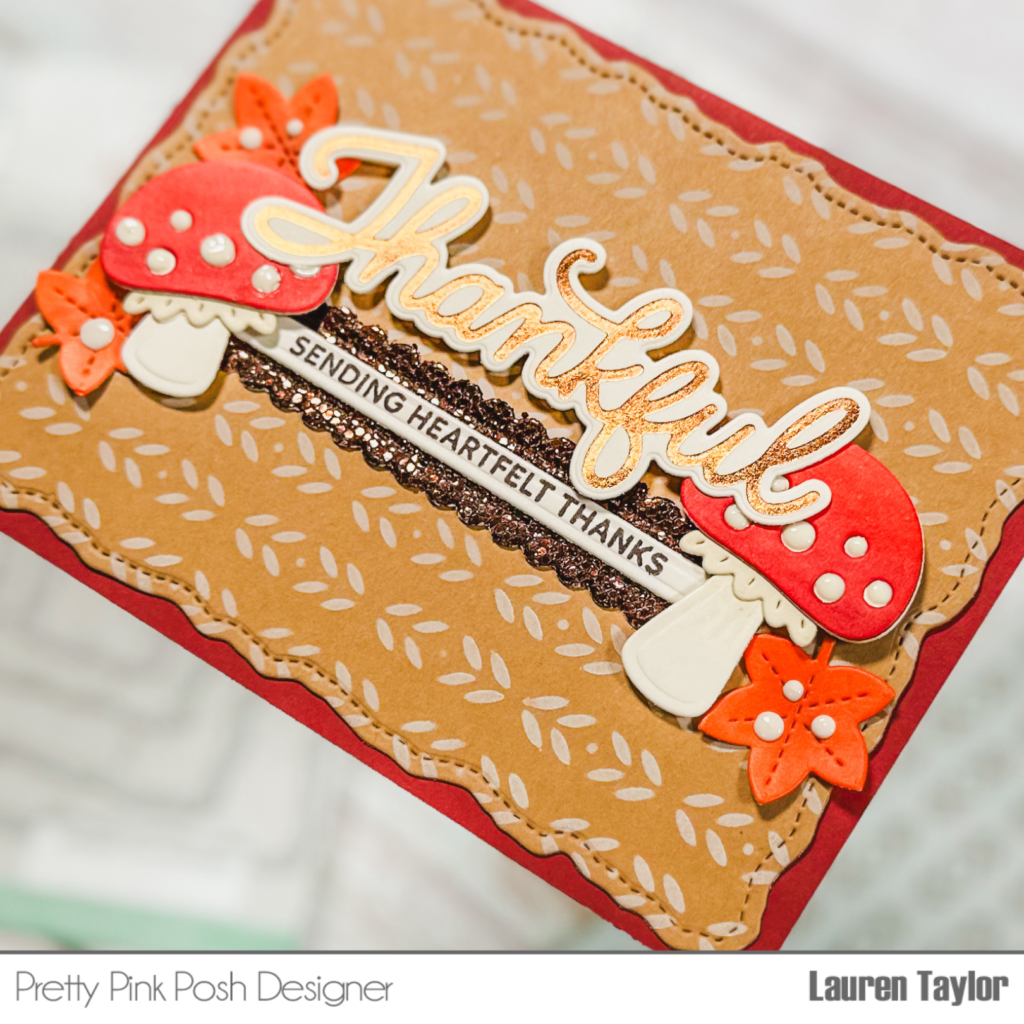
My first card is using the Deco Leaves Stencil and I just love this simple but beautiful design! It reminds me of a warm sweater or scarf when it starts to get chilly outside. I used Antique Linen Distress Oxide onto kraft cardstock to create this background with a foam blending tool.
For the Layered Fall Wreath Stencils, I wanted to go a little non-traditional in my colors. I stenciled the leaves with the A layer in different colors of Distress Oxide onto a cream colored cardstock. I used Saltwater Taffy, Speckled Egg, Tea Dye and Vintage Photo with foam blending tools. For the leaf details of the B layer, I used some brown stencil paste which gives the background some subtle texture.
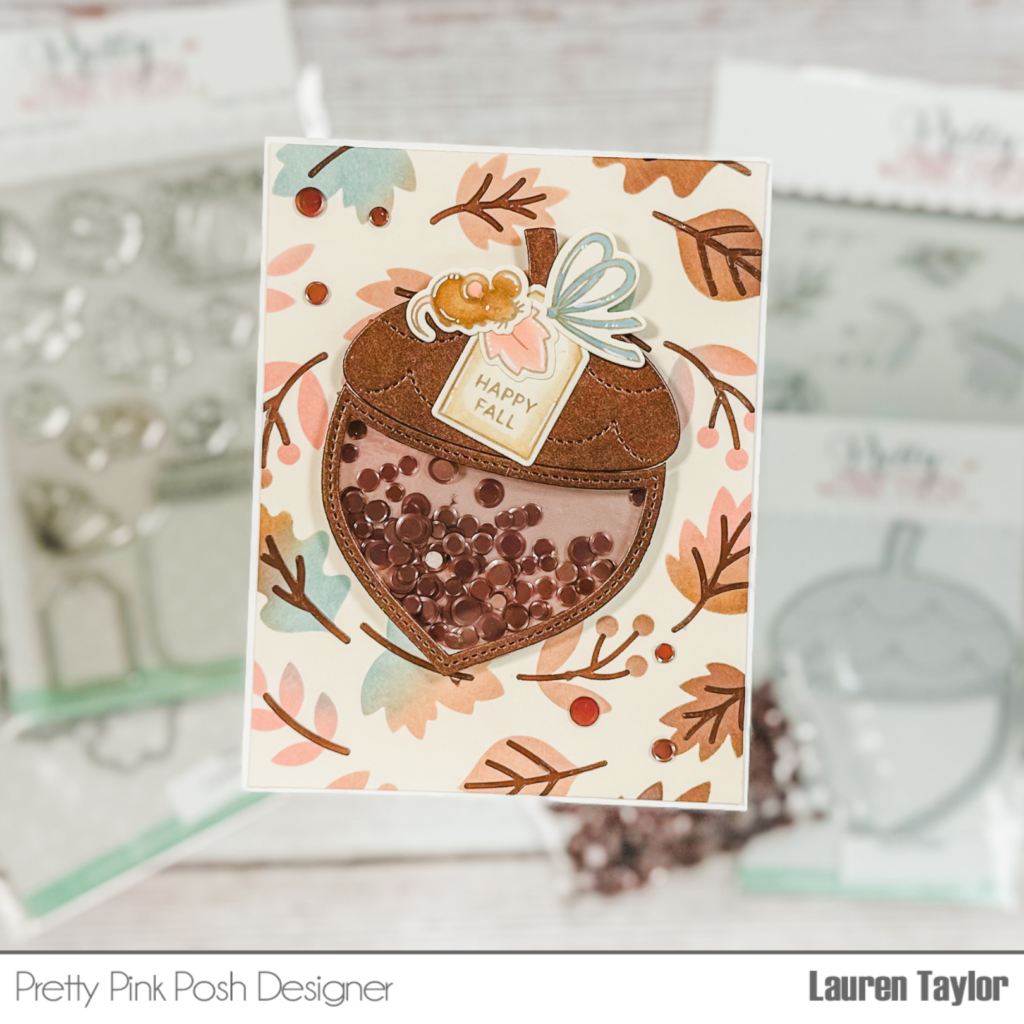
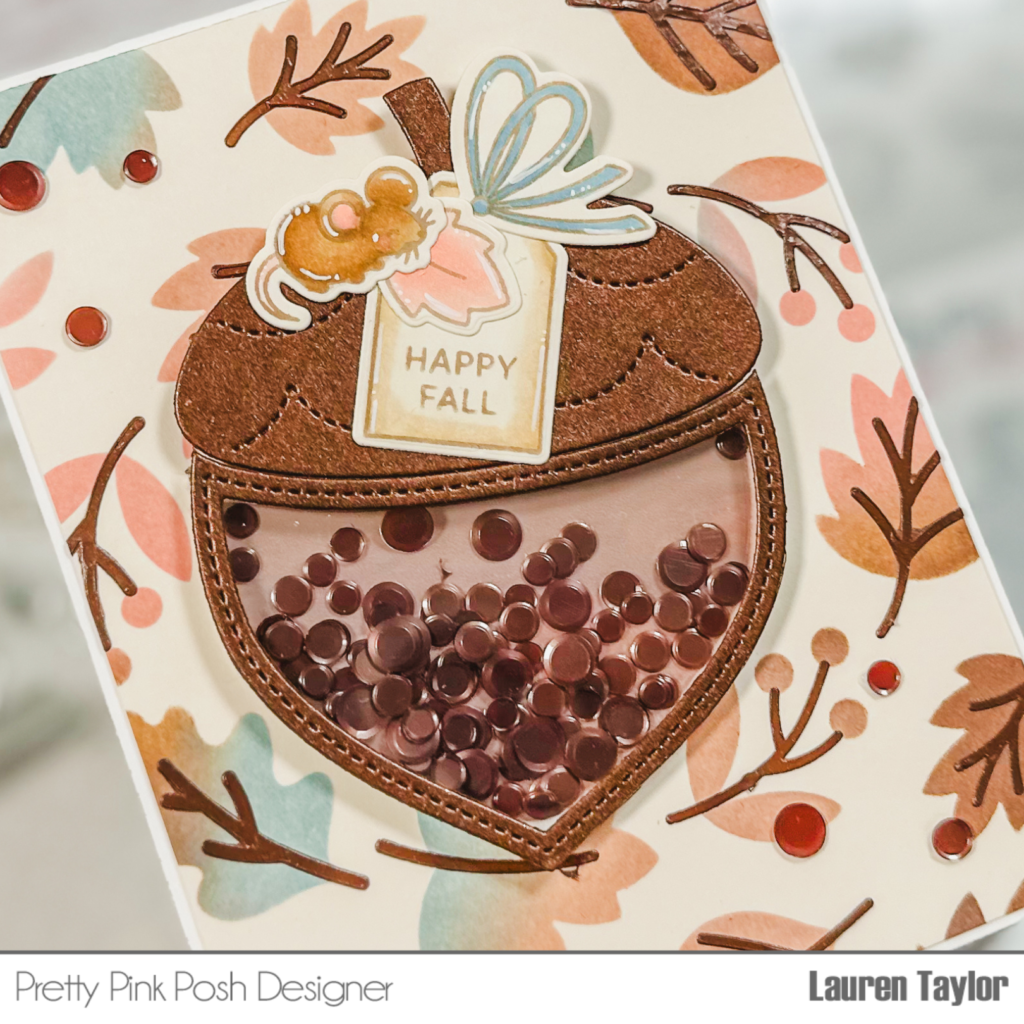
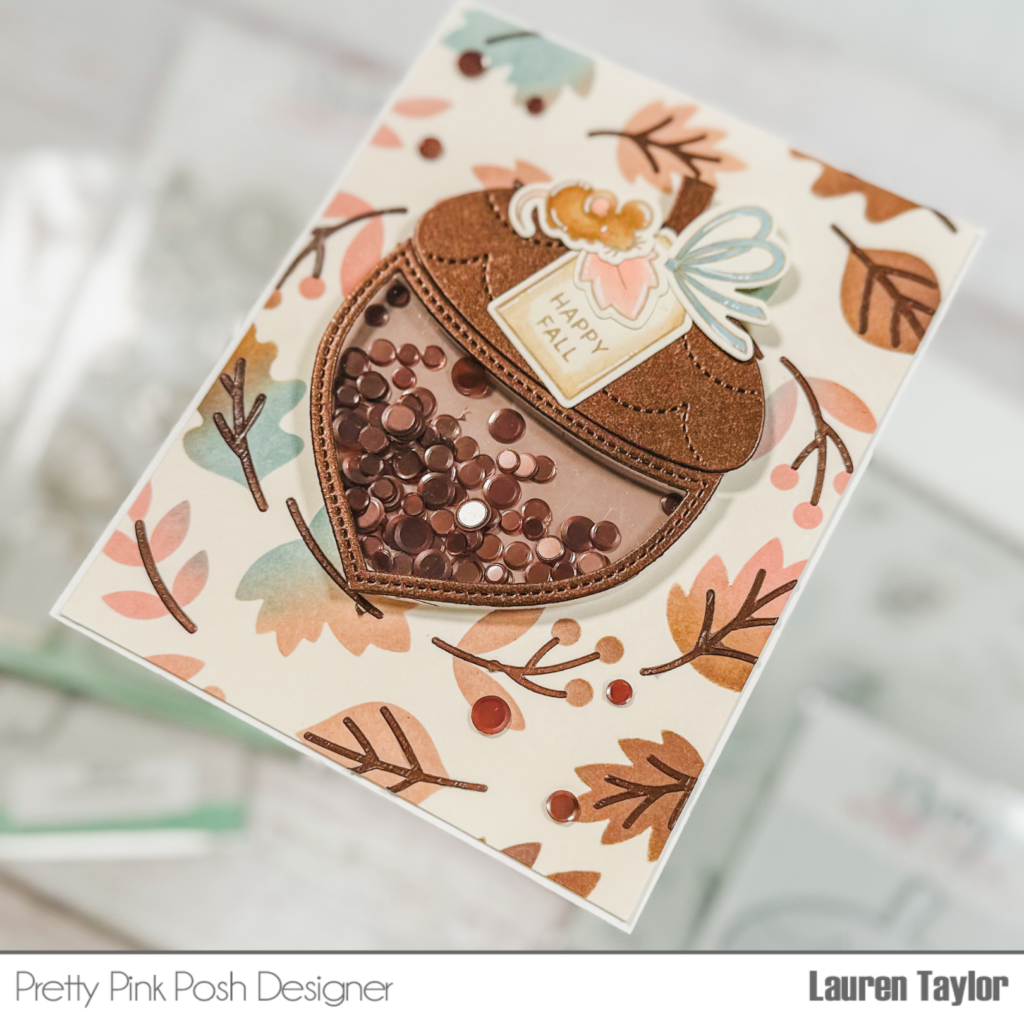
When the background was dry, I trimmed it to be slightly smaller than A2 and glued it to my card base. Then I made an Acorn Shaker from shimmery brown and rose gold cardstock and filled it with Espresso Confetti.
I wanted to add in some cute images from the Fall Jar Stamp Set, so I stamped a few out on cream colored cardstock in a brown ink and colored them in with alcohol markers. I used the Fall Jar Coordinating Dies to cut them out and attached them to the top of my acorn. I added a few more Espresso Confetti pieces around my card for some extra shimmery fun.
I hope you enjoyed this sneak peek of these new stencils; you’re absolutely going to love the rest of the release. I’m so ready for sweater weather with these new products!