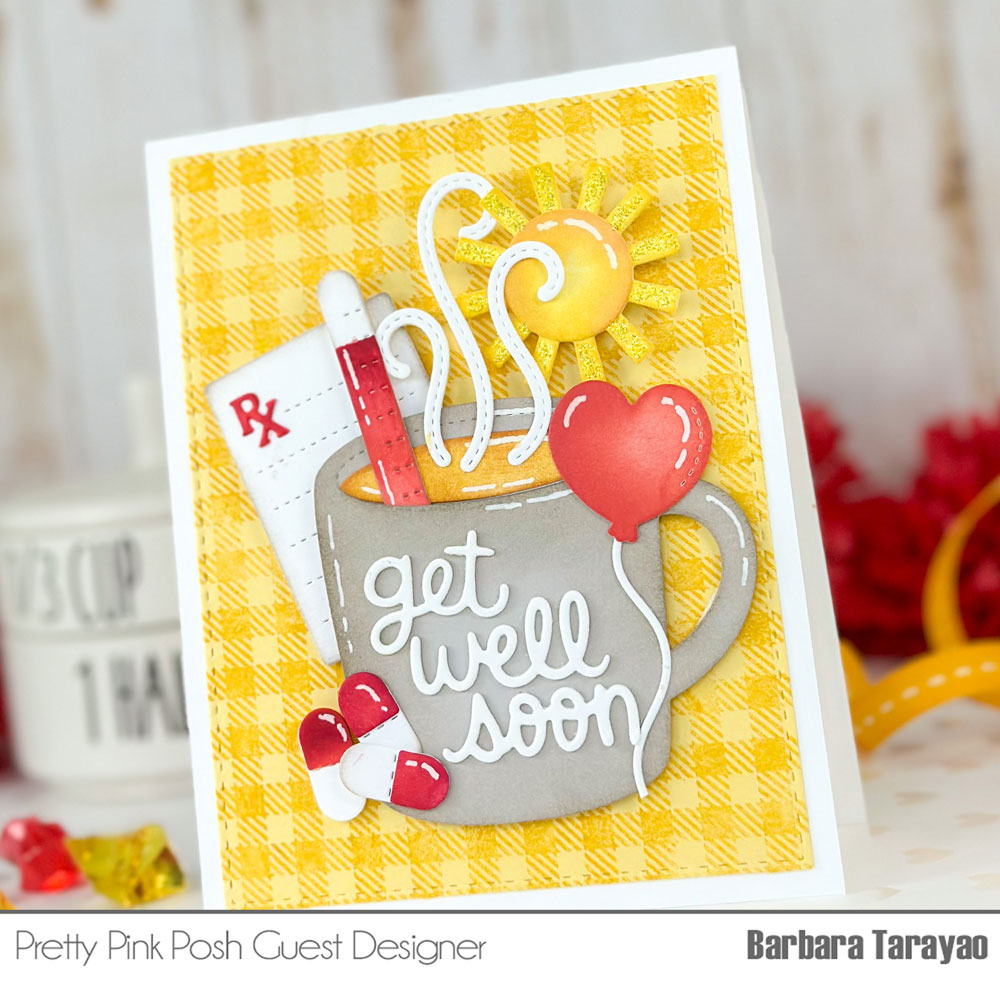
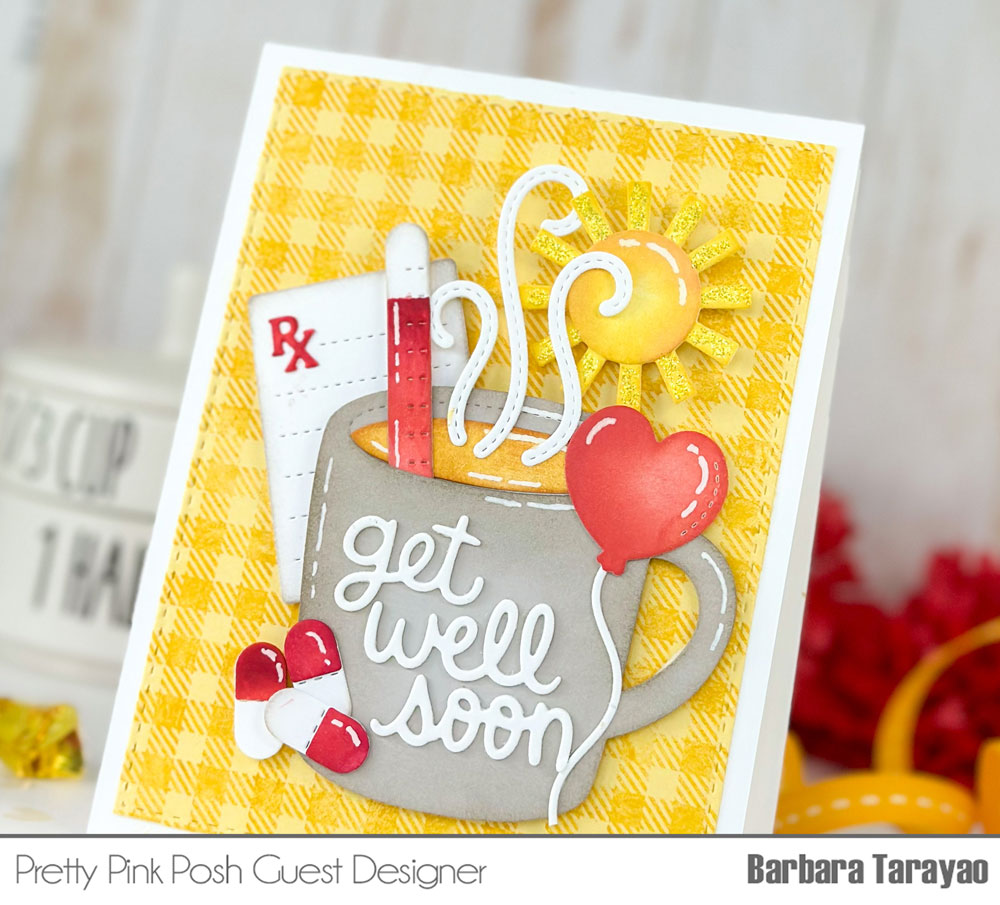
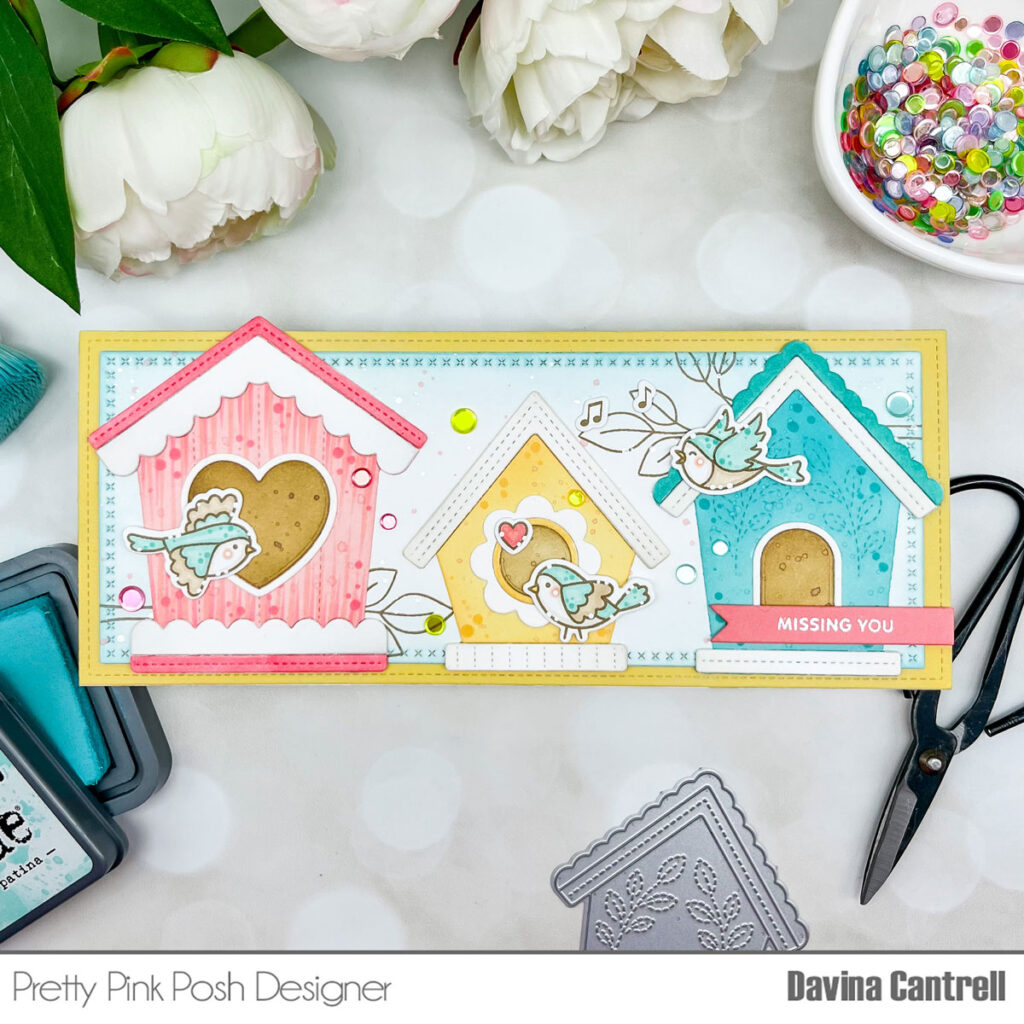
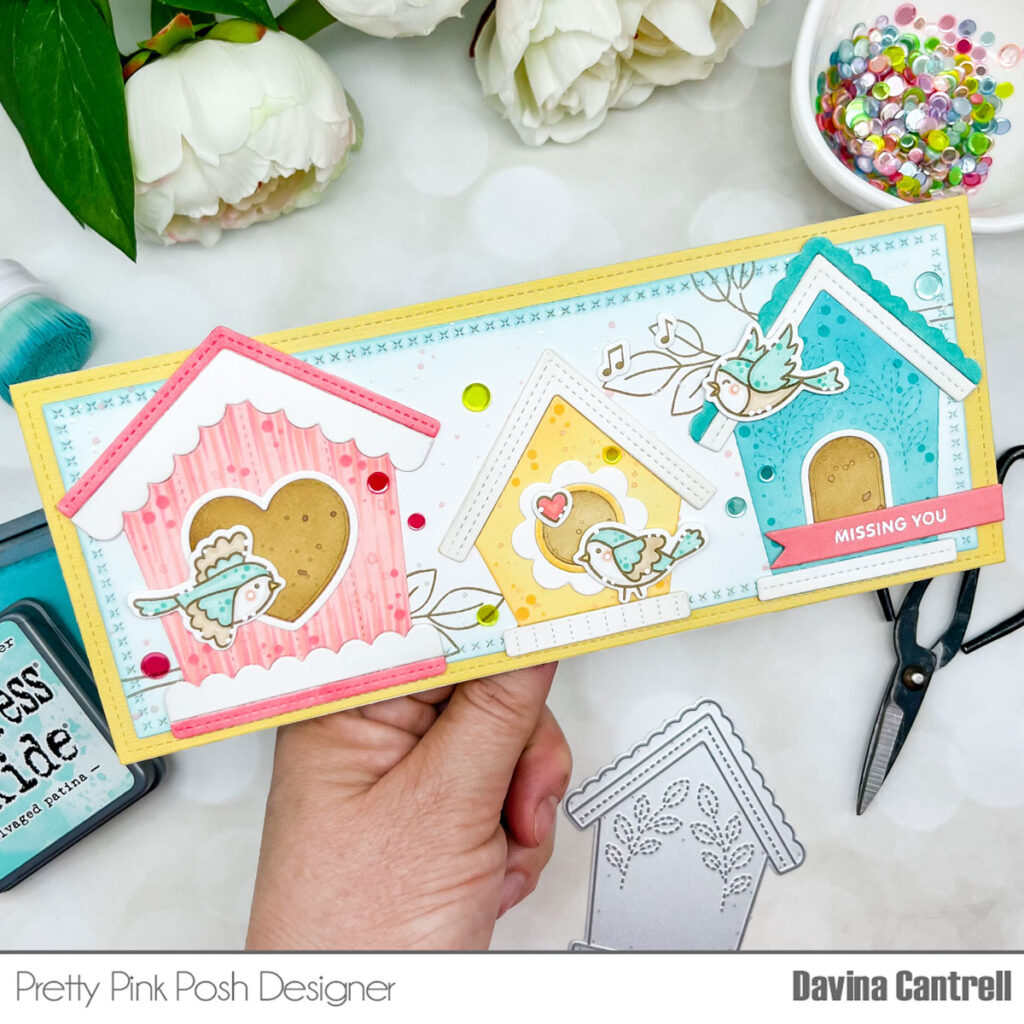
Congrats Graduation + Video
Hi, friends, it’s Lauren. Can you believe the school year is coming to an end and we’re approaching graduation season? Pretty Pink Posh just released some new products to help with your congratulations projects and I’m sharing how to incorporate the new Graduation Mug Additions Dies with the Winter Mug Dies to make a shaker card!
Watch the video above I Watch the video in HD on YouTube
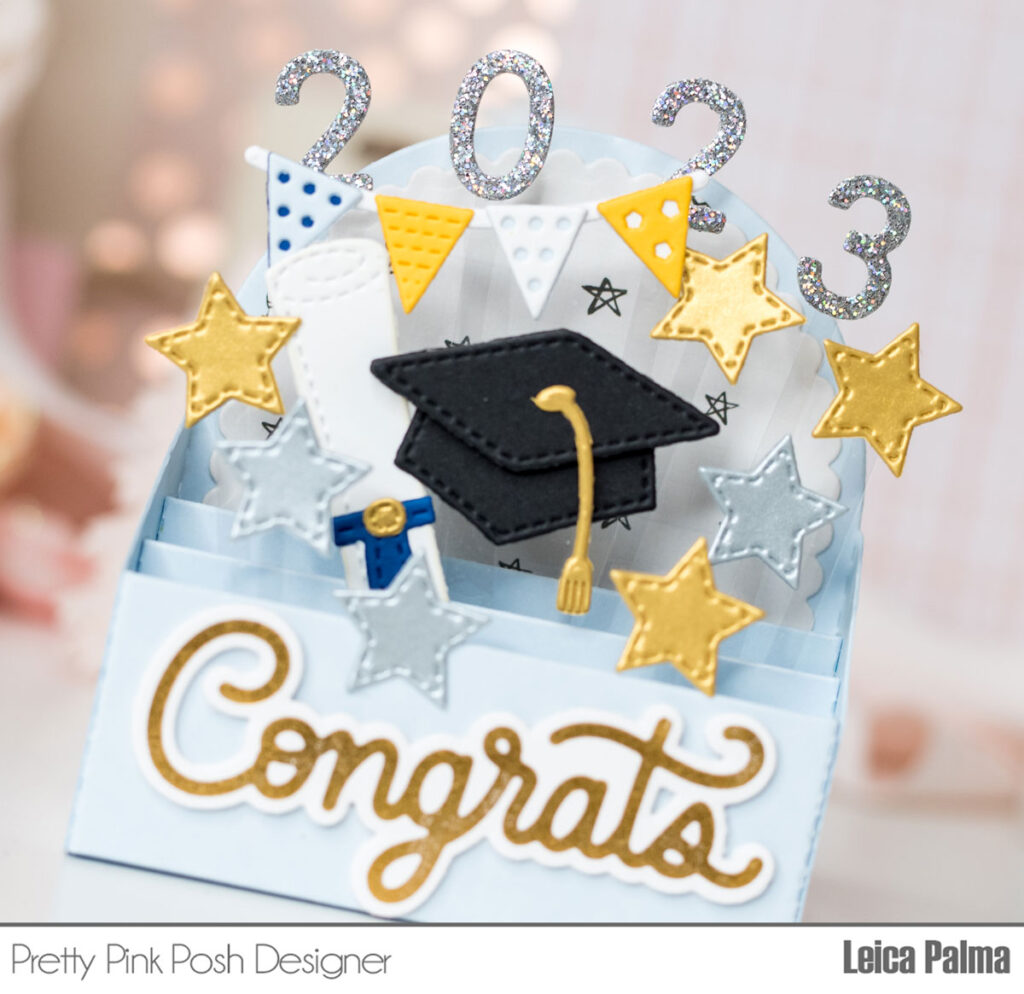
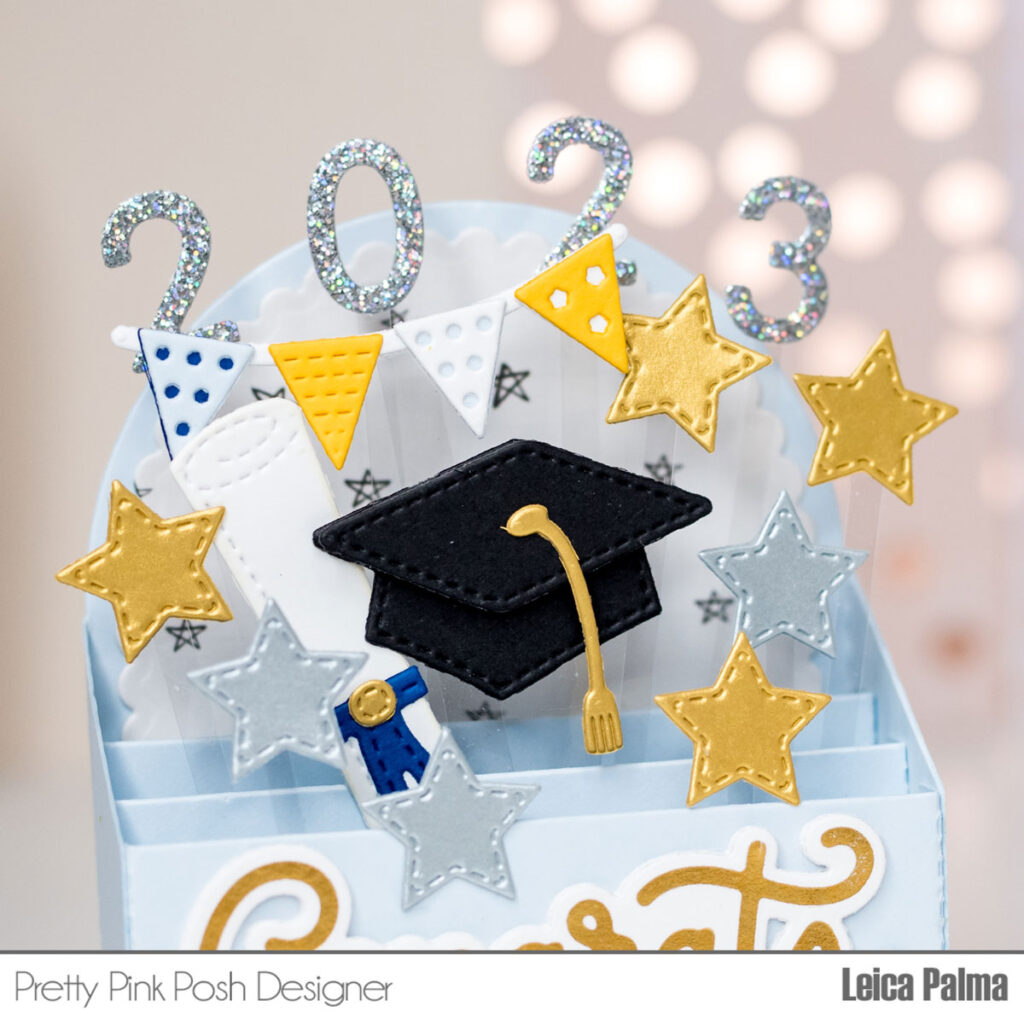
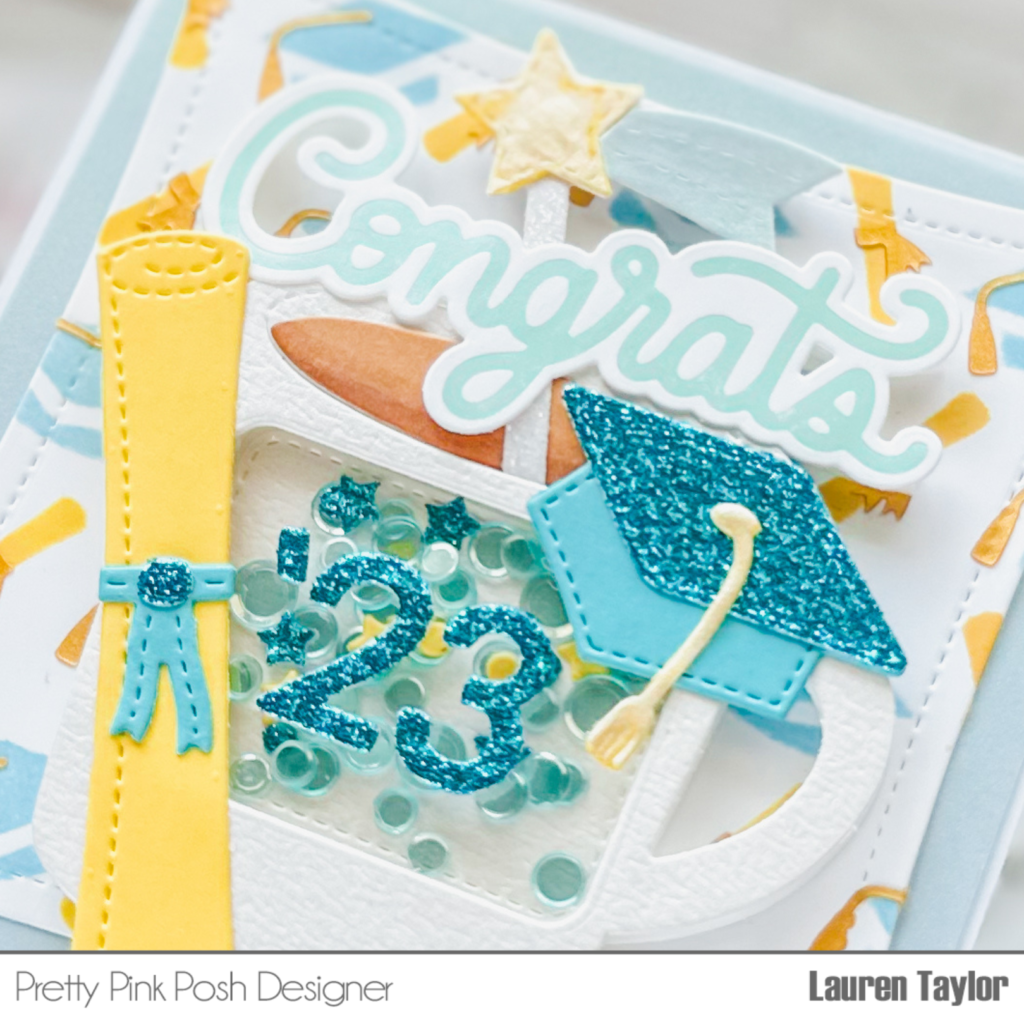
To prepare for my video, I did some hot foiling and die cutting before recording. Using some pastel satin foil, I hot foiled the Congrats Script Hot Foil Plate and cut it out with the Congrats Shadow Die Set. I used different types of cardstock (solid, vellum, glitter) in coordinating colors (white, yellow, blues) with the Winter Mug Dies, Graduation Mug Additions Dies, and the largest square from the Wonky Stitched Squares Dies.
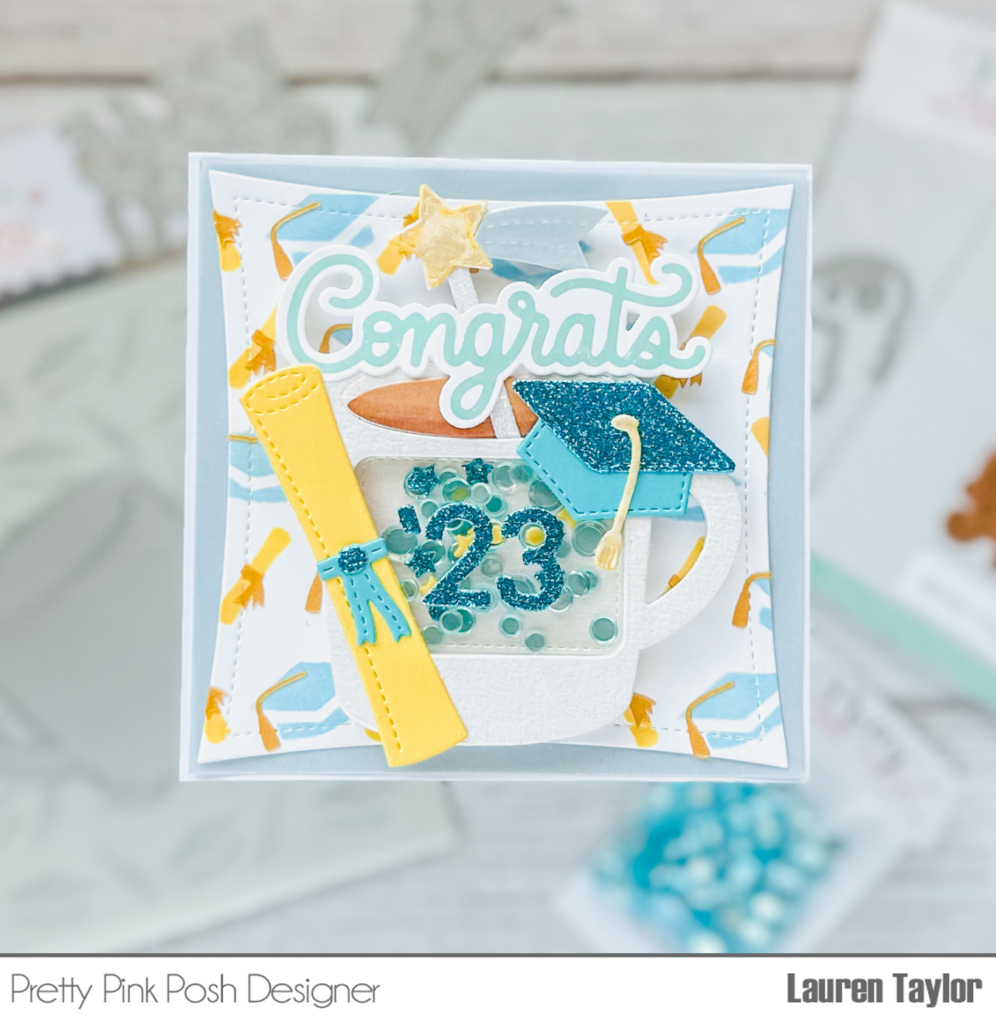
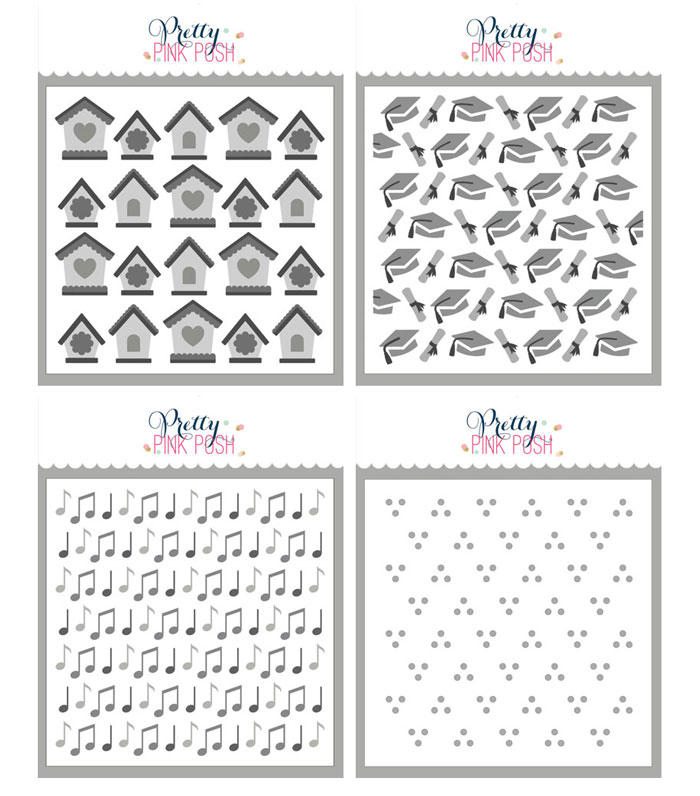
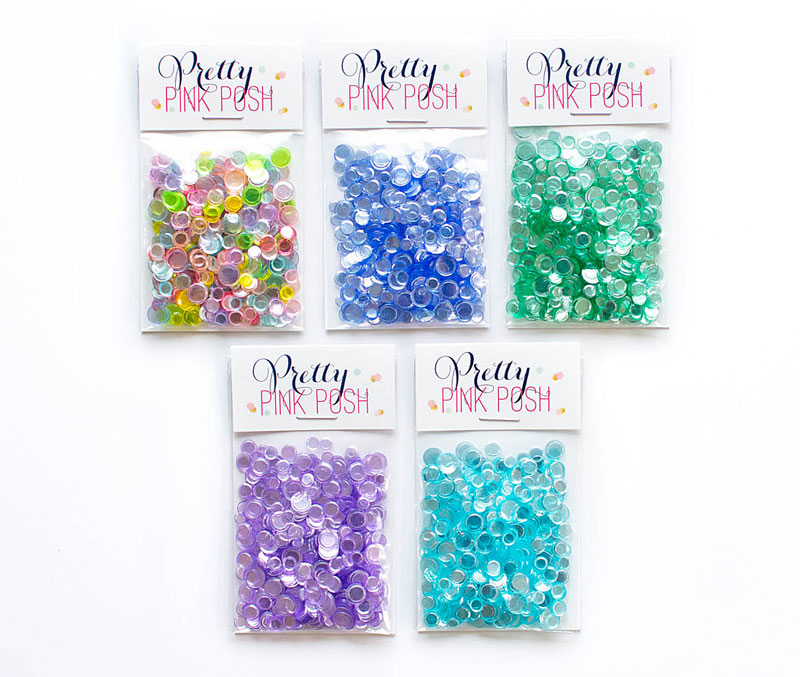
Next I stenciled my background on the Wonky Stitched Square with the Layered Graduation Stencils. I used Tumbled Glass Distress Oxide with the A stencil, Scattered Straw with the B stencil, and gold stencil paste with the C stencil. While it dried, I assembled my mug together as a shaker. I cut confetti from the Graduation Mug Additions Dies, but also included the new Aqua Shimmer Confetti inside the shaker.
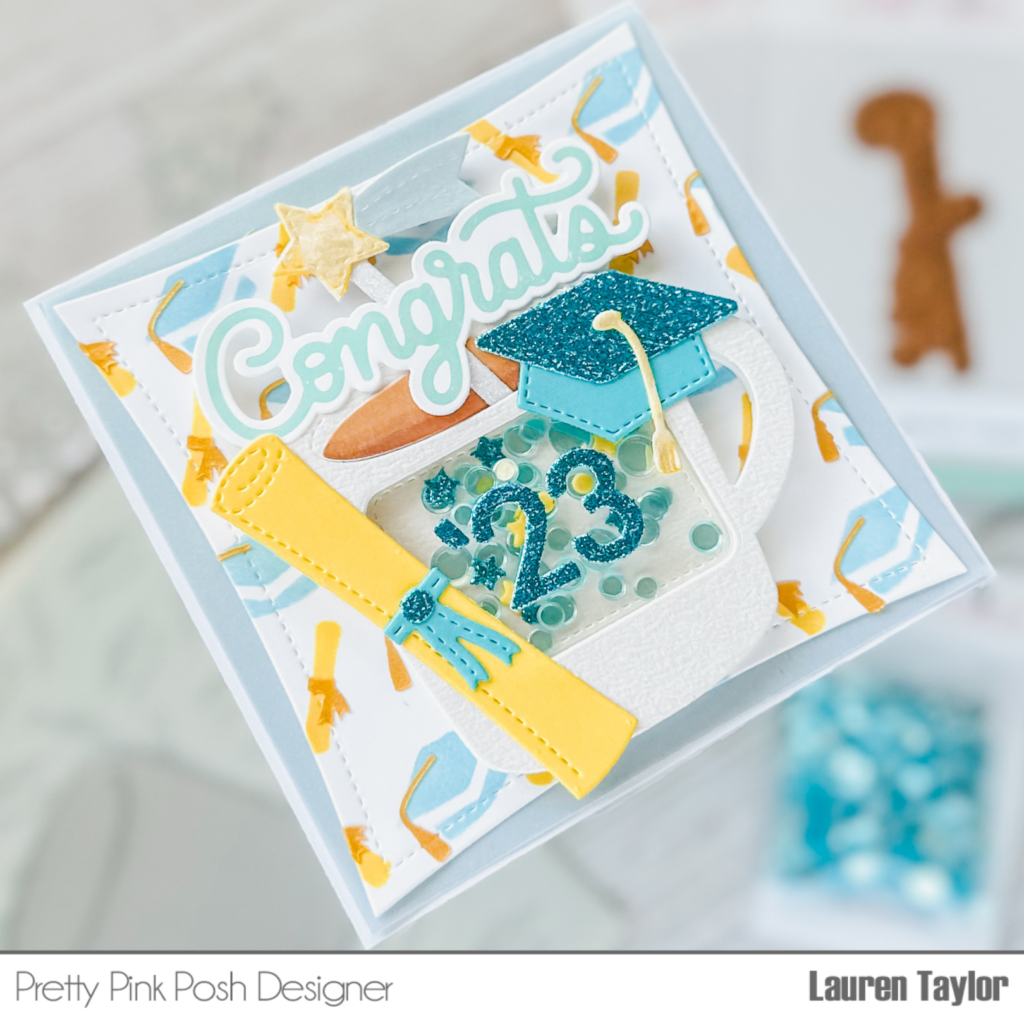
I adhered my card together on a 4-1/4 x 4-1/4″ card base and layered some blue vellum trimmed to 4-1/8 x 4-1/8″ as well as the stenciled background. The shaker mug was then glued onto the card as well as the other graduation die cut details. My sentiment was added to the top of the mug and the card is complete! I hope you’re inspired to use your Graduation Mug Additions Dies, too.
Thank you so much for stopping by today. Have a wonderful day!