Colorful Merry Mittens
Hello and welcome to the PPP blog. It’s Leica here today with a merry and bright Christmas card. I went for a colorful and fun vibe for this card to match the sentiment and I love the way it turned out.
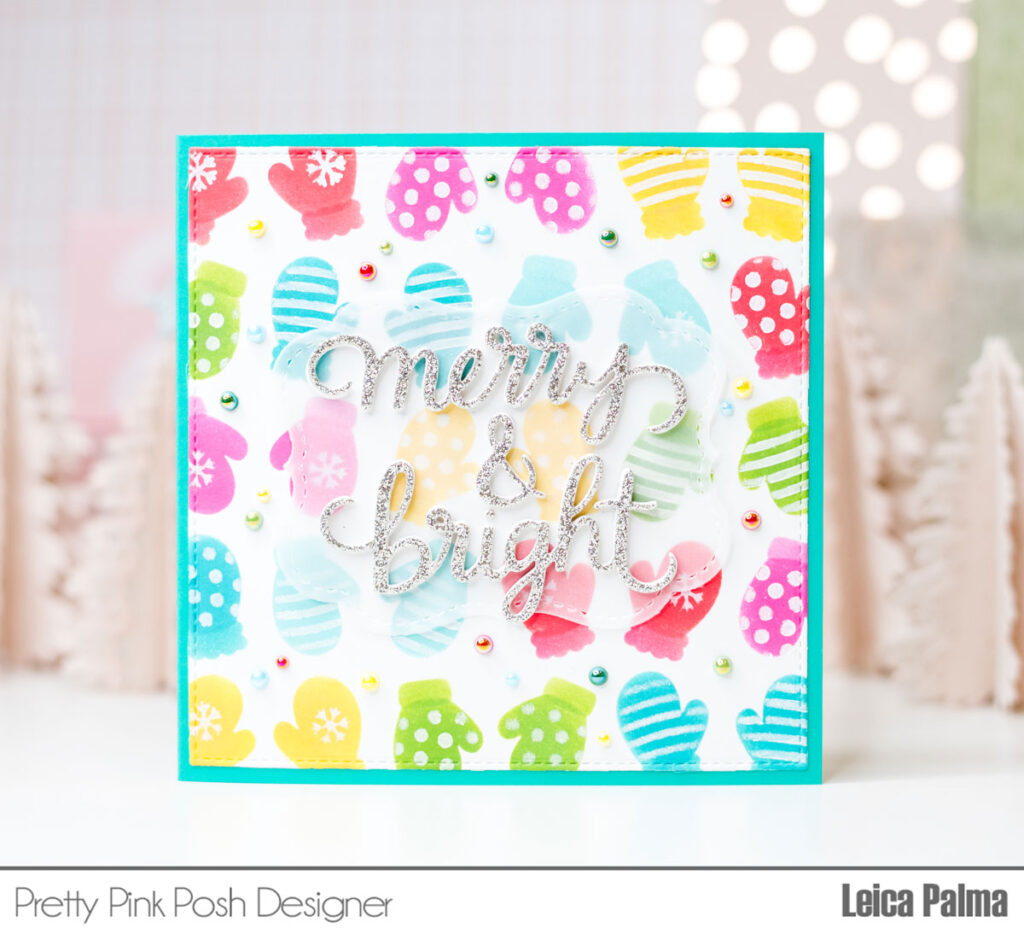
To begin, I cut a panel in white cardstock and inked blended through the A layer of the Layered Mittens Stencils with Distress Oxide Inks in Festive Berries, Fossilized Amber, Mowed Lawn Peacock Feathers, Picked Raspberry, and Salvaged Patina. With a lighter hand, I ink blended through Layer B in the same colors mentioned above. For the last layer, I used white ink.
The stencils measure 6×6 inches and I usually start with a larger panel (6.25 square) and cut it down after ink blending through all the stencil layers.
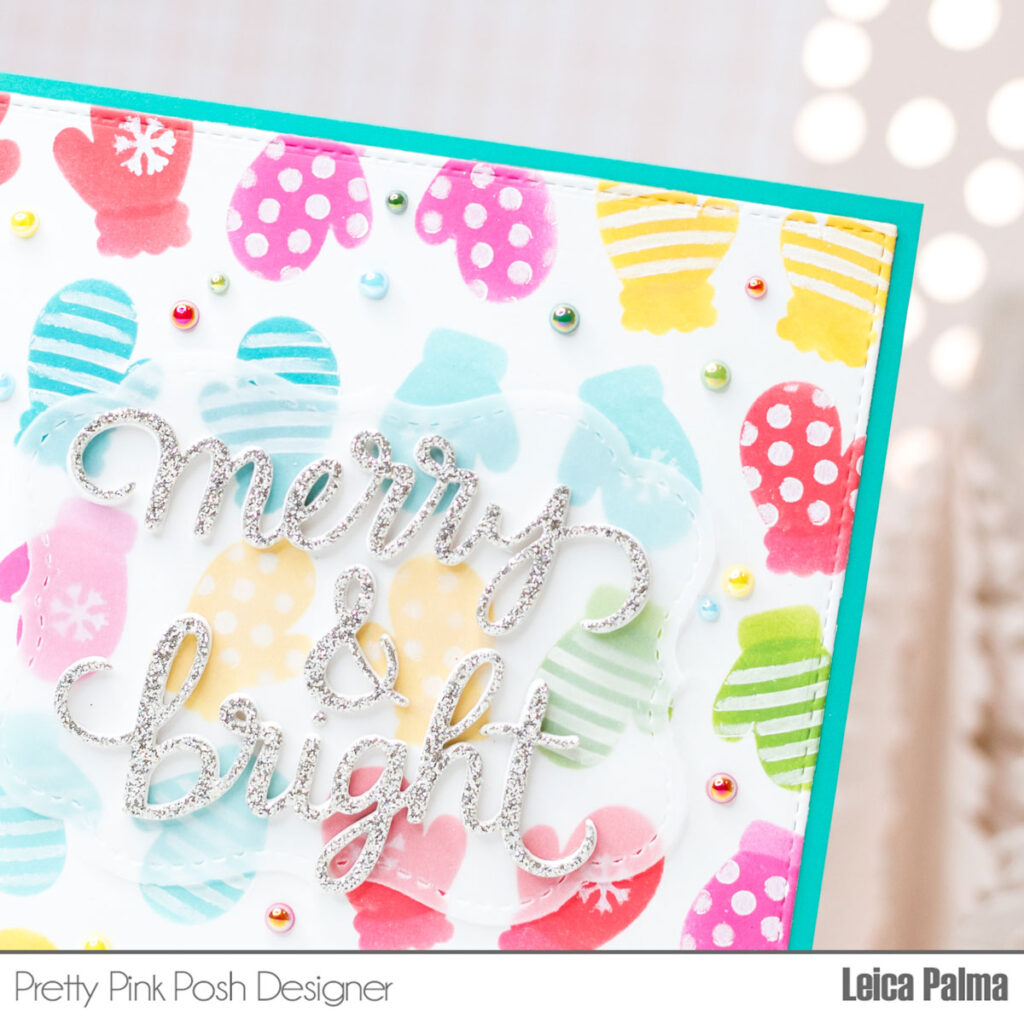
I ended up cutting the panel to 5” square and glued it onto a teal colored card base. I also added a 5” square white cardstock inside the card since the card base is a dark color.
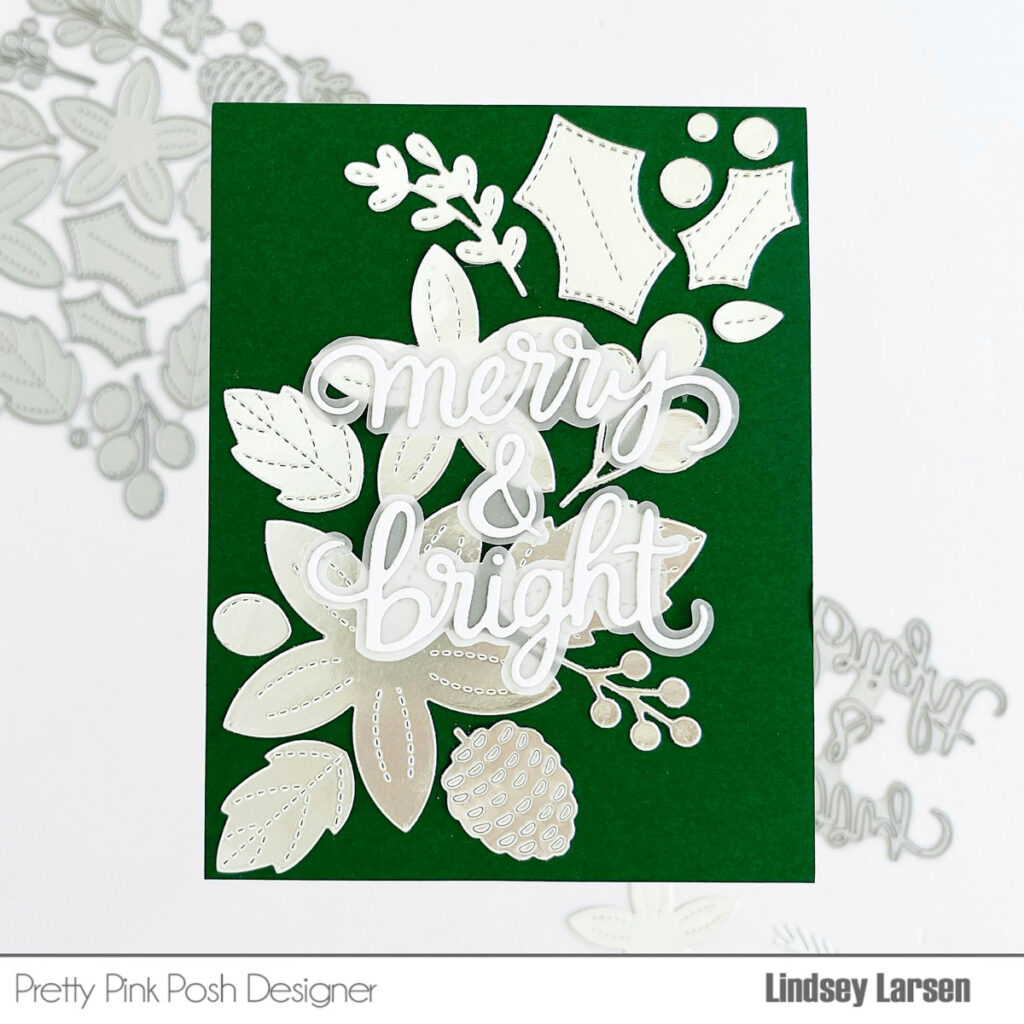
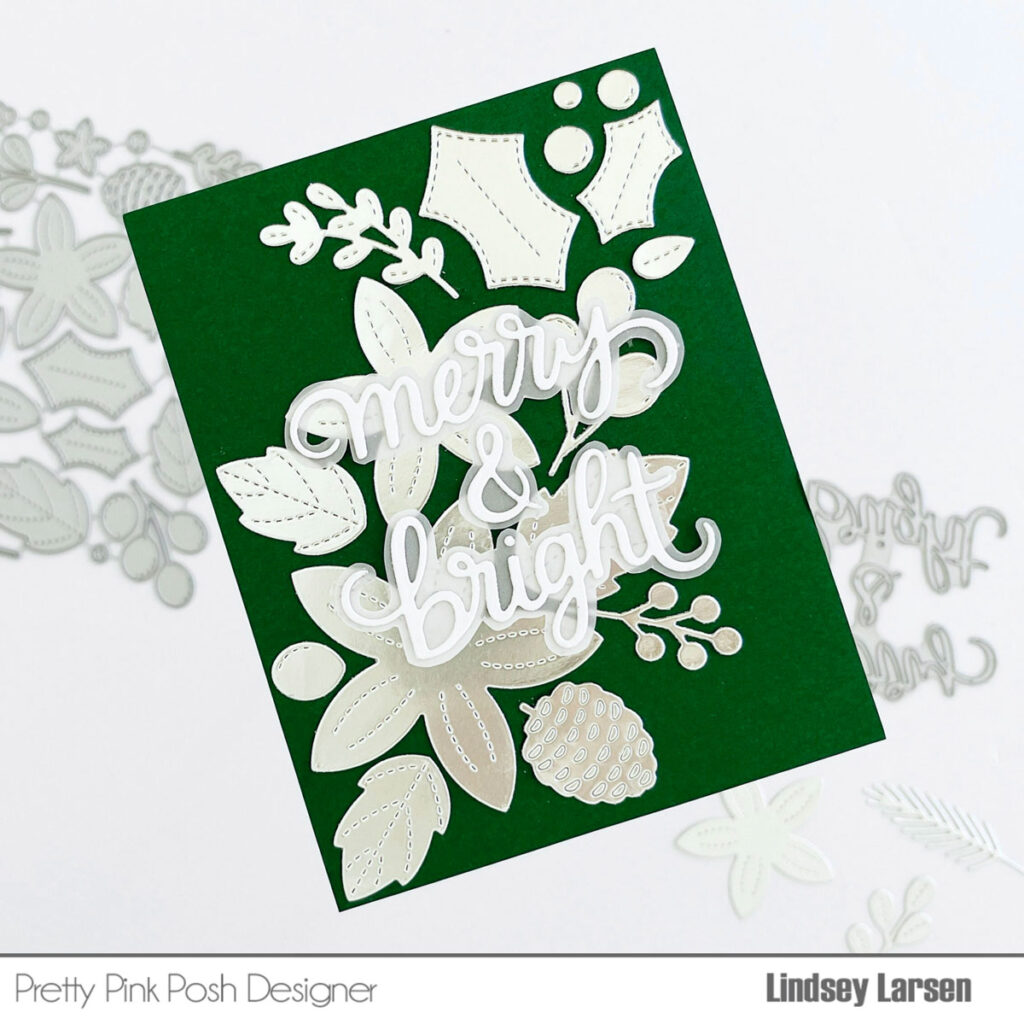
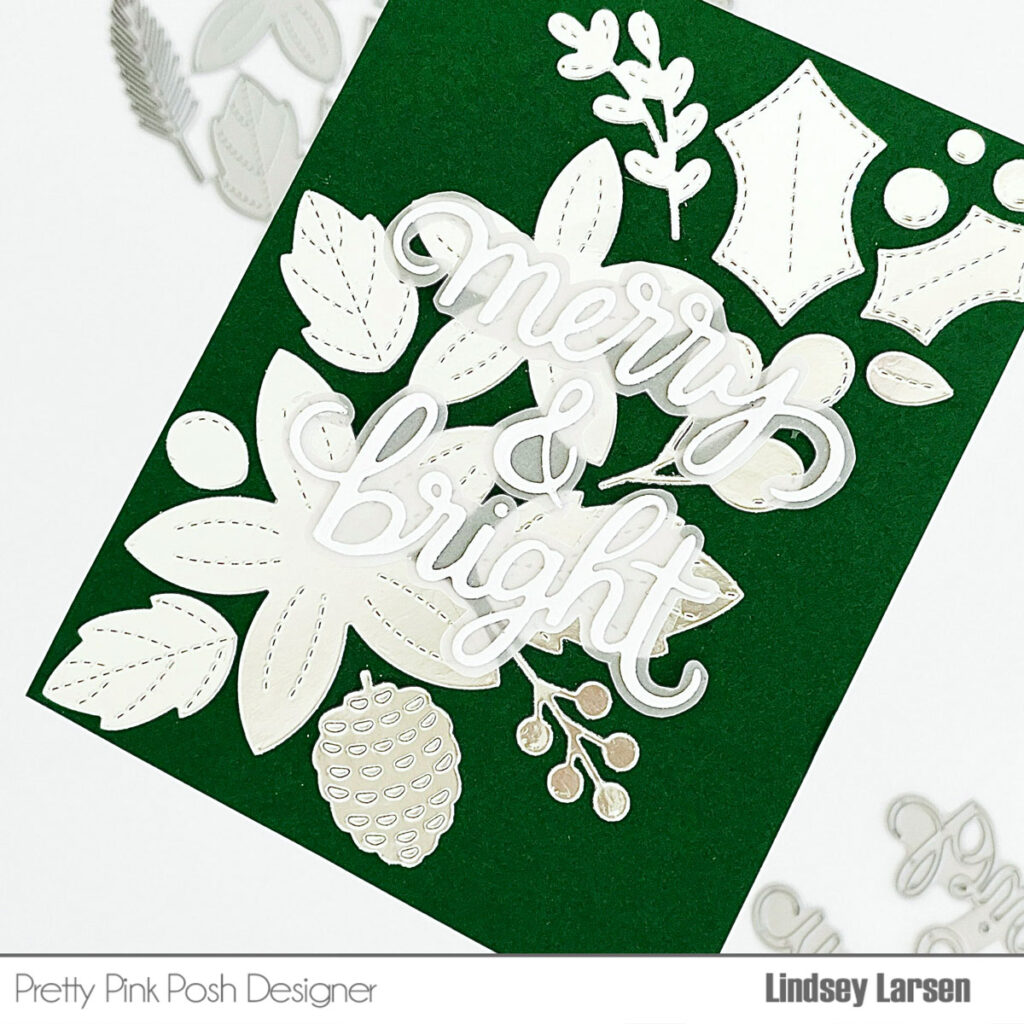
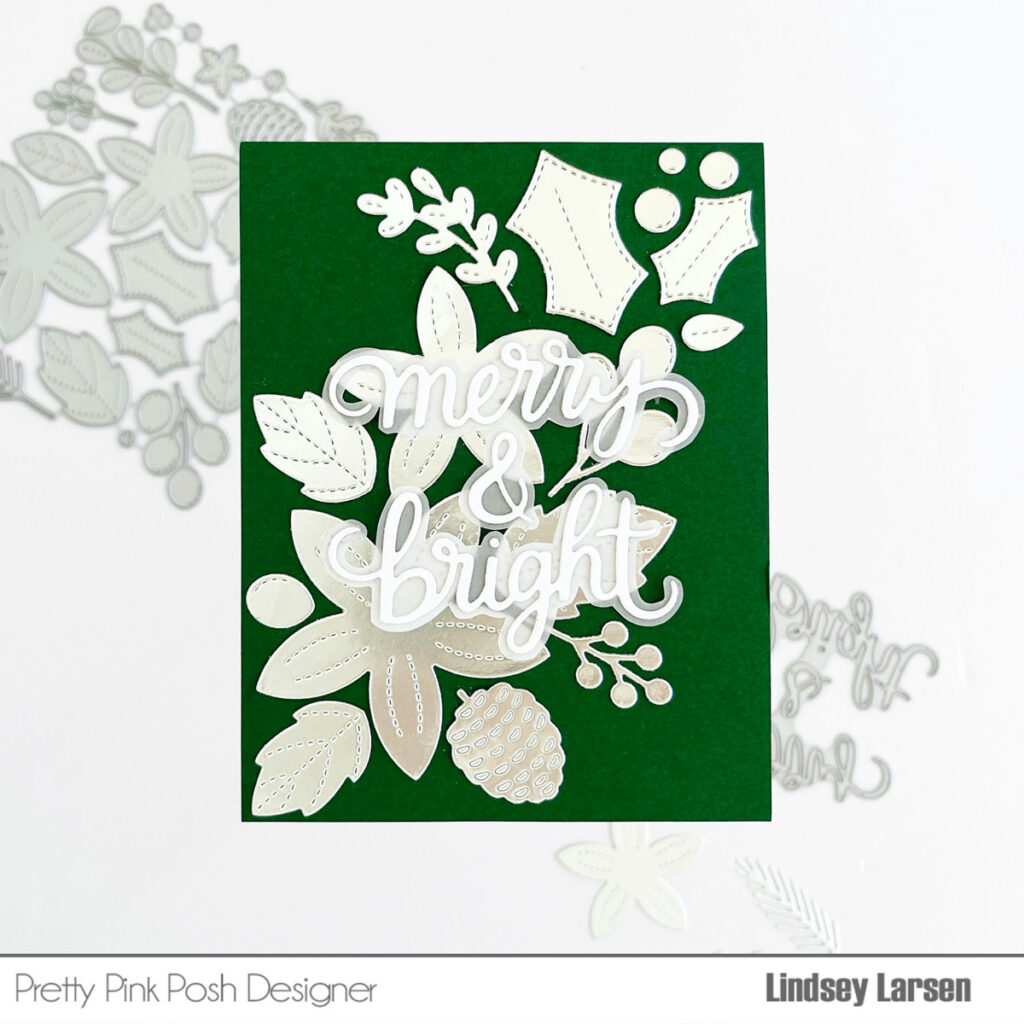
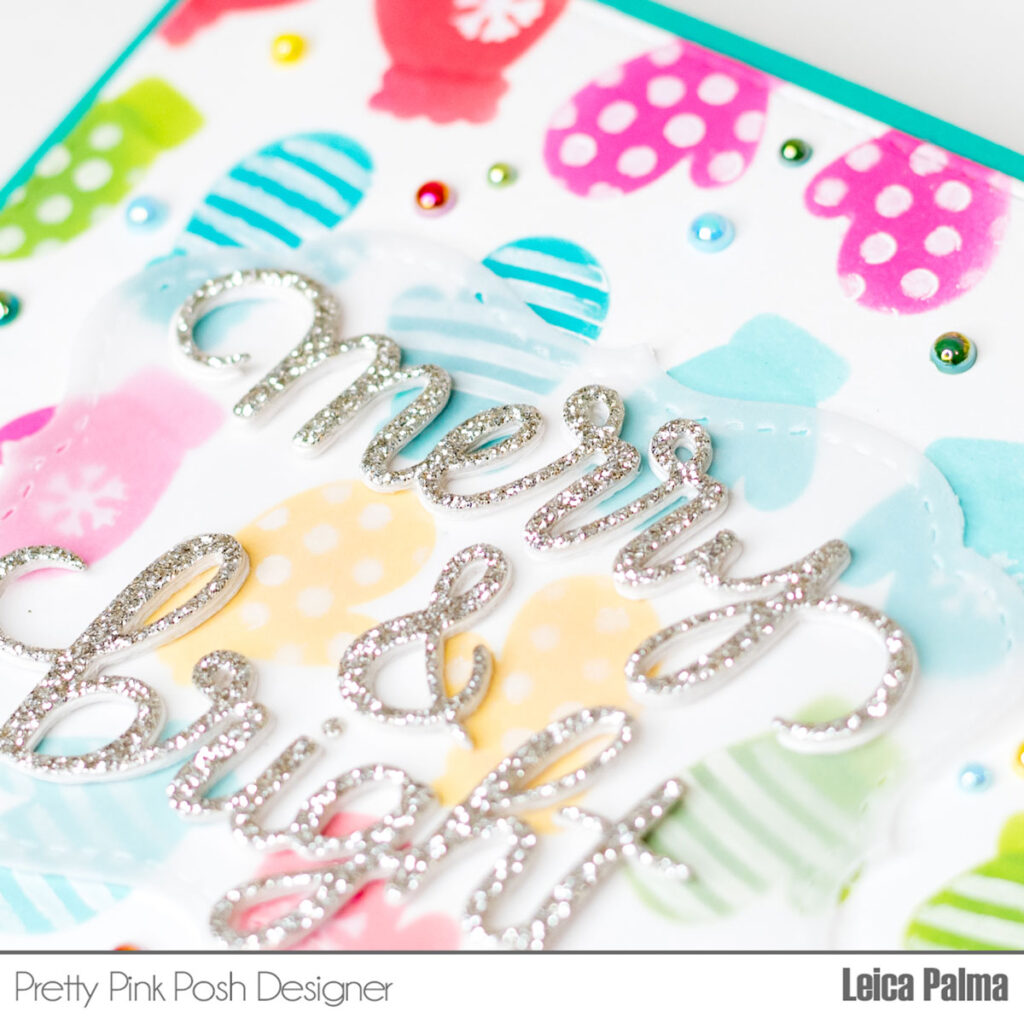
I then cut the Merry and Bright Script in silver glitter cardstock and 4 times in white cardstock. I stacked them up for dimension (except for the tittles because it’s too small) and glued it onto a sheet of vellum before gluing it onto the card panel. Lastly, I added some pearls to make the card even more merrier!
That’s all for this fun Christmas card. I hope that you’ve enjoyed today’s card share and that I’ve inspired you to create a merry and bright card!

