Easter Infinity Shaker
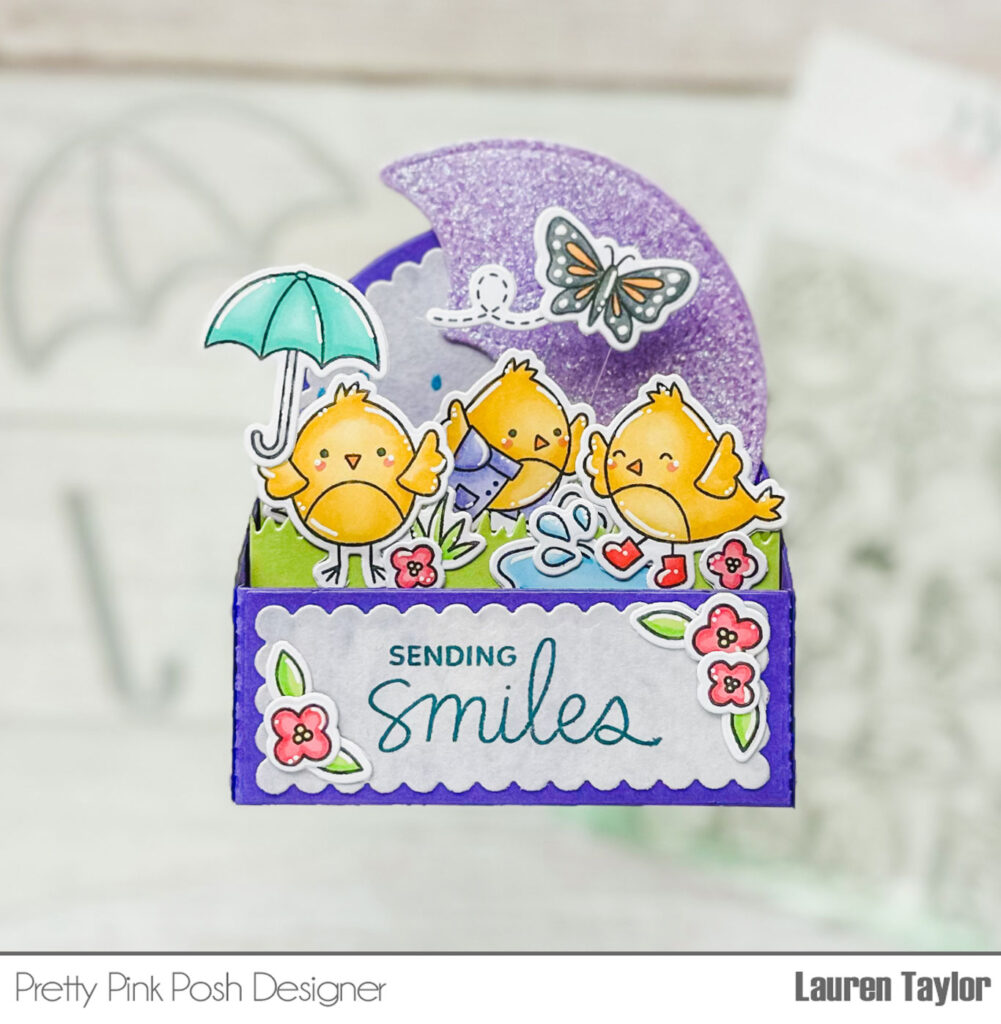
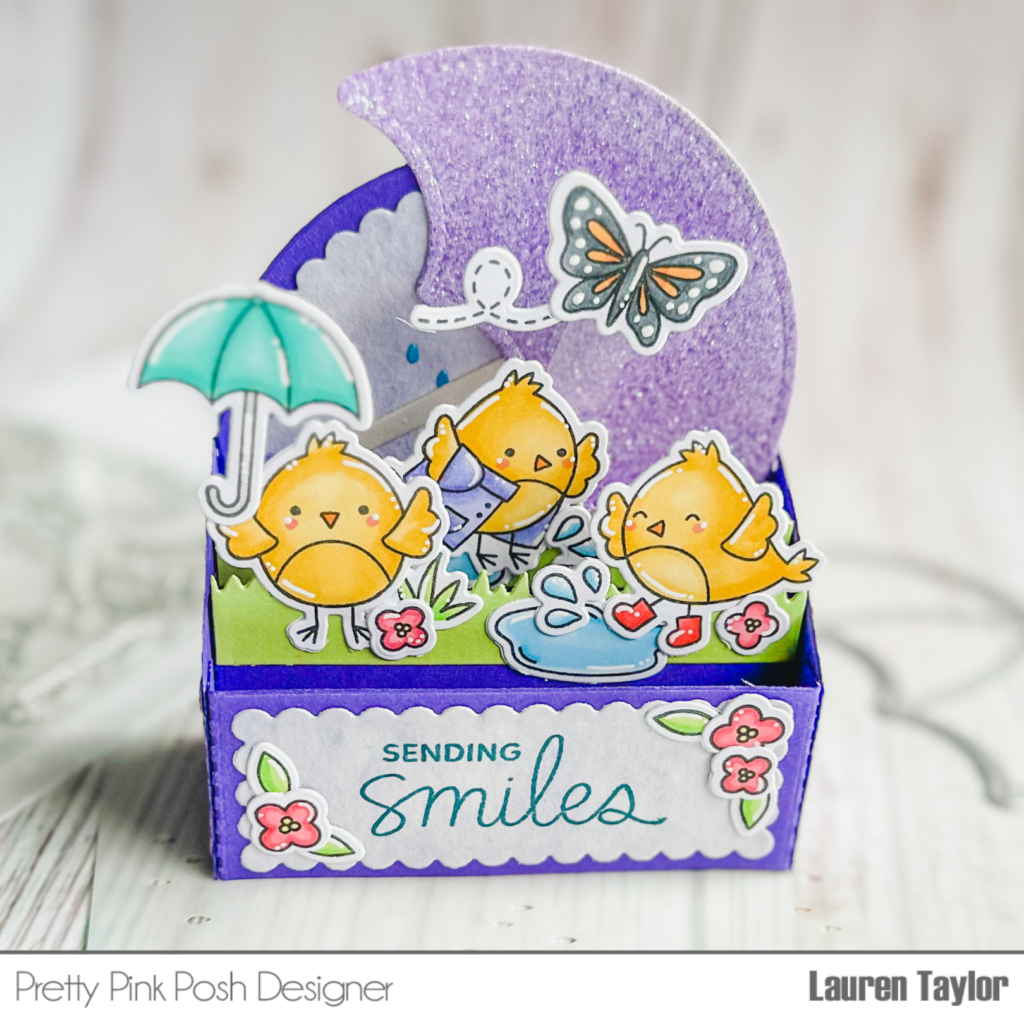
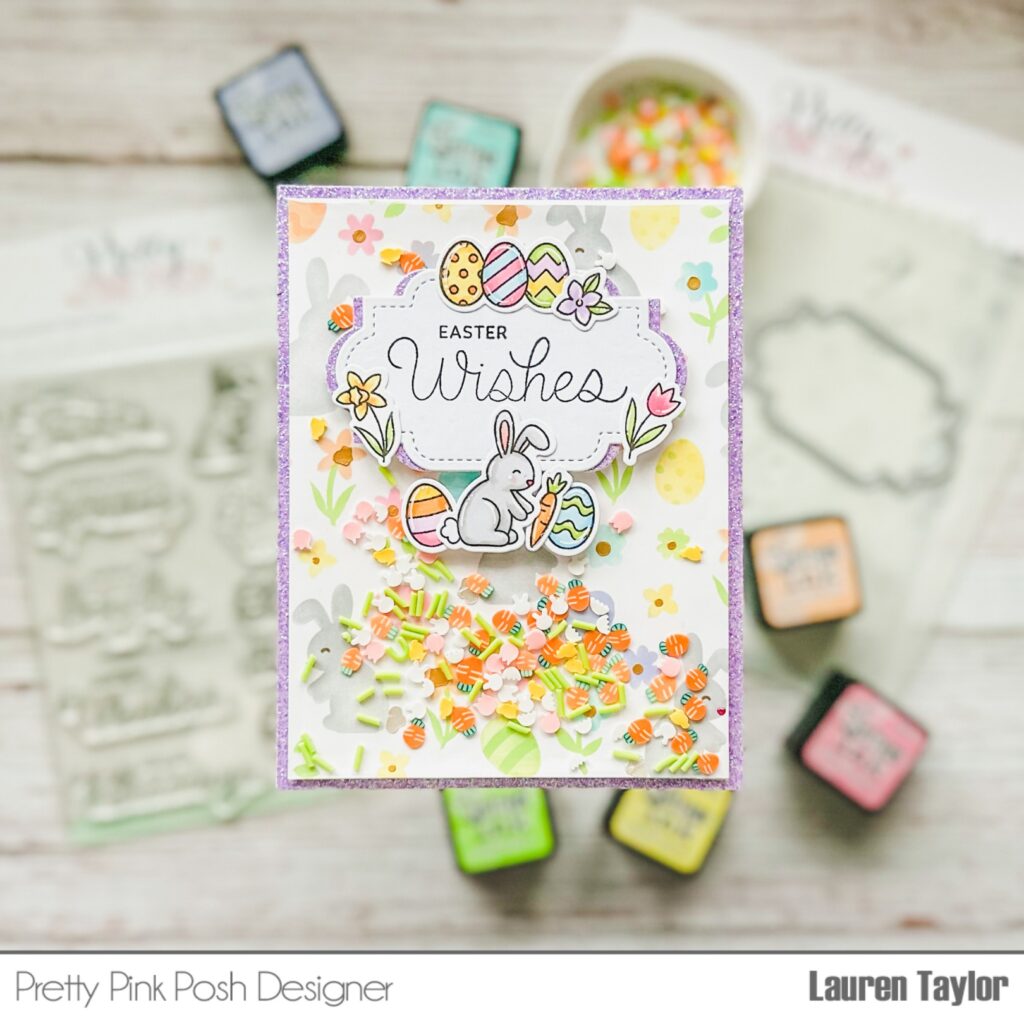
Hi, friends! It’s Lauren and I am sharing an infinity shaker card today! Grab some of your saved packaging (we love a good recycle moment) and let’s create with the Easter Sentiments Stamp Set, its Coordinating Dies and the Layered Easter Floral Stencils.
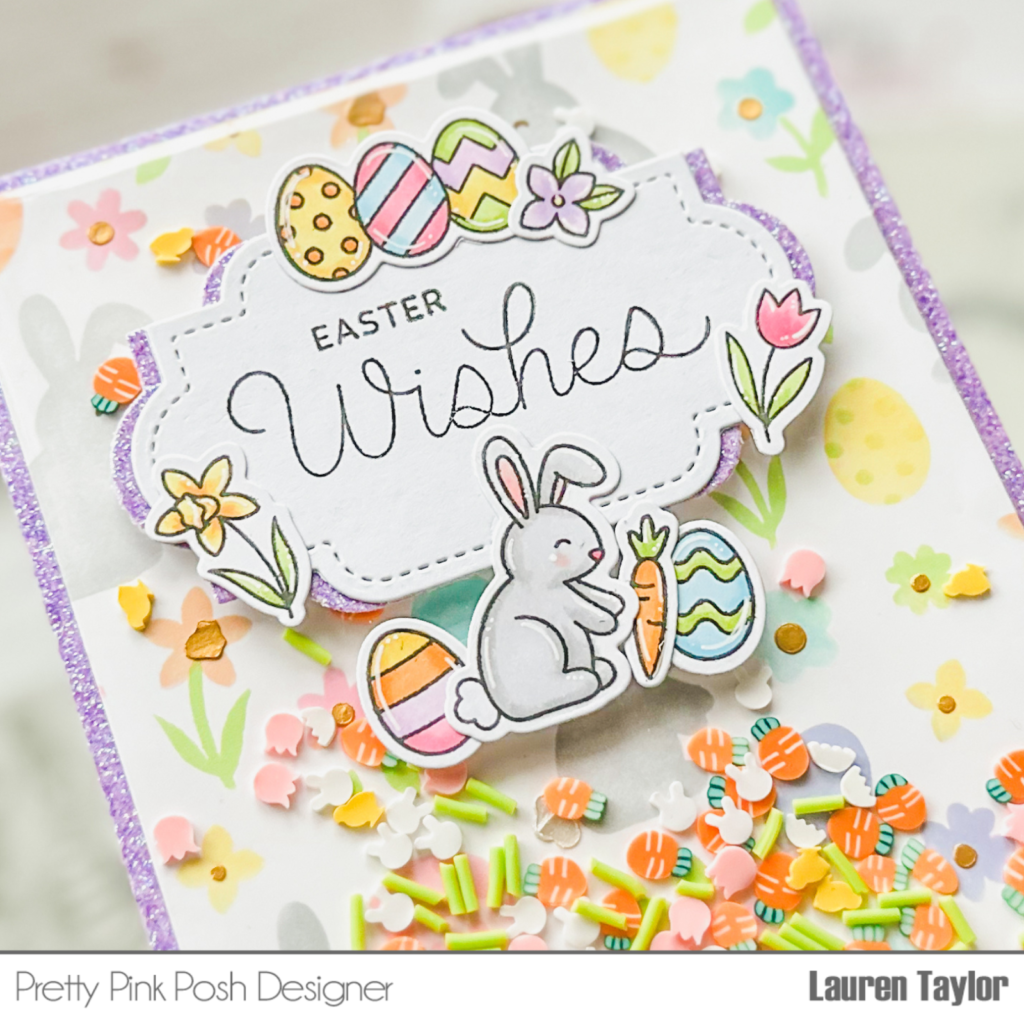
I grabbed a lot of Distress Inks for my stenciled background today, but I really wanted a rainbow of colors! I stenciled the bunnies with Lost Shadow; the eggs and flowers with Kitsch Flamingo, Dried Marigold, Squeezed Lemonade, Twisted Citron, Salvaged Patina and Shaded Lilac; and the bunnies’ eyes with Walnut Stain. I masked off parts of the stencils to do my best at keeping the colors separated.
The final layer of the stencil, I added in Champagne Gold Stencil Butter for flower details, Fuschia Stencil Butter for the bunnies’ noses, and Pearl White Stencil butter for their little tails! The background took a little time, but I think it was well worth it as I just love how colorful it turned out.
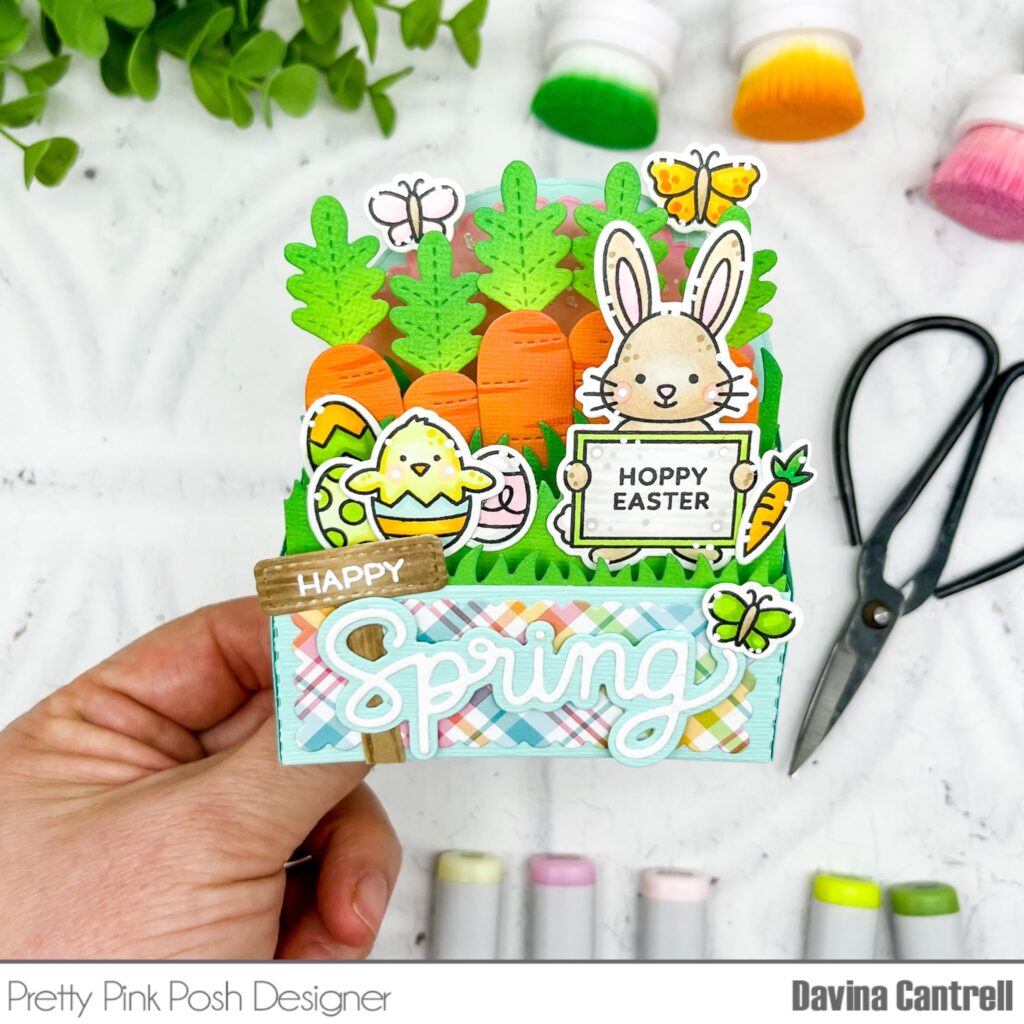
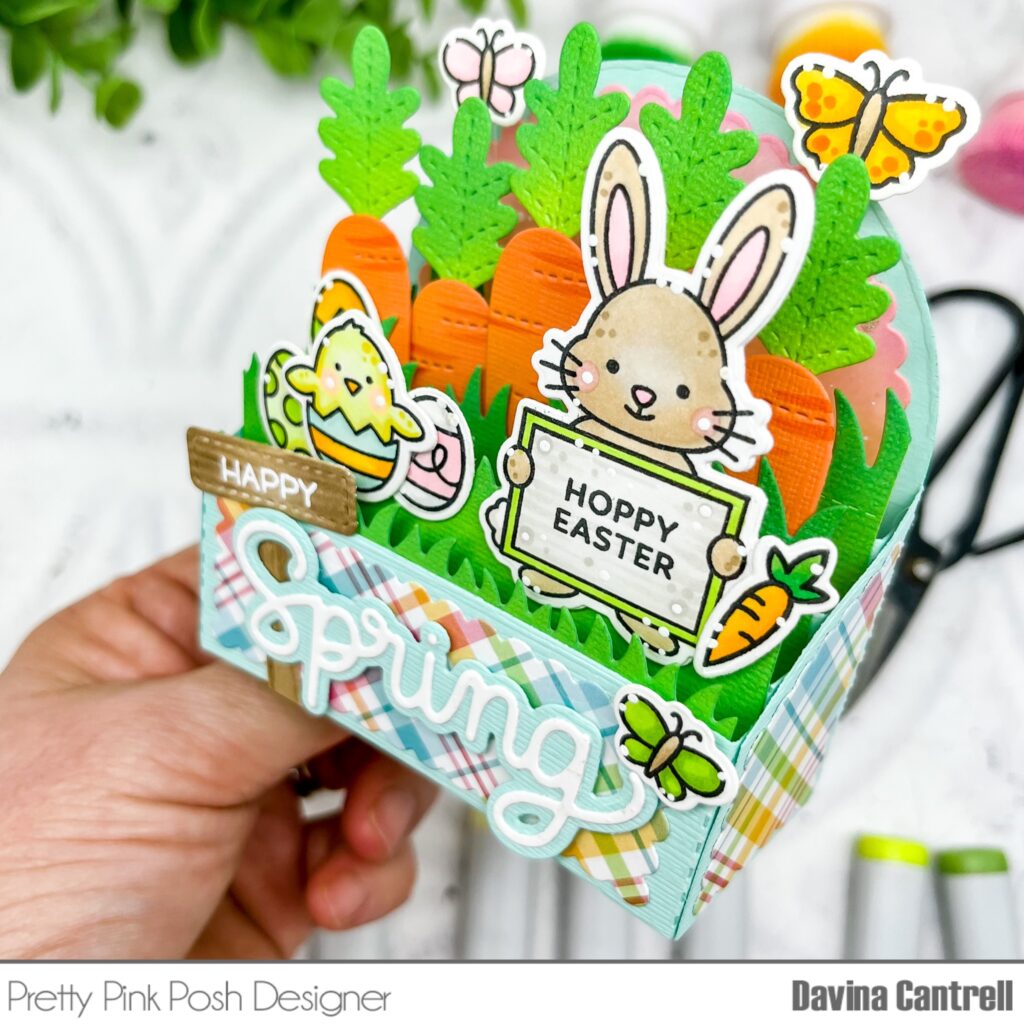
Using my plastic packaging, I created an infinity shaker around my background once it dried and filled it with the Easter Garden Mix! I trimmed down the stenciled background to 4×5-¼” and I just love those chubby carrots in the mix. It’s so fun and matches so well with the Easter Sentiments Stamp Set.
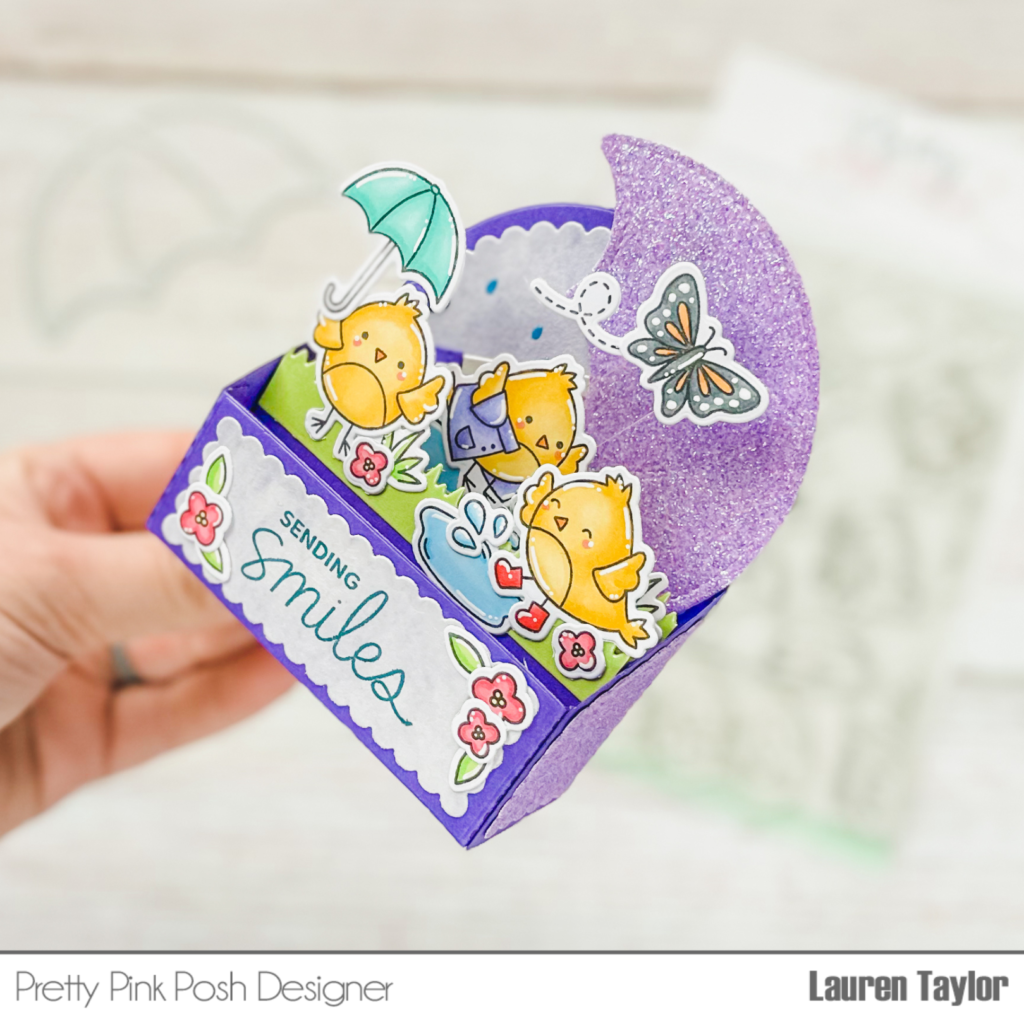
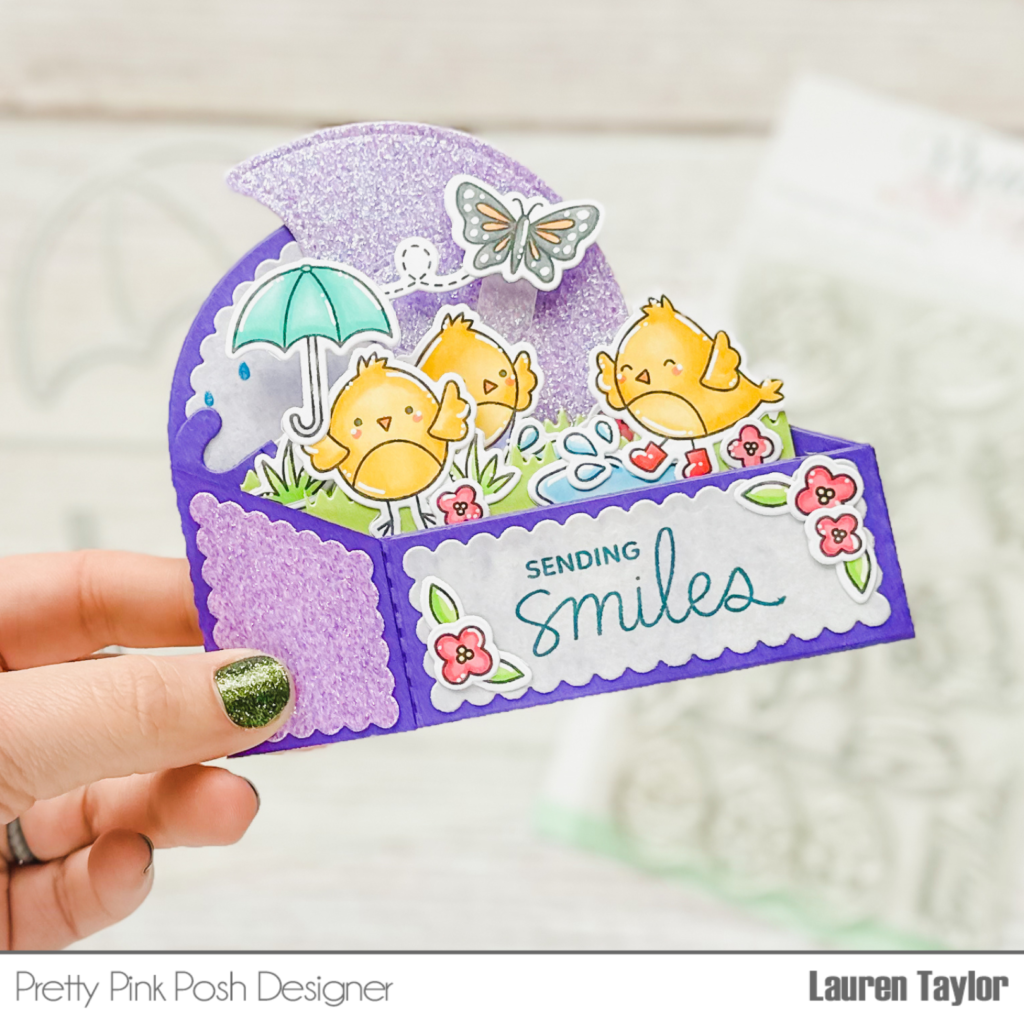
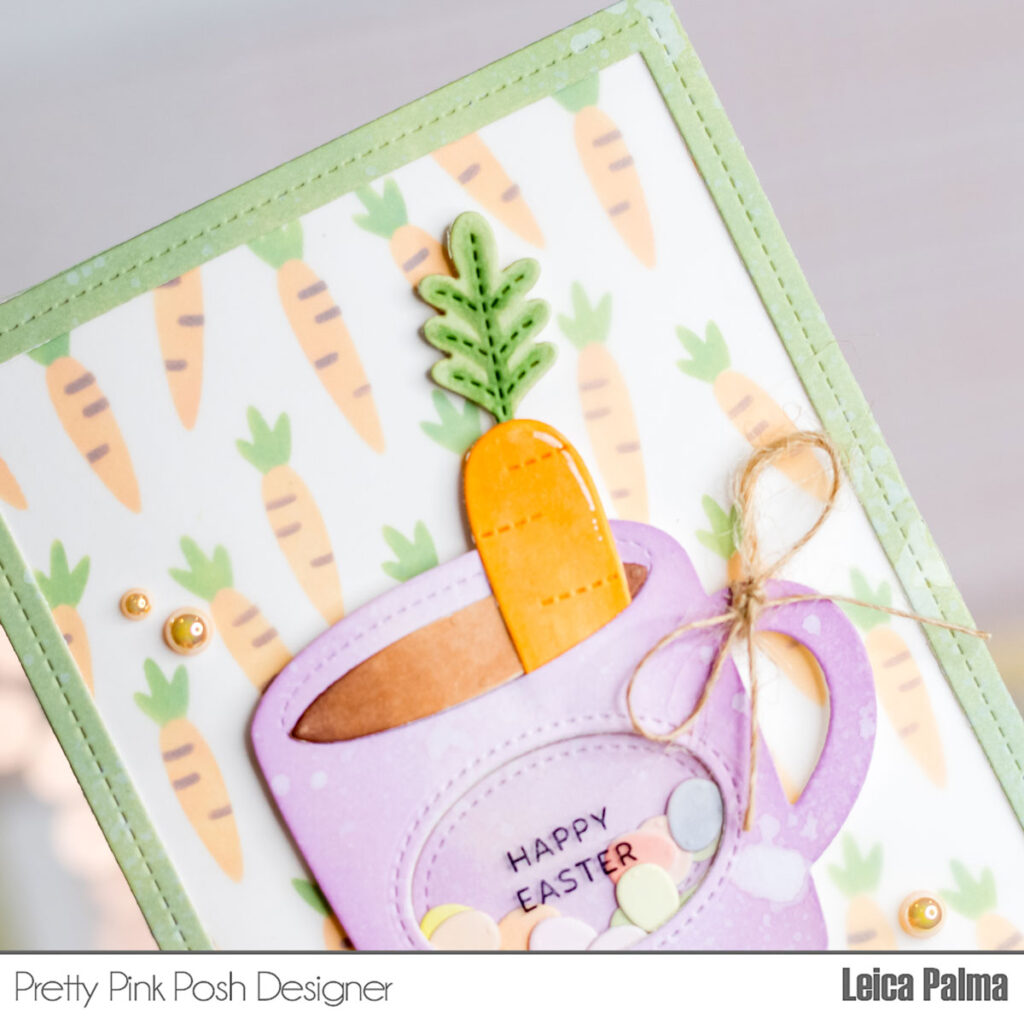
I stamped out the images from the Easter Sentiments Stamp Set with an alcohol marker friendly black ink and colored them in with my Ohuhu Art Markers. I added in some highlight details with a white gel pen and die cut them out using the Easter Sentiments Coordinating Dies. I also cut out the label die in both white and a glitter purple cardstock.
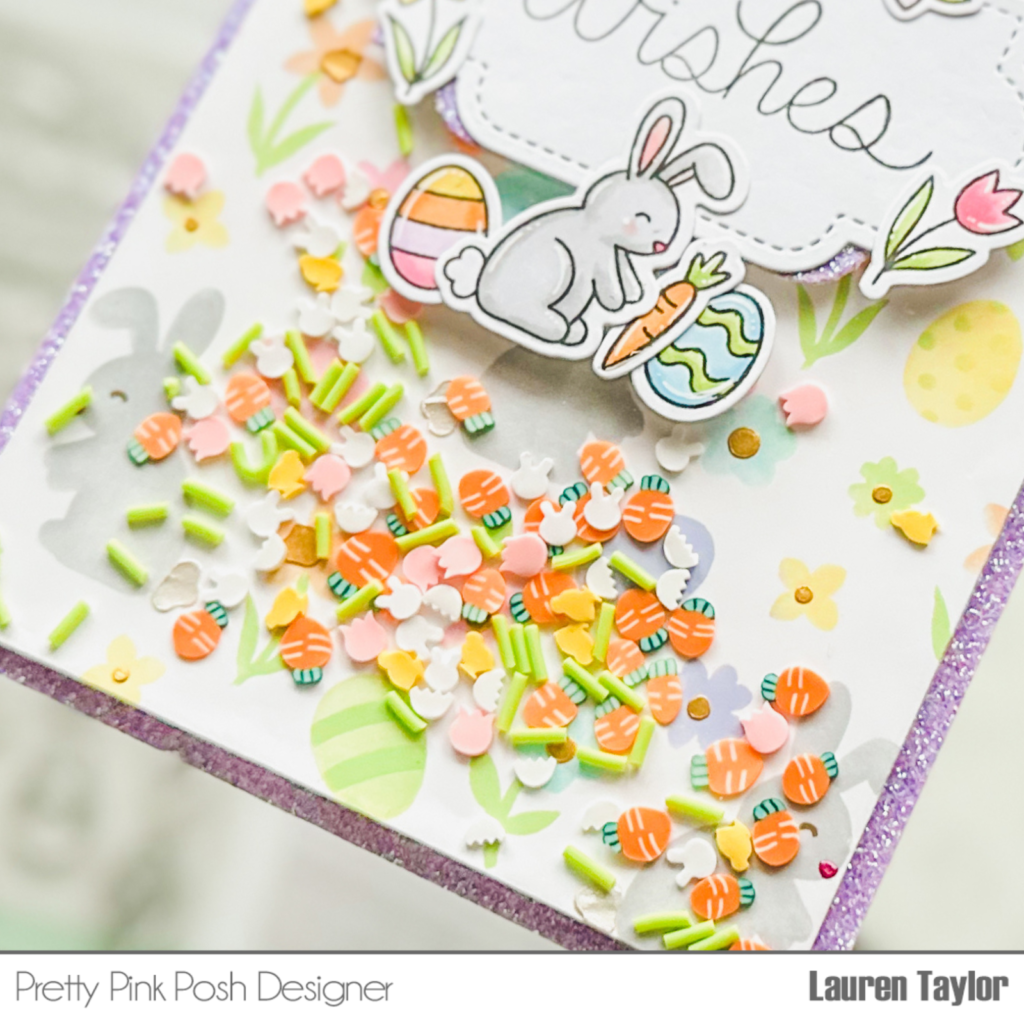
Using black ink, I stamped the “Easter Wishes” sentiment to the center of the white label die cut. I cut the glitter purple label in half and glued the pieces behind the white label so you can see the glitter popping out on the left and right side of the white label. I layered the sentiment label and all of my images onto the front of the shaker panel and adhered with adhesive tape.
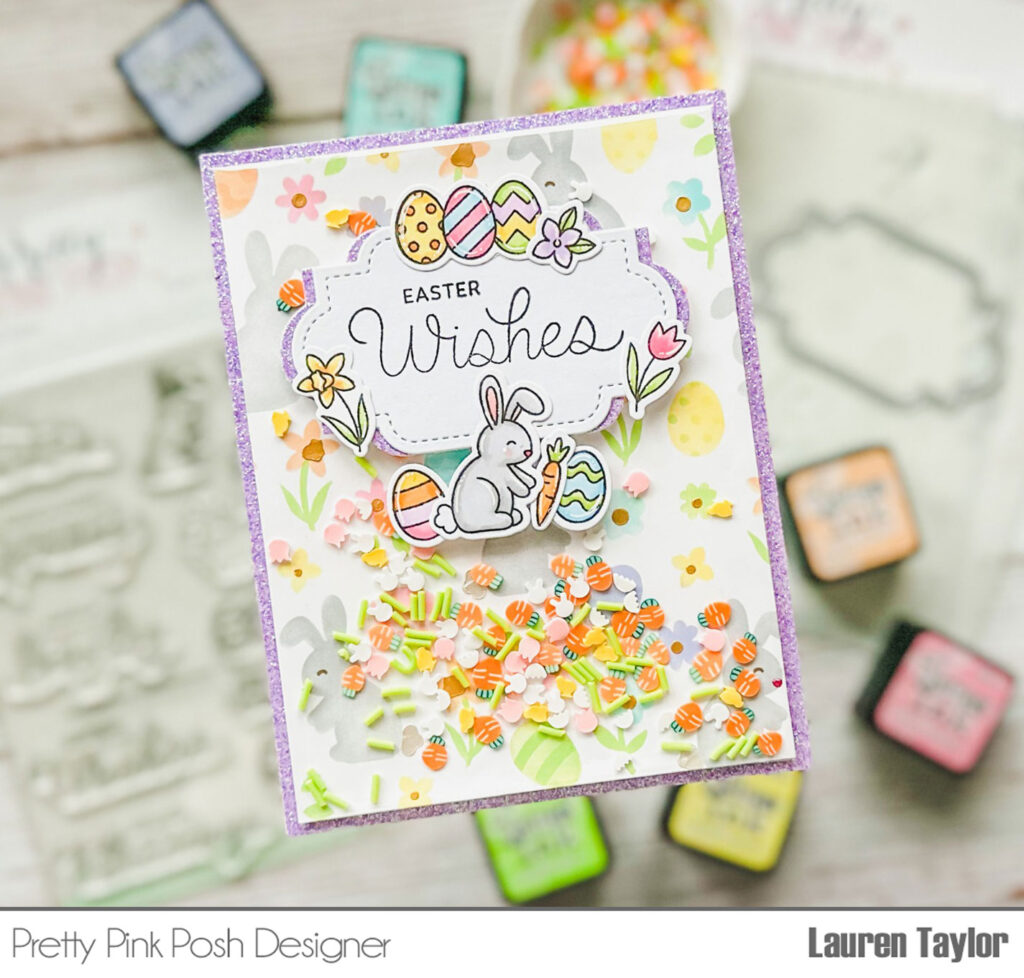
With more strong adhesive tape, I adhered my shaker to an A2 panel of the same glitter purple cardstock that is attached to an A2 card base. I’d love to know what you think of infinity shakers! Do you find them fun to make or would you like to see an in-depth tutorial in the future on them?
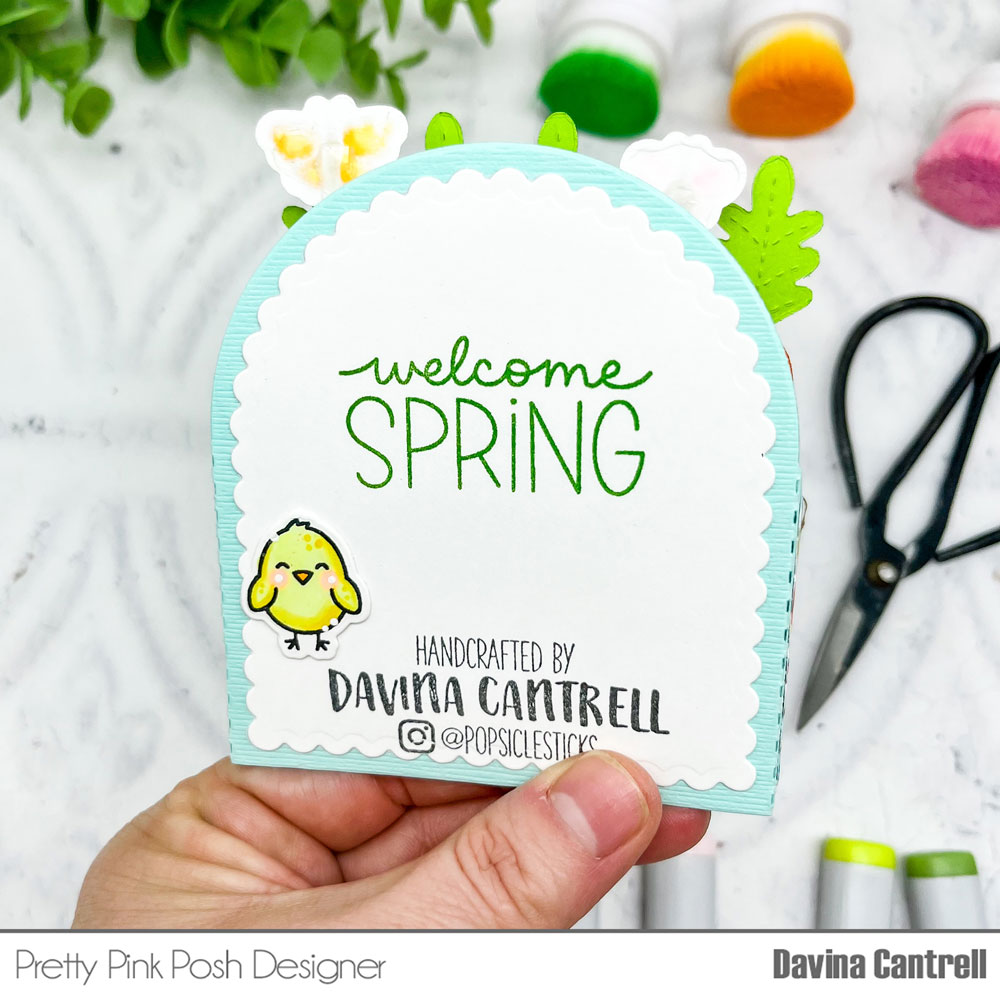
I hope you like this card and it inspires you for your Spring and Easter projects!