Bright Spring Jar
Hi friends, it’s Jeanne here. Spring is in the air! And with the weather getting warmer my mind has been turning to thoughts of gardening. We always plant lots of veggies, but my favorites are always the flowers! They’re a feast for the eyes!
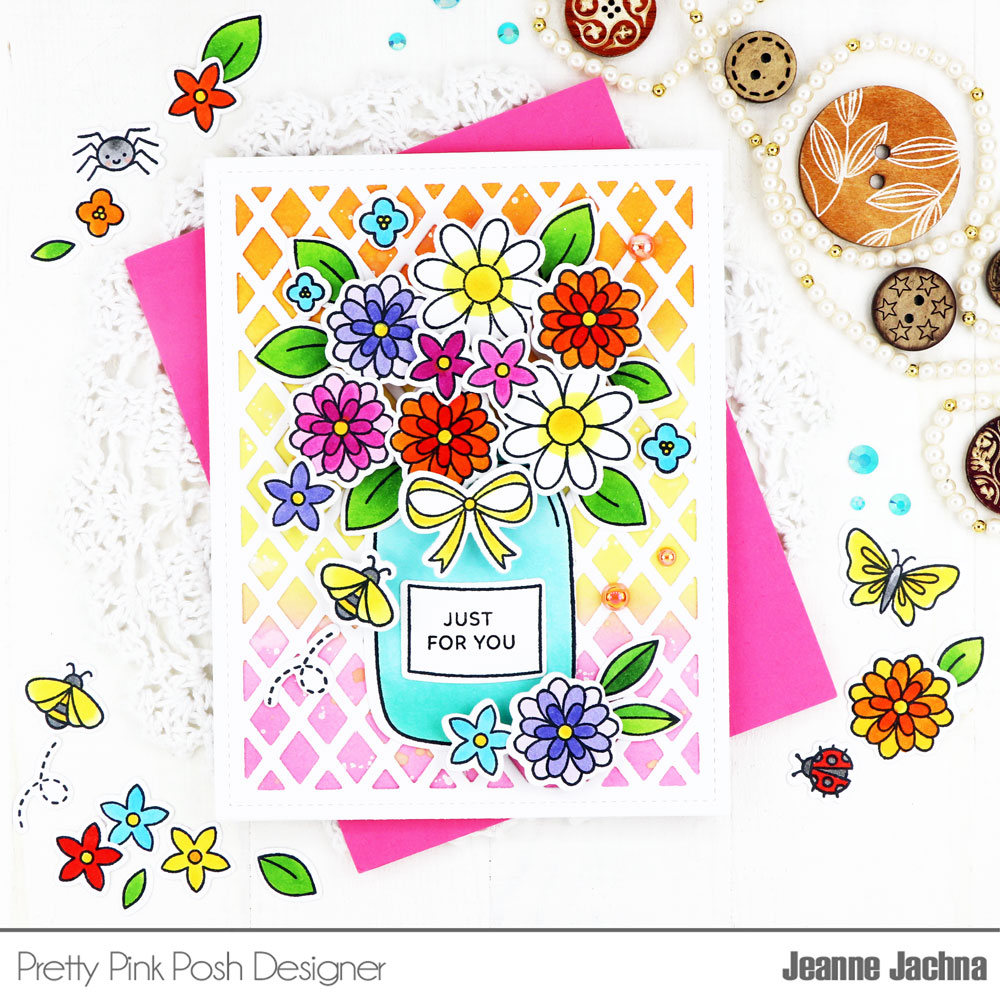
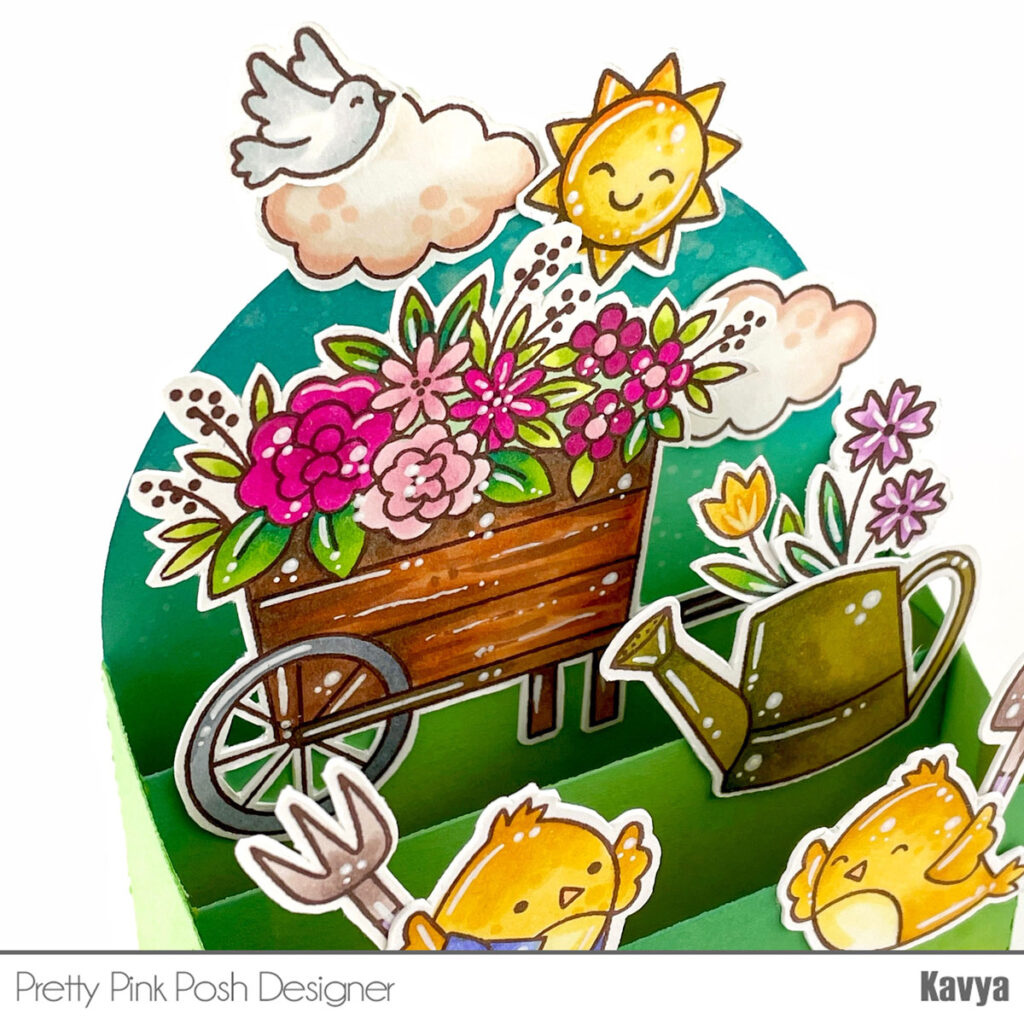
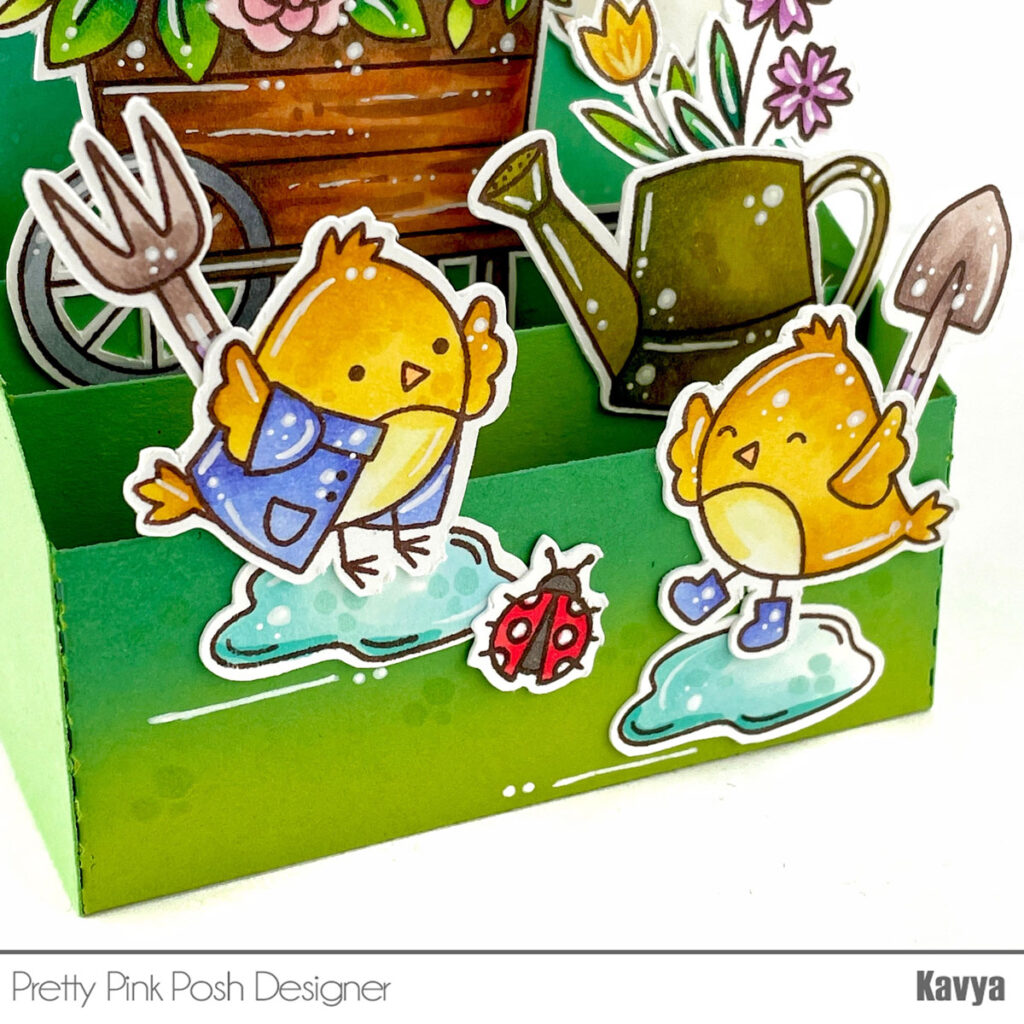
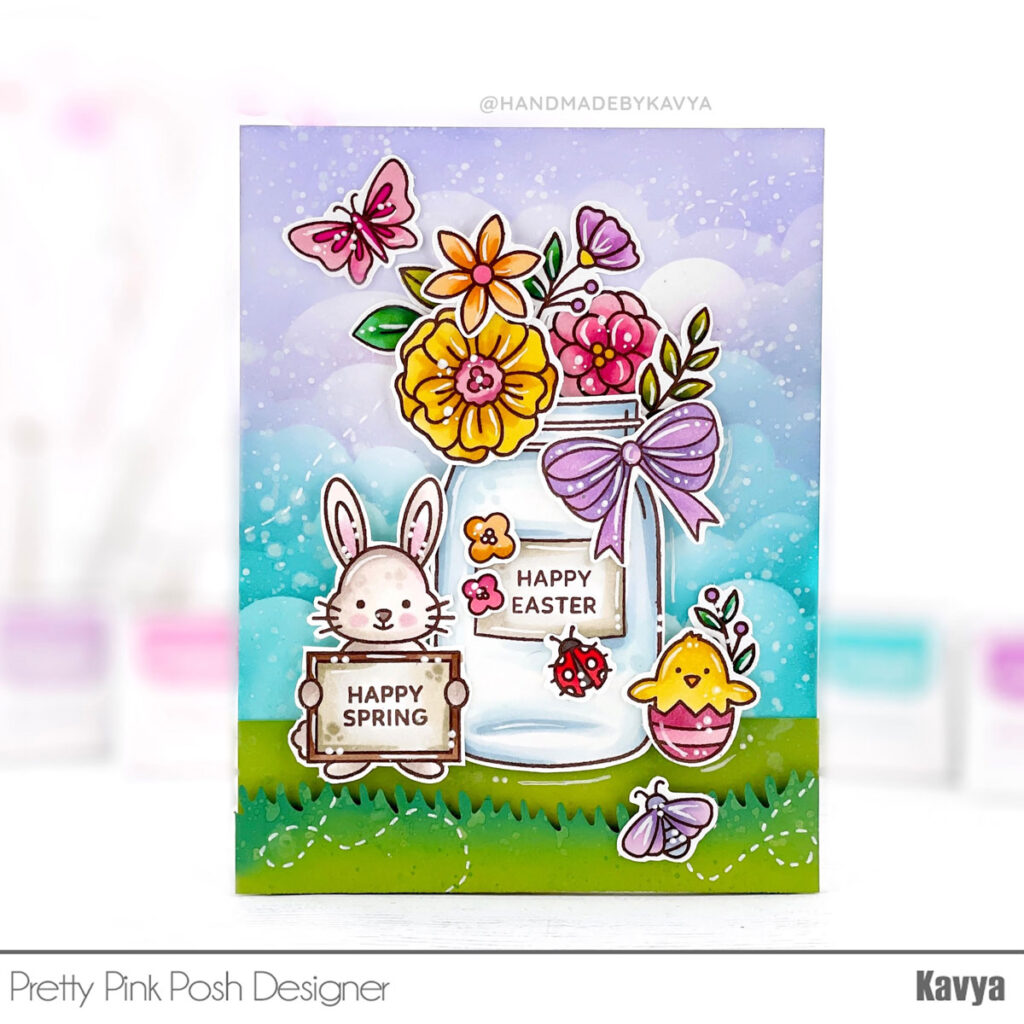
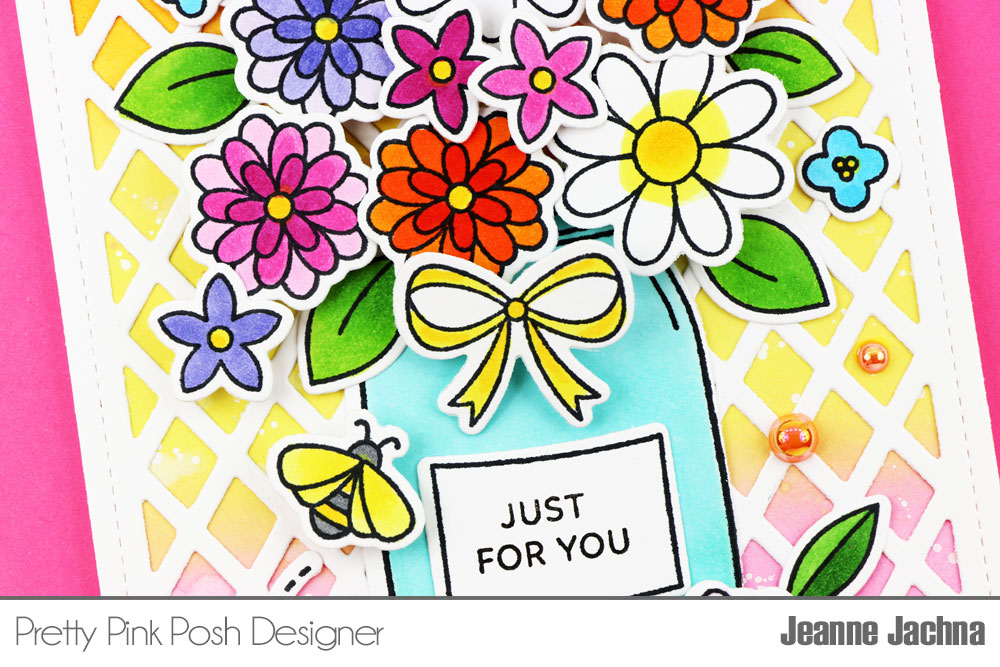
I love the new Spring Jar stamp set because there are lots and lots of beautiful bloom shapes to play with! Paulina knew these flowers were so sweet that they’d attract a lot of attention so she included a little bee, a butterfly and even a cute smiling spider!

I always stamp at least 10 of each flower and then color them different shades. Once they’re cut out all that’s left is the arranging them! The jar label and three different sentiments make this card quick and easy to assemble.
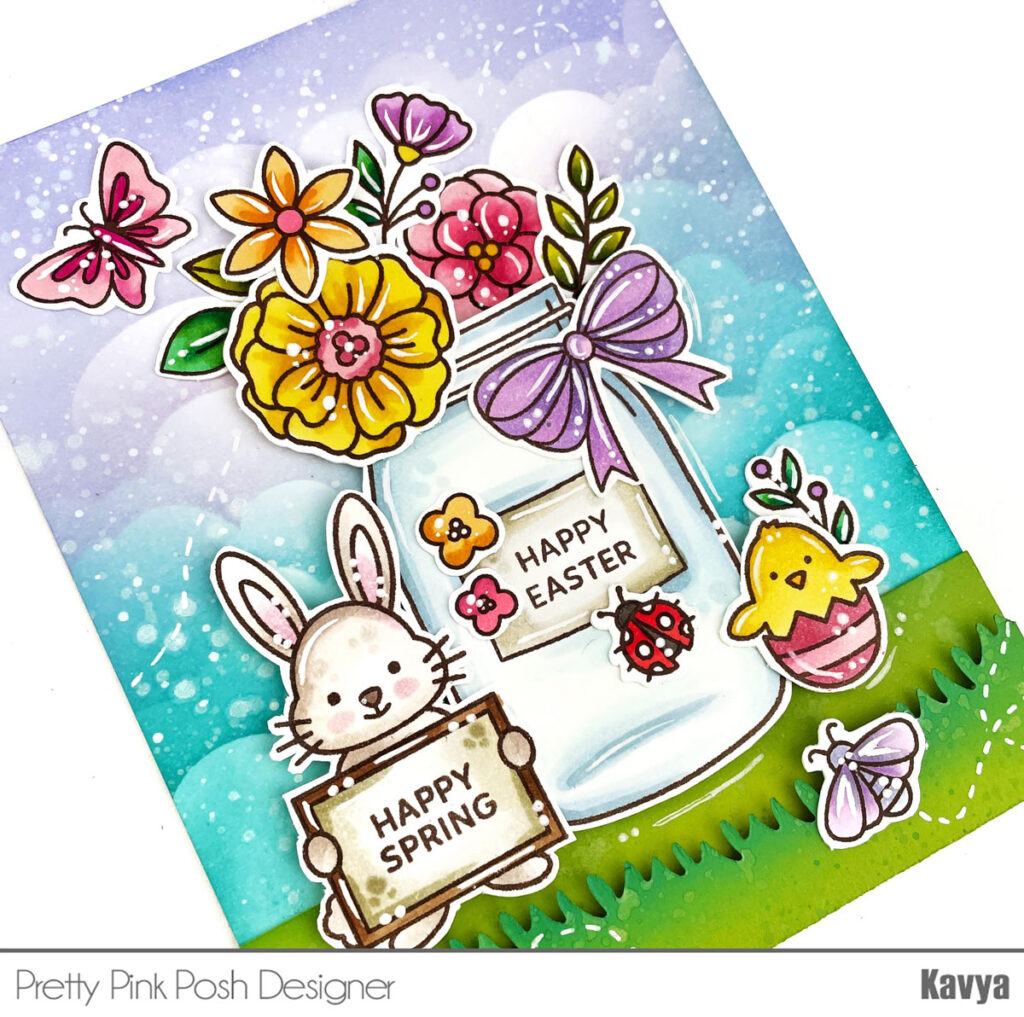
For the background I applied three shades of Distress Ink to a panel of cardstock (Dried Marigold, Squeezed Lemonade and Kitsch Flamingo). I used colors that would match the flowers only in softer shades. I topped the panel with a Lattice Background die – the perfect garden setting – before adding the jar and colorful blooms.
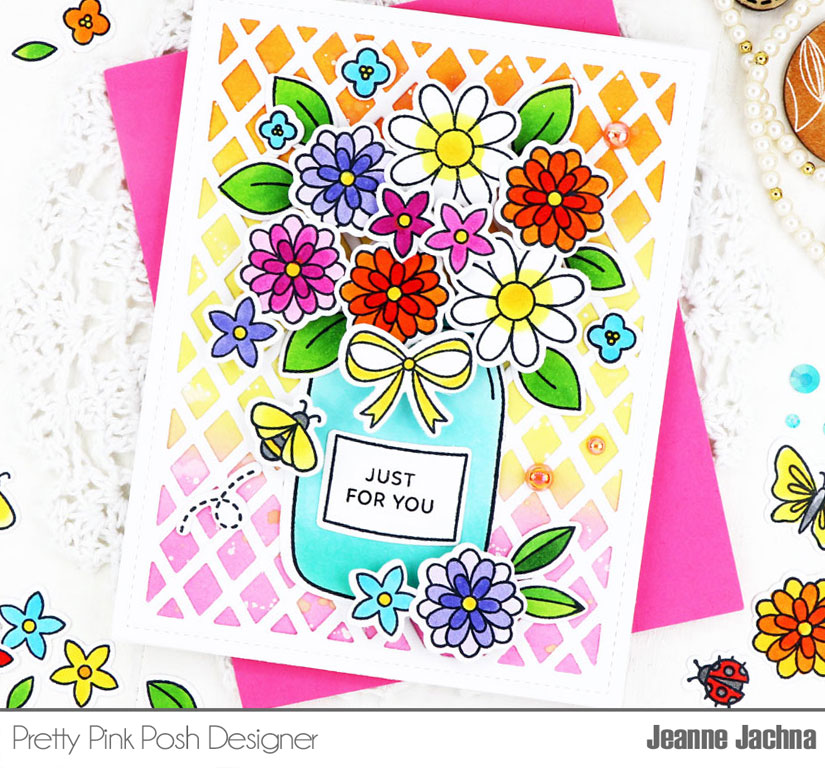
These flowers are just for you! I hope they brighten your day!