Sneak Peek: Christmas Cupcakes
Hi friends! It’s Stefanie here today and I’m happy to be giving you a peek at a couple stamps sets releasing soon! The first one is Christmas Cupcakes and the second is Sentiment Strips: Christmas.
New release will be available October 11th
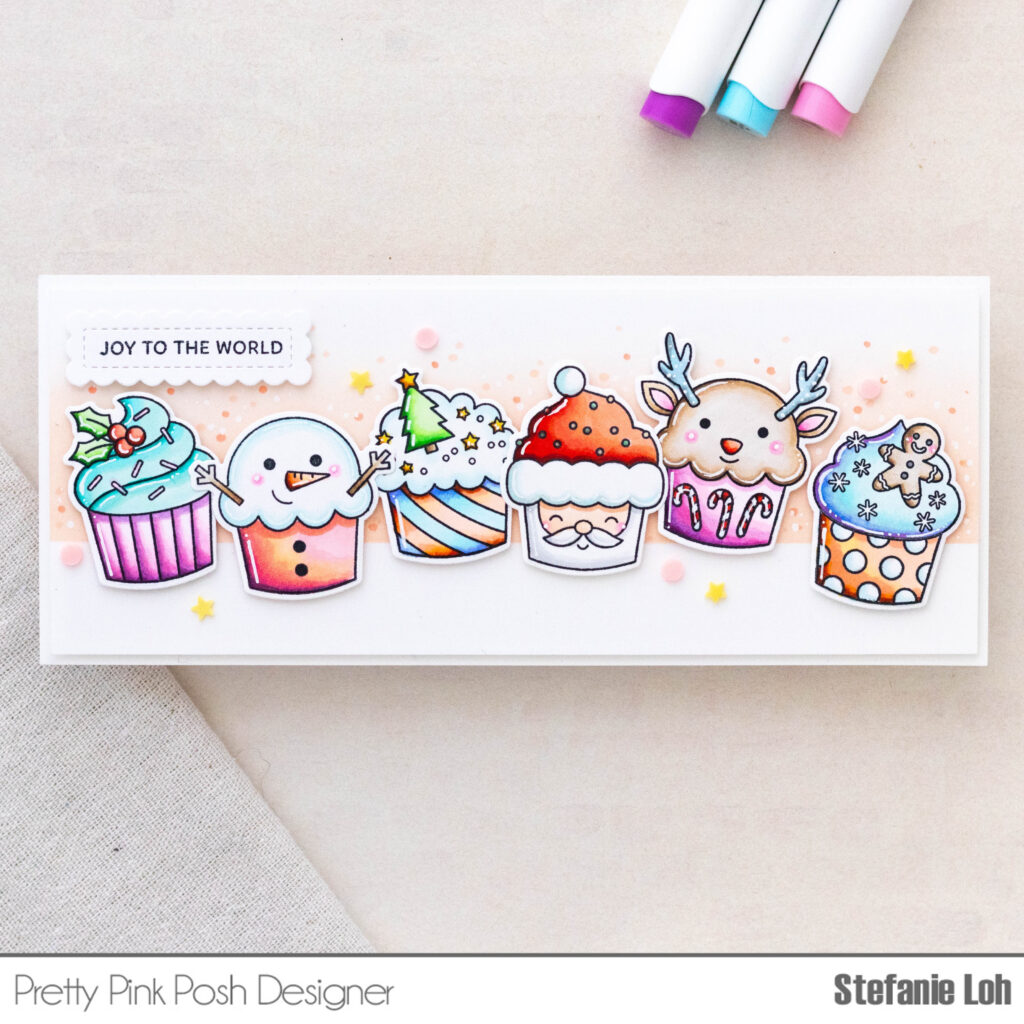
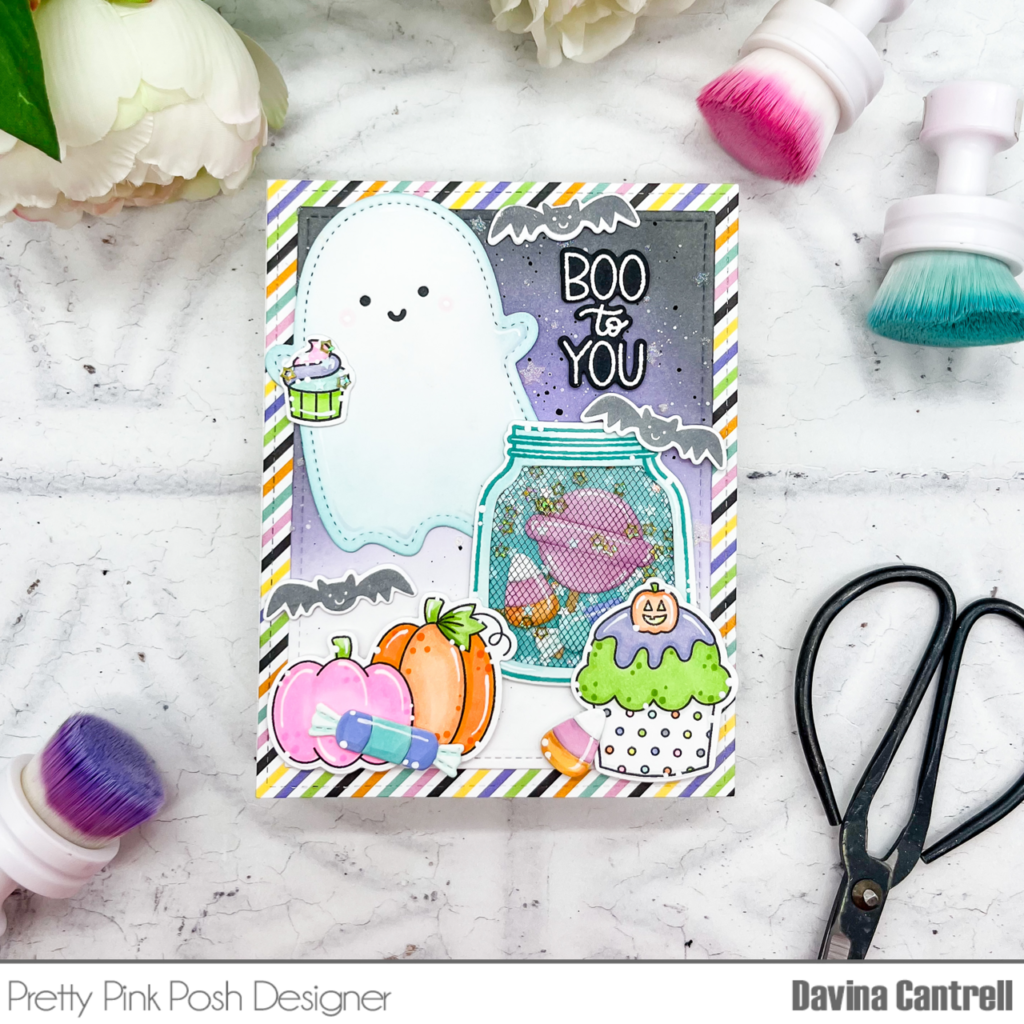
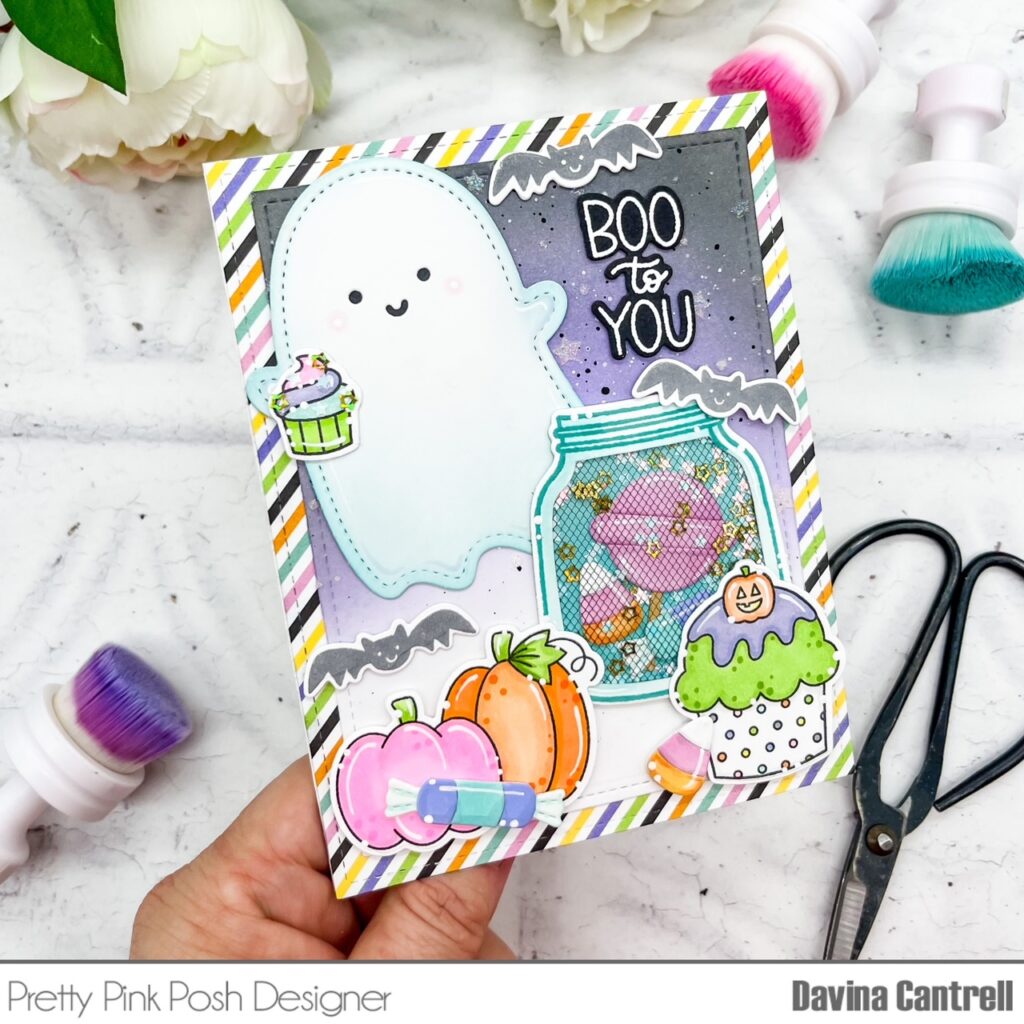
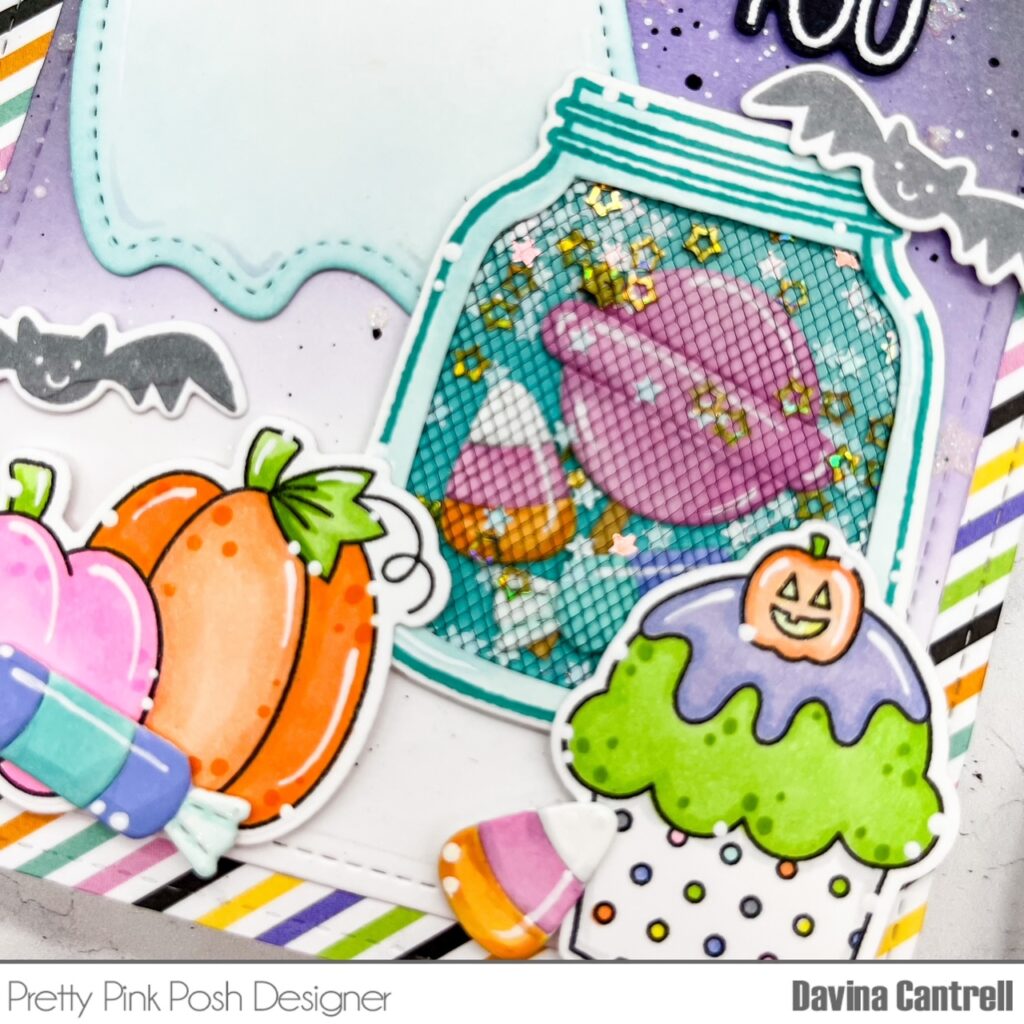
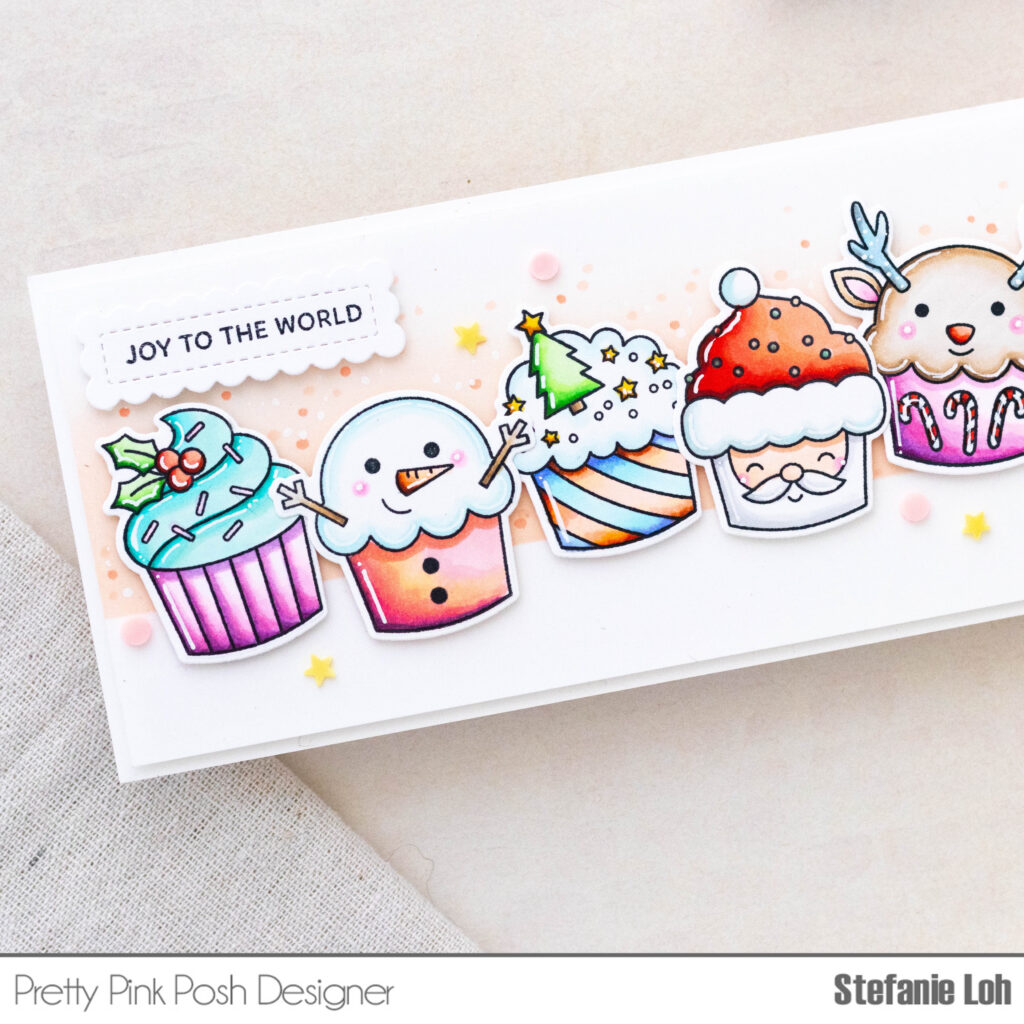
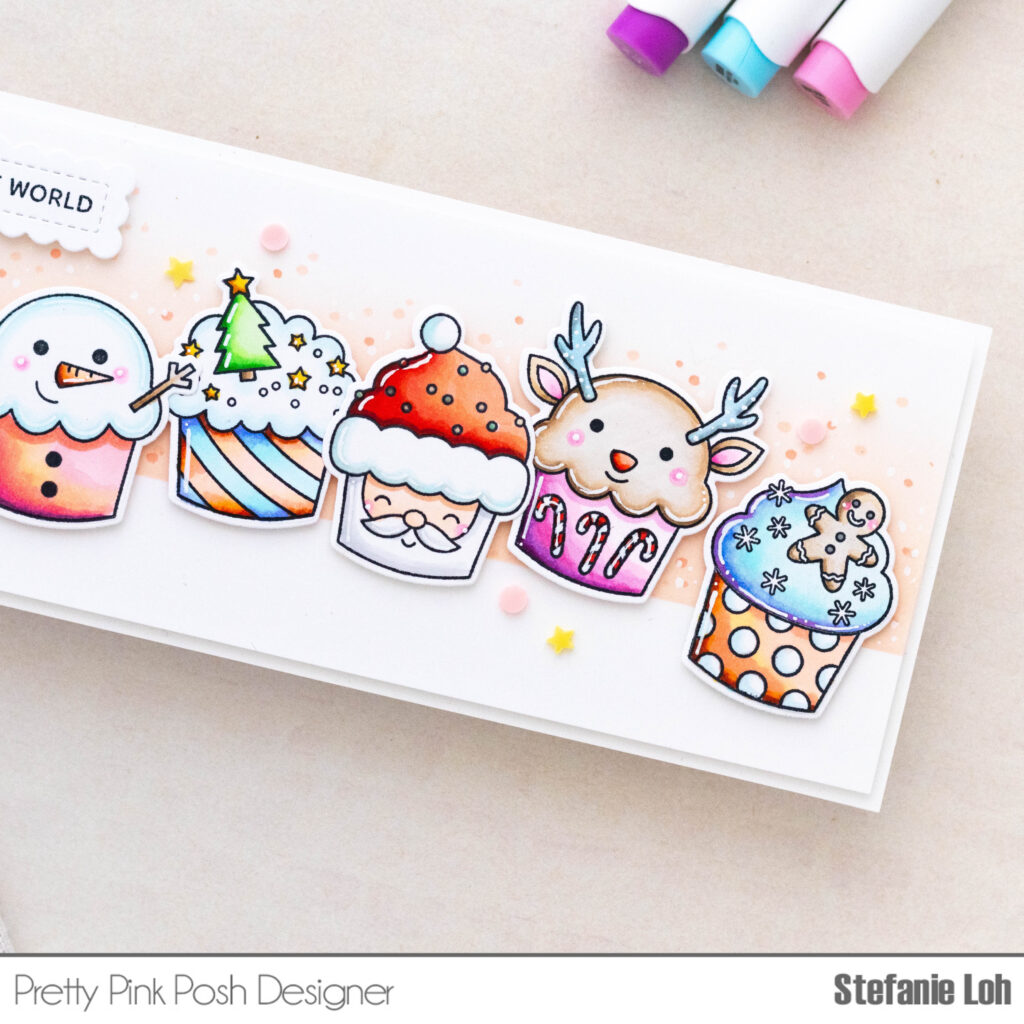
I combined the two to create a colorful slimline. I started out by stamping all 6 cupcakes on white cardstock and coloring them with a mix of Copics(C) and Ohuhus.
Green: GY2, G410, G130, G110
Red: R8, YR5, R32(C), R20
Teal: BG13(C), BG4, BG10(C)
Purple: P4, P3, V150, RV180, RV160, RV130, RV010
Pink (wrapper): P4, P3, V150, RV180, R21, R20, YR110, RV260
Pink (ears, cheeks): RV180, RV130
Brown: E43-E40(C)
White (blue tint): BG3, B000-B0000(C)
White (gray tint, beard): N1(C), C0(C)
Yellow: YR2, Y3
Blue: R24, B340, BG3, B000
Orange: YR5, R20, YR110, YR030
Skin: E00-E000(C), E11(C)
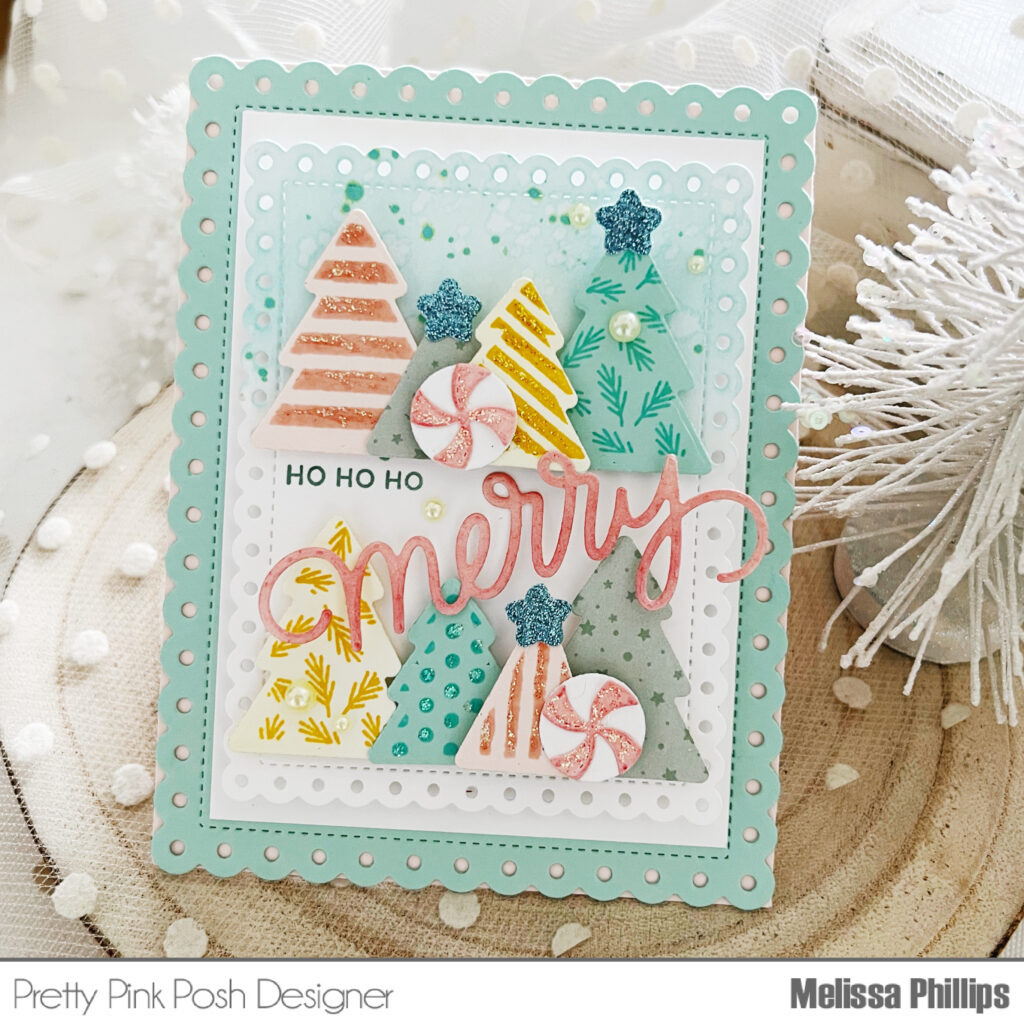
Then I used the Christmas Cupcakes coordinating dies to cut out the images.
For the background I cut out a panel slightly smaller than a standard slimline and ink blended a “sky” using Tattered Rose distress oxide after masking a section off the bottom. I faded the blend to white near the top and added some texture by adding some dots using 2 pink markers and some highlights using a white gel pen. Finally I propped this panel on top of my card base using some foam tape.
The cupcakes were then propped up on the background along with the sentiment. I chose the sentiment, “Joy to the World” since cupcakes bring lots of joy, at least to me. But really, any sentiment from Sentiment Strips: Christmas would have been fitting. The sentiment was stamped on one of the pretty dies from Sentiment Strips Dies.
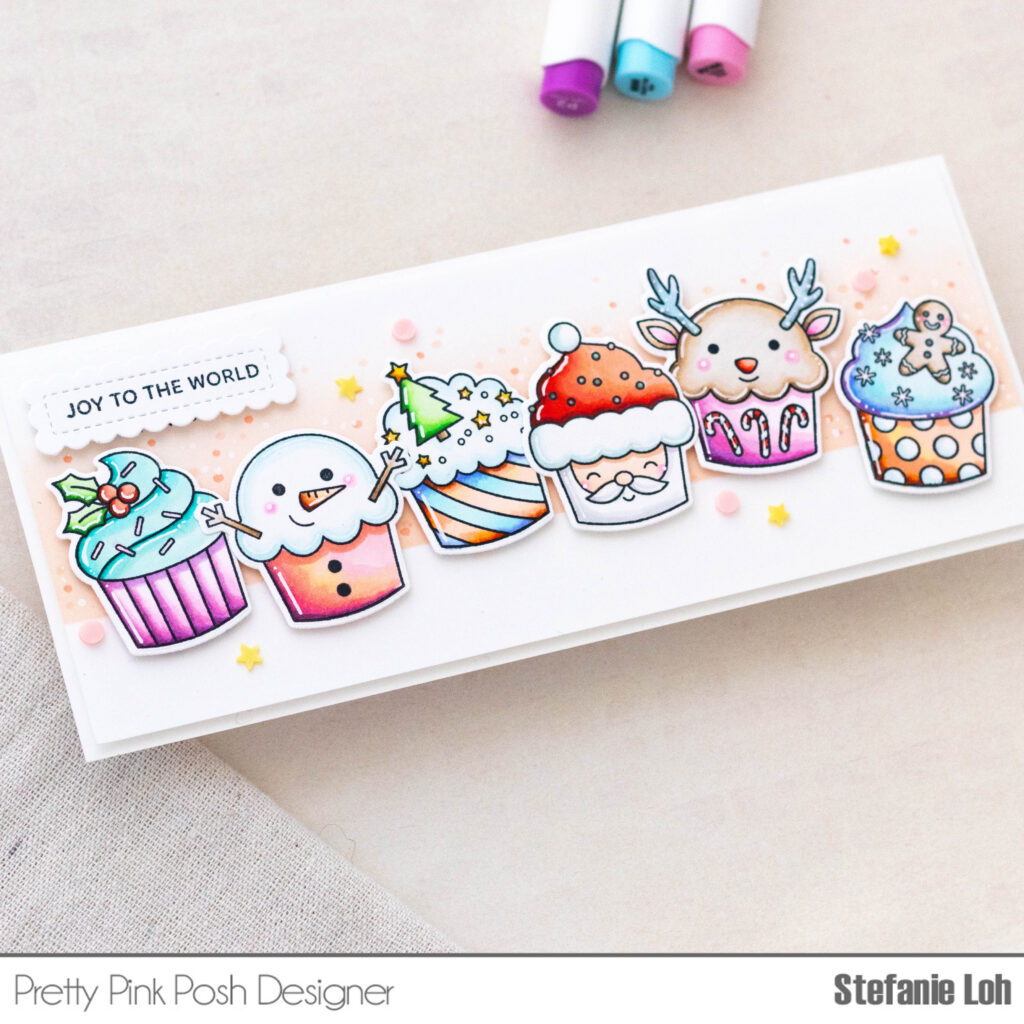
For final touches I added some white gel pen for highlights on the images as well as some confetti (stars and light pink circles) from the Christmas Tree Clay Confetti mix.
Thanks so much for stopping by and I hope you enjoyed the sneak peek!