Halloween Theme Week: Day 2
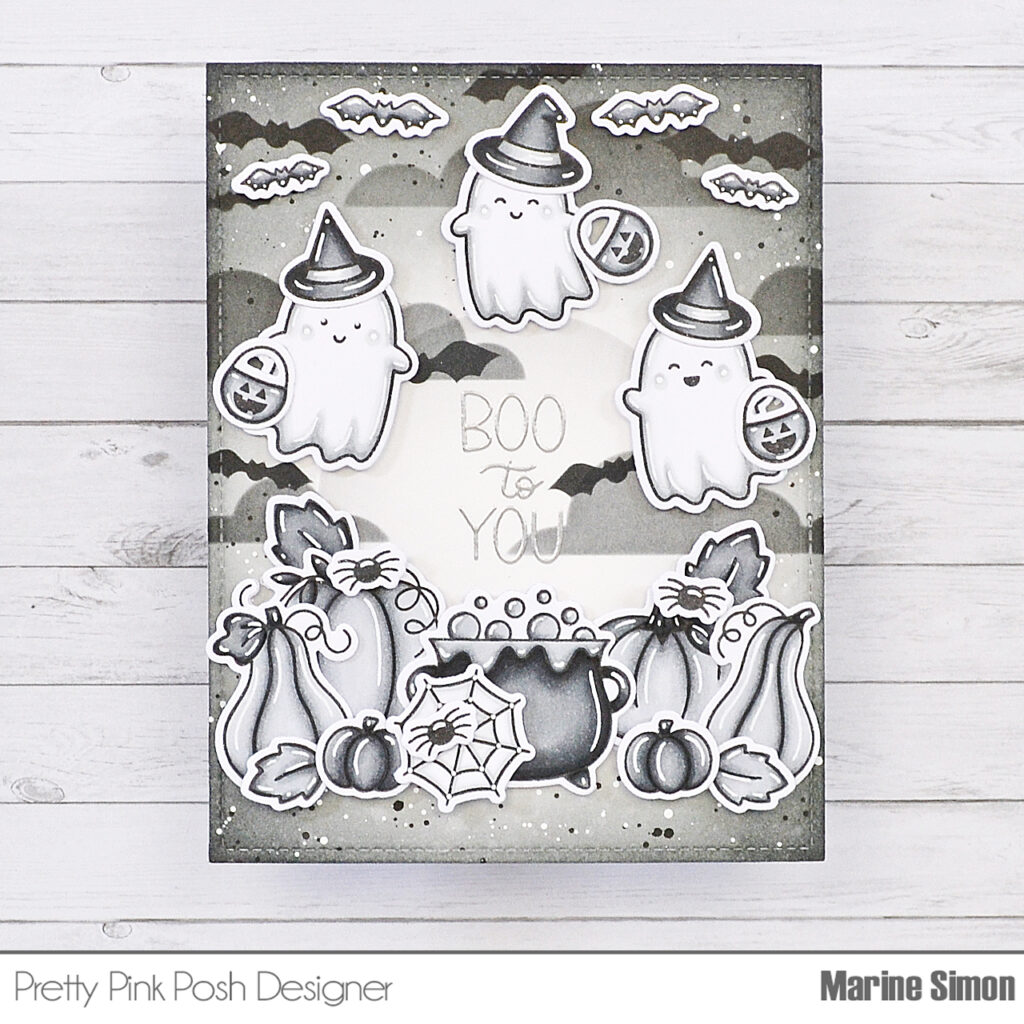
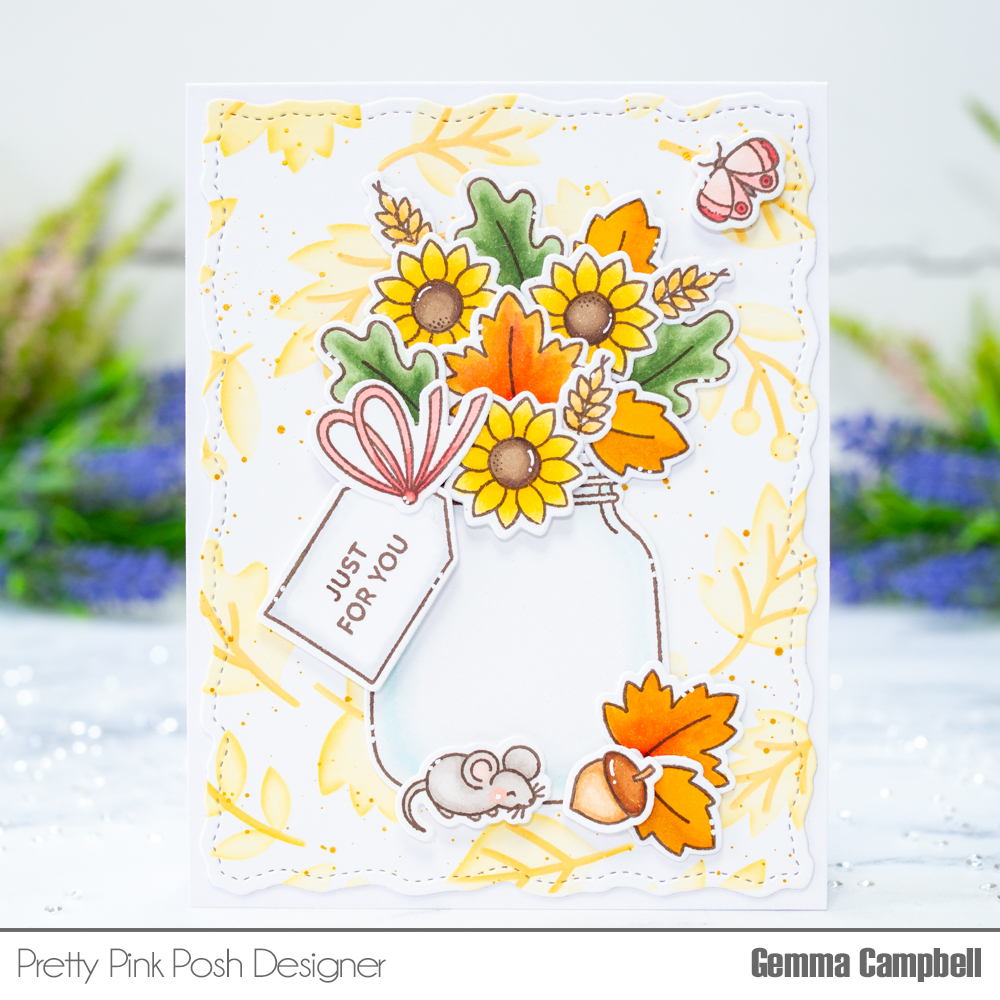
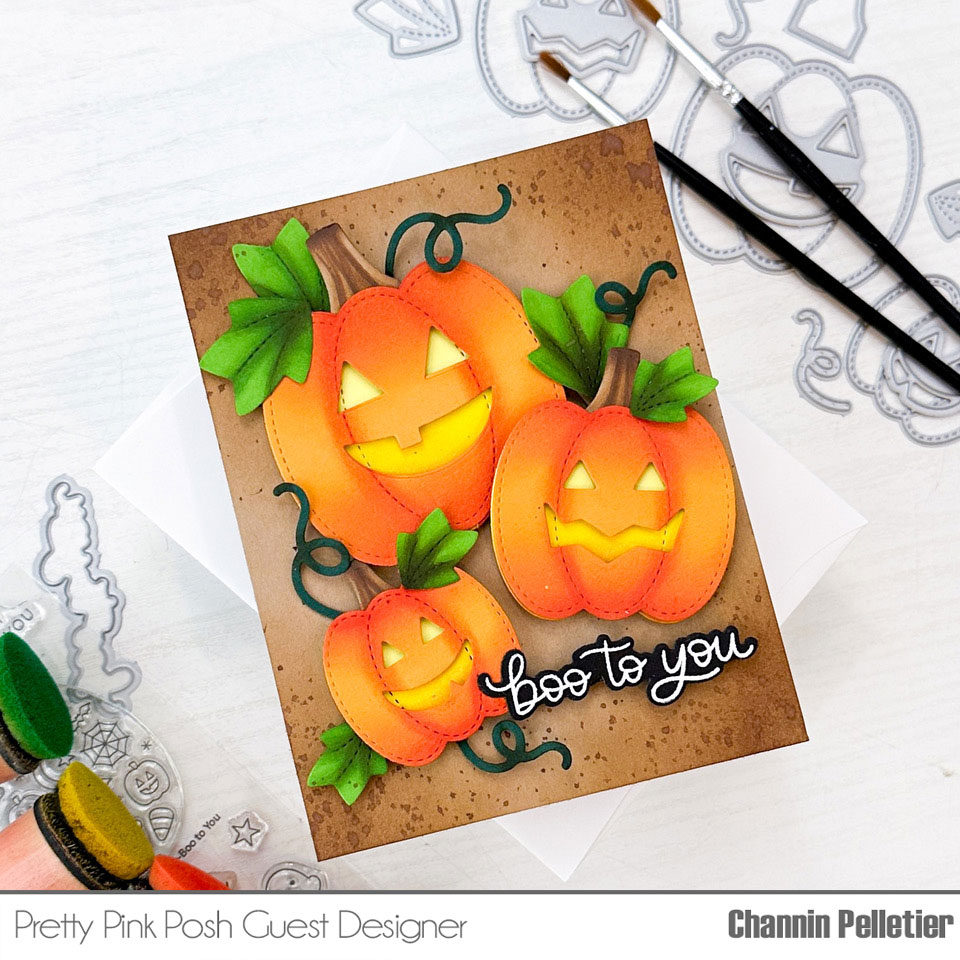
Hello crafty friends! It’s Channin here and I’m so so excited to be here at Pretty Pink Posh for Halloween week!! I LOVE Halloween and I had an absolute blast creating this fun pumpkin card and I can’t wait to share it with you!
**All items in the Halloween Section are 15% off during theme week!
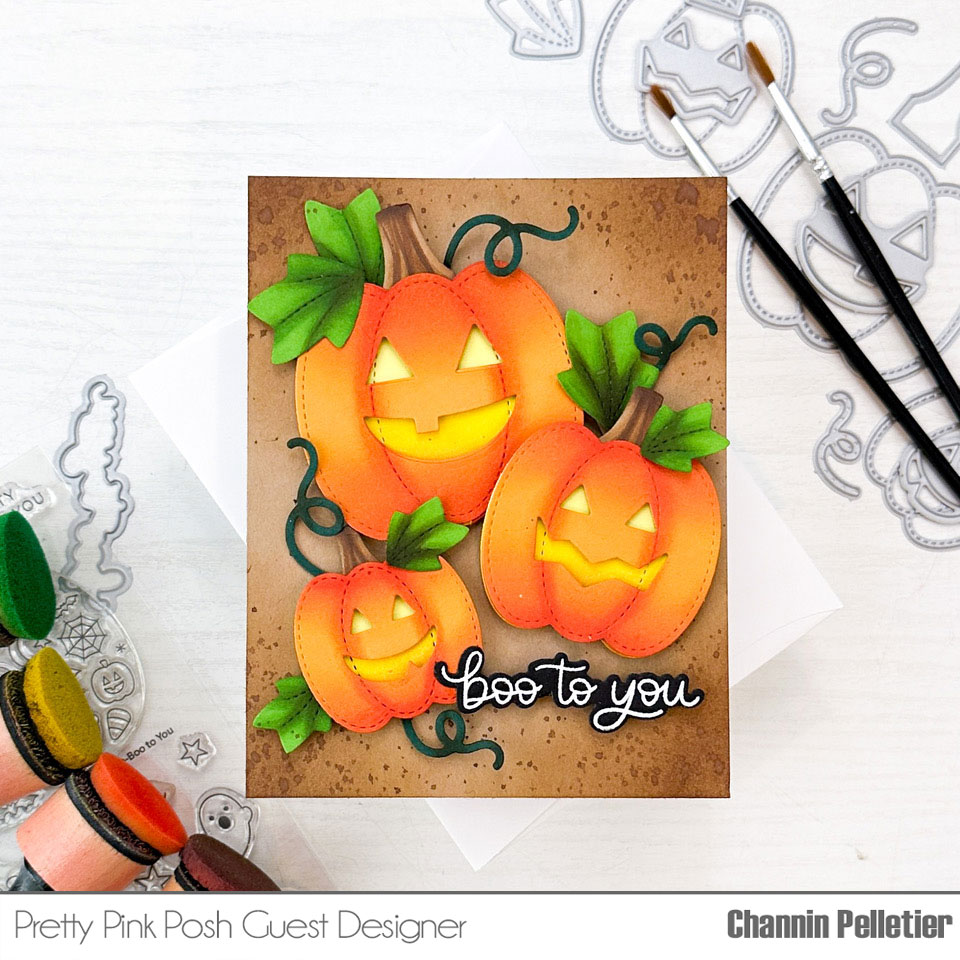
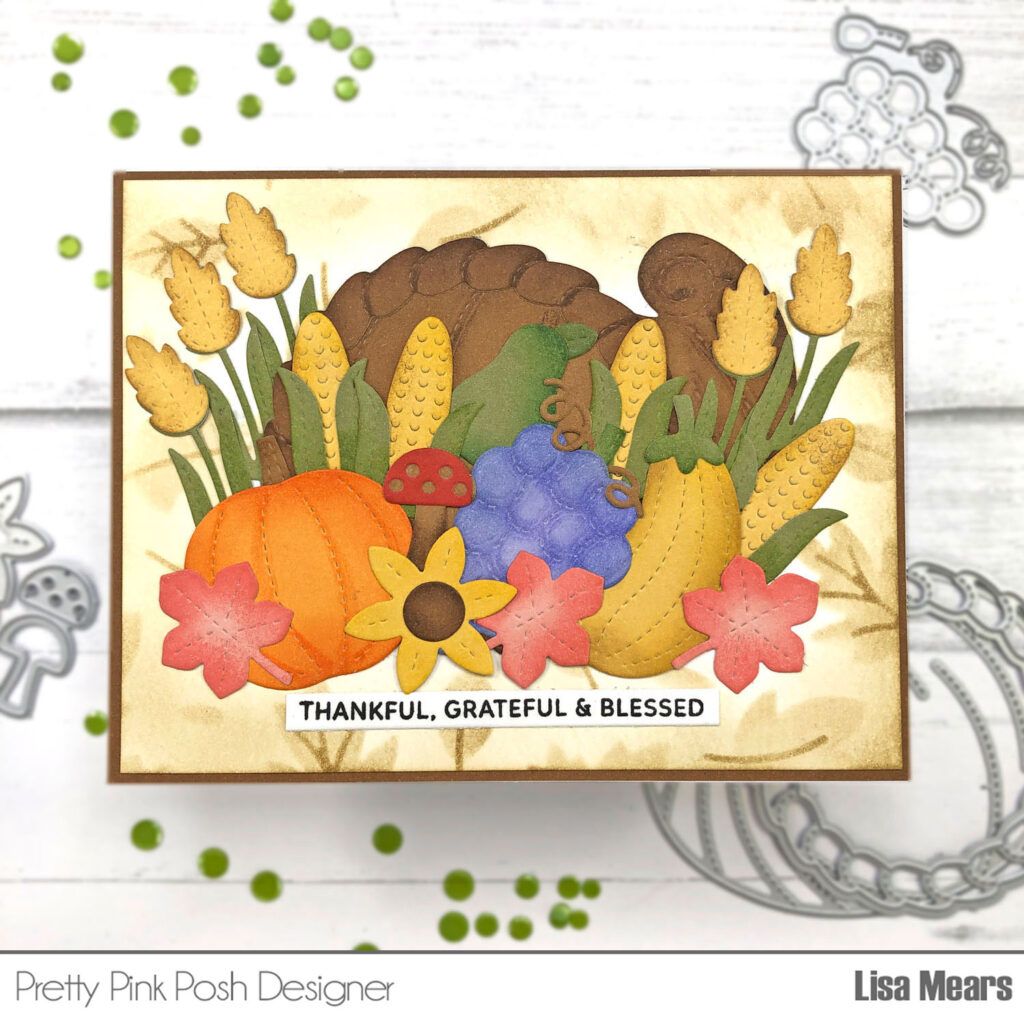
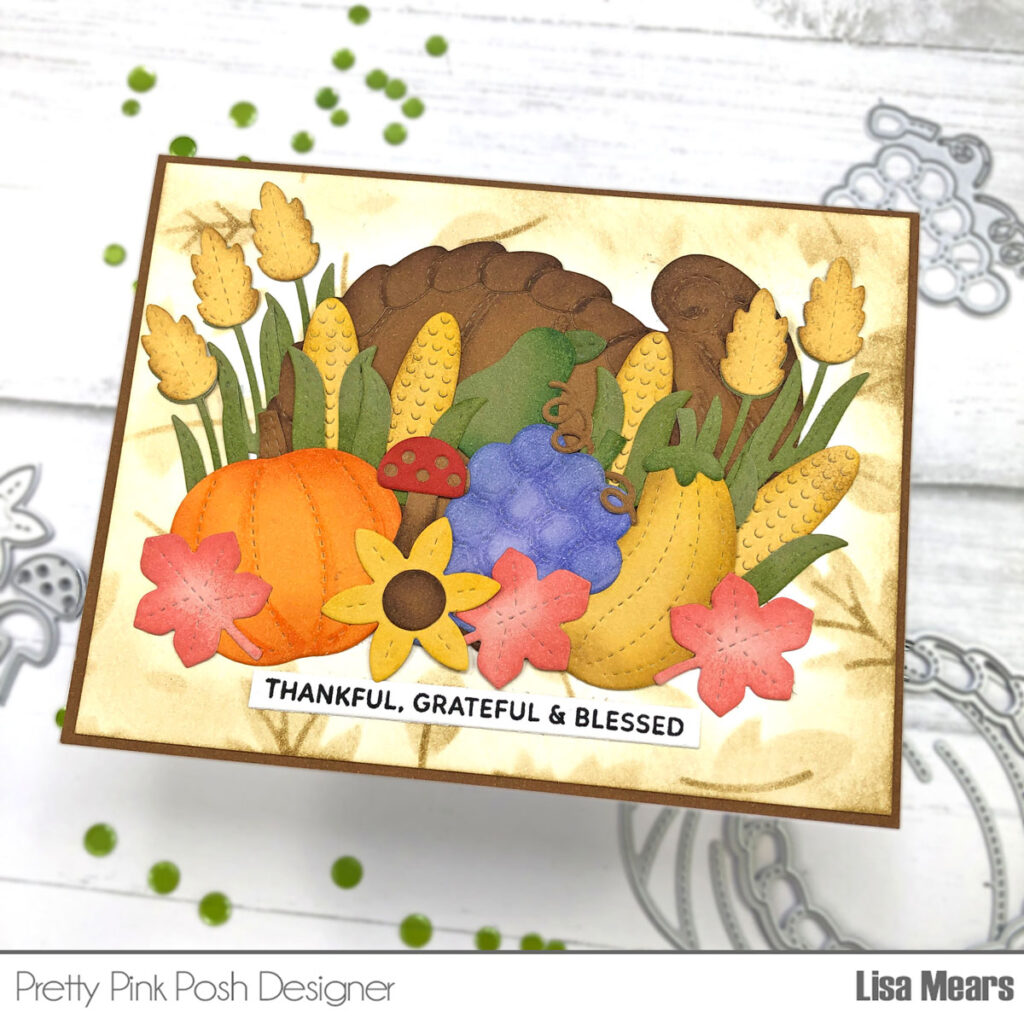
To create this card I first die cut the three pumpkins out of orange cardstock with the Stitched Pumpkin Dies. I then ink-blended over the pumpkins with Spiced Marmalade and Crackling Campfire Distress Ink. I used a shader brush to add definition to the pumpkin ribs. I then die cut the pumpkins with the face dies and set the pumpkins aside.
Next, I die cut the pumpkins a second time but this time out of light yellow cardstock. I then ink-blended the pumpkins in Mustard Seed and Wild Honey Distress Ink and then adhered the orange pumpkins over the yellow with foam adhesive.
Next, I die cut the stems for the pumpkins out of Kraft cardstock. I then ink-blended the stems in Vintage Photo and Ground Espresso Distress Ink and added additional details with copics. I then adhered the stems to the pumpkins with liquid adhesive.
Next, I die cut the leaves out of green cardstock and then ink-blended them in Rustic Wilderness and Forest Moss Distress Ink. Once again I used a shader brush to add definition to the leaves. I then die cut the vines out of dark green cardstock and ink-blended them with a little Forest Moss.
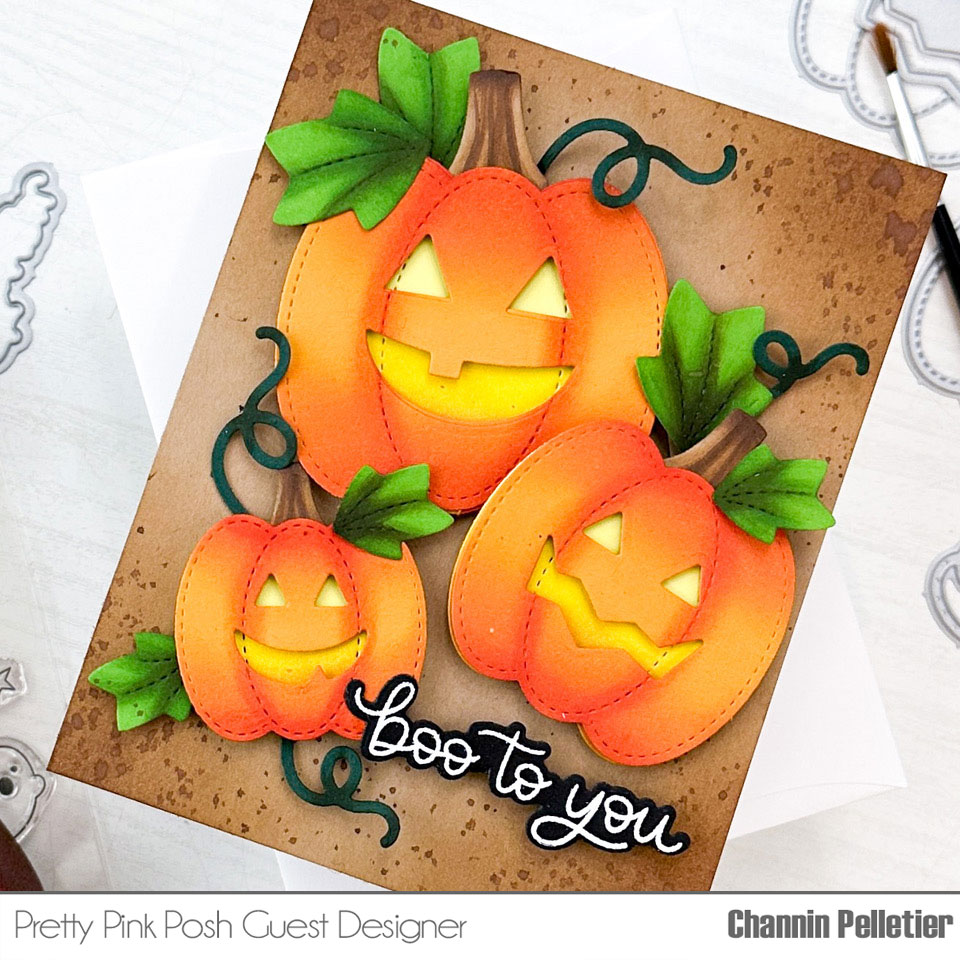
Next, I ink-blended the front of an A2 top-folding Kraft card base with Vintage Photo Distress Ink. I then pressed some of the Vintage Photo ink onto a sheet of acetate, added water and then splattered the water-downed ink over the corners of the card front. When the card base was dry I then adhered the pumpkin, leaves and vines to the card front.
Next, I stamped a sentiment from the Boo to You stamp set in Versamark ink onto black cardstock. I then poured white embossing powder over the sentiment, heat set it and then die cut it out with the matching die. Lastly, I finished the card by adhering the sentiment to the card front with foam adhesive.
I hope you enjoyed my card. Thank you so much for stopping by!
~Channin