
Stencil Theme Week- Day 3
**All items in the stencil section are 15% off during theme week**
Hi friends, it’s Gemma here today. I love the layered stencils from Pretty Pink Posh. They make such fabulous backgrounds and are so easy to use.
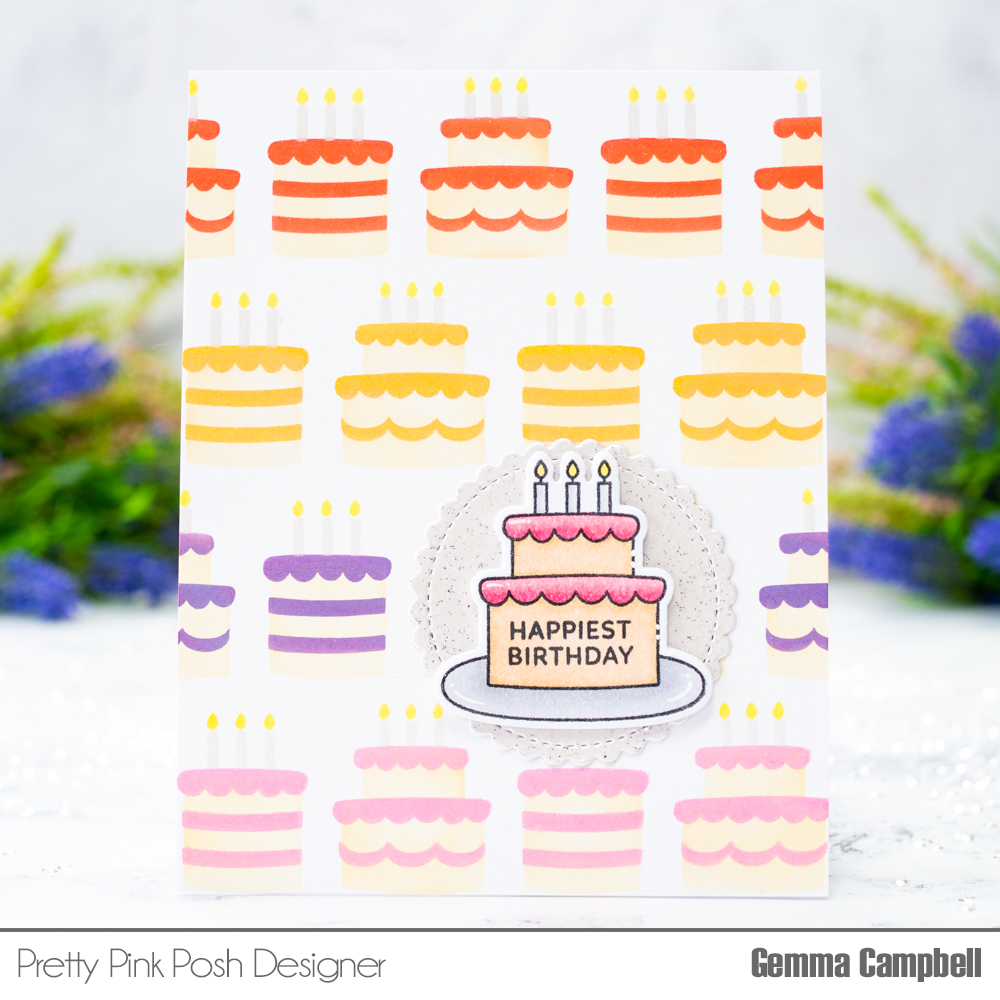
I’m using the Layered Birthday Cakes stencil set on my card today. There are 4 layers in this stencil set and I used distress oxides to blend each layer:
Layer A: Antique Linen Layer B: Abandoned Coral, Dried Marigold, Dusty Concord, Kitsch Flamingo Layer C: Lost Shadow Layer D: Squeezed Lemonade
I trimmed the panel down and adhered to an A2 top folding card base.
Next, I stamped and copic coloured a cake from the Birthday Signs stamp set. I stamped a sentiment in the centre, also from the same stamp set. I die cut the image out with the coordinating die, adding two more layers behind for dimension.
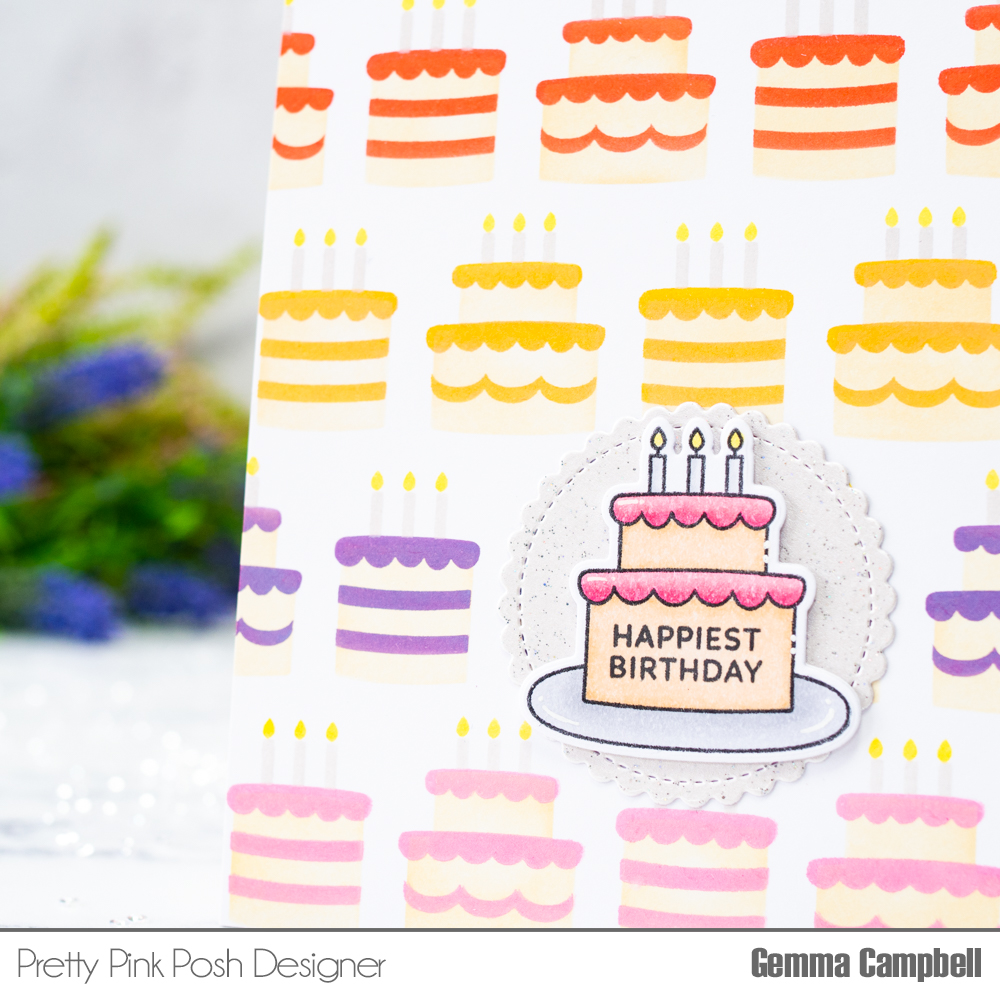
To help the cake show up on the stencilled background, I die cut a scalloped circle from pearl white sparkle card. This circle is from the Valentine Circles coordinating die set. I adhered the circle, followed by the cake, onto the card to finish.
Copic colours: E30-31; N0-N1; Y13; RV13 RV21
Thanks for joining me today! I hope you were inspired to create with your PPP stencils!