Jungle Animals Mini Slimlines + Video
Hi, friends! It’s Lauren and I have a new video to share with you all today. I always struggle with making sure I have enough birthday cards for my nephews! So I wanted to share a process today that makes 2 mini slimline cards that can be used for any one, and honestly any occasion.
Watch the video above I Watch the video in HD on YouTube
To make sure it has enough time to dry, we’re going to start with the stenciled background. I have a piece of light green cardstock trimmed to 6×6” and I used the Streamers Stencils to give a jungle feel as you can see with the theme I’m going for! I used the A Stencil with Mowed Lawn Distress Ink and the B Stencil with Crocodile Tears Solar Paste. In between the layers, I splattered on some metallic orange watercolor.
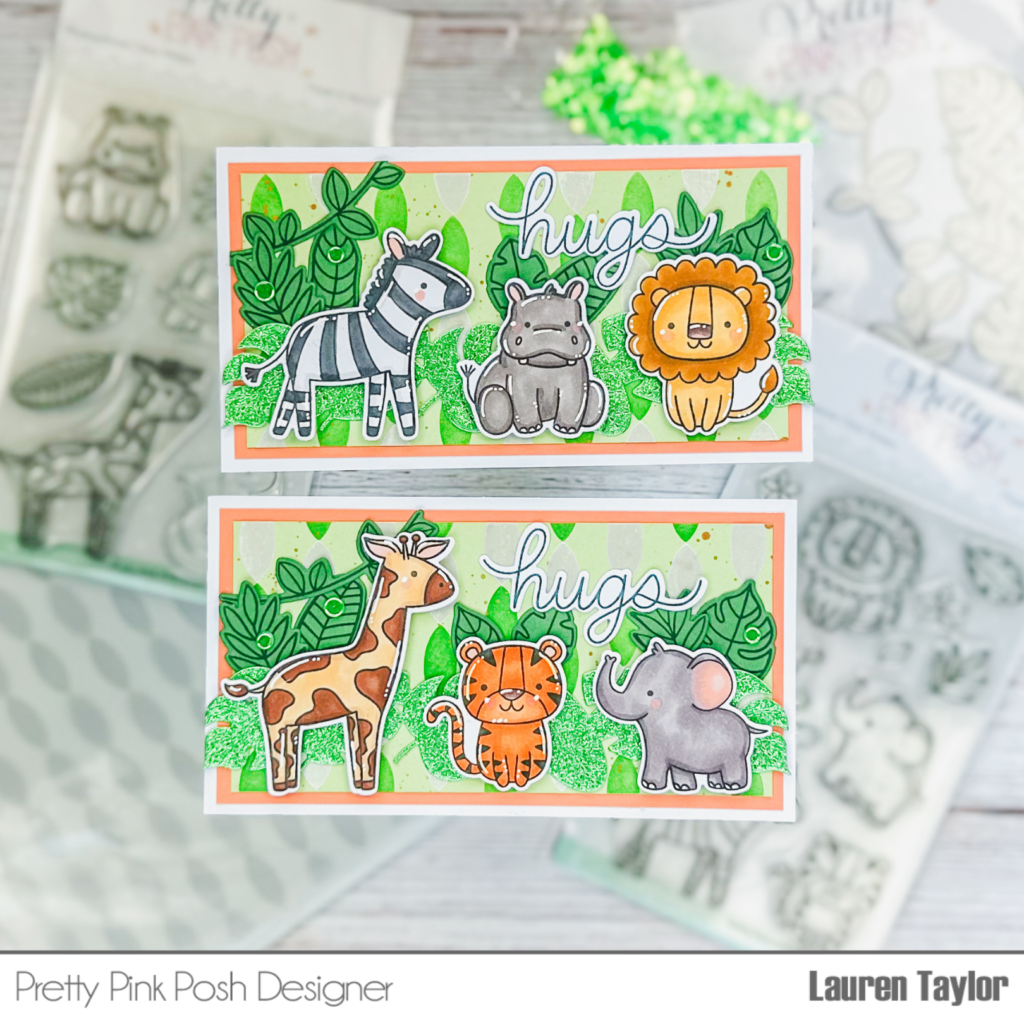
I stamped a bunch of critters from the Jungle Friends and Jungle Additions stamp sets with alcohol marker friendly black ink. I used the coordinating dies for both sets to cut them out and attached them to my low tack sticky mat which helps them stay in place while I’m coloring them in with my Ohuhu Art Alcohol Markers.
We can’t have a jungle without any leaves so I stamped two of my favorite leaves from both the Jungle Friends and Jungle Additions stamp sets with a green ink on green cardstock. I wanted to add the leaf details without having to do more coloring, so this is a great way to get green leaves without markers! I used the coordinating dies for both sets on the leaves and set them aside. I cut more leaves by using one of the Stitched Leafy Borders Dies with some green glitter paper.

Everything is ready to be trimmed and assembled now! I trimmed the stenciled background down to two pieces that measure 5.5×2.75”, a piece of orange cardstock to two pieces that measure 5.75×3” and card bases that measure 6×3.25” when scored in half. I glued them all together so the orange cardstock is a mat for the stenciled background on the card base. I layered the leaves and glued them down with liquid adhesive and popped up my critters with foam adhesive.
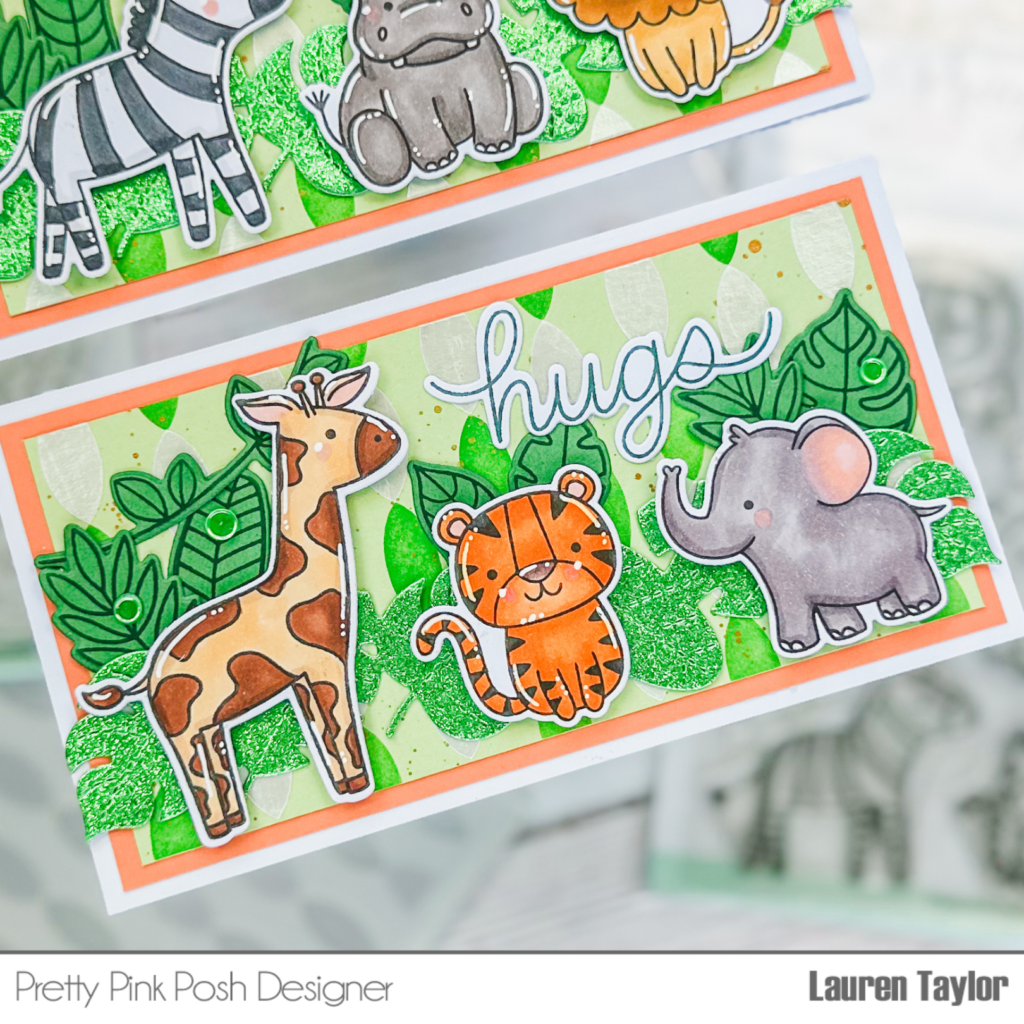
Using the same green ink, I stamped the “hugs” sentiment from the Heart Critters stamp set and used its coordinating die to cut it out. I glued it to the open space in the upper right of the cards. To add some final touches, I adhered down a few of the Lime Shimmer Confetti Mix.
I hope this inspires you to make some cards for any occasion today!