June 2023 Product Reveal + Bundle
Hello friends! It’s time to reveal all of the products that are part of the June 7th release.
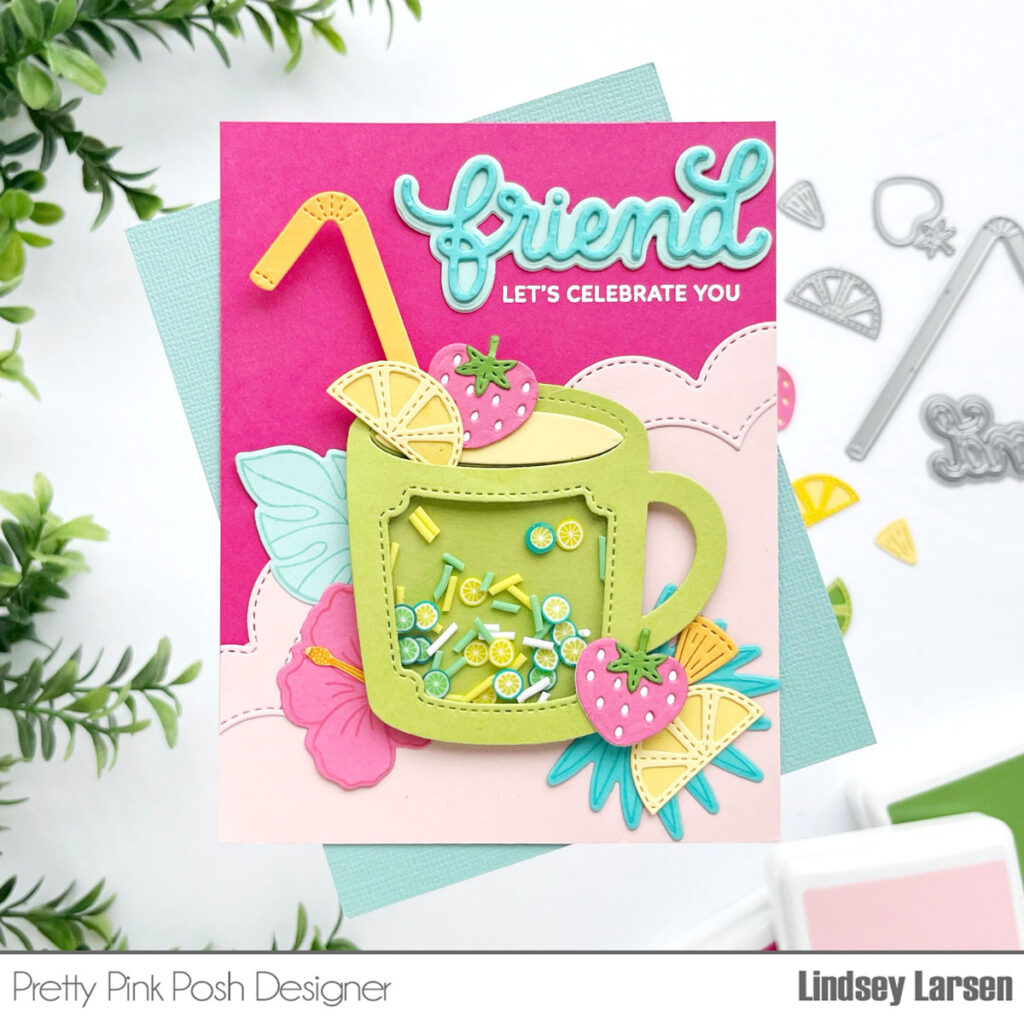
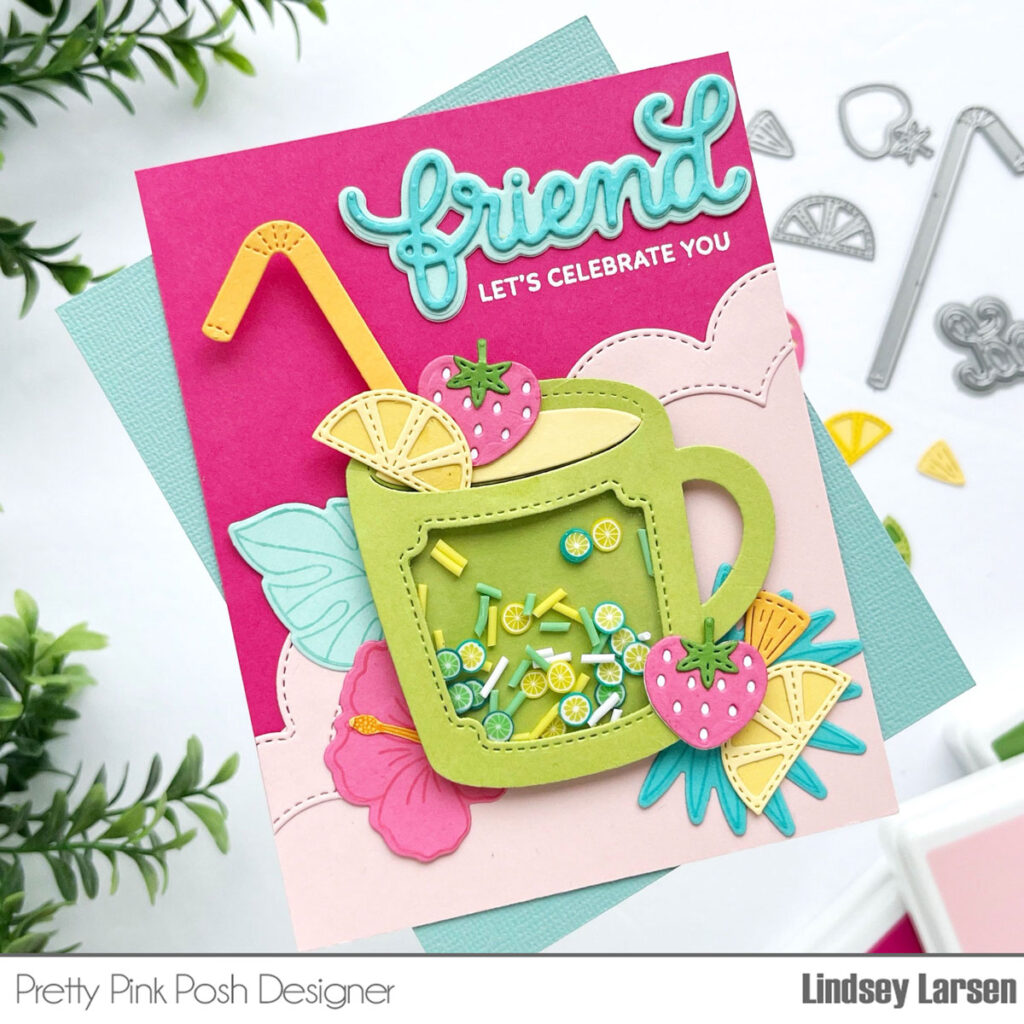
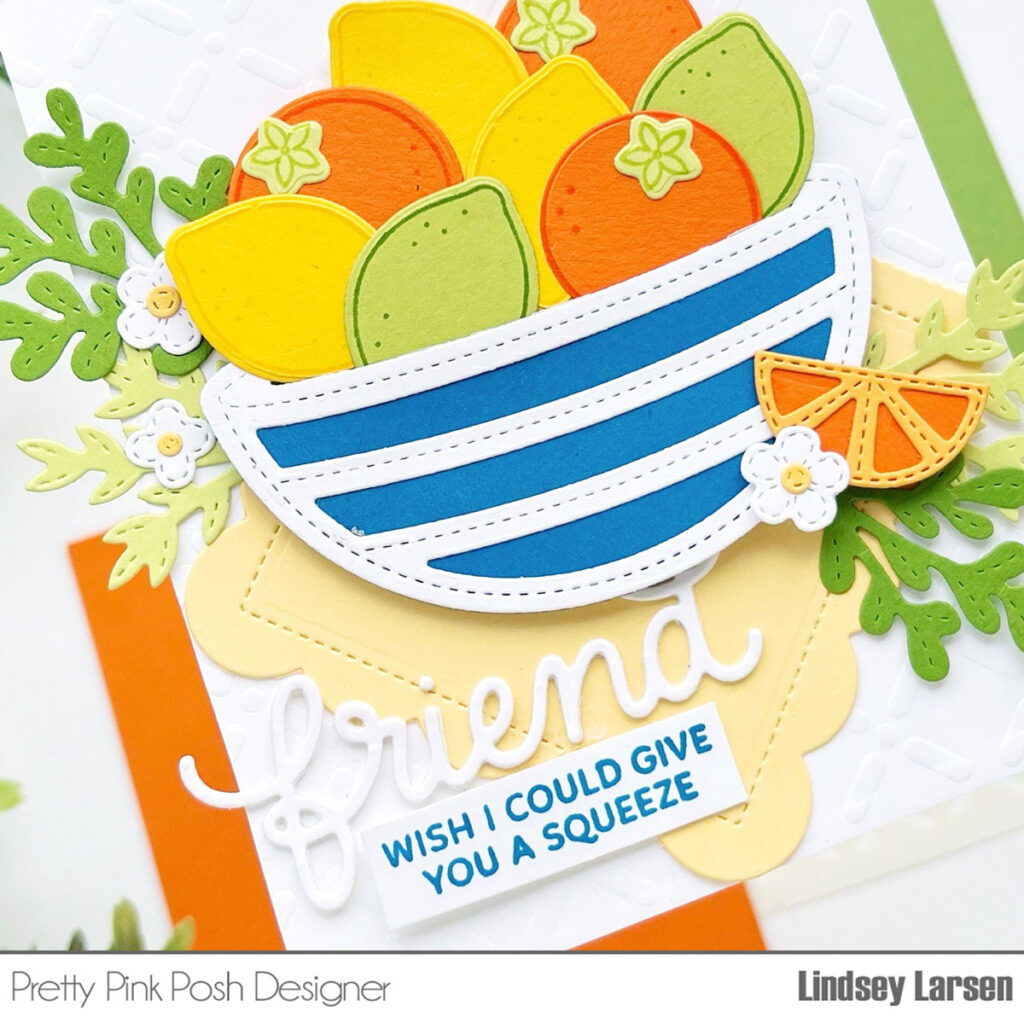
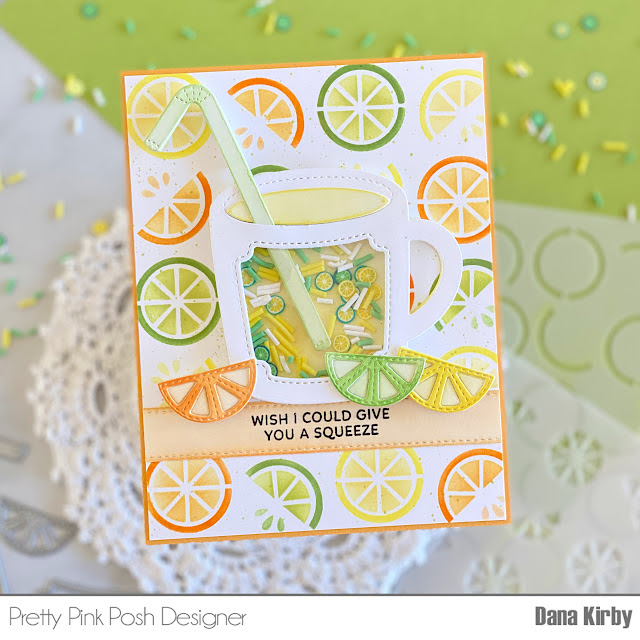
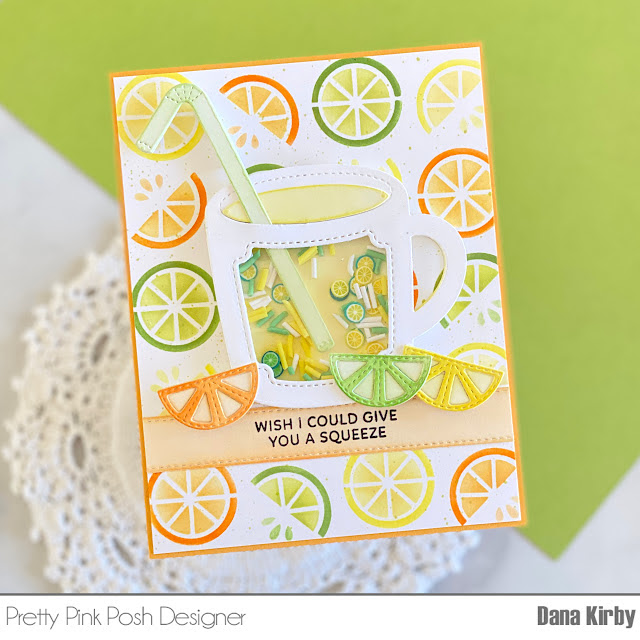
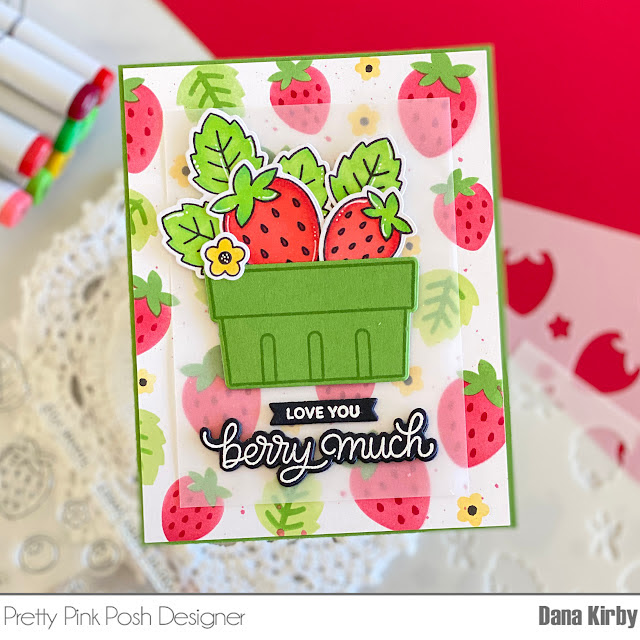
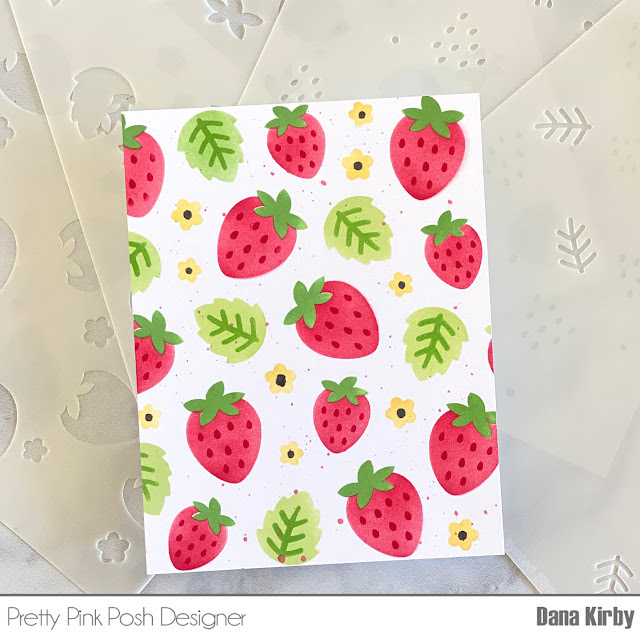
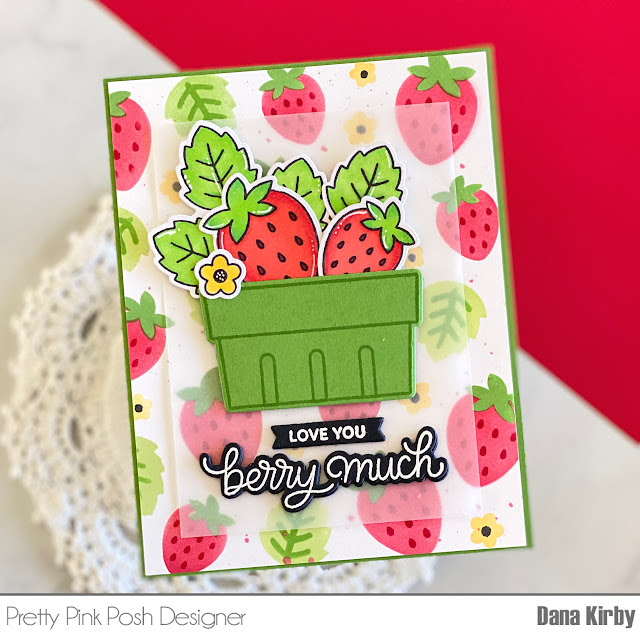
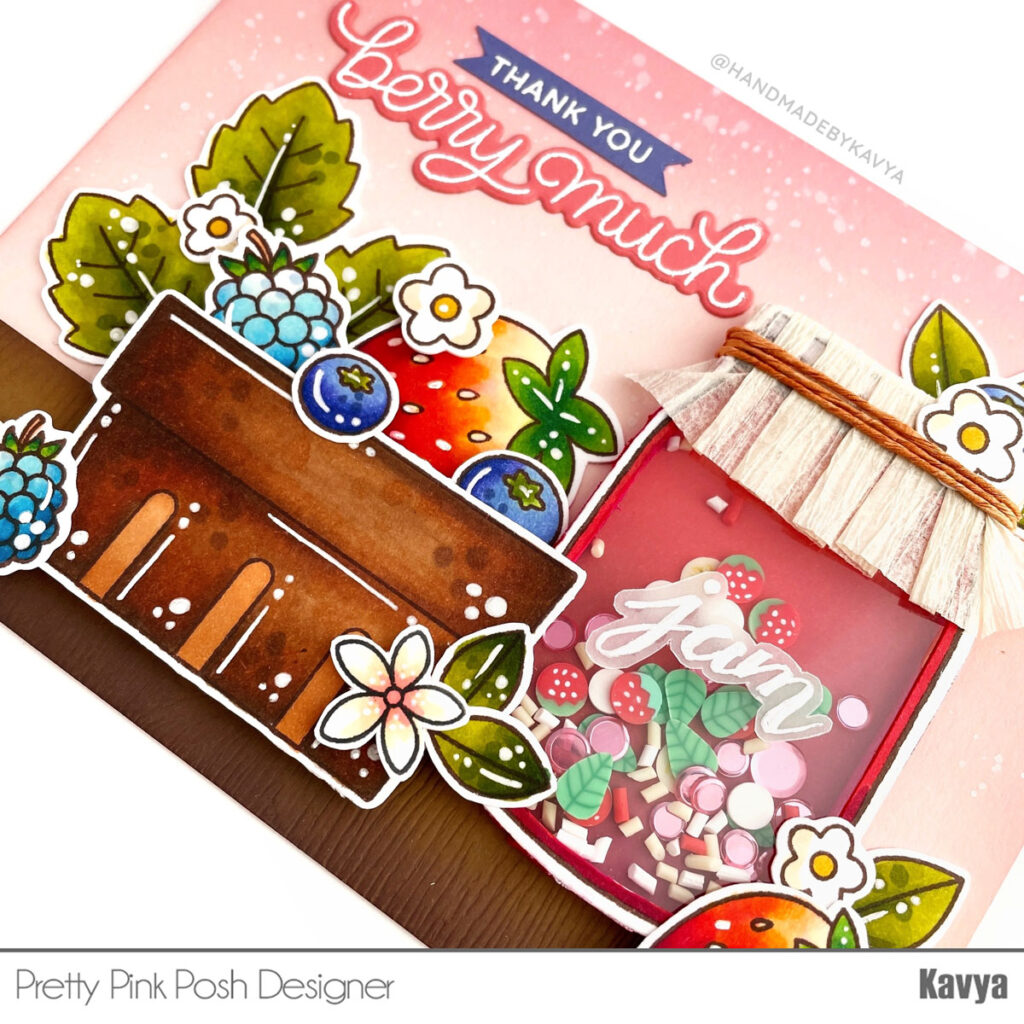
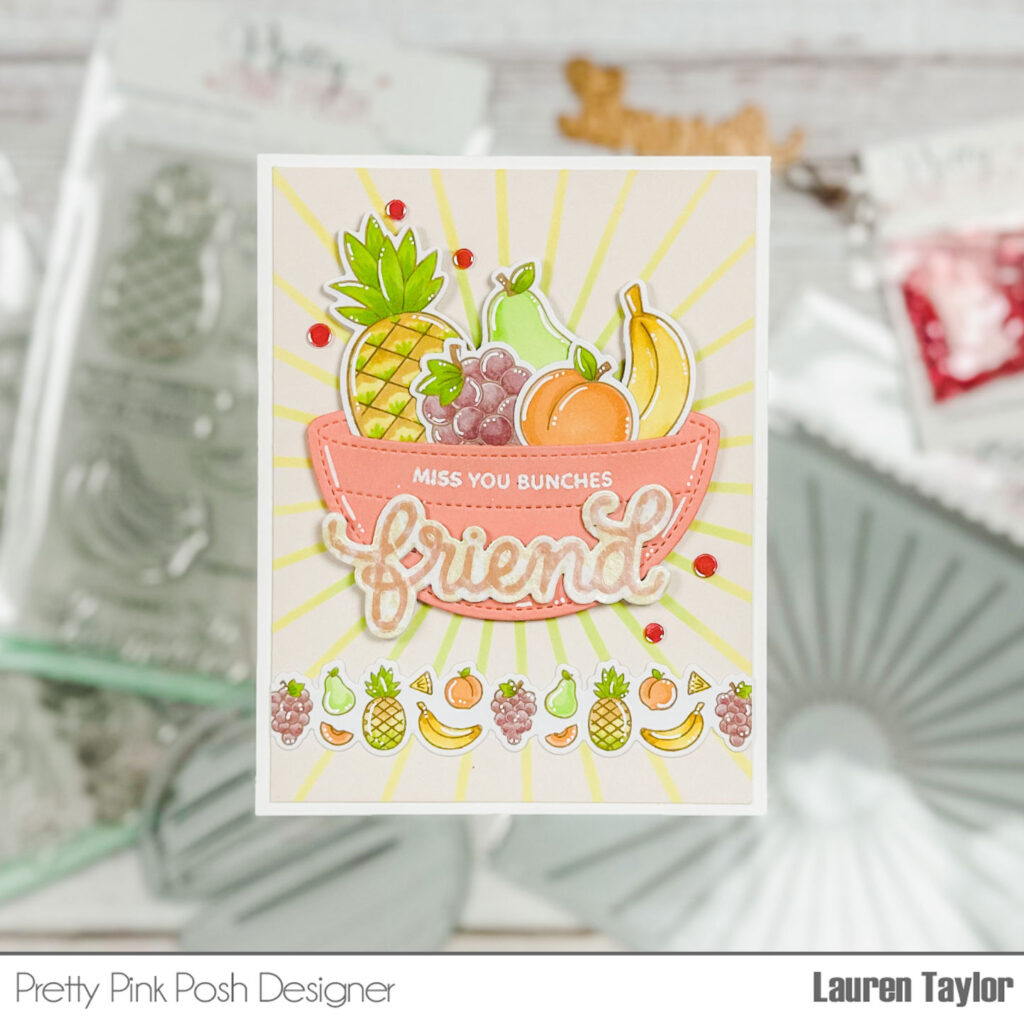
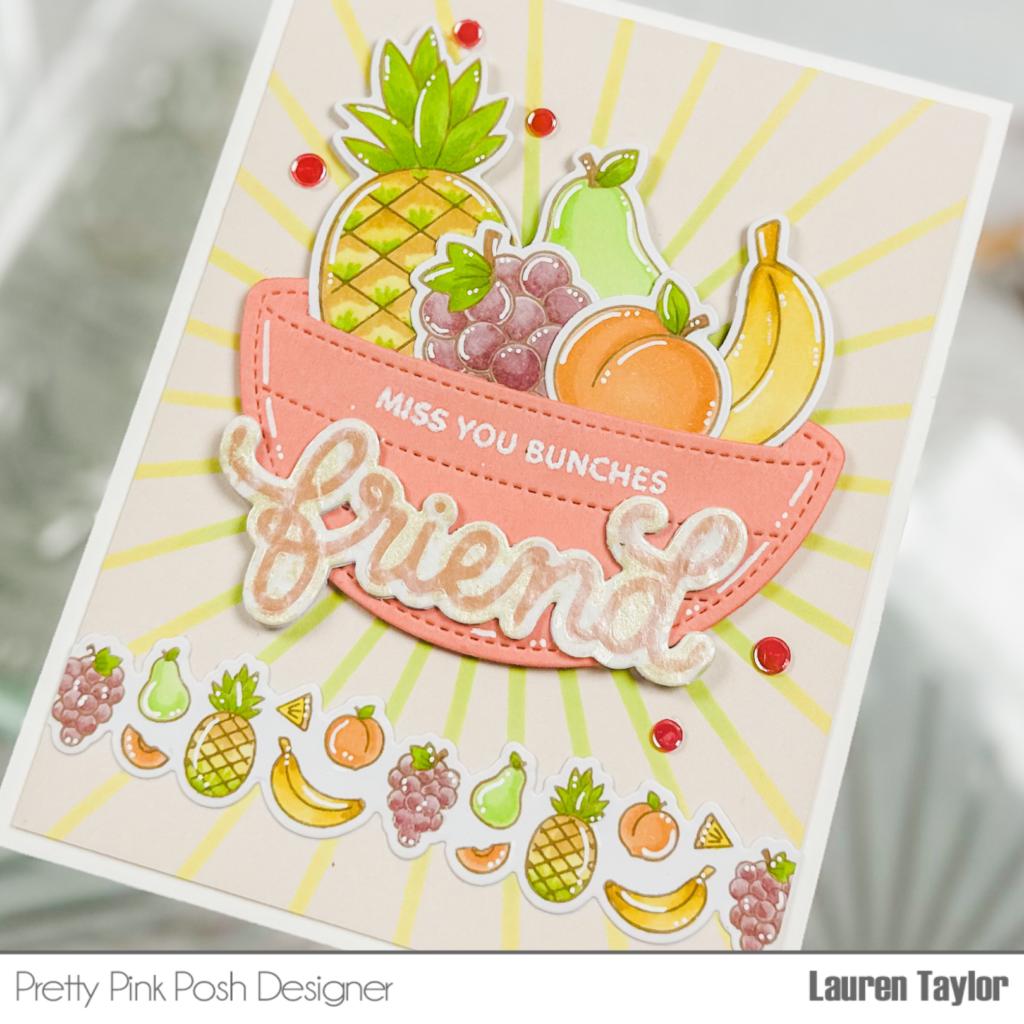
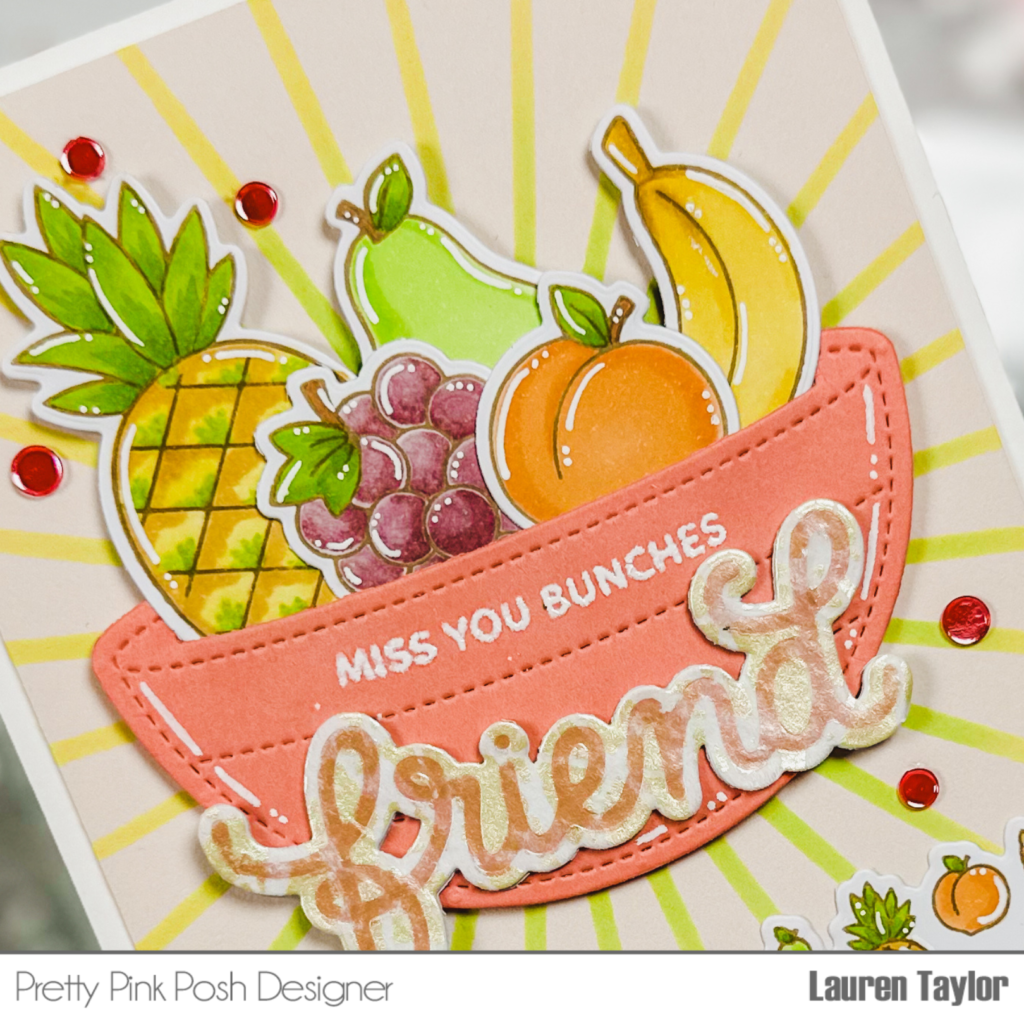
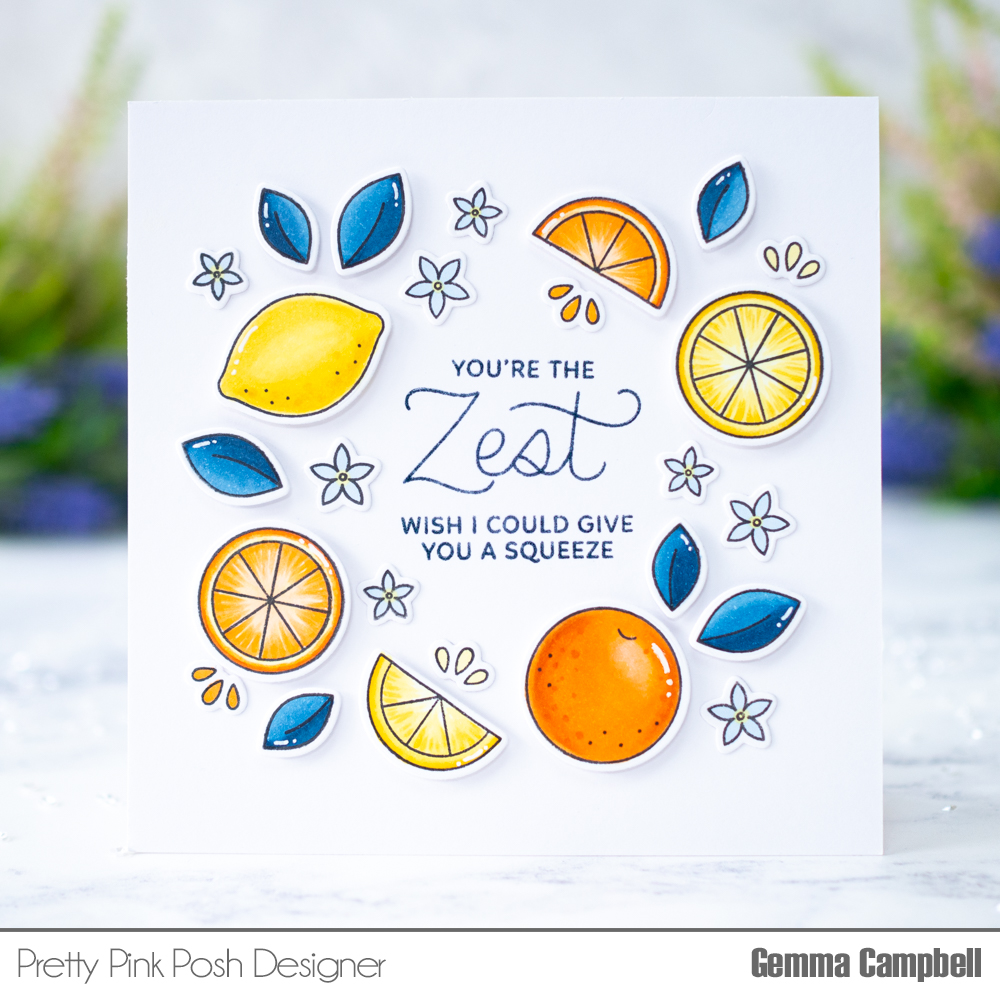
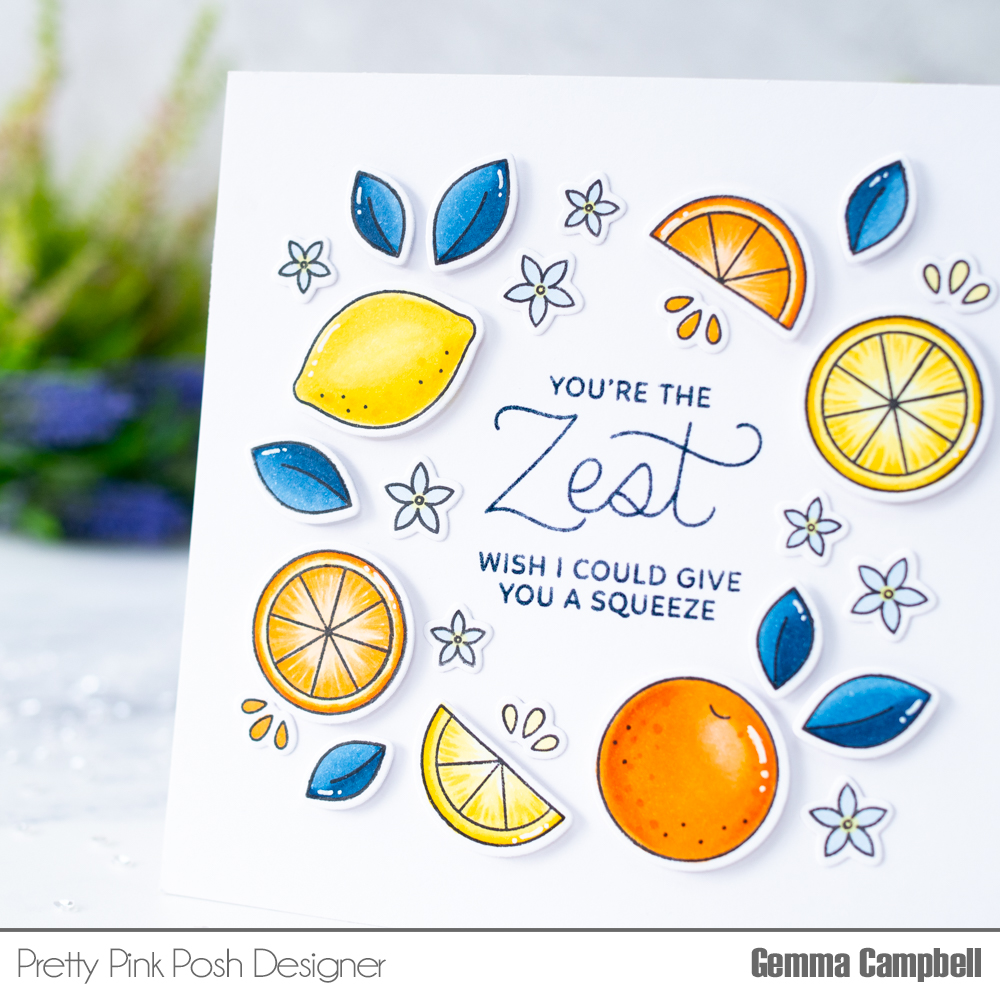
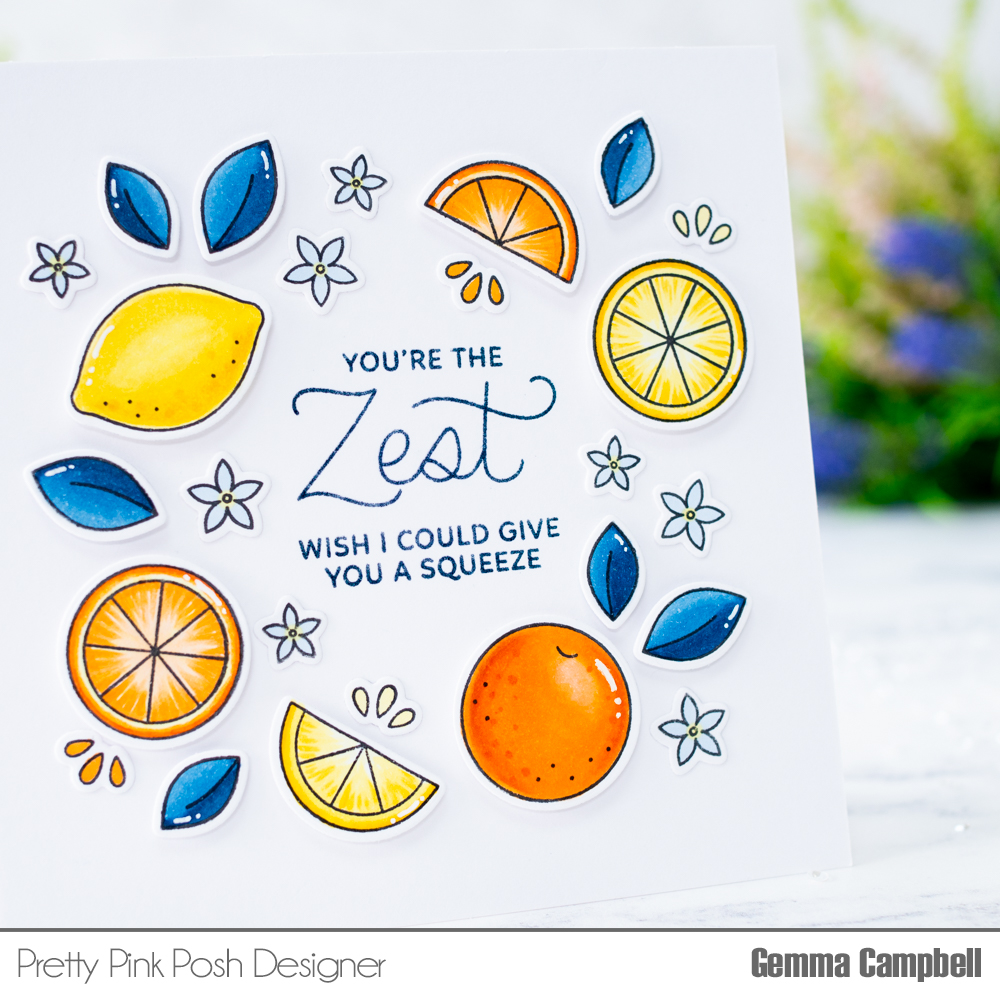
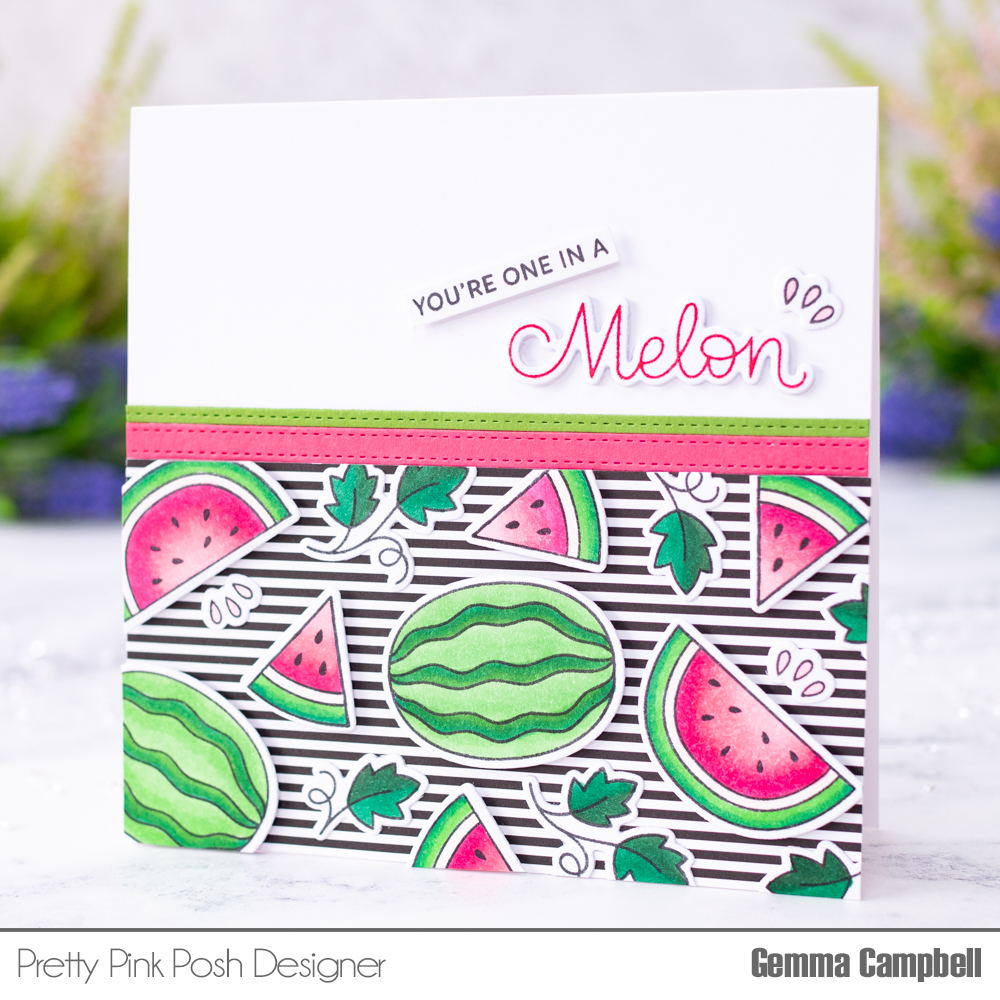
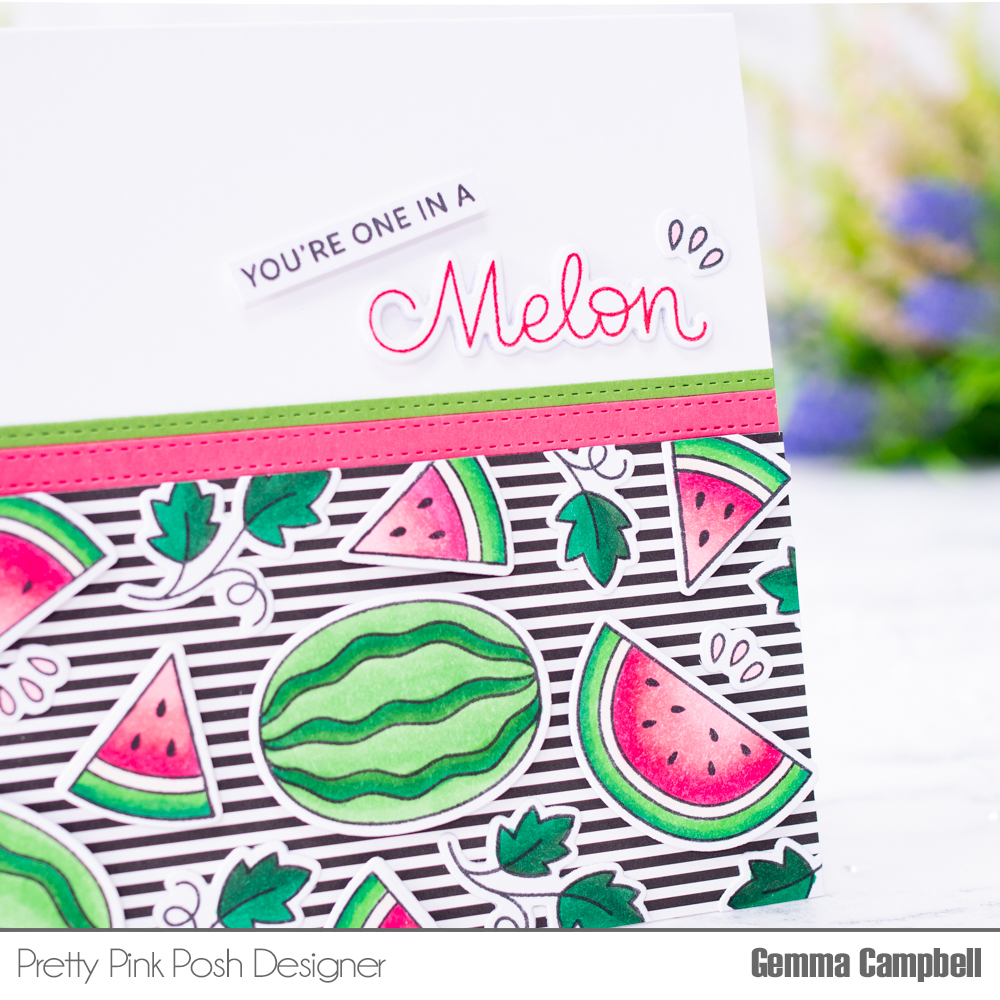
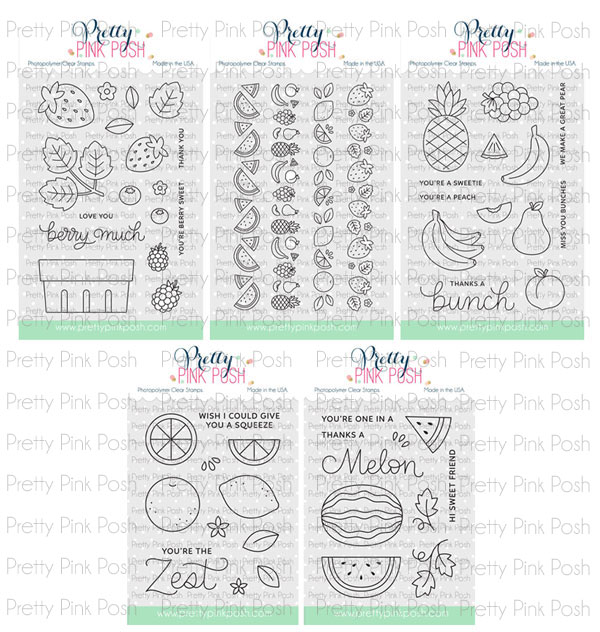
Here’s a look at the five new stamp sets that will be available for purchase: Fresh Berries, Fruit Borders, Fruit Salad, Citrus, and Watermelon (all have coordinating dies available for purchase separately).
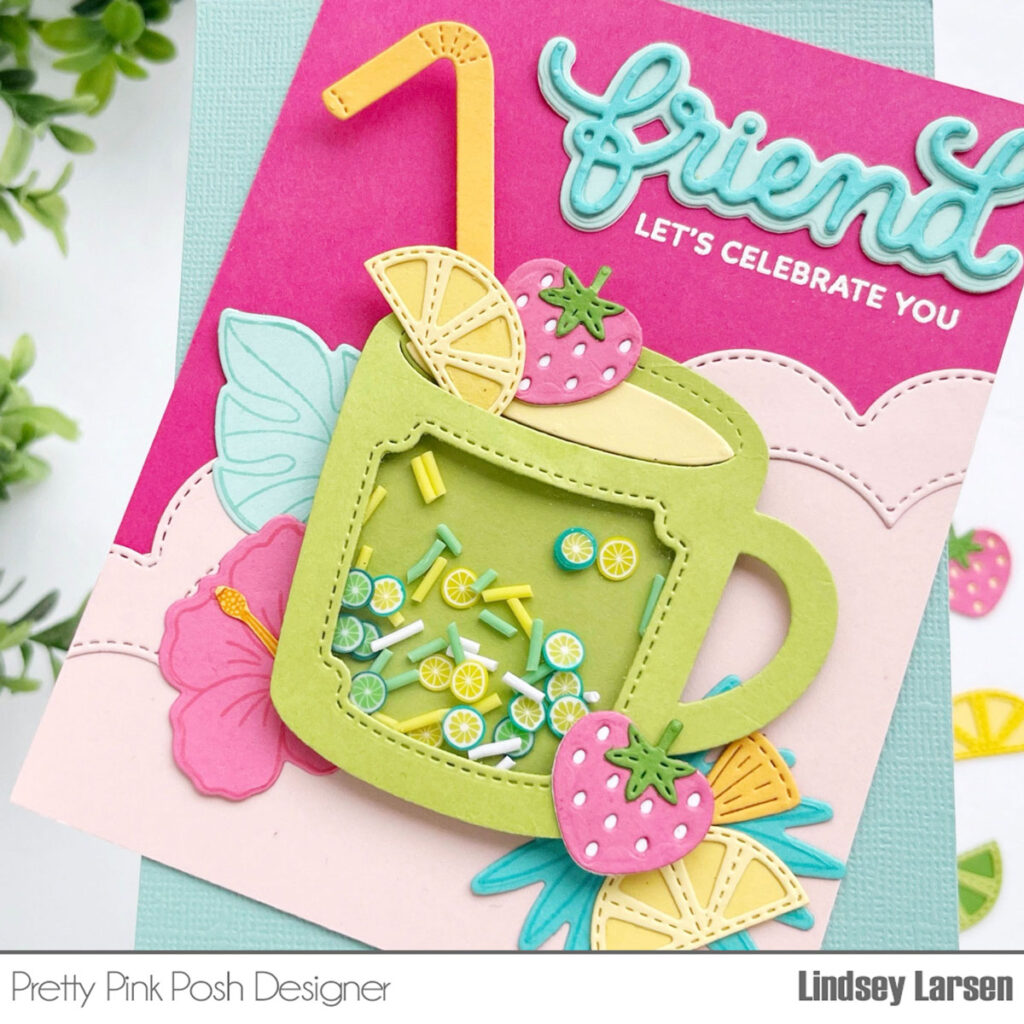
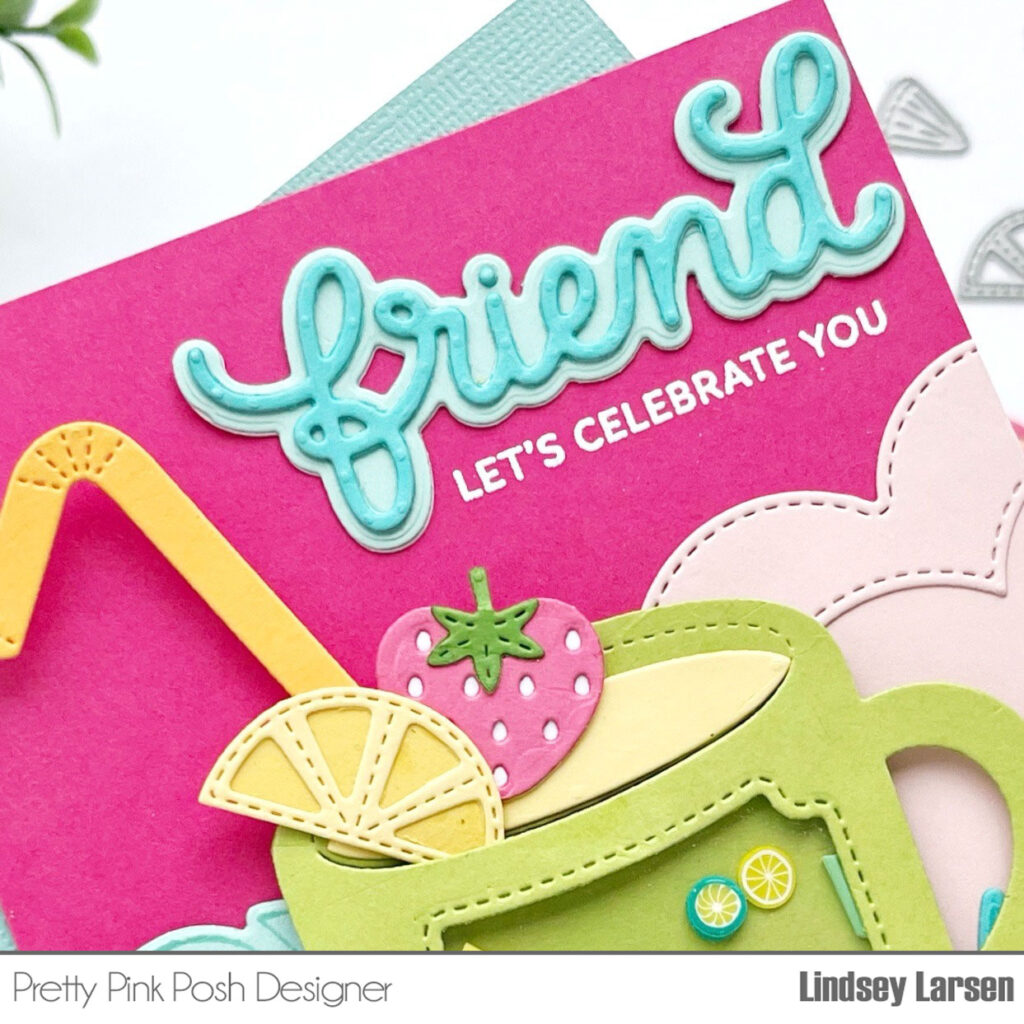
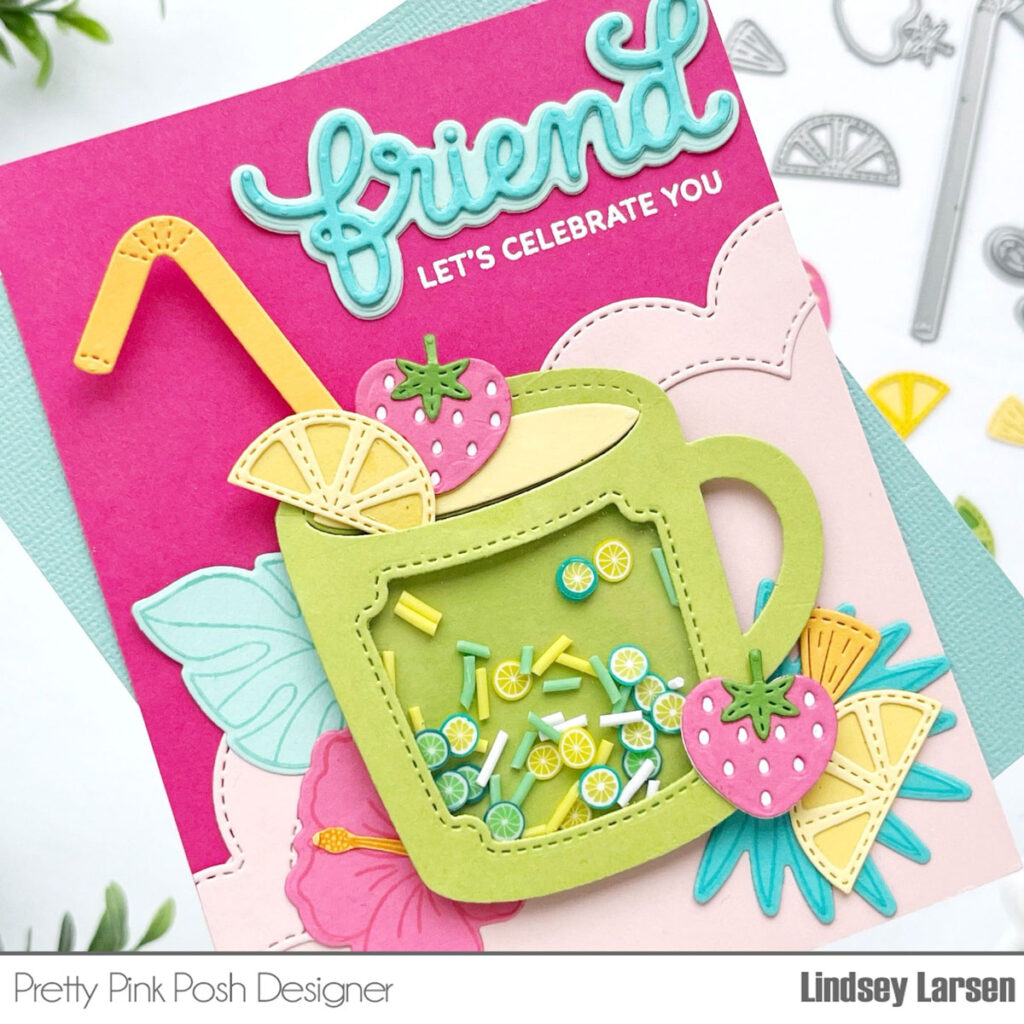
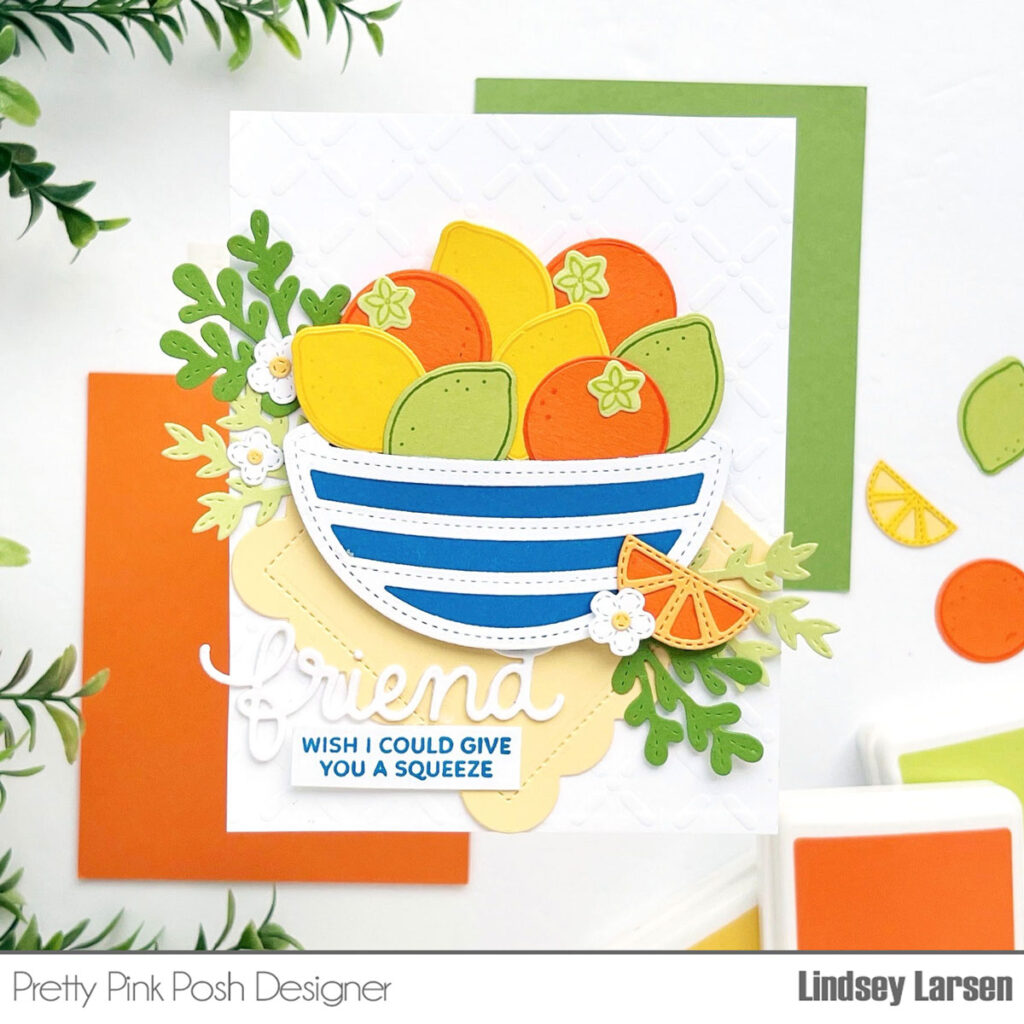
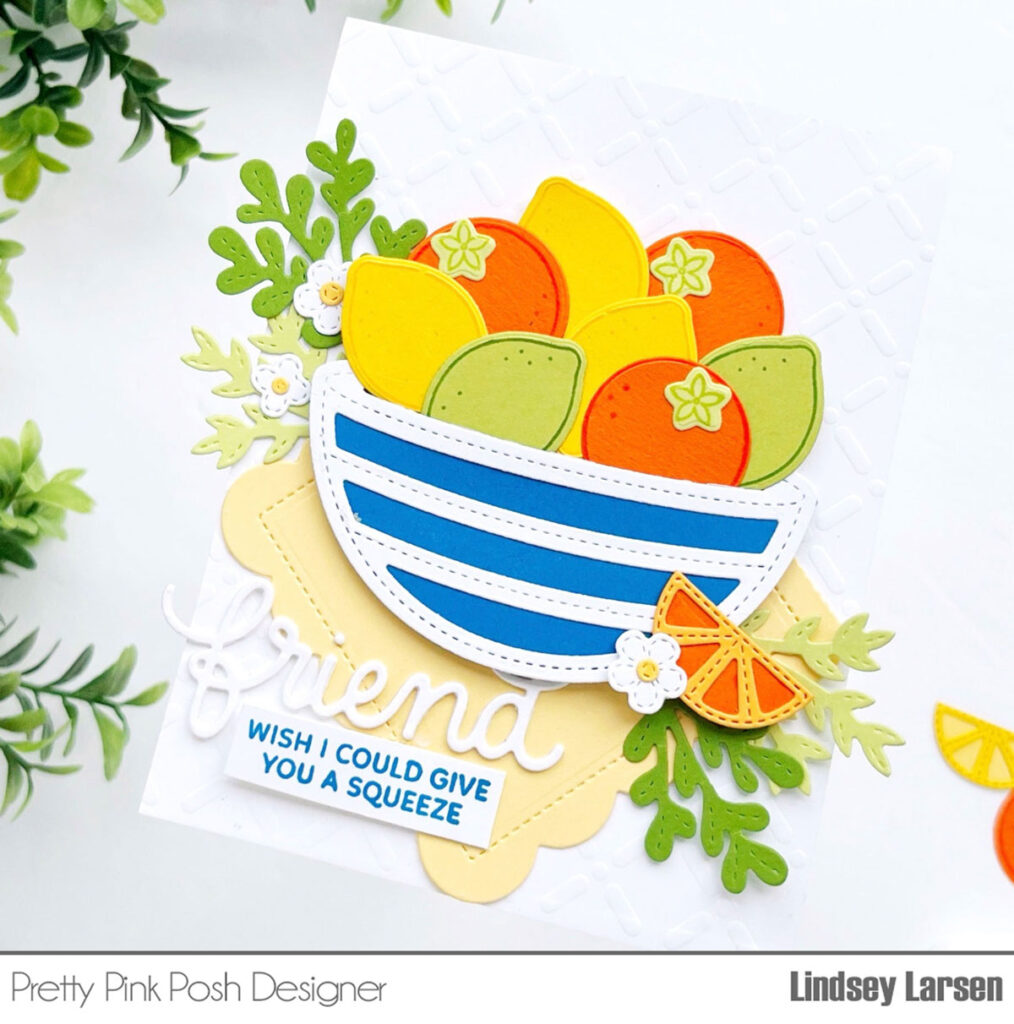
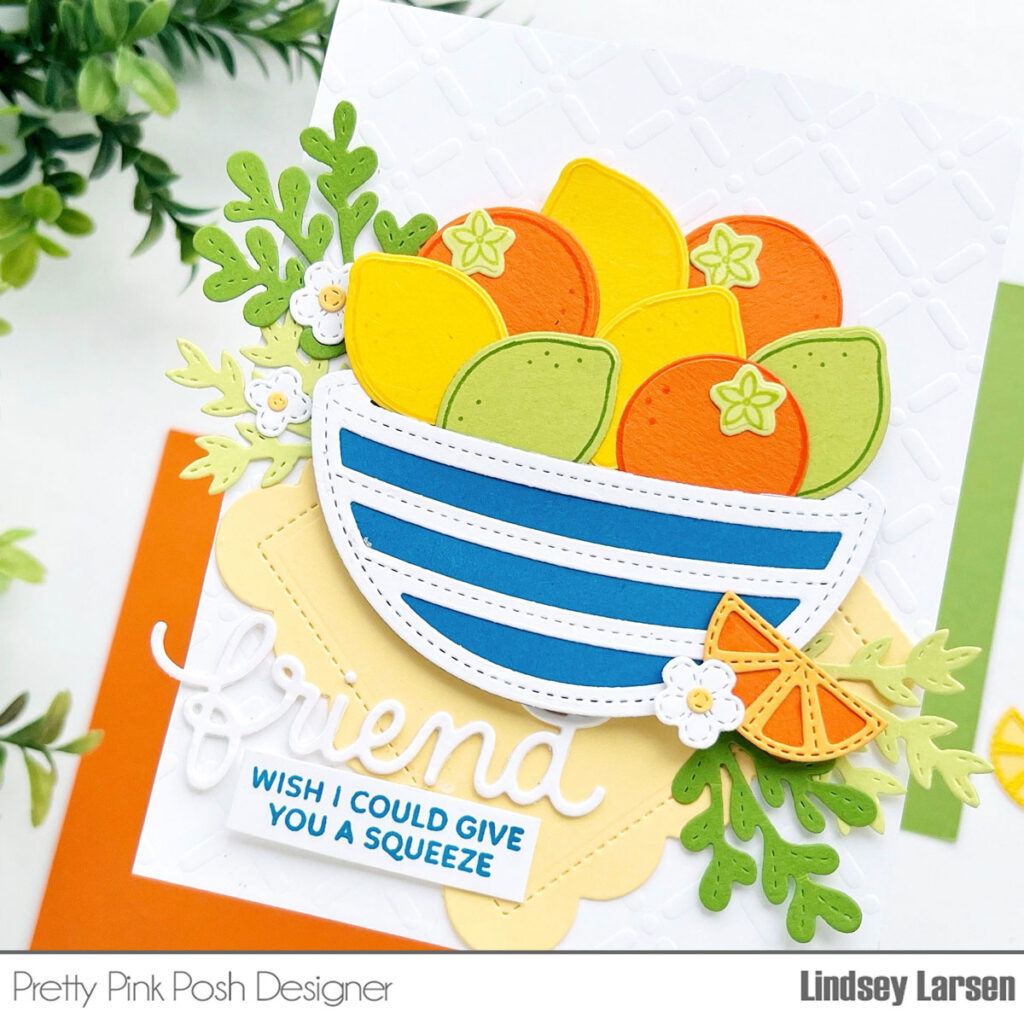
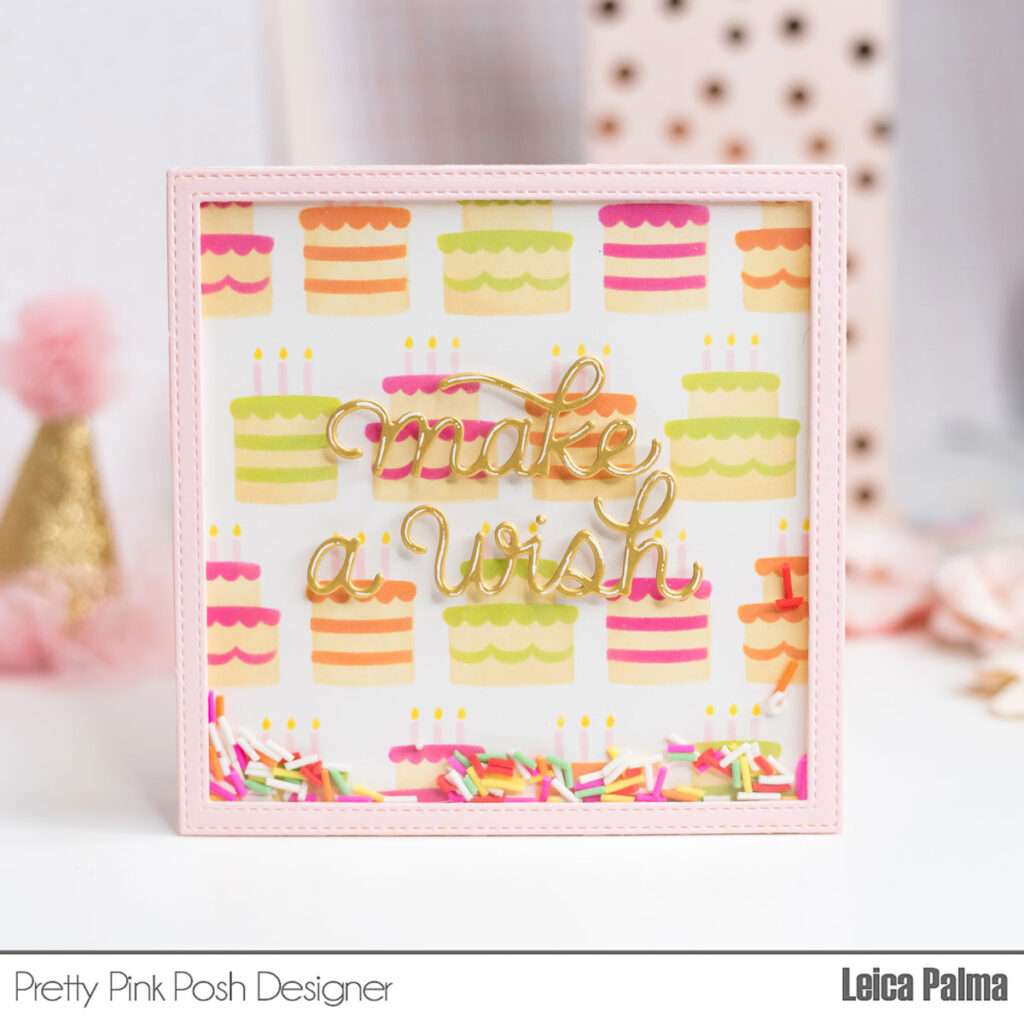
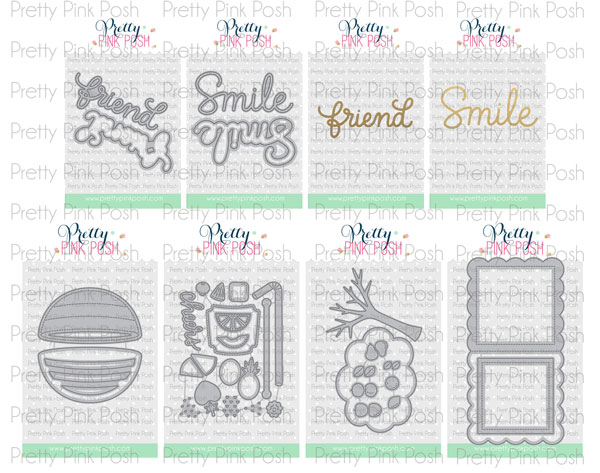
Here are the individual die sets that will be available: Friend Shadow, Large Smile Shadow, Hot Foil- Friend Script*, Hot Foil- Large Smile*, Fruit Bowl, Fruit Mug Additions (designed to be used with the popular Winter Mug dies), Fruit Tree and Mini Scallop Card.
*The shadow dies work individually, or you can use them in conjunction with the hot foil plates!
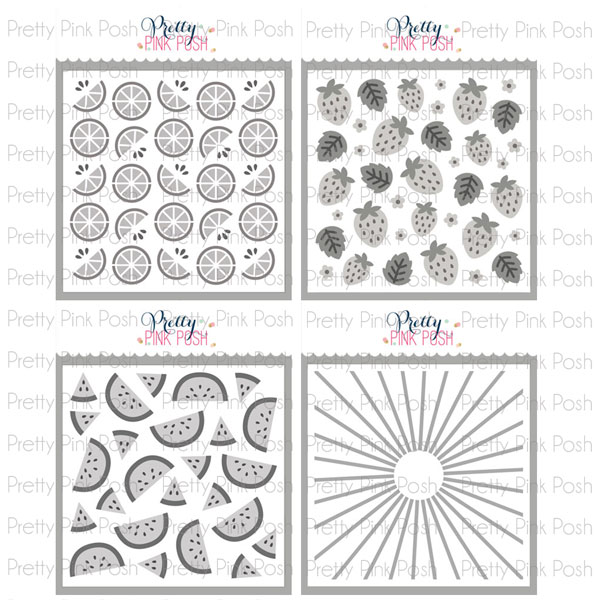
This month we have four new stencils: Layered Citrus (3 layer),Layered Strawberries (4 layer), Layered Watermelon (3 layer) and Starburst.
There are three new confetti mixes this month: Strawberry Shimmer, Lemon Shimmer and Lime Shimmer.
I couldn’t resist adding four new clay mixes this month. It was so hard to narrow them down! Here is Strawberry Banana clay confetti, Lemon Lime clay confetti, Tropical Paradise clay confetti and Watermelon Crush clay confetti.

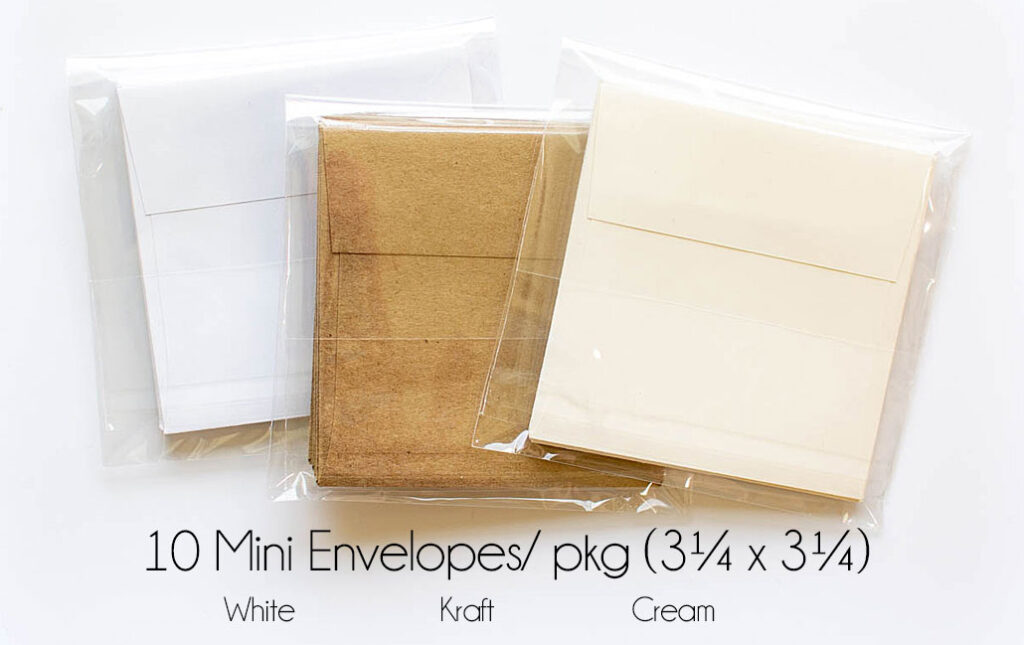
With the adorable Mini Scallop Cards, we know you may not have mini envelopes to deliver/ store them in. We have three colors and the envelopes are press and peel self adhering. Plus, these will also work with the Sweet Note dies!
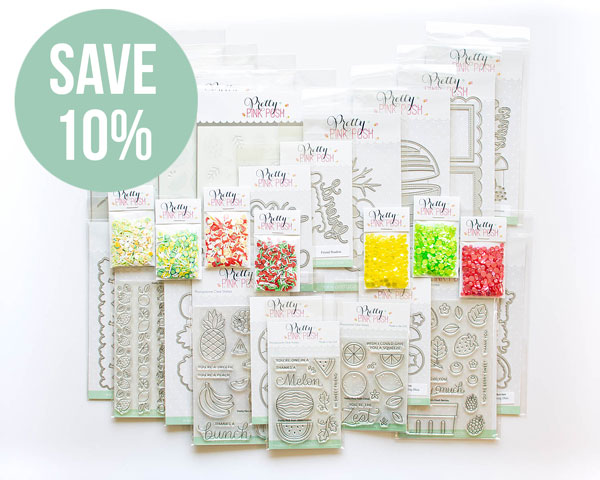
We have a limited amount of bundles available where you can buy this release in one easy click. Plus, you’ll save 10% off when you buy it all together.
Due to not everyone owning a hot foil machine, we did NOT include the hot foil plates in this bundle.
We will see you tomorrow as we show you the new products in a video and the products go live individually. Plus, we will be kicking off our three day blog hop!