Just A Note Circle Card
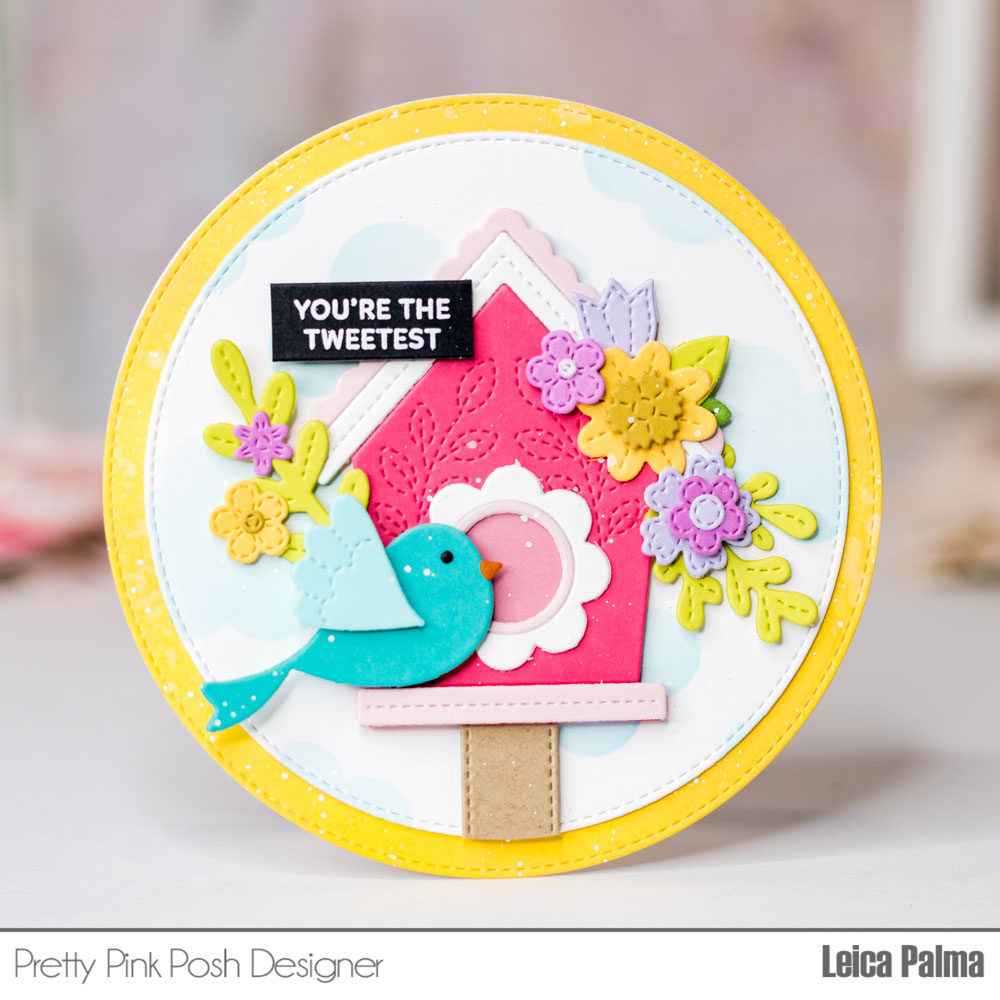
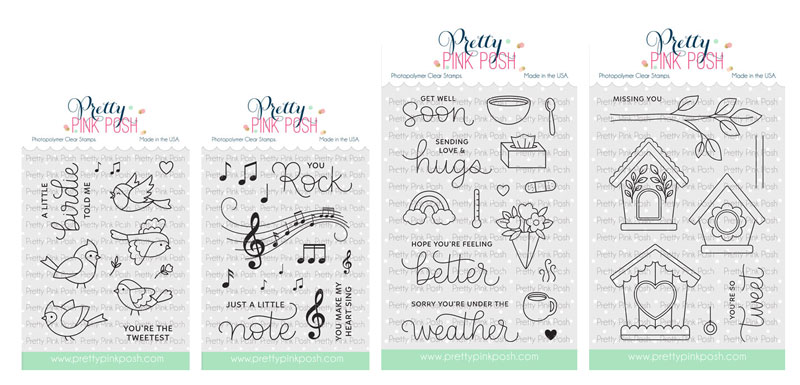
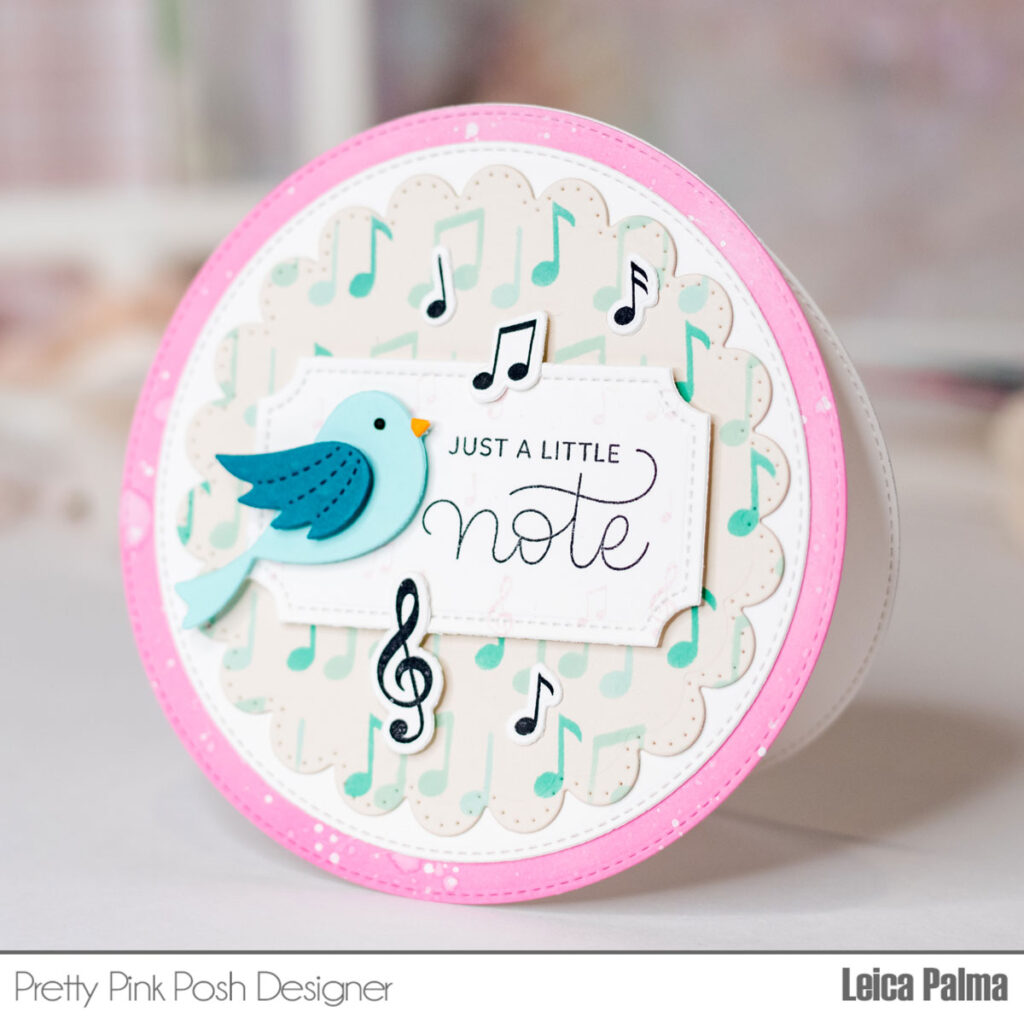
Hi everyone! It’s Leica here. I’m excited to share a card I made using Pretty Pink Posh’s new Just A Note stamp set and Layered Music Notes Stencils. For this card, I started by cutting a 4.75 inch circle in white cardstock and ink blending it with Kitsch Flamingo Distress Oxide Ink. To add more interest, I splattered it with white ink.
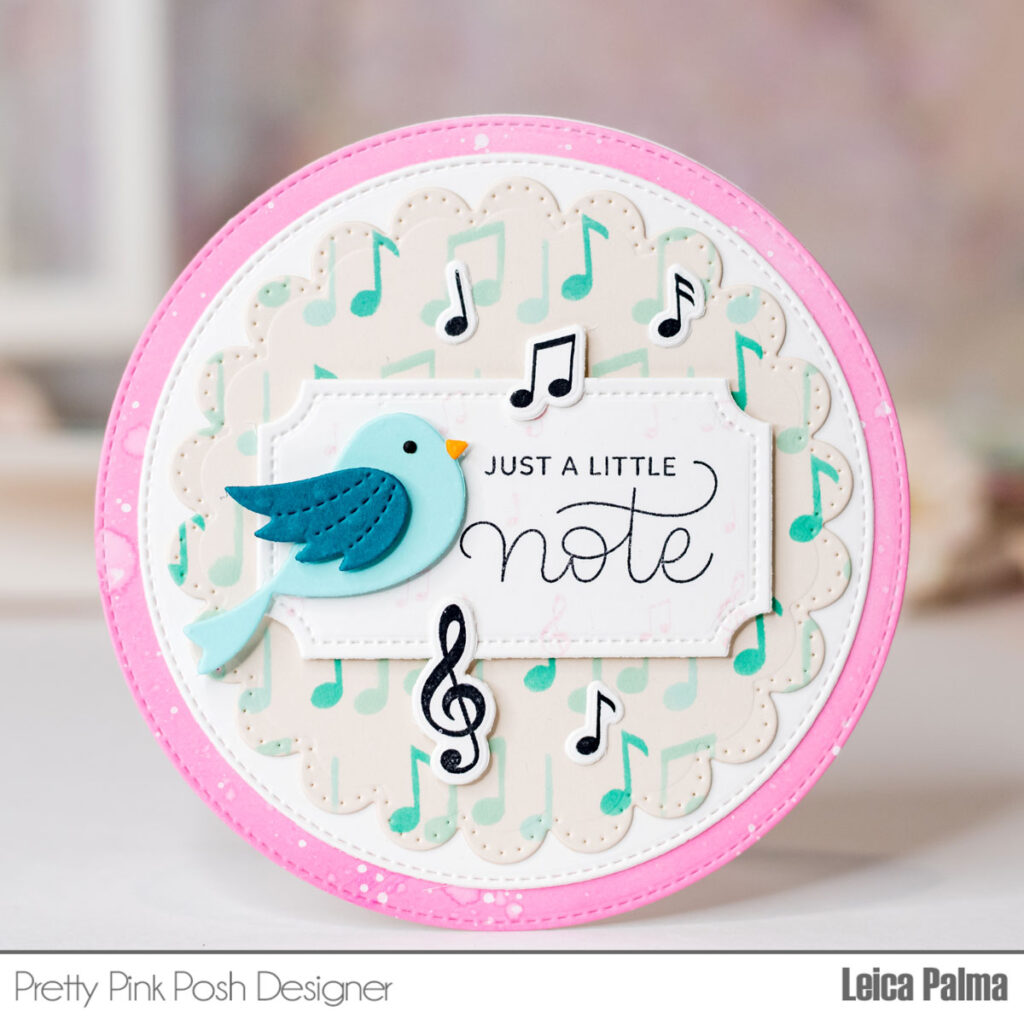
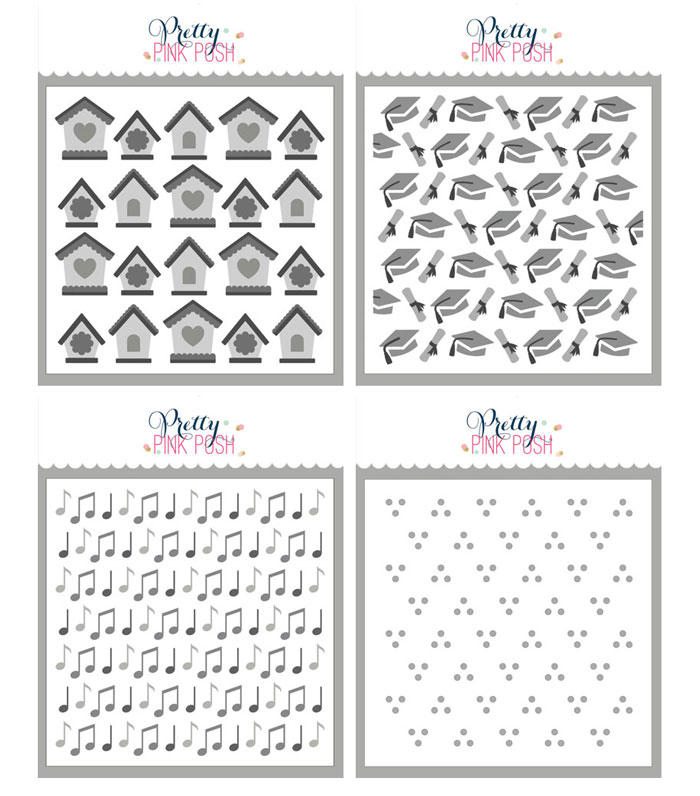
Next, I cut a 4.5 inch circle white cardstock and a 4 inch scallop circle in a light pink cardstock, which I added a pattern to using the Layered Music Notes Stencils with Peacock Feathers and Salvaged Patina Distress Oxide Inks. This stencil made it so easy to create a fun and playful background for the card panel.
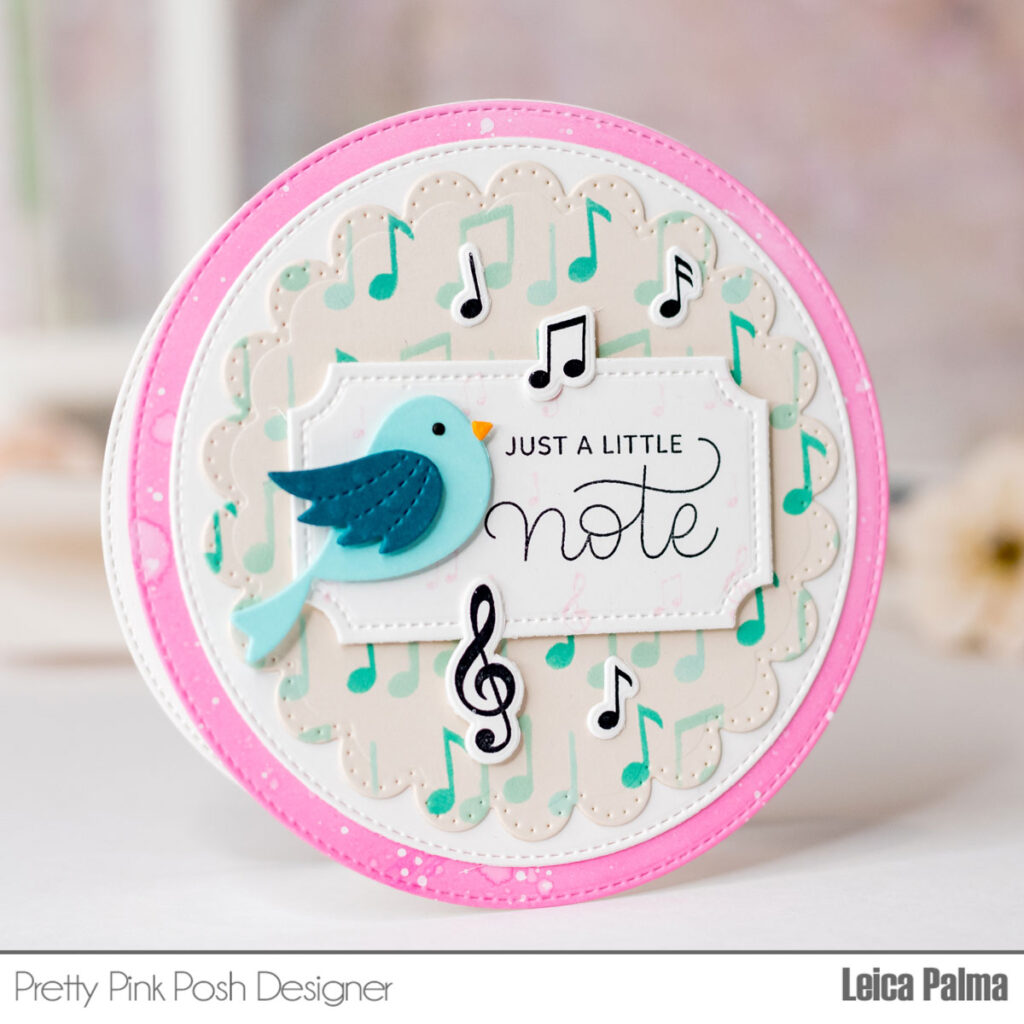
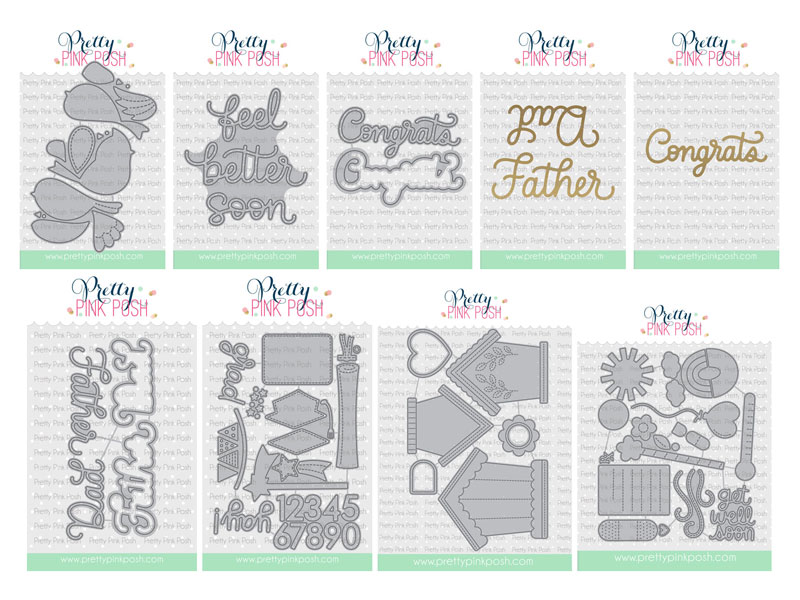
To add the sentiment, I cut the ornate label die from the Get Well Soon coordinating dies in white cardstock and stamped it with the sentiment from the Just A Note stamp set. I glued the circle panels to create a layered look and foam mounted the ornate die with the sentiment.
For a cute touch, I added a little bird using the Stitched Birds Dies and a few little notes from the Just A Note stamp set. Finally, to create the card base, I cut another 4.75 inch circle in white cardstock, scored and folded it at the .75 inch mark, and glued this flap onto the card panel.
I’m really happy with how this card turned out and I love how it can be used for any occasion. I hope this inspires you to create your own unique cards using Pretty Pink Posh’s wonderful products. Thanks for stopping by and happy crafting!