
Sweet Valentine Mug
Hello crafty friends! It’s Leica here and I’m sharing a super sweet card using a combination of new and previously-released dies. Let’s get started!
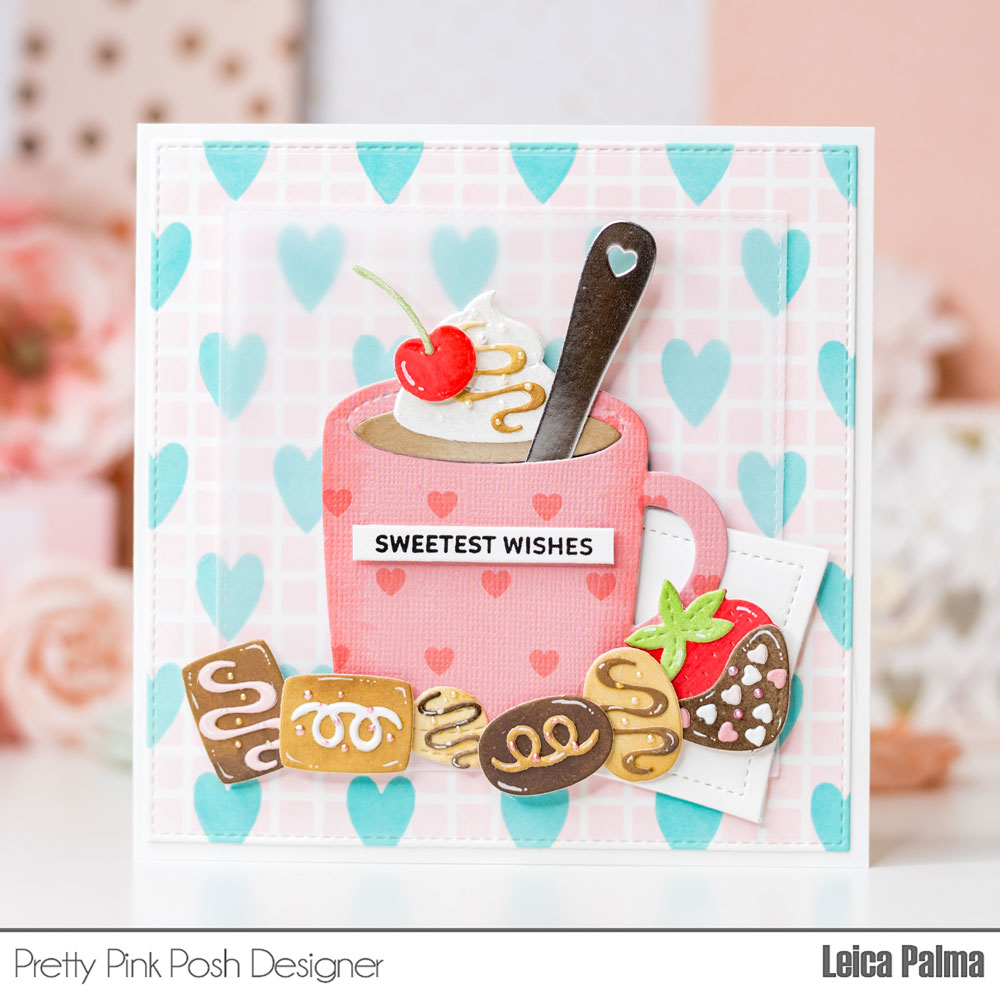
For the background, I first cut a white cardstock to 5” square and ink blended through the Mini Grid Stencil in Spun Sugar Distress Oxide Ink. On top, I ink blended through the B layer of the Layered XOXO Stencil in Salvaged Patina. The XOXO Stencil includes 3 different layering stencils, but I thought I’d try something different and layer the hearts on top of a different stencil. I love that I can mix and match different PPP stencils!
Next, I cut the mug in patterned paper and added some shading on the sides with a Copic R22 marker. I then ink blended different shades of brown on scraps of white cardstock and cut the chocolate pieces from the Candy Treats Dies and Valentine Mug Additions. I added some Liquid Pearls on top of the chocolate for added interest and texture.
I then cut the small Wonky Stitched Square die in white cardstock and tucked it behind the mug. In my head, it served as a napkin or a small plate for the sweets. I cut the spoon in silver cardstock and tucked it in the mug. Of course, my hot cocoa has whipped cream and a cherry on top. These dies are from the new Valentine Mug Addition Dies.
To soften the background, I placed a vellum in between the card panel and the die elements. I then foam mounted the mug and sweet treats on the vellum. Lastly, I glued the panel onto a 5.25” card base.
I hope that you like today’s card share. I had so much fun making this card, especially since there’s no Copic coloring involved (except for the sides of the mug, which is only 1 marker). Hehe!
Thanks for stopping by and happy crafting!
This is so scrumptious and delicious, Leica!! Love all of the extra details of the “napkin” and multi stenciled background! Great inspiration!