Day 5: Lucky Theme Week

**All items in the Lucky section are 15% off during theme week**
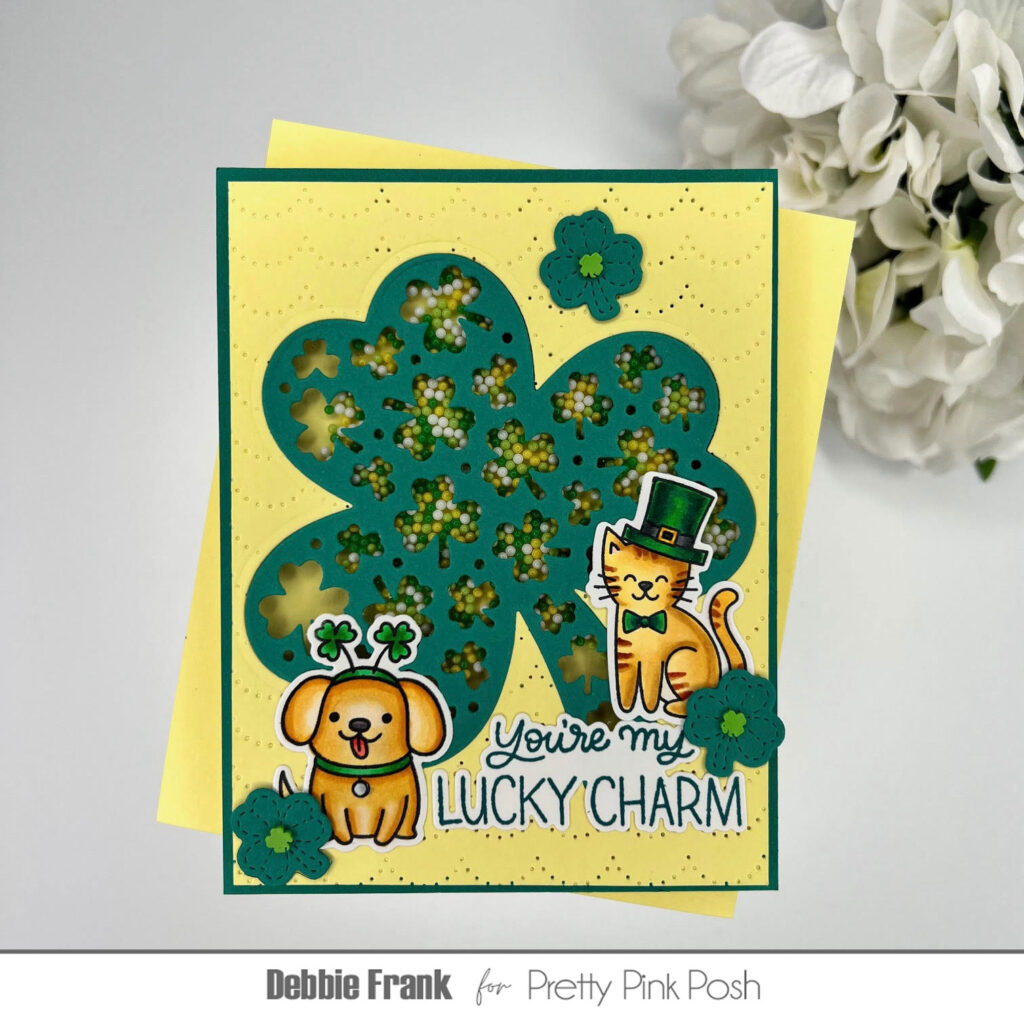
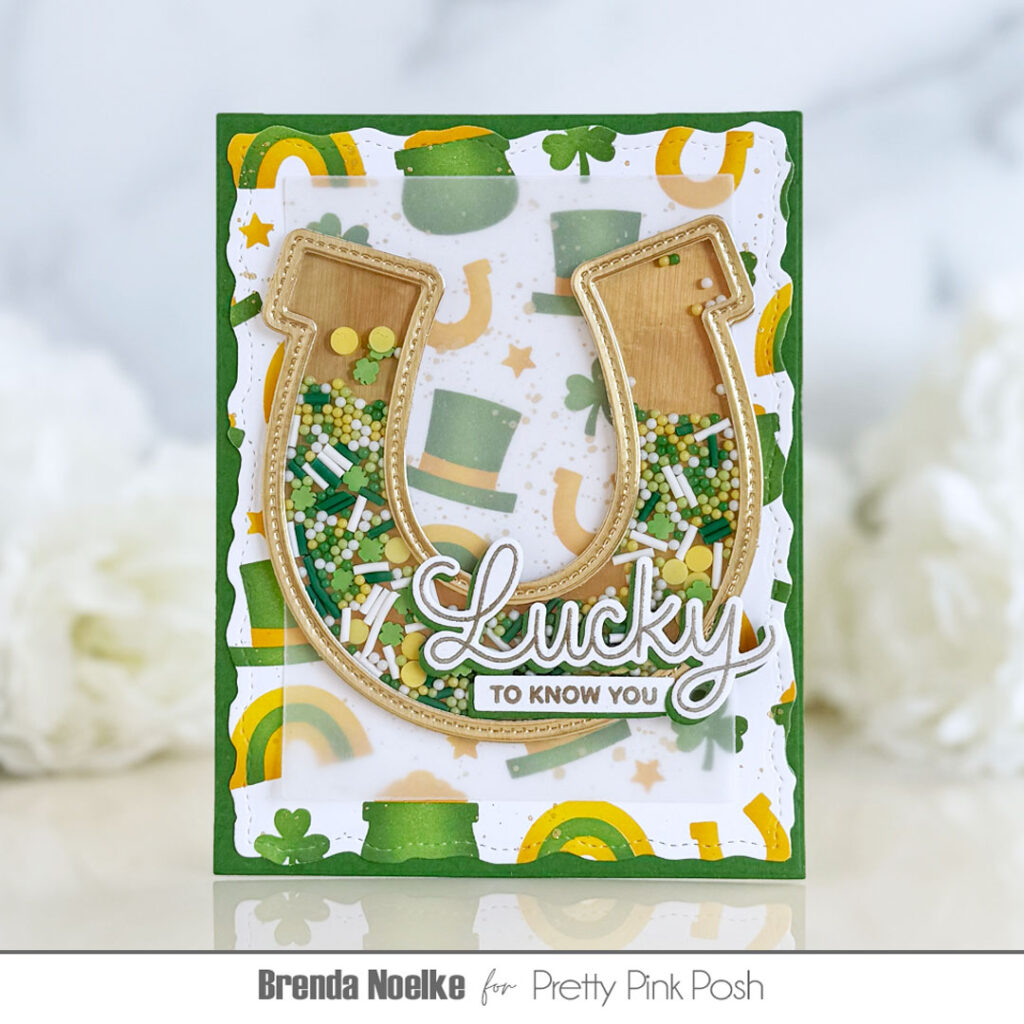
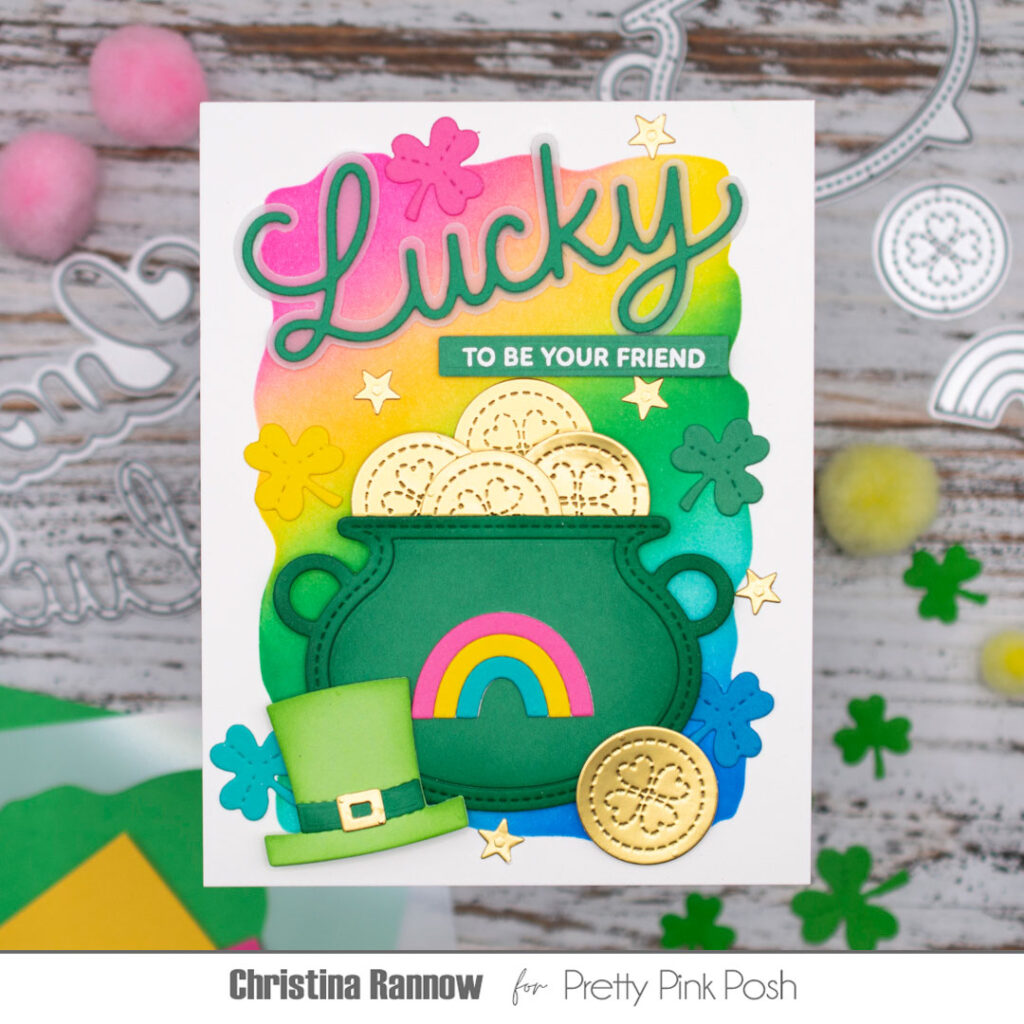
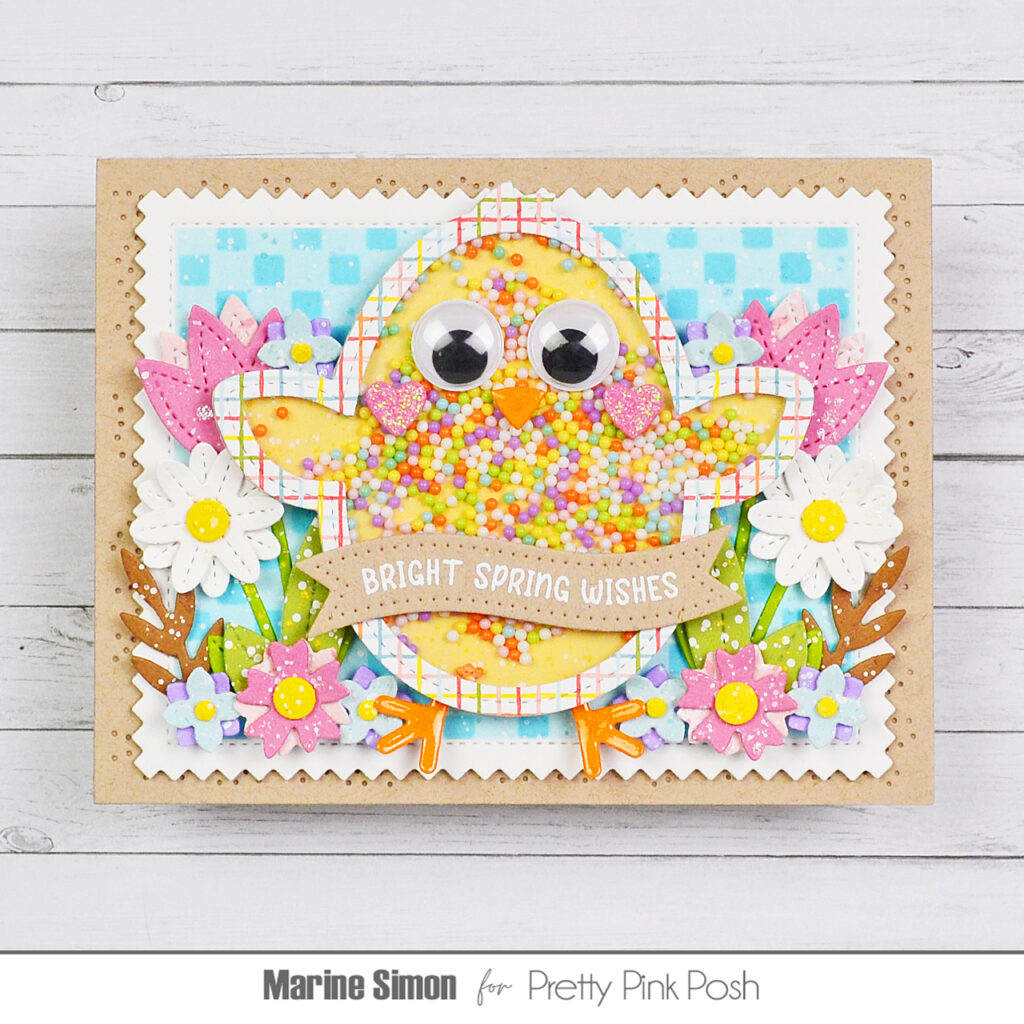
Hello, friends! Justin here, and today I am so excited to be sharing a project for our Lucky Theme Week! I was so inspired by the Ladybug Shaker Die Set, and wanted to make it themed for St. Patrick’s Day!

Below is a list of Pretty Pink Posh products that I used to create this card:
Ladybug Shaker Dies
Decorative Shamrock Dies
Box of Chocolates Dies
Lucky Shadow Dies
Lucky Words Stencil
Now, let’s get into the lucky details for how I put this project together!
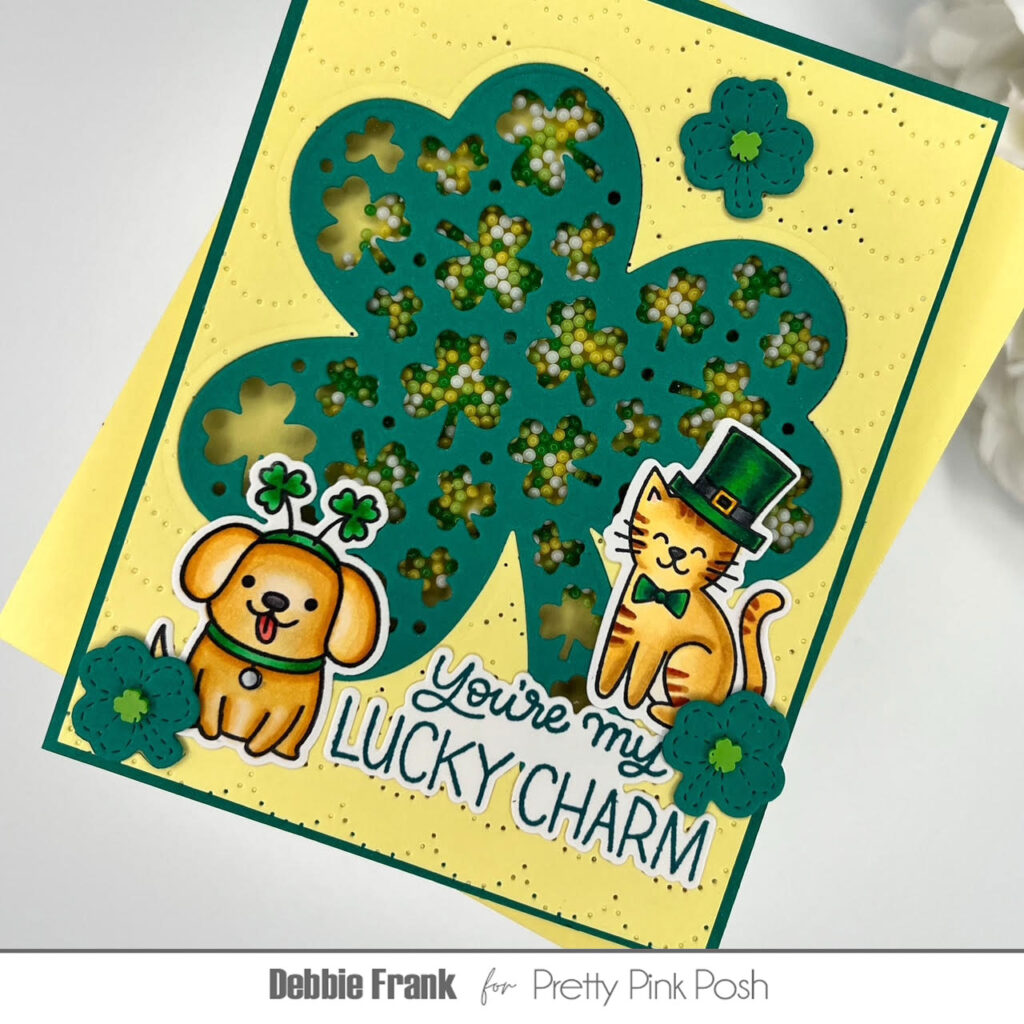
My Ladybug was fairly easy to put together. I wanted to give a little bit of shading to my inlaid pieces, so I ink blended my light green cardstock with Lucky Clover Distress Ink, and then used Black Soot Distress Ink on my dark gray cardstock pieces! This allowed for the ladybug to have some extra shading to really make it pop!
I wanted to make the spots and the antennas shamrocks, so I die cut the Decorative Shamrock Dies from darker green cardstock, and used the little shamrock bits to decorate my Ladybug, making it more festive.
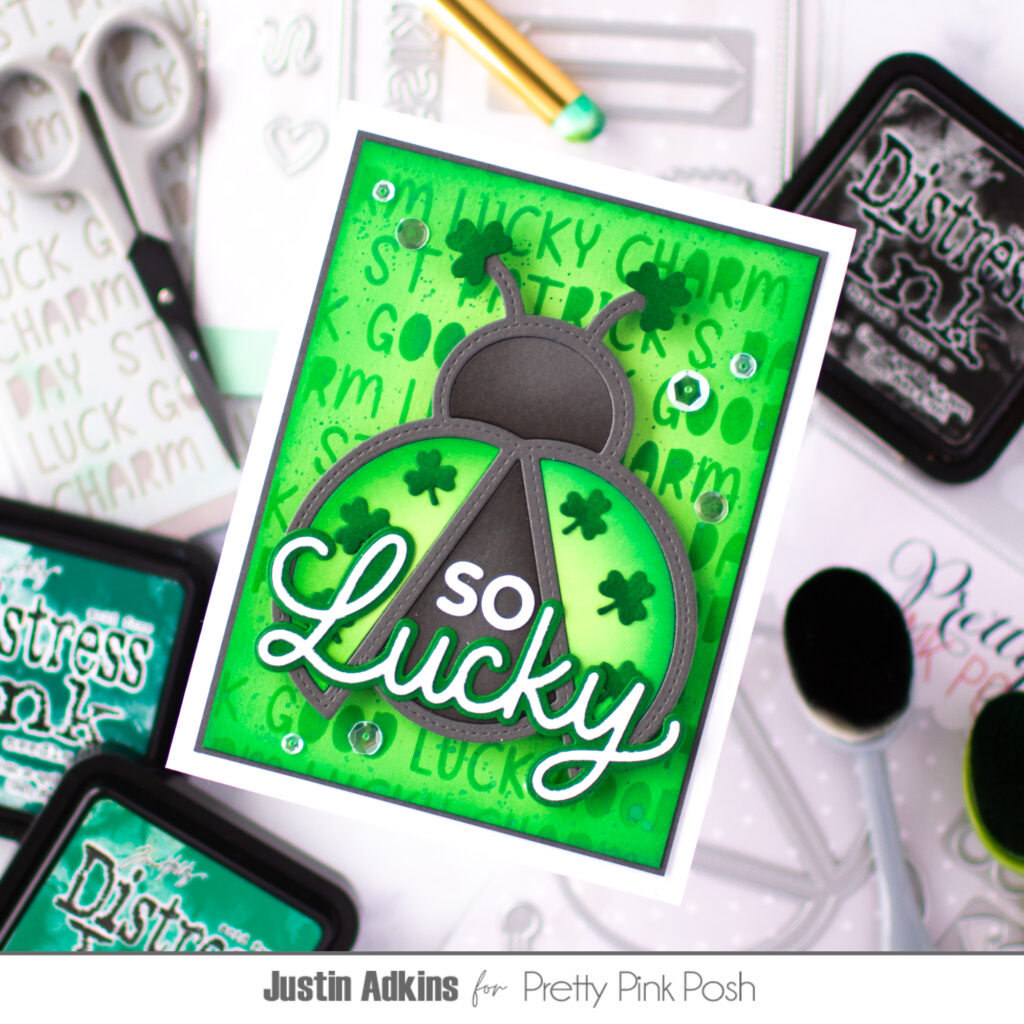
Next, for my background, I decided to use the same light green cardstock that I used for the Ladybug, and blended the edges using Lucky Clover and Pine Needles Distress Ink. Then, I placed the Lucky Words Stencil and ink blended over it with Lucky Clover Distress Ink.
To get my sentiment together, I used the Lucky Shadow Dies to create a sentiment of the “Lucky” word from white cardstock, and I adhered it on-top of a dark green Lucky shadow. Then, I also used some of the letter dies included in the Box of Chocolate dies to create the word “so”. I adhered my sentiment elements directly to my ladybug, and then adhered this unit with foam tape to give it some lift on my card!
I used some clear sequins as embellishments for this card, and was fully completed!

Thank you so very much for stopping by the Pretty Pink Posh Blog today! I hope this card gives you some luck-inspired inspiration for how you can transform your favorite die sets into creations for every holiday!
In the meantime, please be sure to follow me on Instagram and subscribe to my YouTube Channel @justanotebyjustin for more crafty inspiration!
Thanks again for stopping by, and happy crafting!
– Justin