Christmas Stocking
Hello friends! It’s Leica, and I’m here with a lovely and easy Christmas card to share. I used some new dies from the holiday collection.
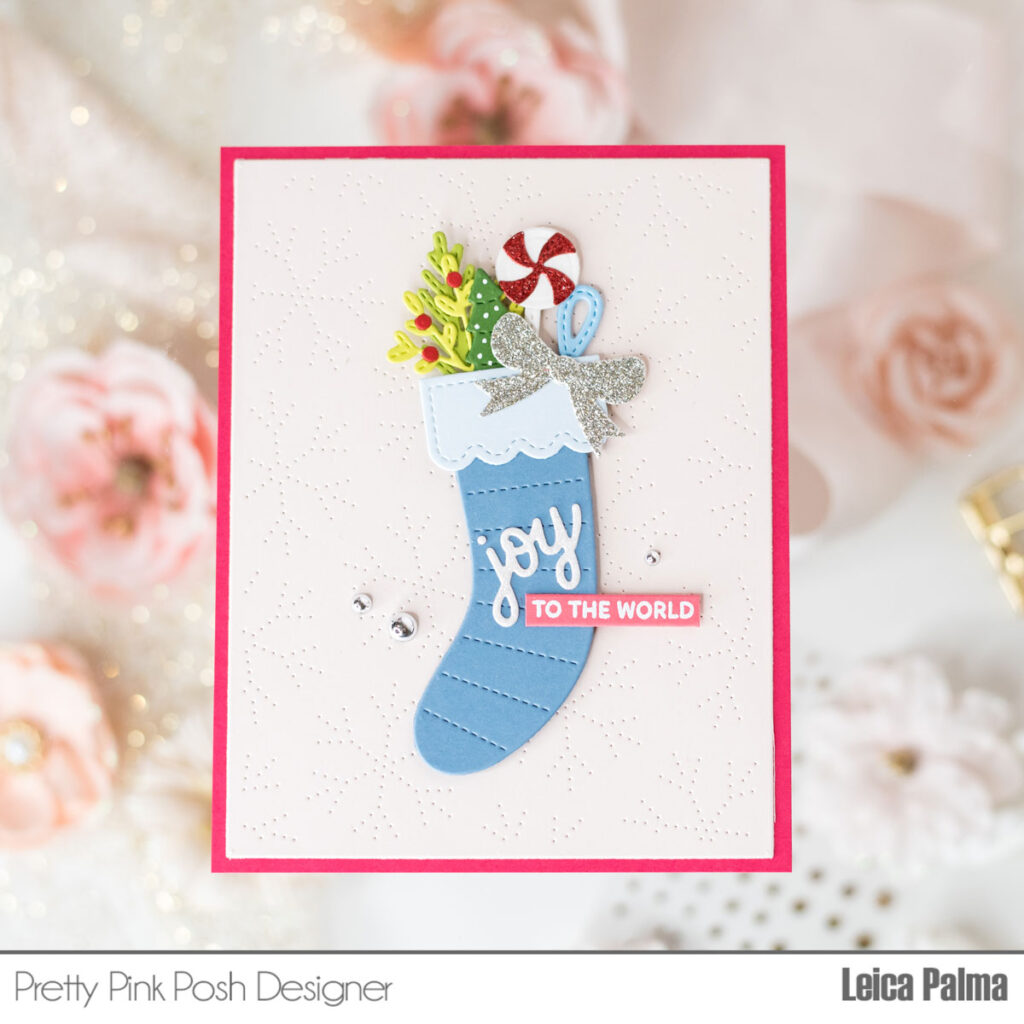
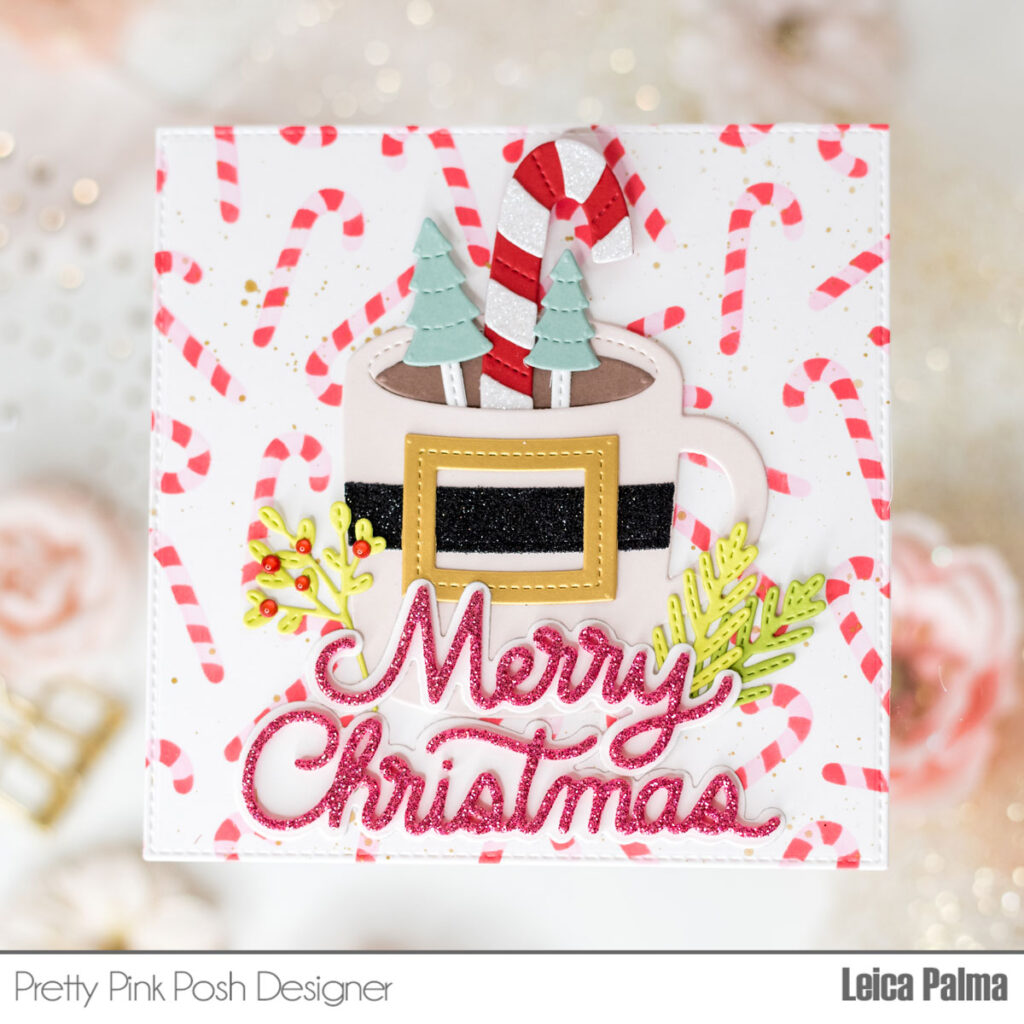
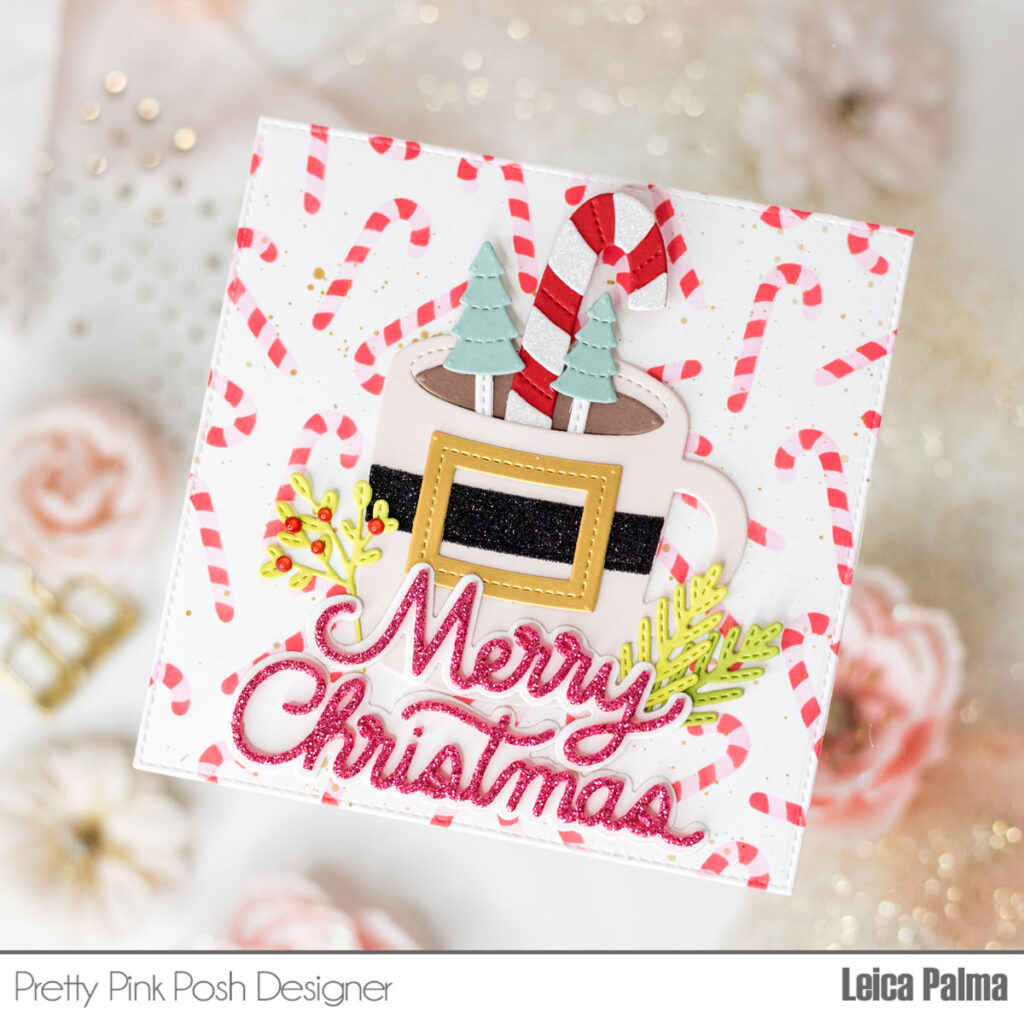
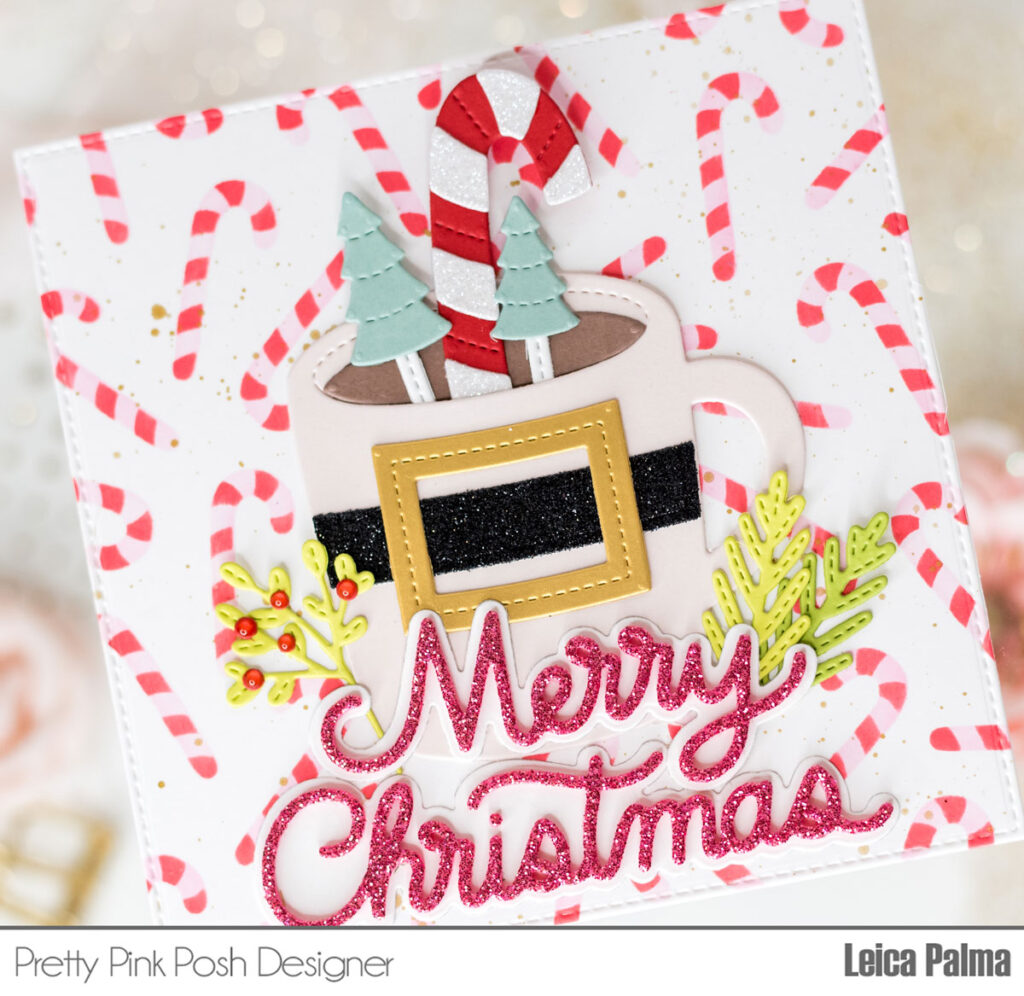
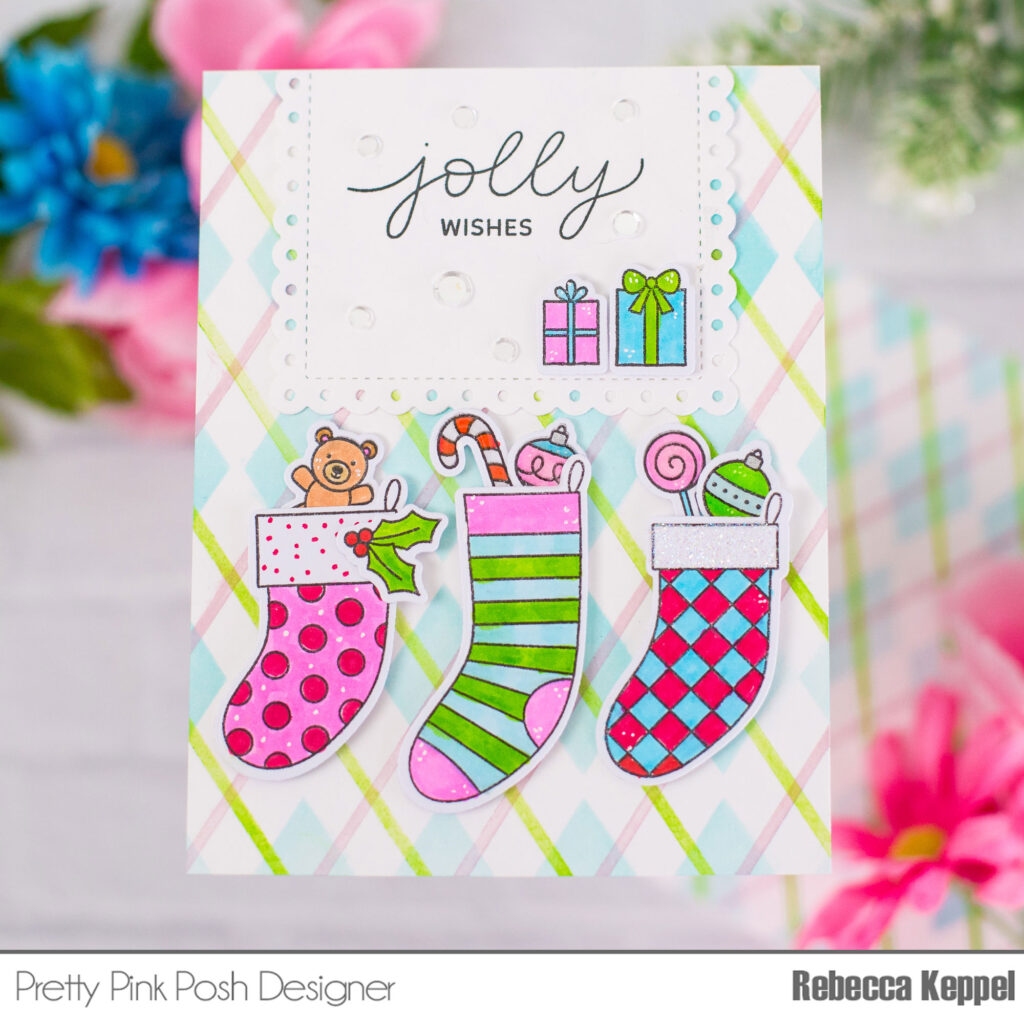
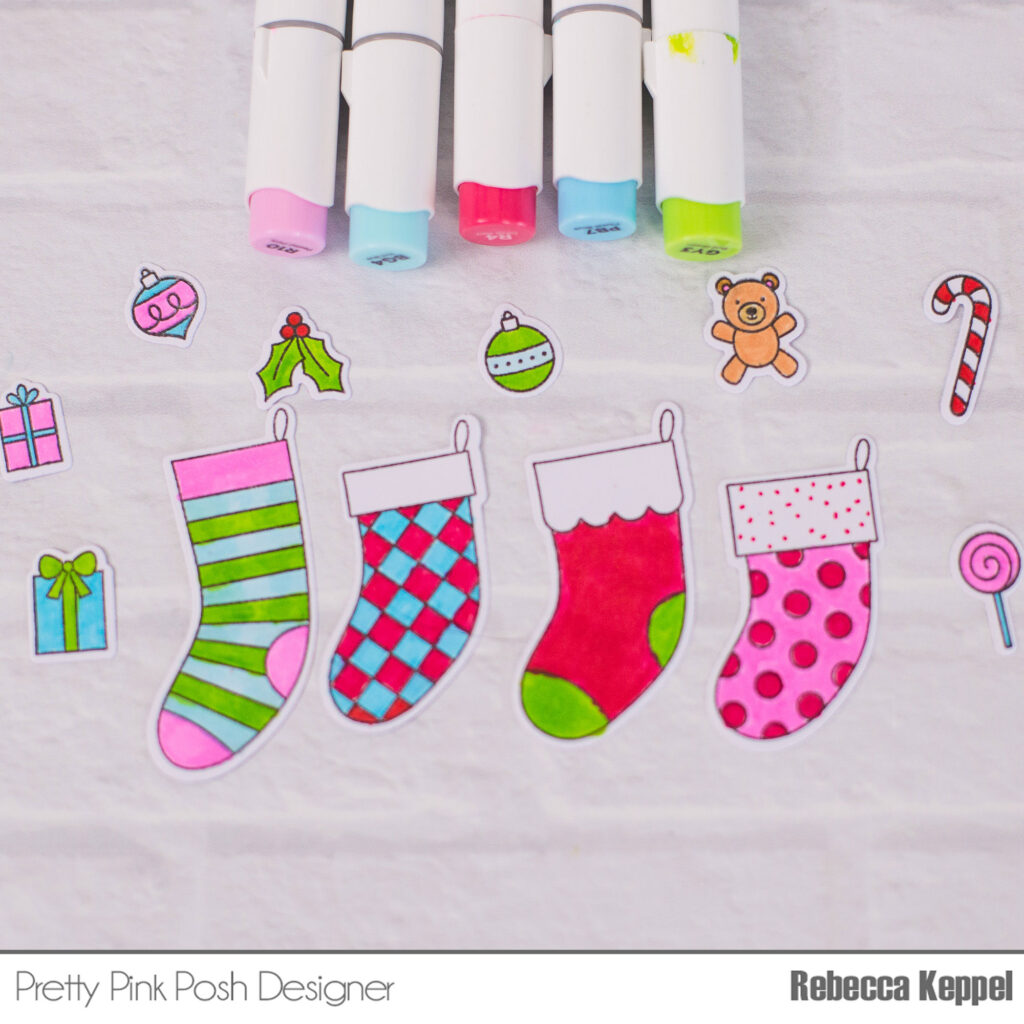
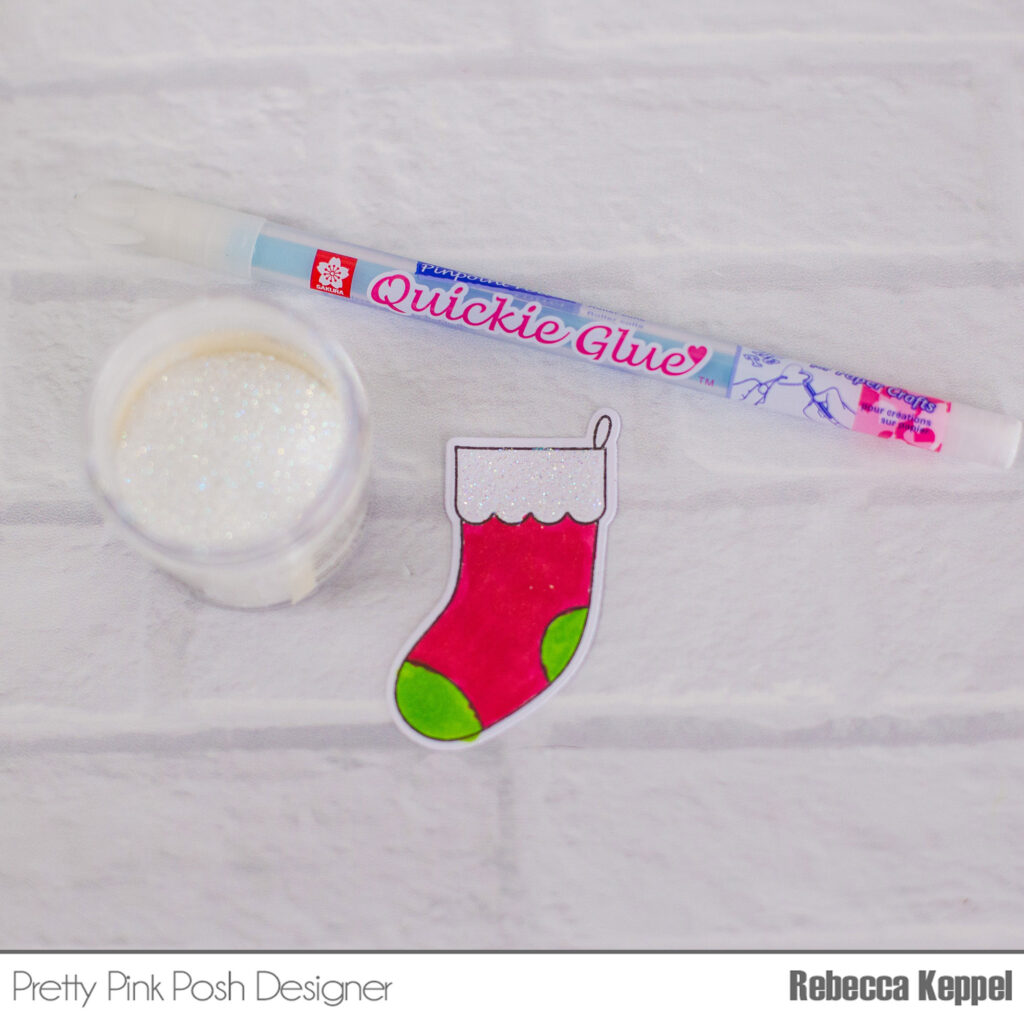
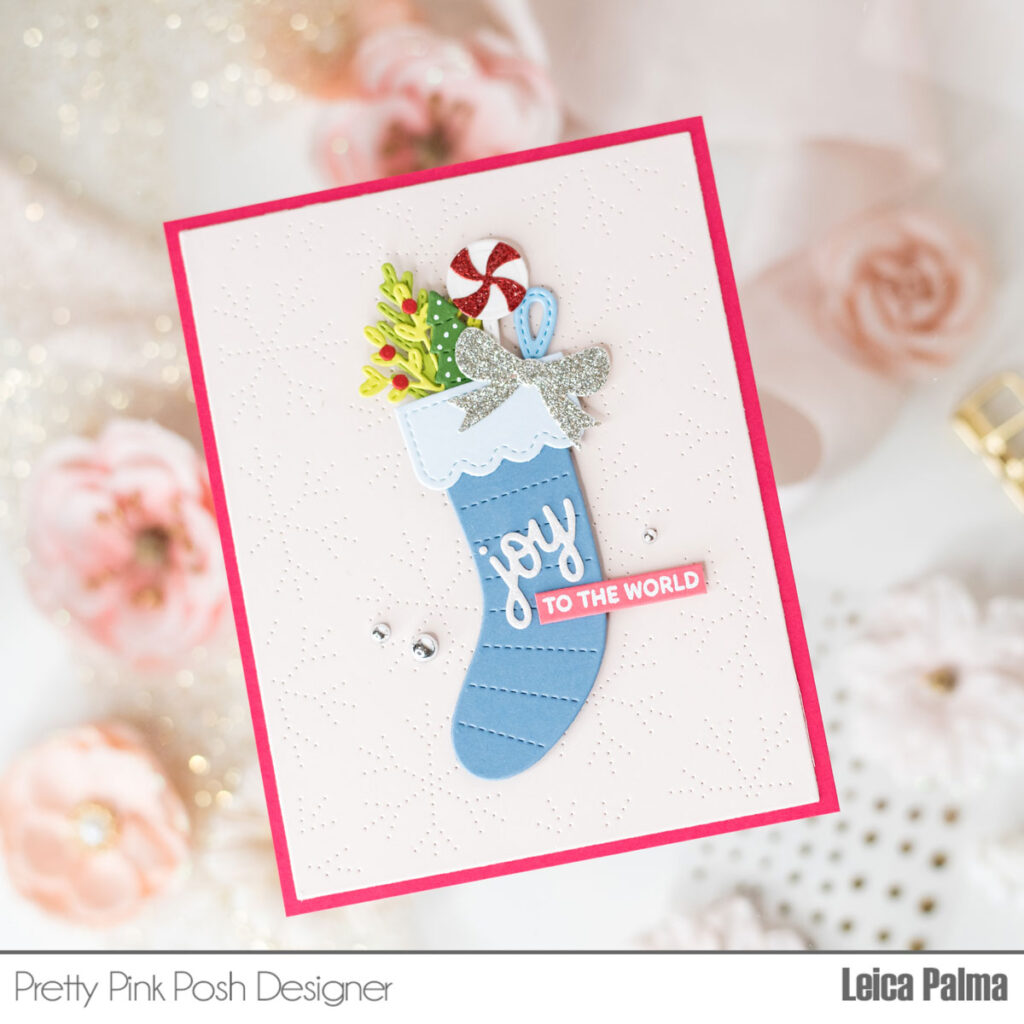
First, I cut a light pink piece of paper with the Pierced Snowflakes Plate. This die is super detailed and perfect for holiday cards. Then, I used different colored paper from Spellbinders to cut out pieces for the stocking from the Build A Stocking die set. I also used a few parts from the Holiday Mug Additions.
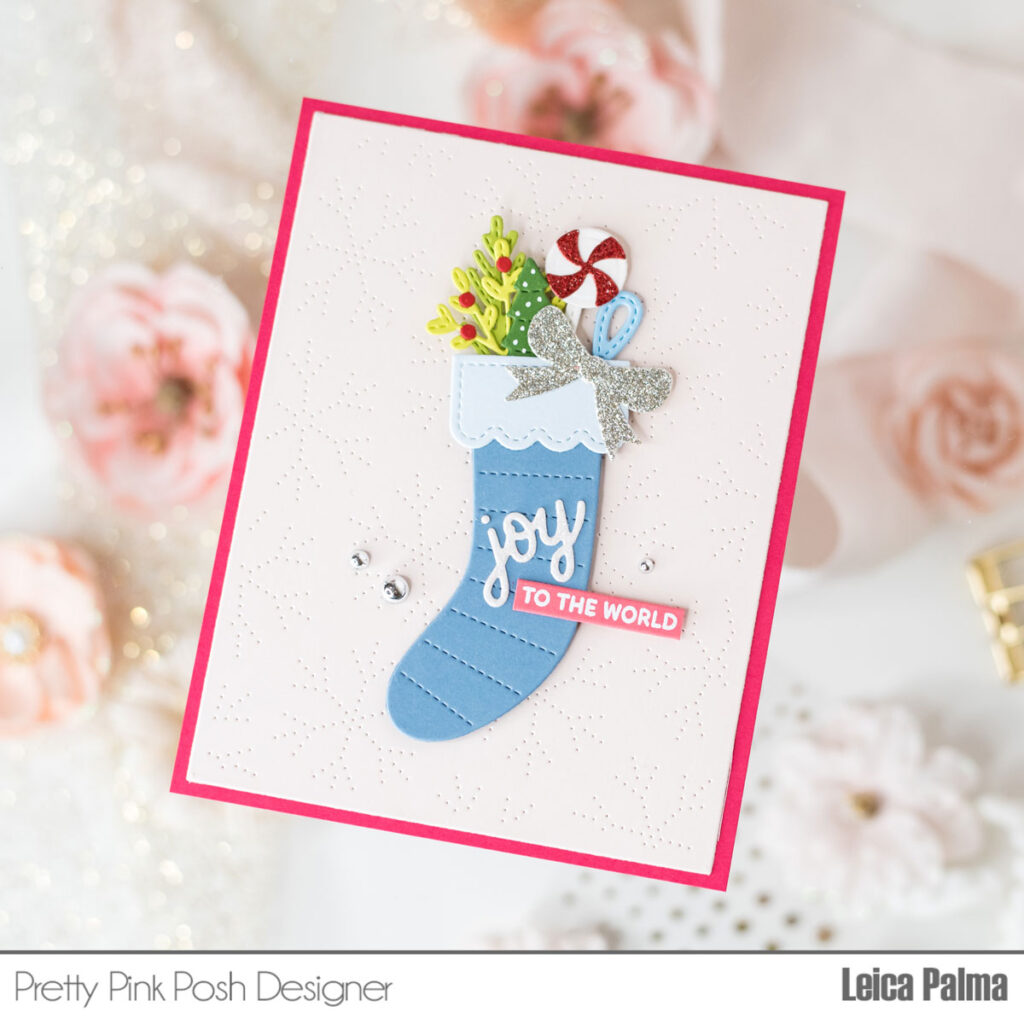
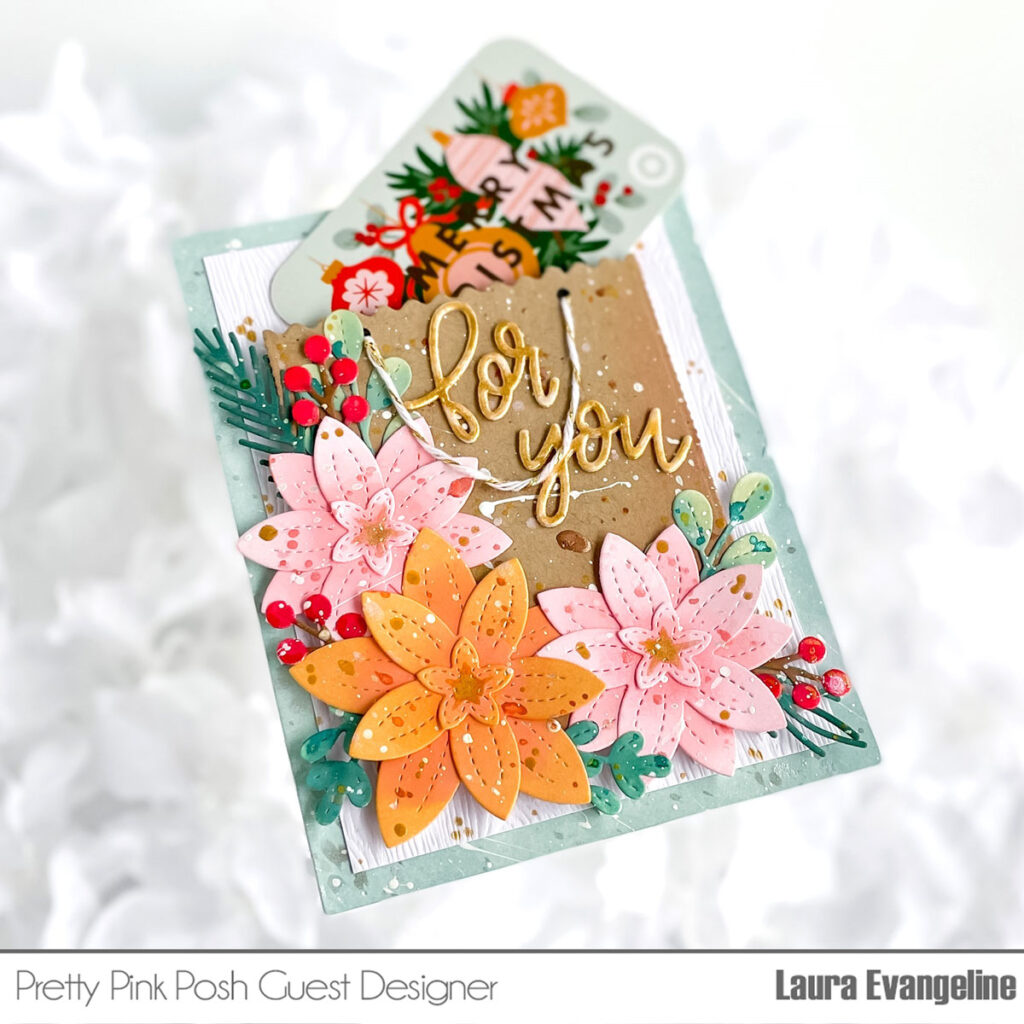
I added the word “joy” to the stocking and heat-embossed “to the world” in white on a strip of paper. I stuck it just below the “joy.” To make it shine, I attached some Metallic Silver Pearls. I finished it off by adding a red border to make the card stand out. The card measures 4.5 inches by 5.75 inches.
That’s it for my holiday card. I hope you like it and feel inspired to make your own cards using the latest Pretty Pink Posh dies. Happy crafting!