
Merry Christmas Mug
Hey there, crafty friends! It’s Leica, and I’m thrilled to share this square-shaped Christmas card with you today. I used the latest Pretty Pink Posh dies and stencils. Let’s dive in!
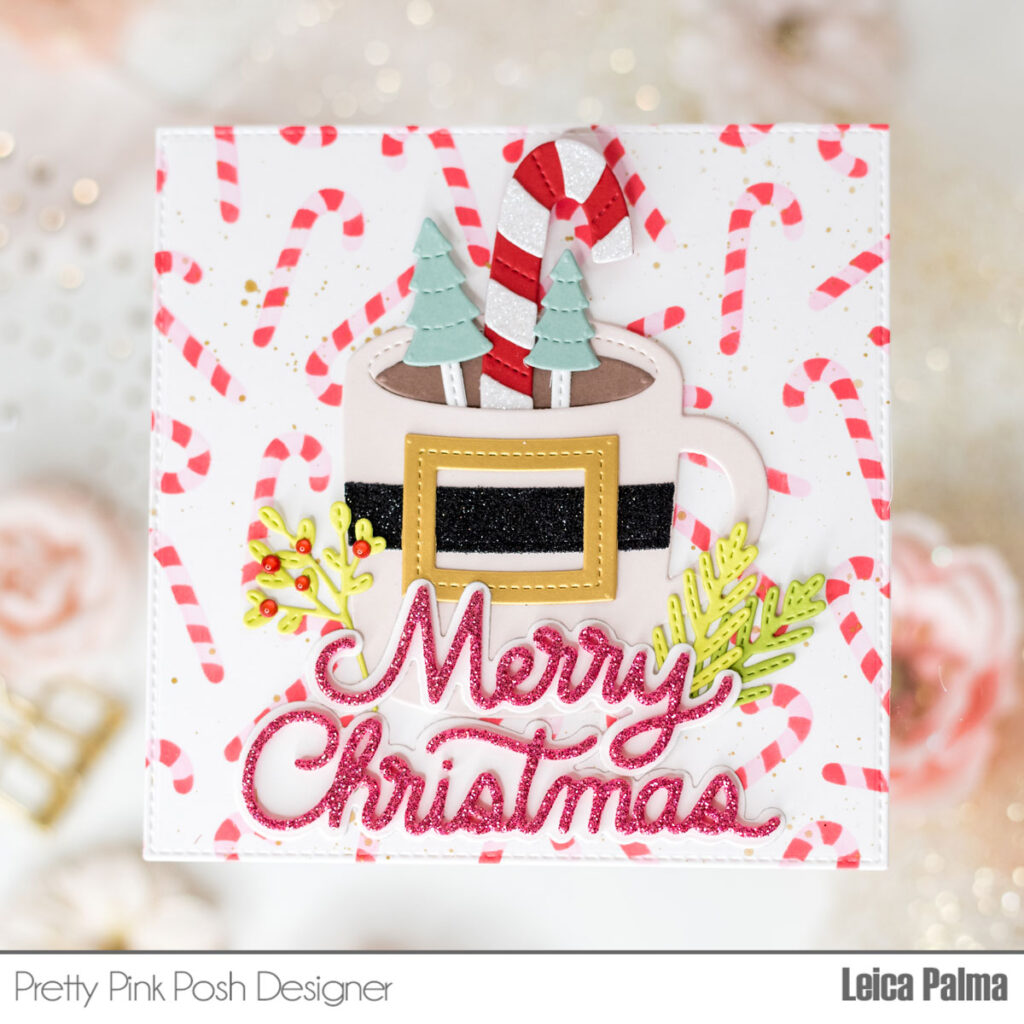
First, I cut a 5-inch square piece of white cardstock and added a candy cane pattern using the Layered Candy Canes stencils. I used Distress Oxide Inks in red (Festive Berries) and pink (Spun Sugar). They blend together nicely. To make things more interesting, I added some gold paint splatters.
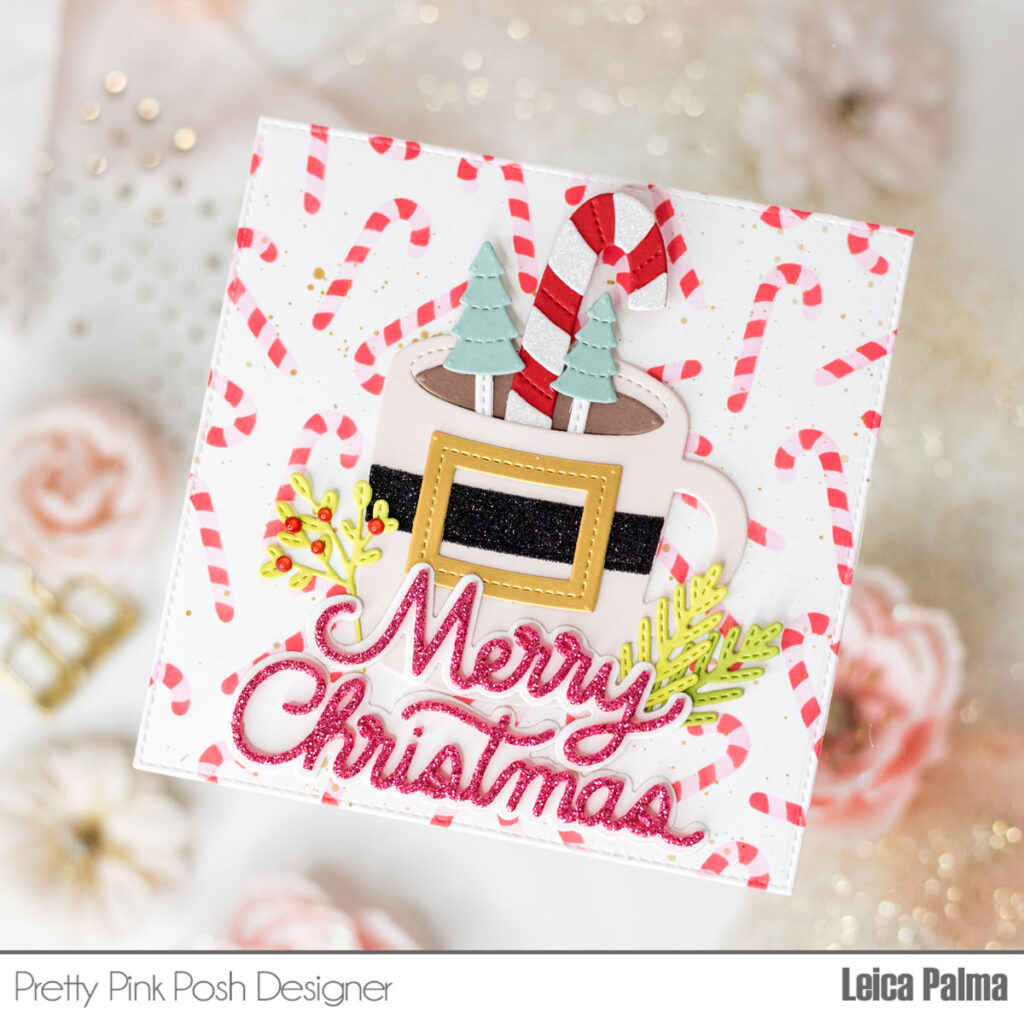
Next, I cut out a cute mug using the Winter Mug Dies in light pink. Then, I made it even more adorable with Santa’s belt and buckle from the new Holiday Mug Additions. I also added some greenery and a couple of Christmas trees for extra fun. The sticks for those trees come from the Stitched Strip dies. Oh, and there’s a candy cane in there too, from the Winter Mug Dies.
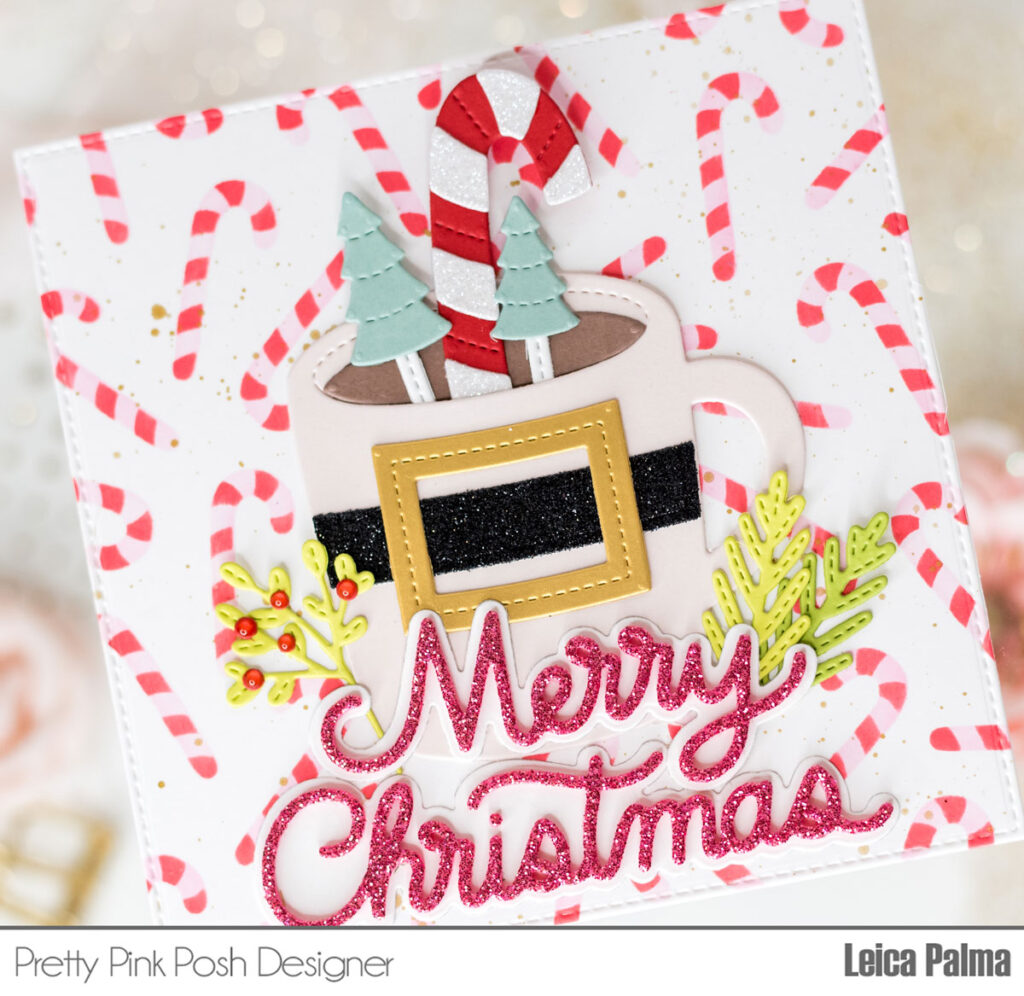
For the sentiment, I used the Merry Christmas Shadow, cutting it from pink glitter foam and white cardstock. Finally, I glued the card panel onto a 5-inch square card base.
Thanks a million for stopping by! I’m absolutely smitten with how this card turned out. I hope you have a blast crafting with the Holiday Mug Additions. It’s a ton of fun to mix and match with the Winter Mug Dies!