Christmas Theme Week: Day 4
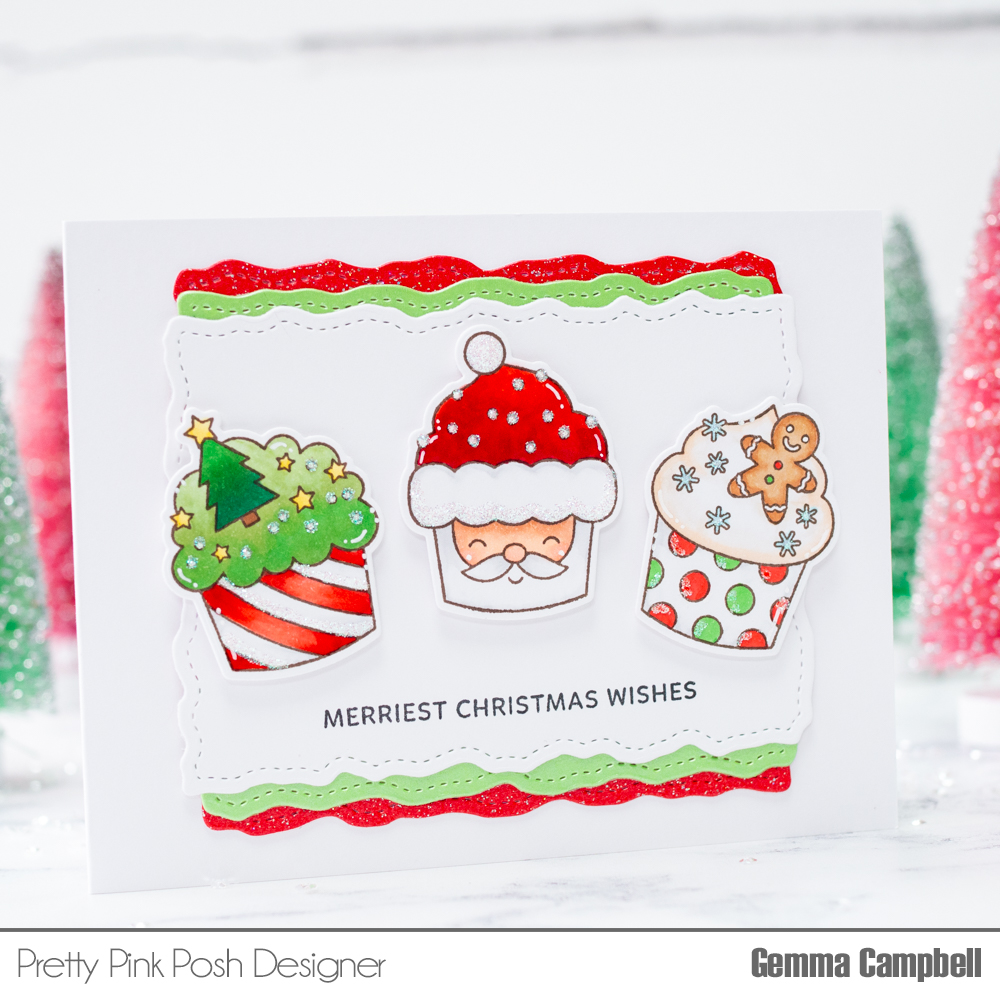
Welcome back to Day 4 of our Christmas Theme Week. It’s Lindsey here, and I’m excited to share some “merry and bright” projects with you today. I love theme weeks because they let me bring out my favorites – old and new. Don’t you just love when they work together so seamlessly?
Save 15% on all items in our Christmas section during theme week!
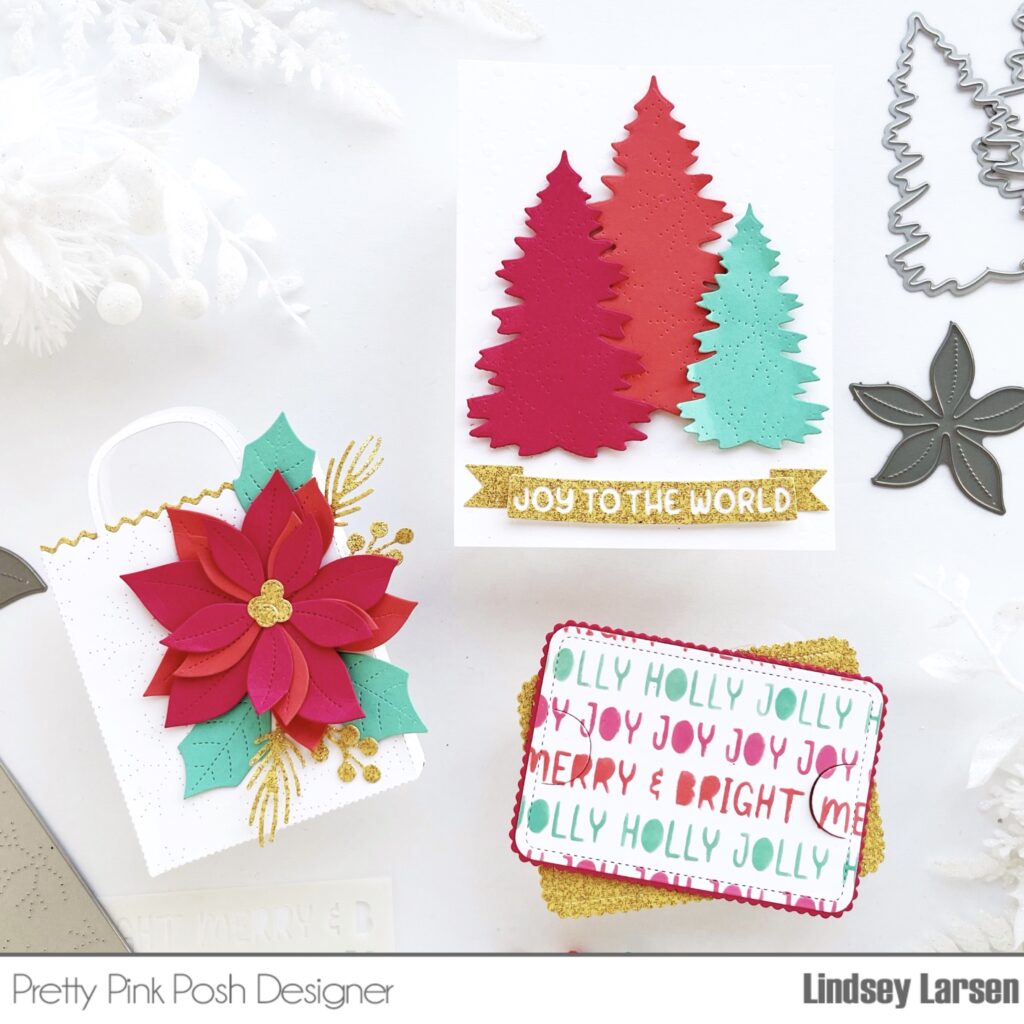
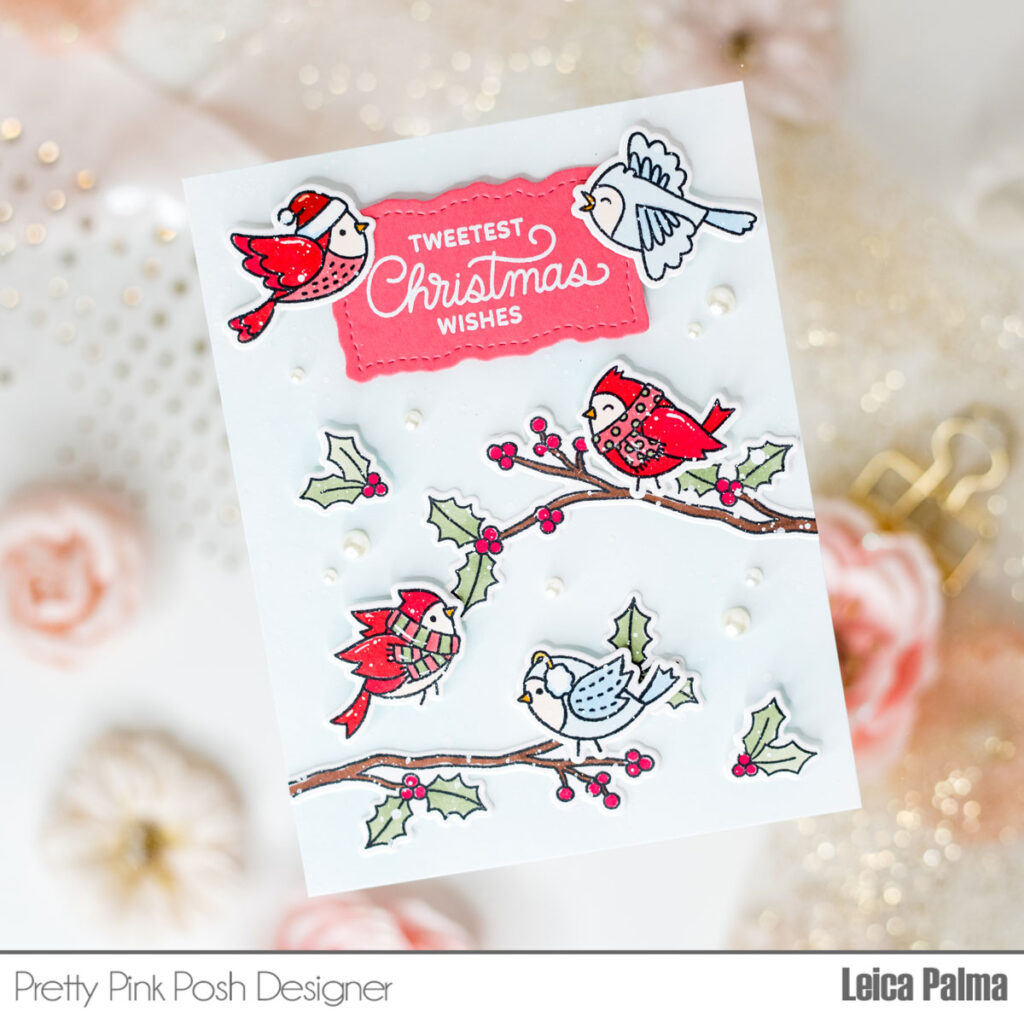
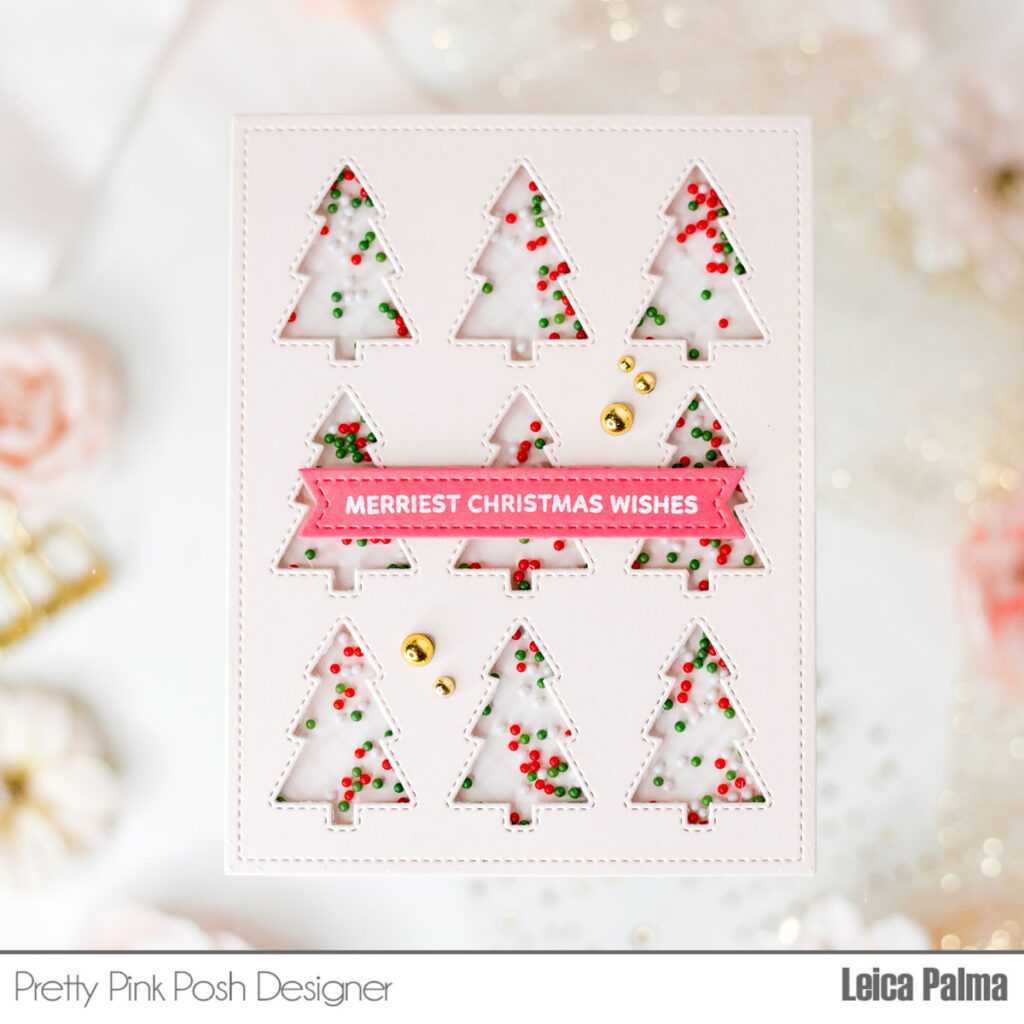
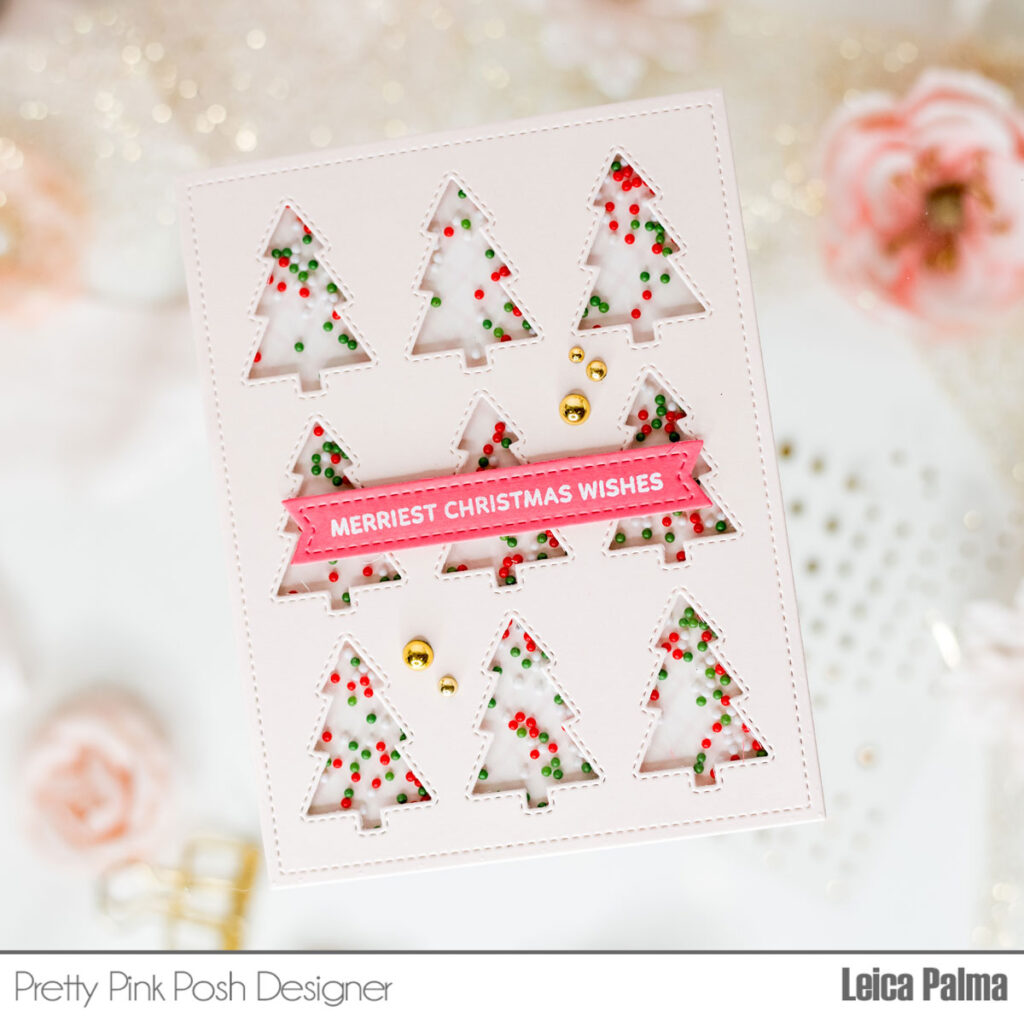
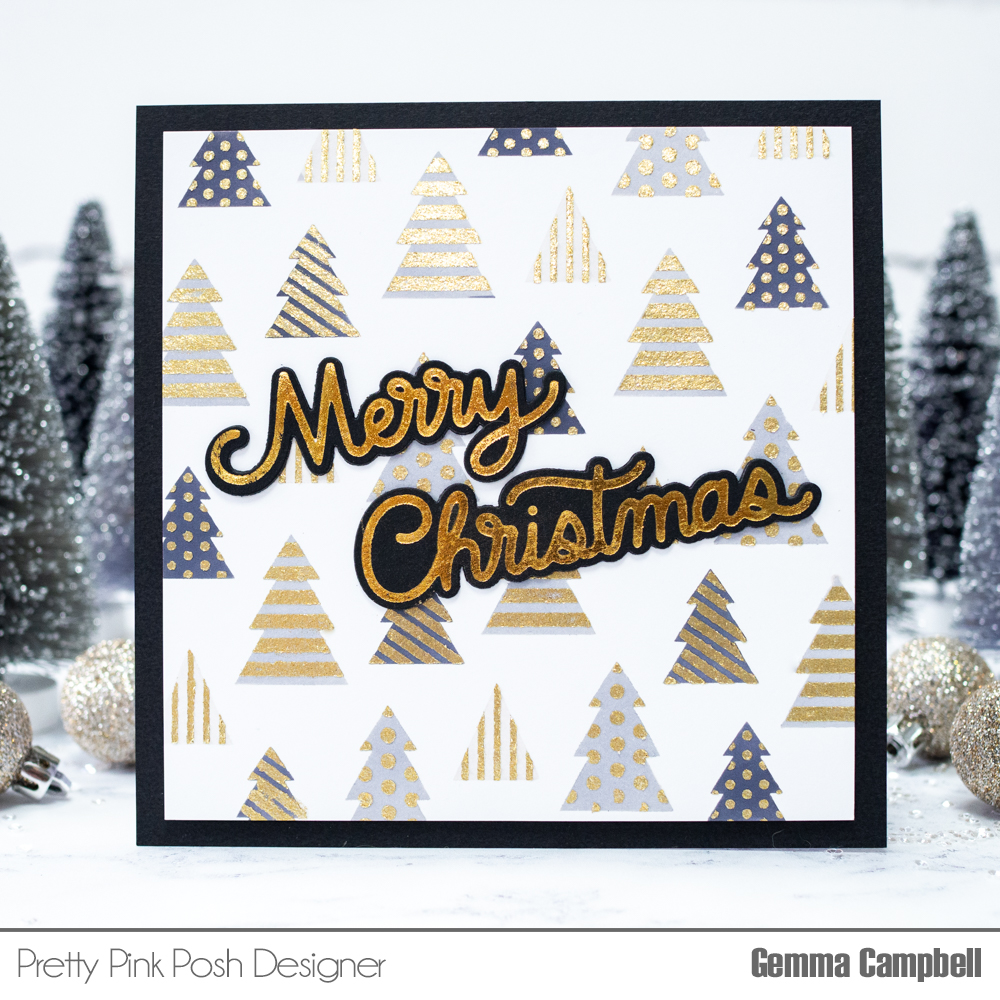
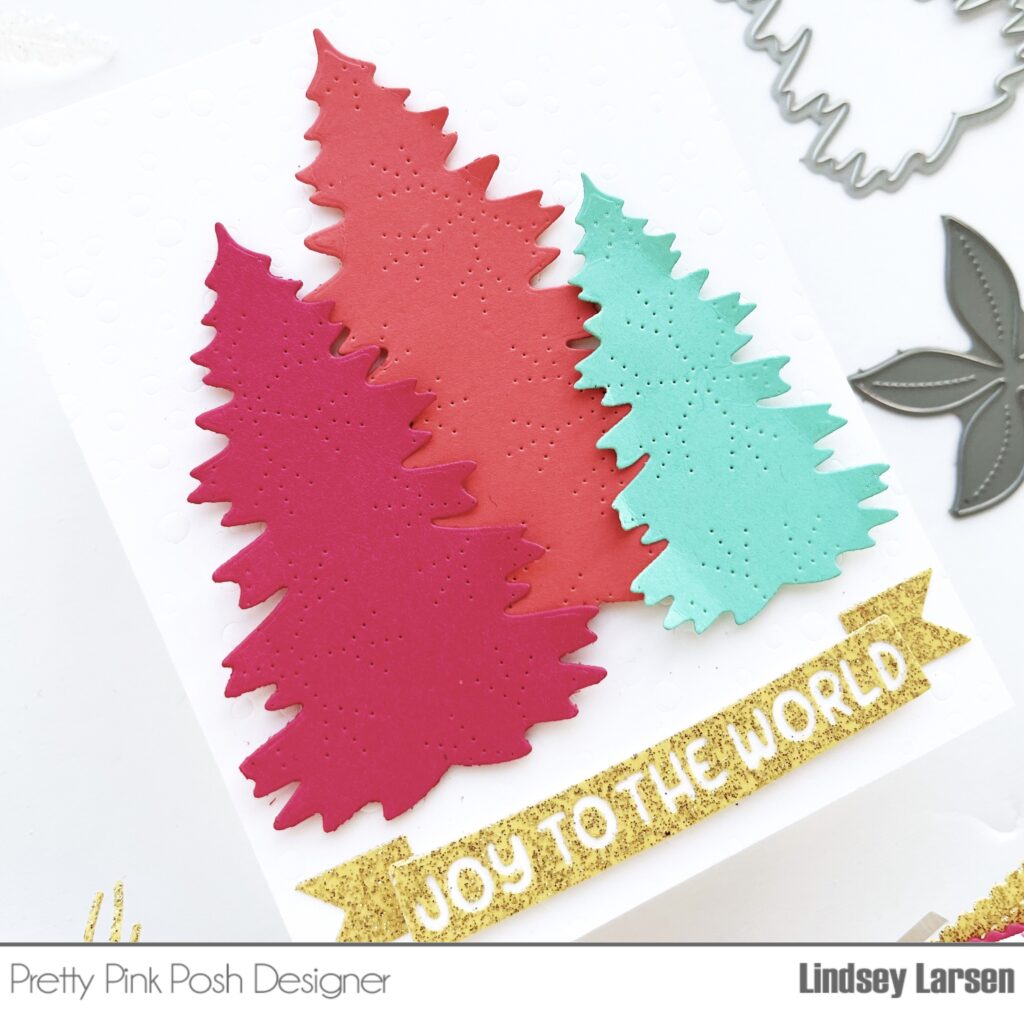
I’ll start with the card. I have a thing for tree trios. My mom always had multiple trios of trees decorating different areas of our home during the holidays, and I loved them. I created my trio with the Pine Trees Dies.
I wanted to keep this clean and simple, so instead of embellishing the trees, I ran them through the Pierced Snowflakes Plate. I was positively giddy when this die plate released and would use it on every project if I could. :)
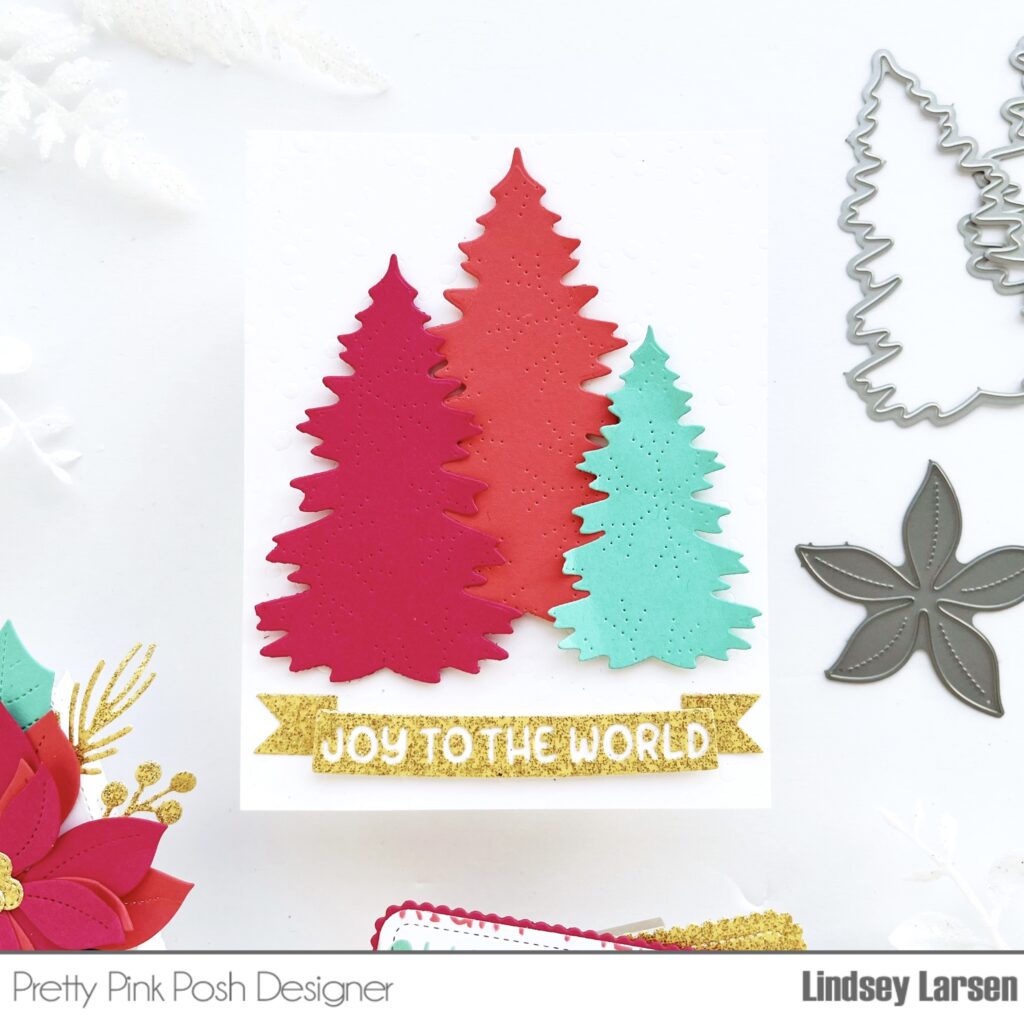
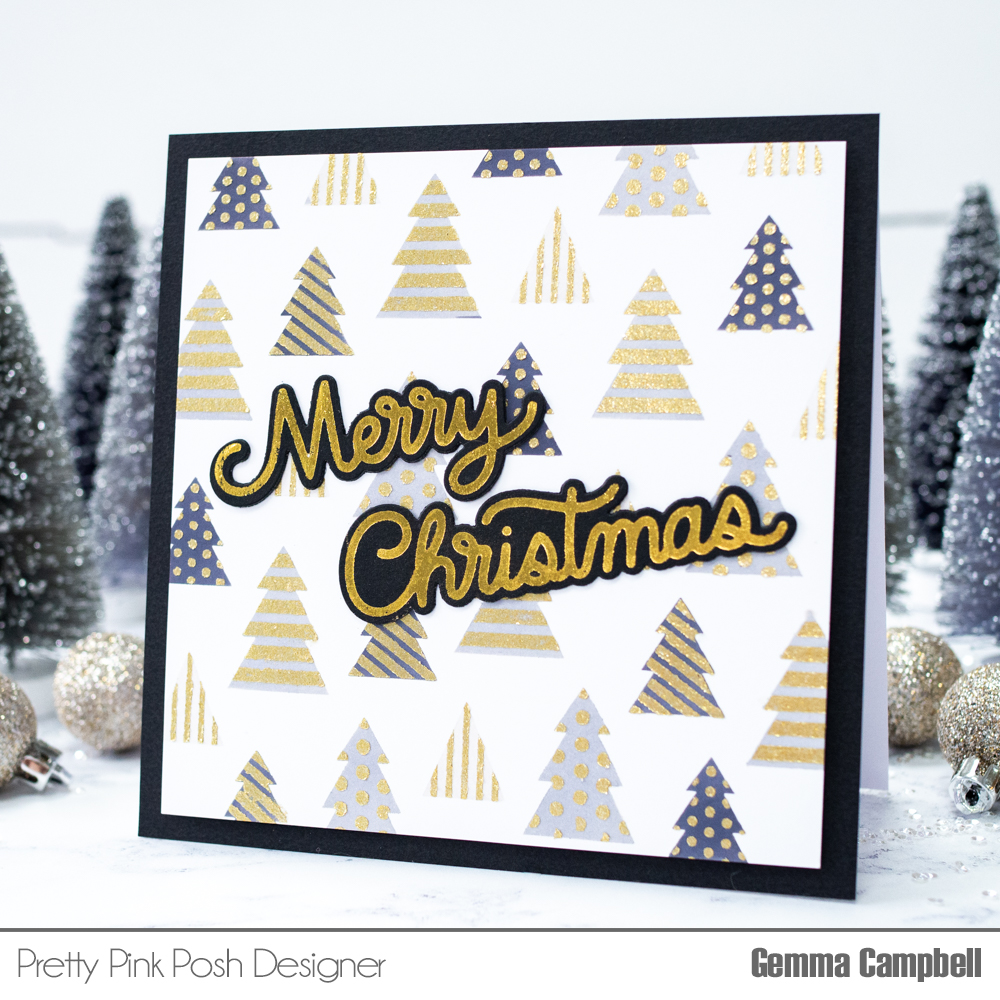
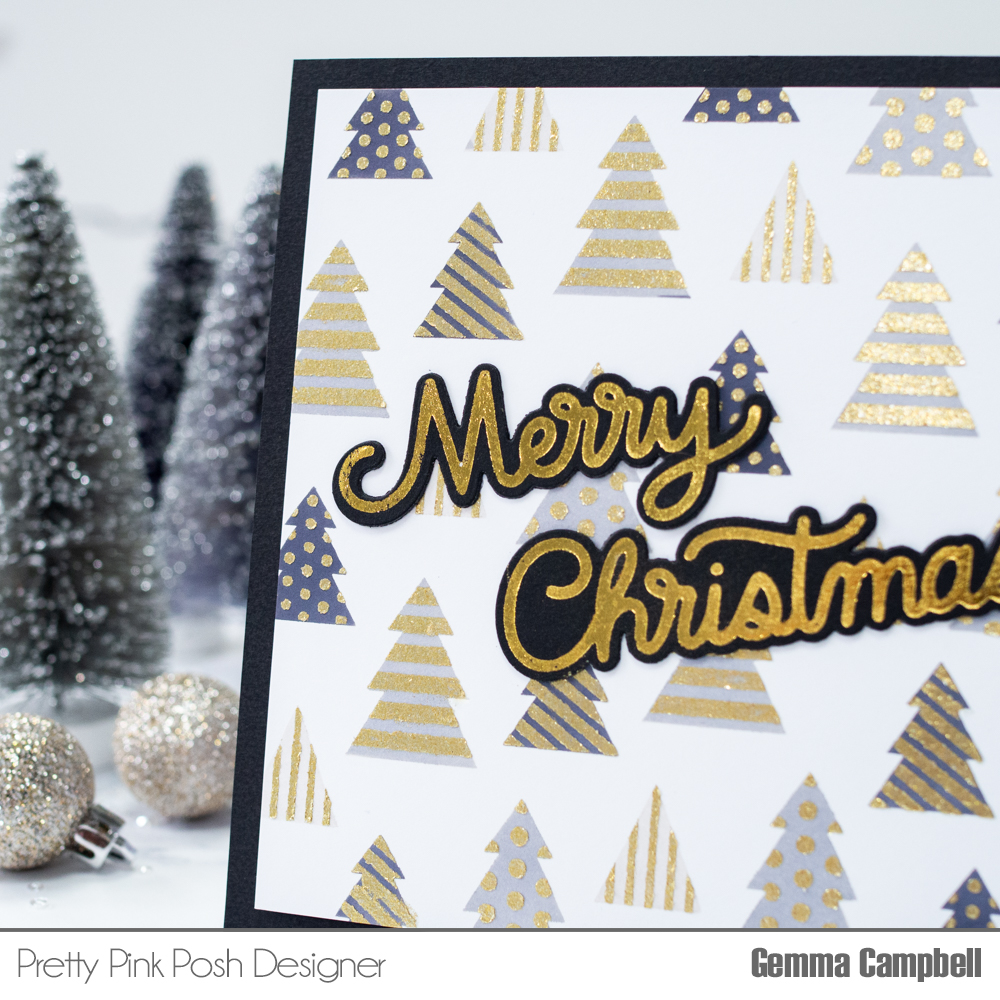
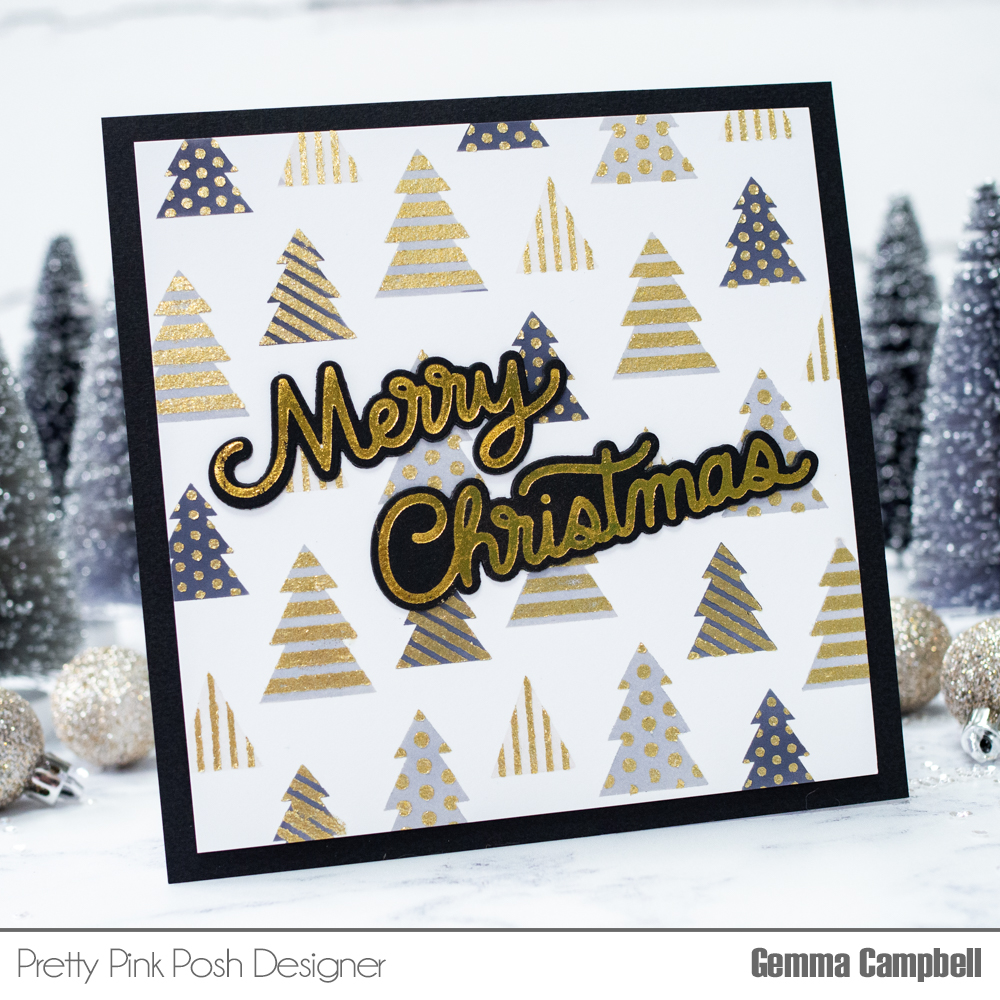
I popped my trees up on a card base that I had dry embossed with the Snowfall Stencil and added a glittery banner/sentiment from the Love From Afar Dies.
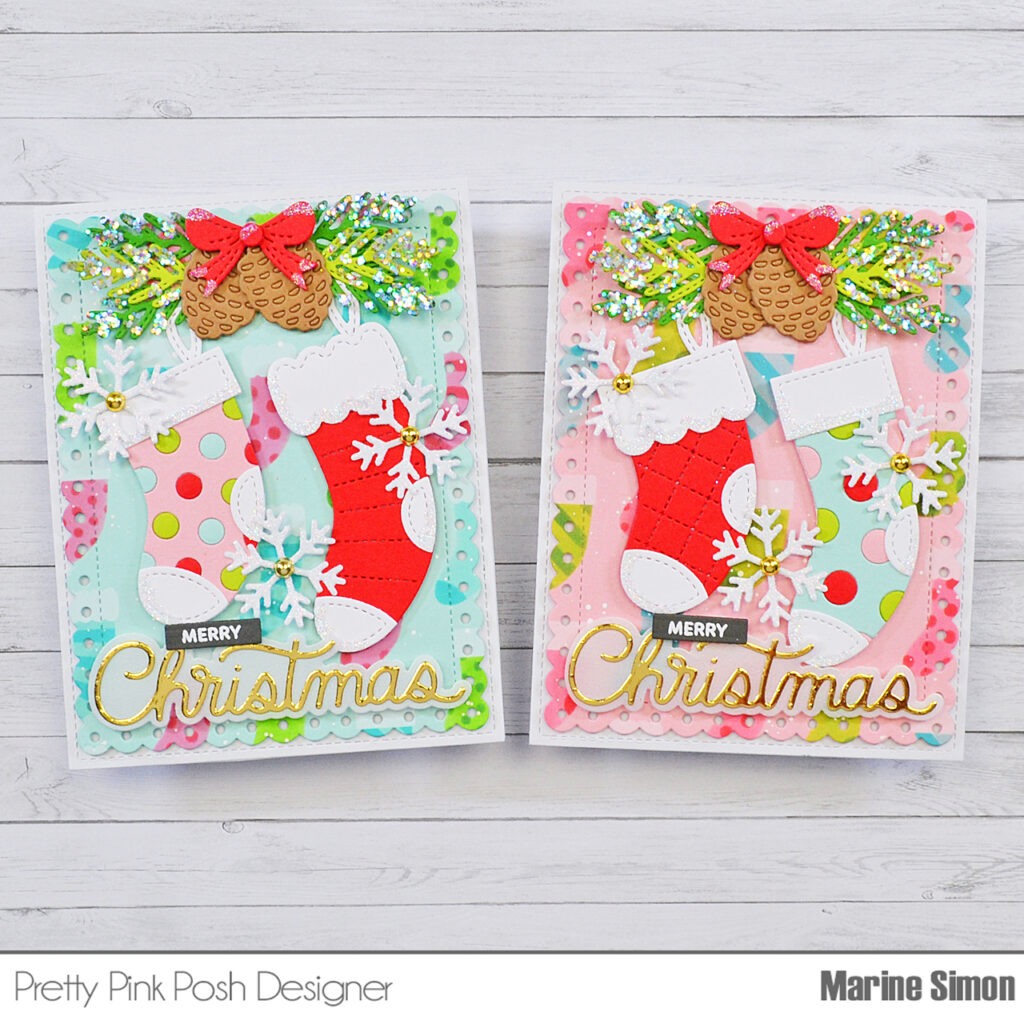
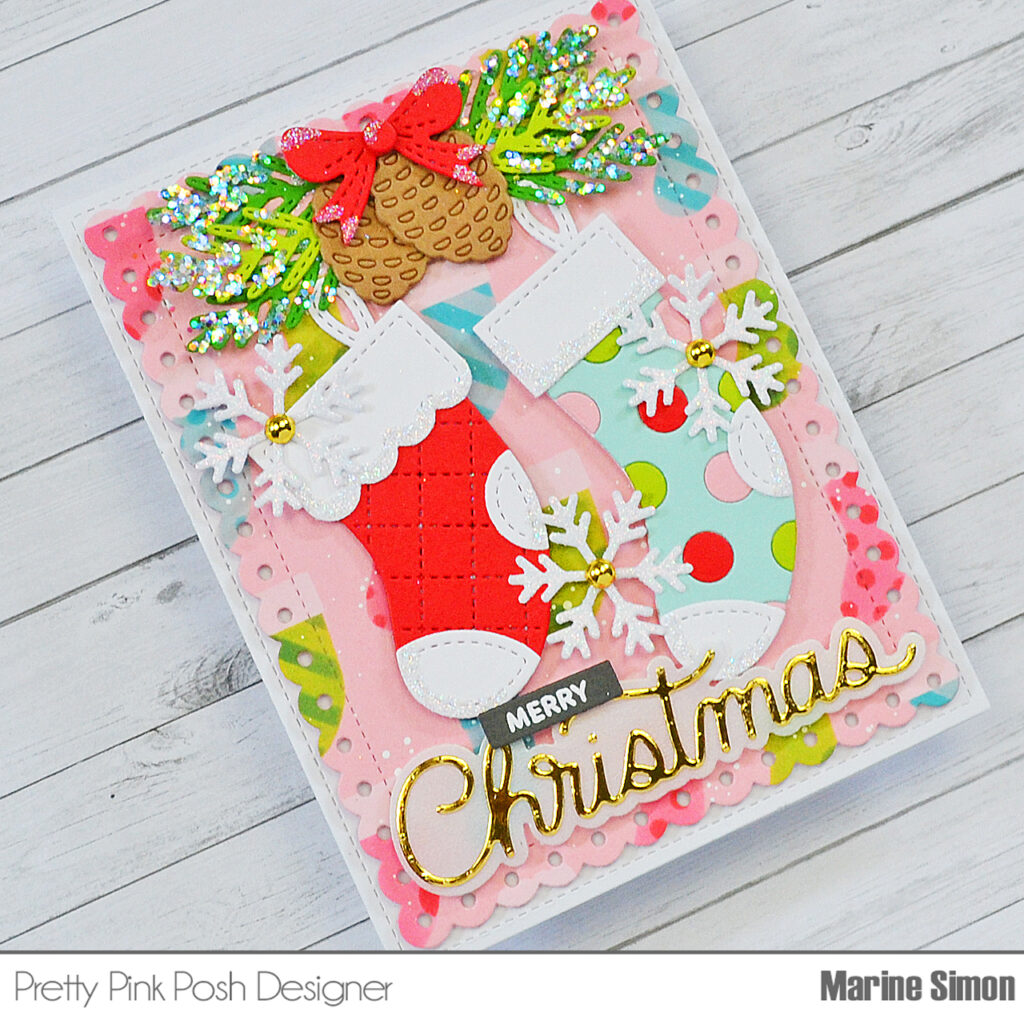
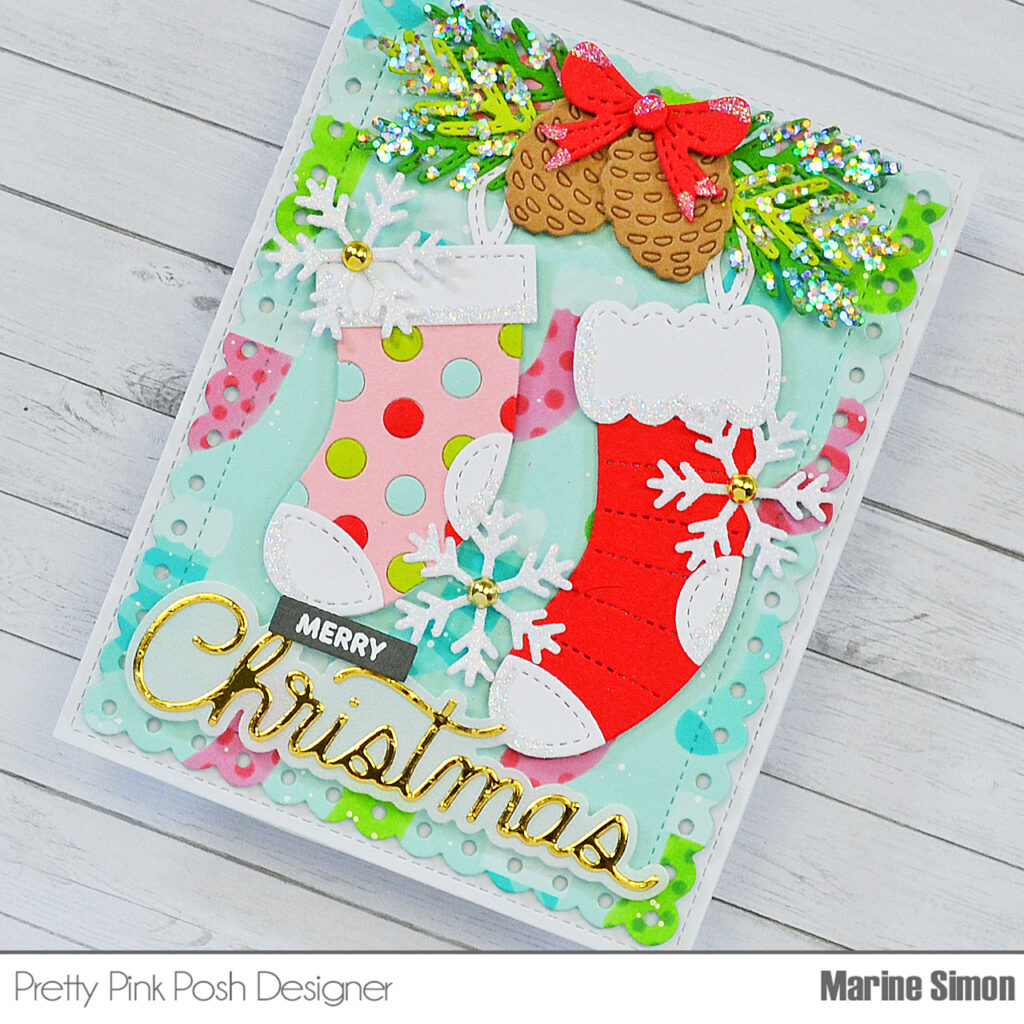
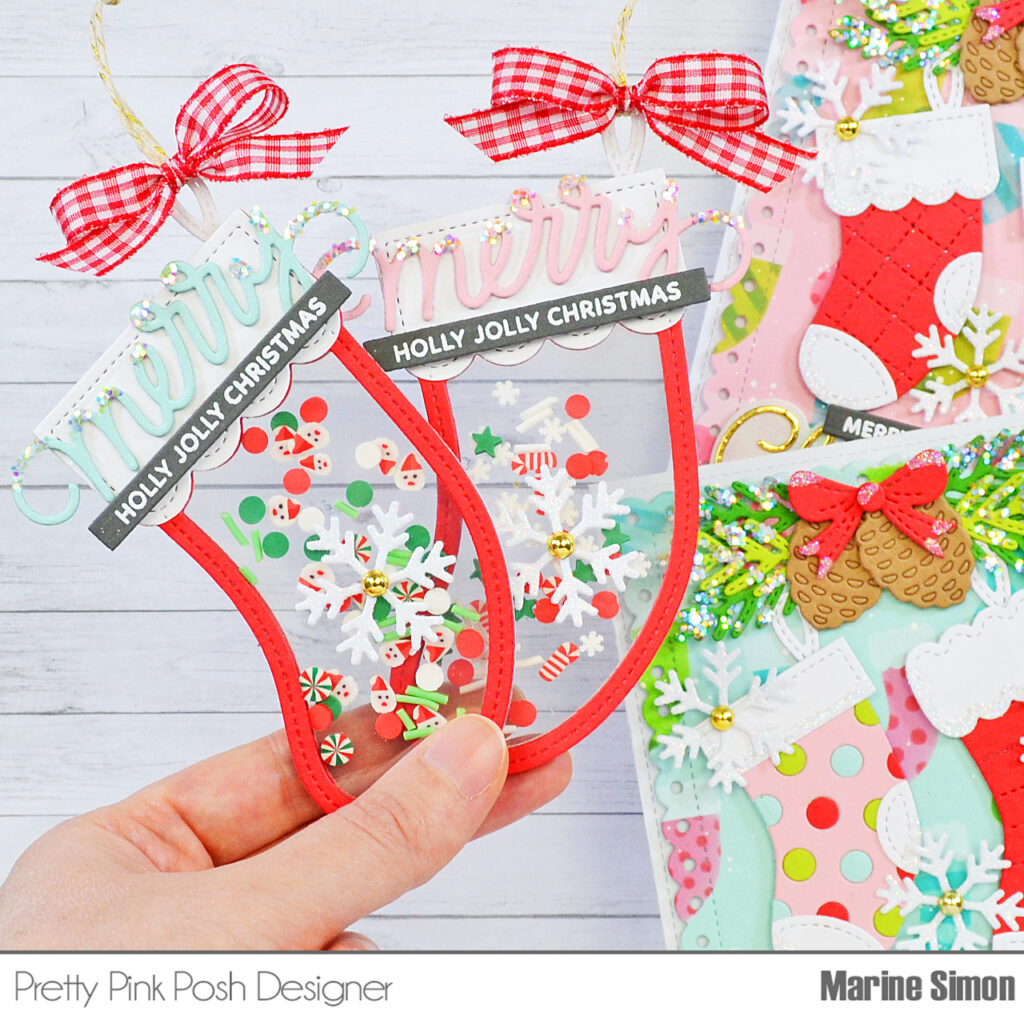
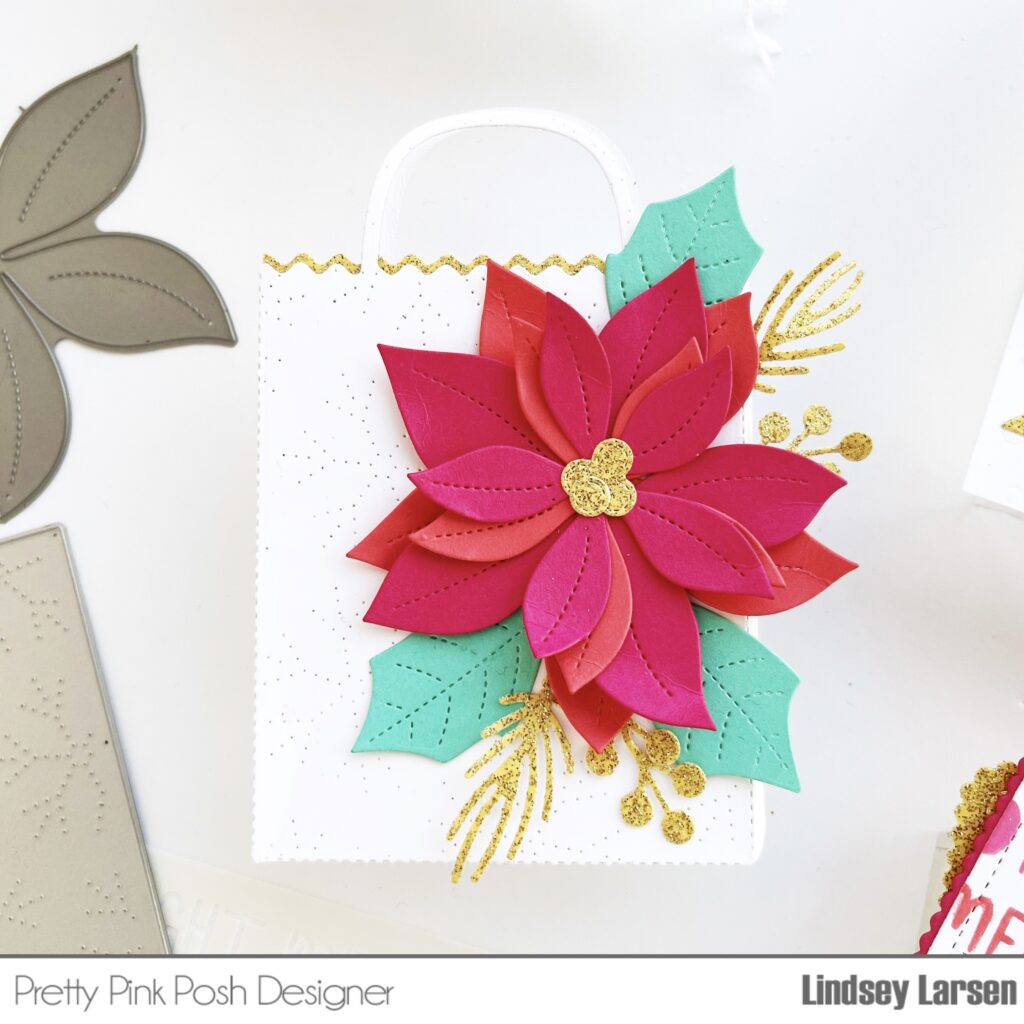
Next up the gift bag and gift card holder set. I’m so excited about this one! The Gift Card Bag is one of my most favorite dies. It is a darling way to package a gift card, but you can also tuck in tiny gifts. My niece wanted earrings for Christmas and they will fit perfectly in here along with the gift card.
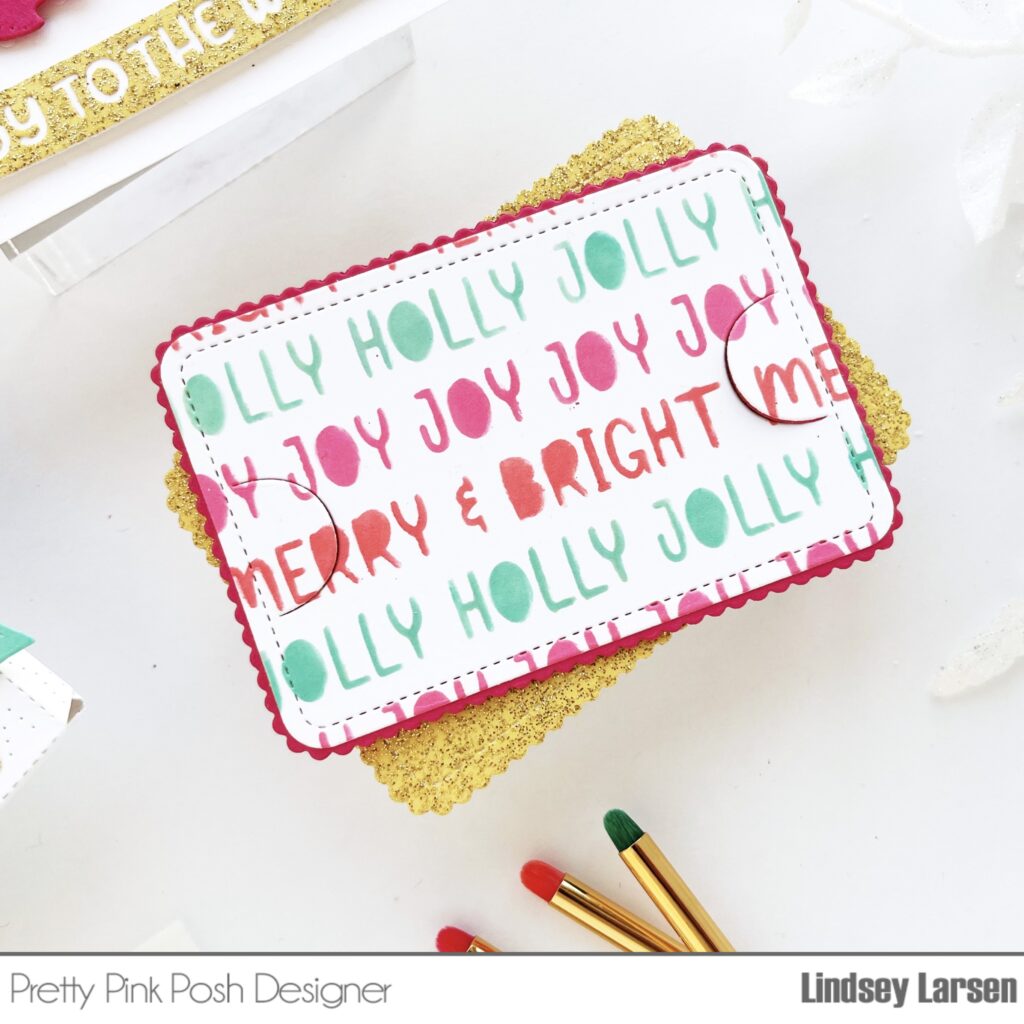
The gift card holder is simple on purpose: I really am going to attach a gift card on top. I layered both of the Stitched Gift Card Holders together. The top layer is stenciled with the Winter Words Stencil. Don’t you just love that font? After I attach the gift card, I’ll tuck this inside of the gift bag.
The Gift Card Bag uses more of my absolute favorite products. I used the Pierced Snowflakes Plate to add a little interest and tucked in a little layer of glittery gold at the top.
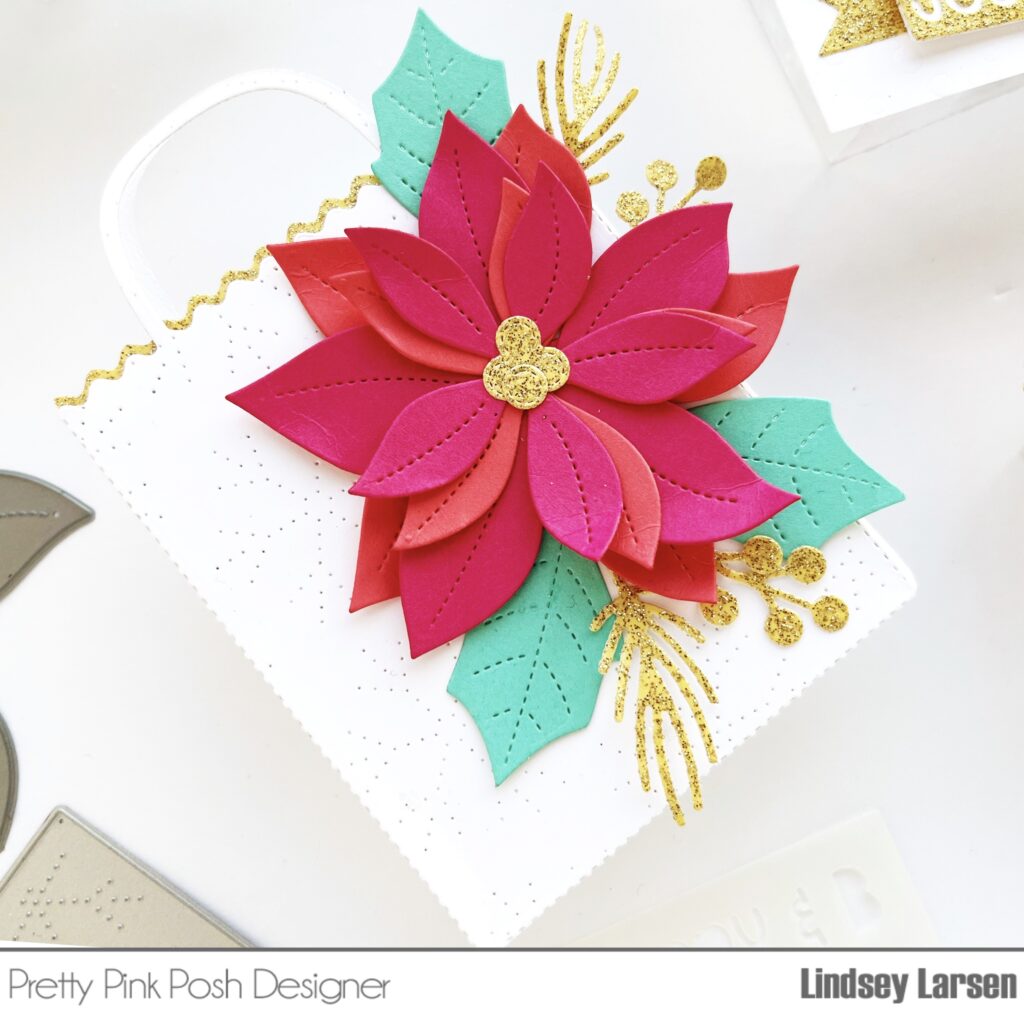
Then I adorned it with the beautiful Stitched Poinsettias Dies. I wanted to bring in a bit more gold, so I added a few pine and berry sprigs from my beloved Winter Foliage dies.
And there you have it! I hope that you are inspired to pull out your Christmas goodies and get creating. If you saw something (old or new) that you’d love to add to your crafty stash, don’t forget that this week all Christmas products are 15% off. Happy crafting, friends!