Creating 3 Stocking Shaker Cards
Hi everyone! Rebecca Keppel here today with three different shaker cards made with the Stocking Shaker Die.
Watch the video above I Watch the video in HD on YouTube
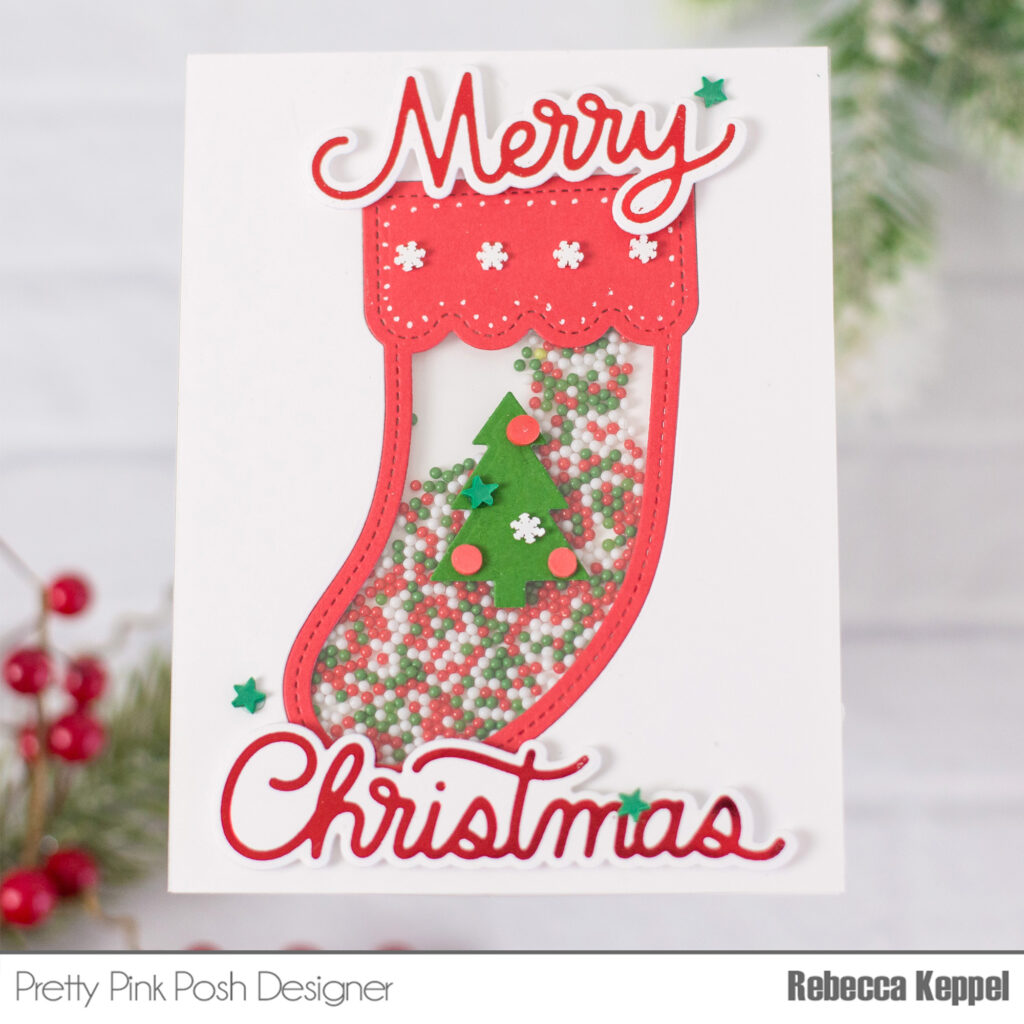
The first card is created in a way that builds the shaker down into the card. The Christmas Cookie Shaker Beads are such fun shaker goodies with a traditional holiday color scheme. For the sentiment, I used the Hot Foil Merry Christmas plates and cut out the foiled sentiment with the Merry Christmas Shadow Dies.
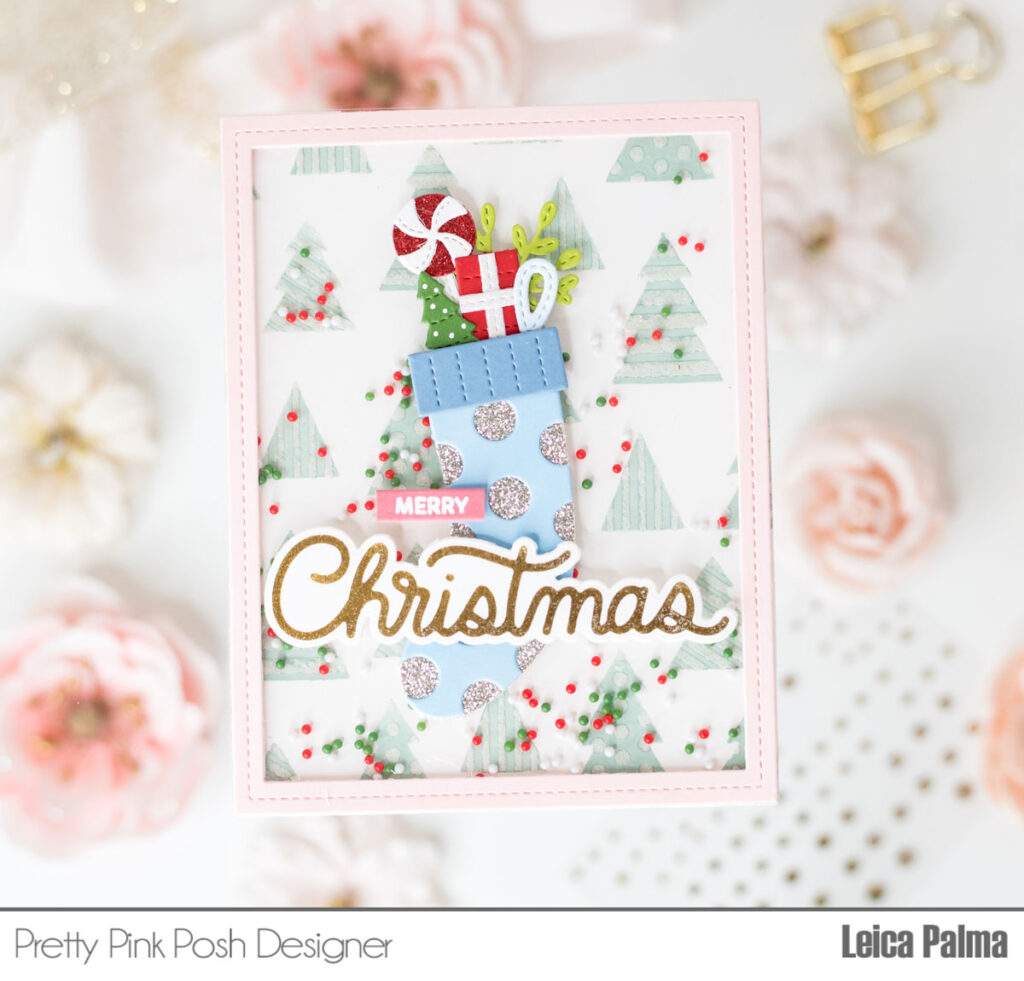
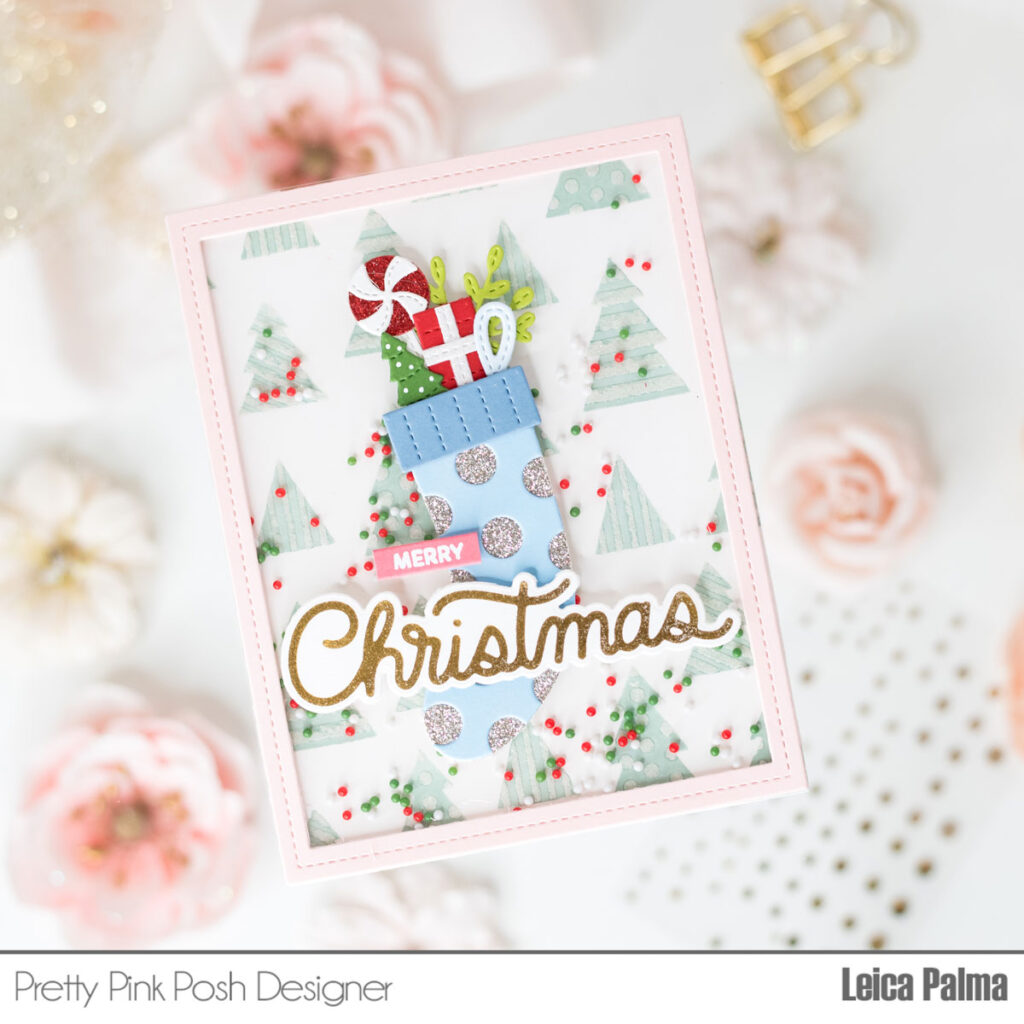
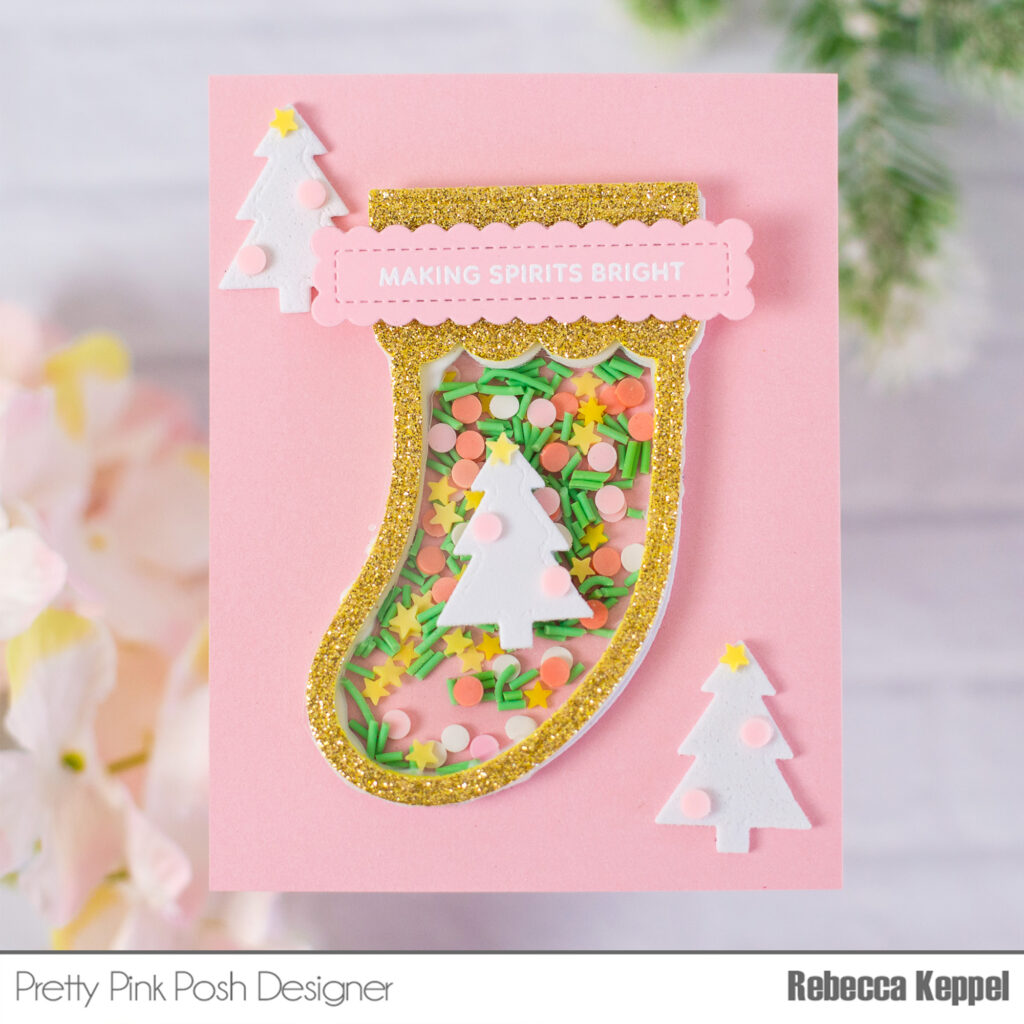
For the second card, I create a stocking shaped card and build the shaker up above the card panel. I used a non traditional Christmas color scheme of light colors and so the Christmas Tree Clay Confetti for inside the shaker. The Sentiment Strips: Christmas Stamp Set has a ton of perfectly sized sentiments and I used one with white heat embossing. These sentiment strips work perfectly with the previously released Sentiment Strips Dies.
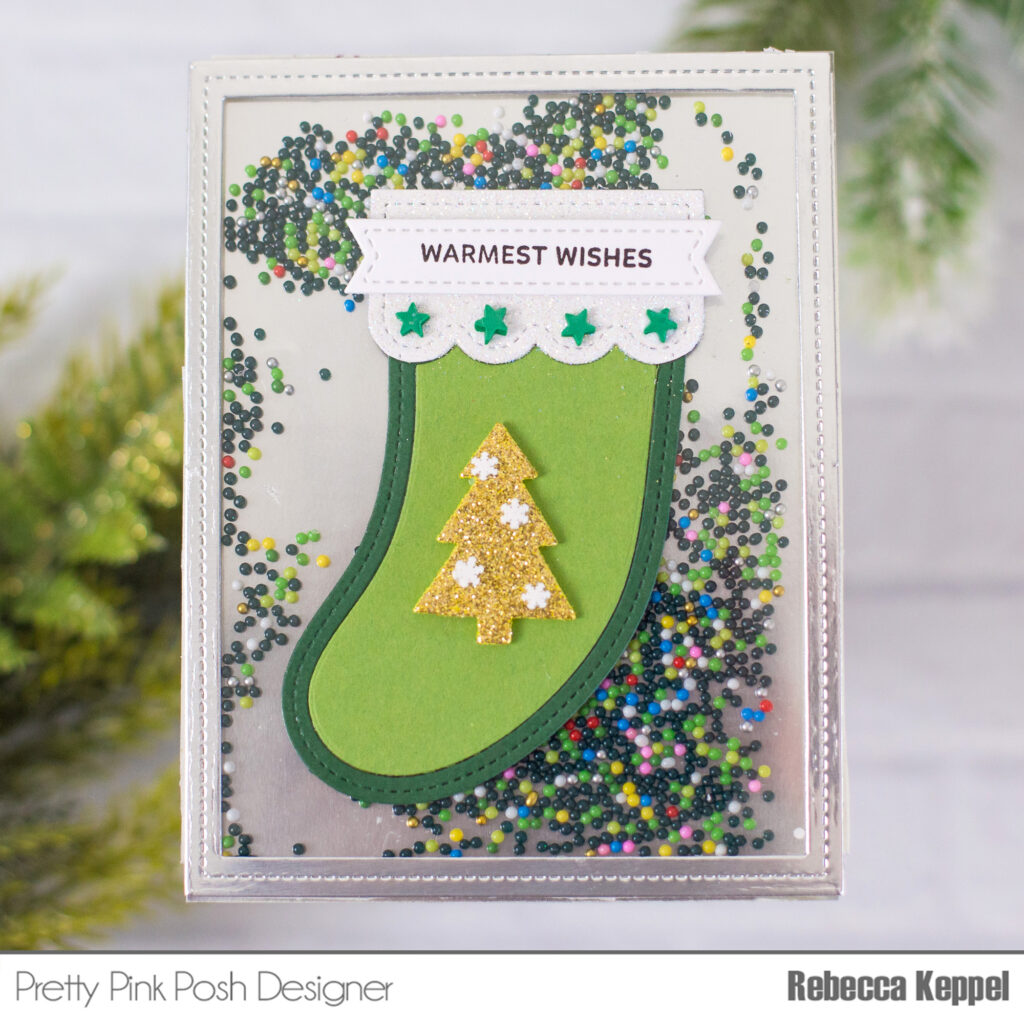
Finally the third shaker is an end to end shaker or a rectangular shaker with the Stocking Shaker Die used to create a flat die cut to decorate the shaker window. To create the rectangle shaker frame, I used the stitched rectangle from the Fancy Cake Die. For inside the shaker I used the Christmas Magic Shaker Beads. I love the way the beads move so quickly inside a shaker window!
Thanks for stopping by! I hope these cards inspired you!