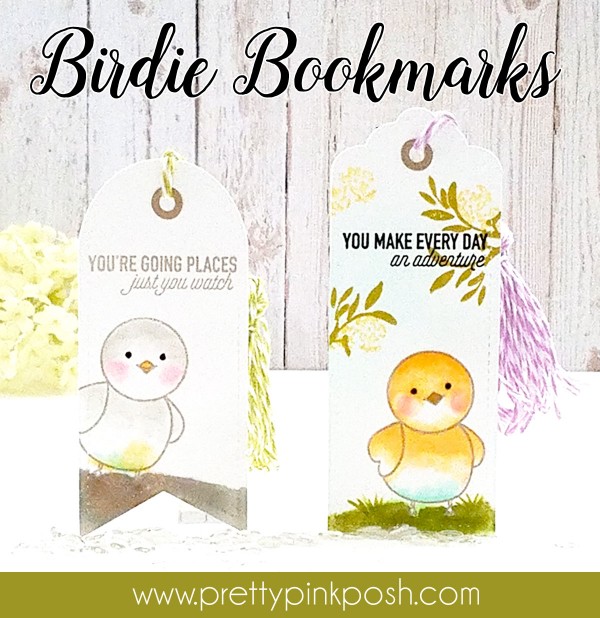
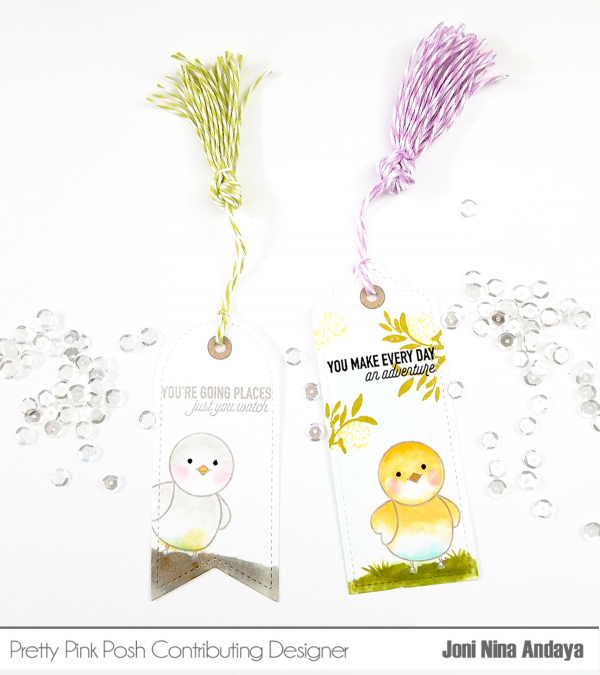
Hello everyone, Joni here for peak of the new upcoming Stitched Essentials 1 dies that release tomorrow, May 1st.
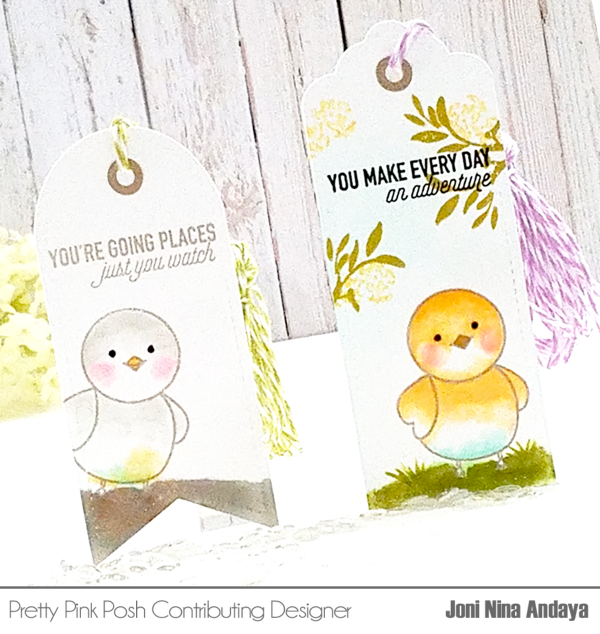
For this project I created a bookmark using this cute tag dies and coordinate using the cute chicks from the Birdie Friends stamp set. The chicks were stamped directly on the bookmarks and colored it with Copics. The sentiments I used were from Wplus9 Going Places stamp set.
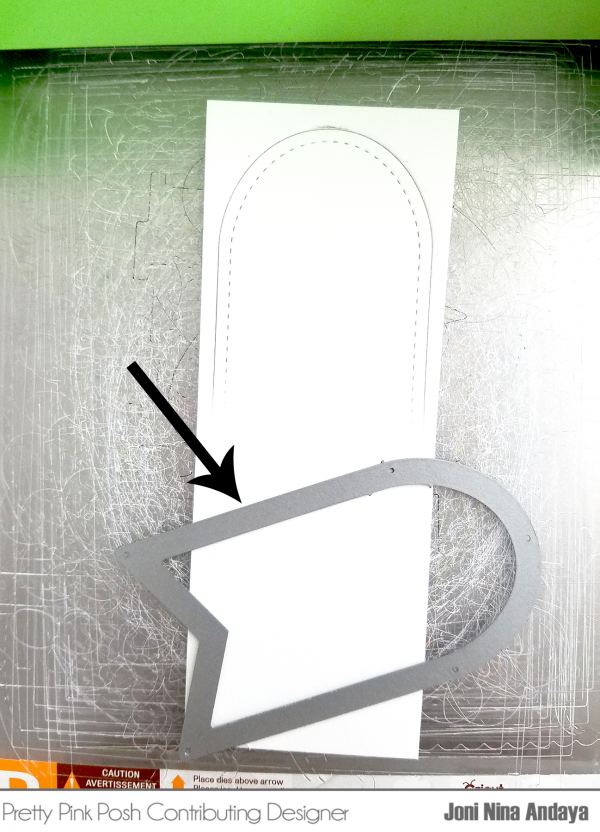
To begin, I die-cut he tag only to where the black arrow is pointing.
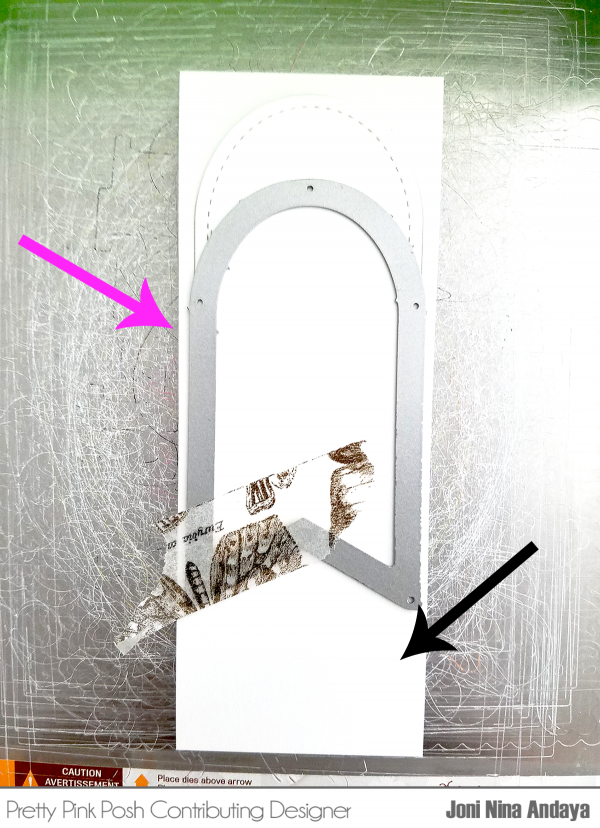
Next, I die-cut again to prolonged the tag and make it in to a bookmark. The pink arrow is showing where the cut is supposed to stop. The black arrow shows that you have to flip the plate and cut this way.
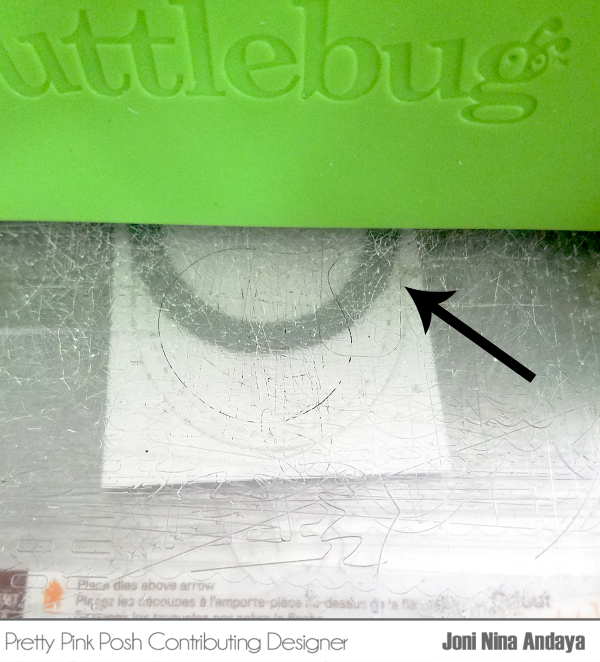
This picture is just showing you where the cut should stop.
Next, I created a tassel for the bookmark. If you want a video tutorial, I used THIS one as a guide to make a proper tassel.
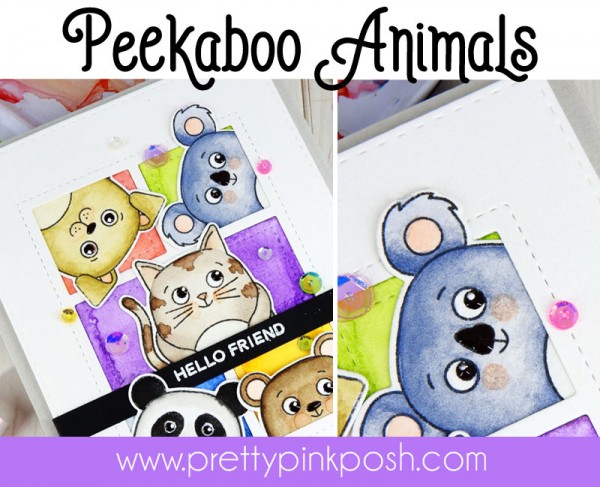
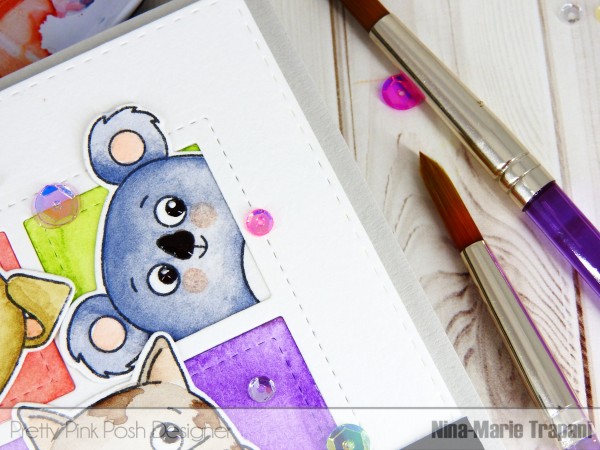
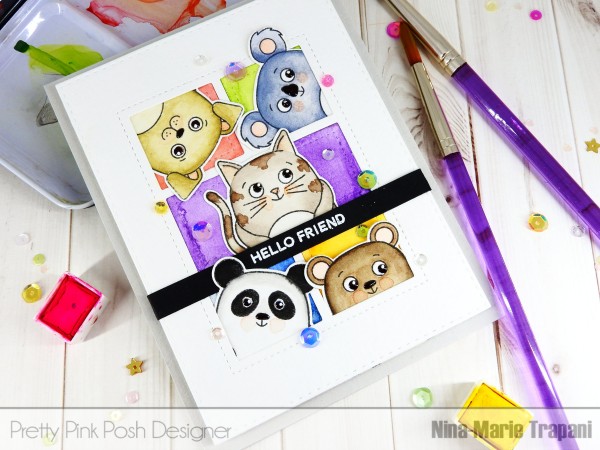
Hello everyone, it’s Nina-Marie here with you today with a fun peek-a-frame card to share with you featuring new sequins and dies from Pretty Pink Posh!
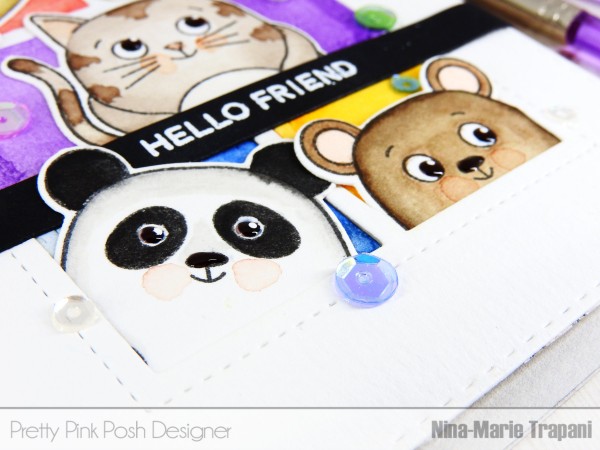
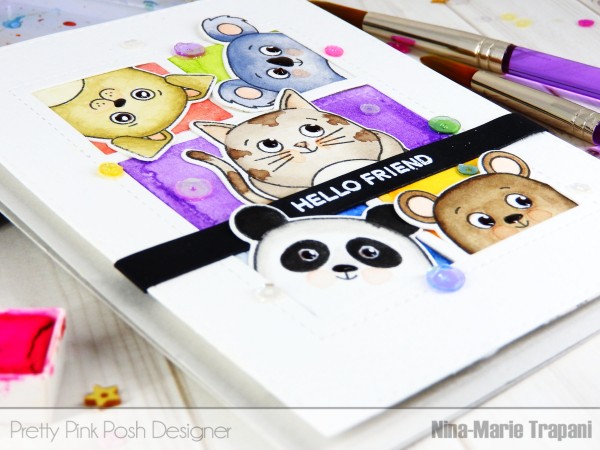
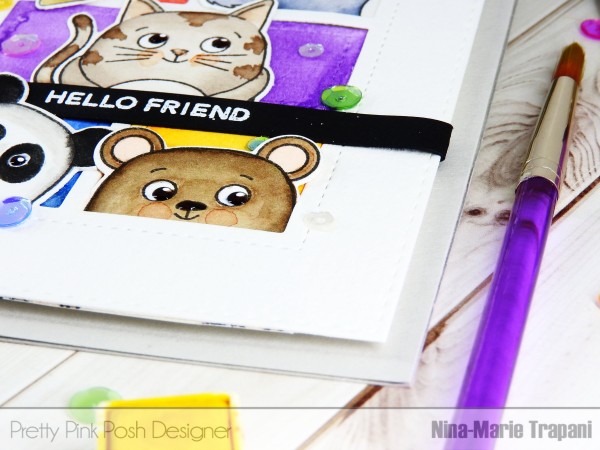
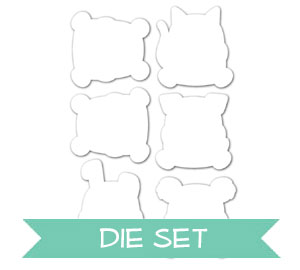
I love using the Storybook die collection that Pretty Pink Posh is known for (along with lots of other fabulous products!) and the new Storybook 4 die is great addition! I thought this would be a fun die to use with a bunch of little critters peeking out from each little rectangle.
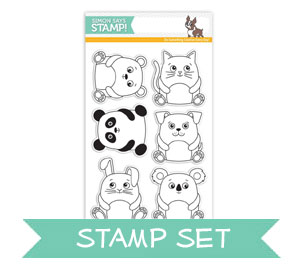
For this card, I have used the new Cuddly Critters stamp set from Simon Says Stamp and a sentiment from the Birdie Friends set. I also used quite a few different colors of the new iridescent 4mm sequins from Pretty Pink Posh, with match the fabulous 6mm iridescent sequins that were previously released… I LOVE that they are a new addition to the Pretty Pink Posh store because one can never have too many sequins, right?
If you enjoy, please give it a “thumbs up” and subscribe to our channel; we post new videos often!
If you have any questions about this post, feel free to leave it in the comments! Thanks for stopping by and spending some time with me… see you again soon! :)
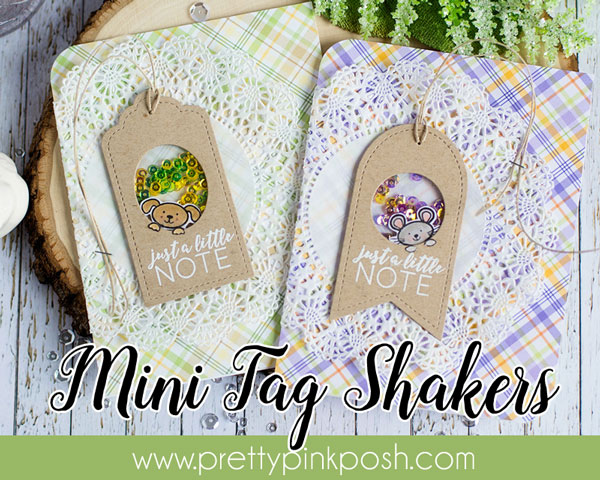
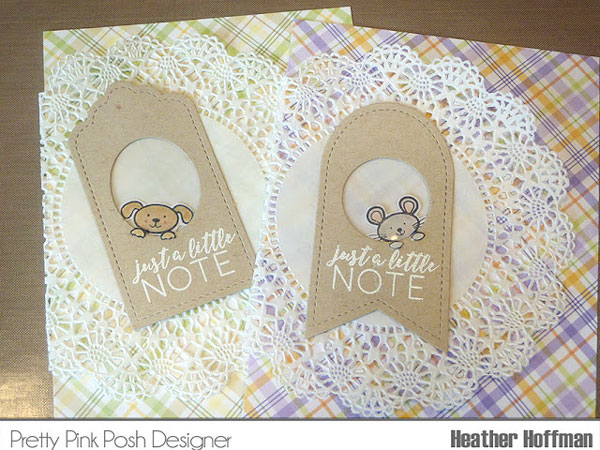
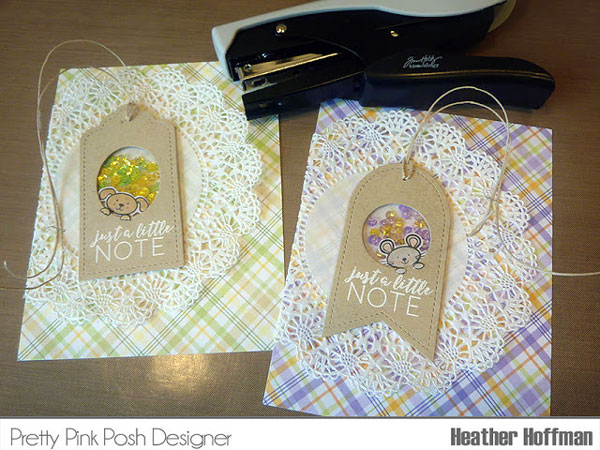
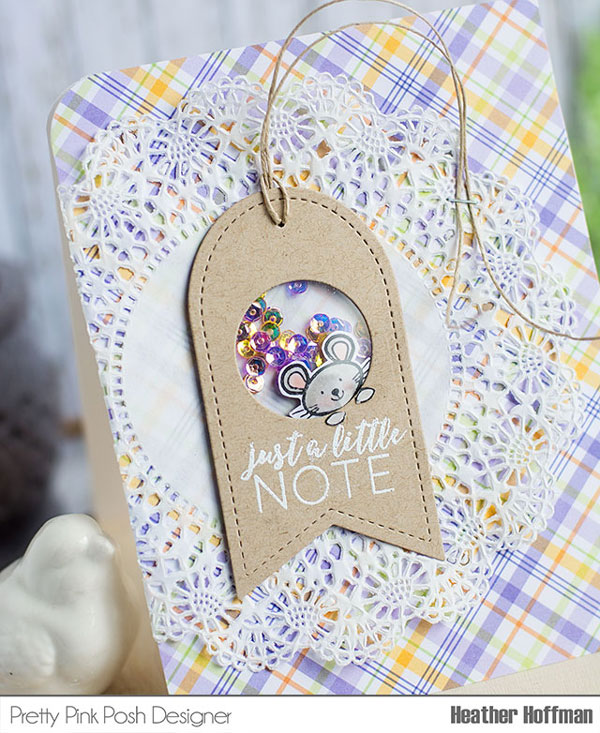
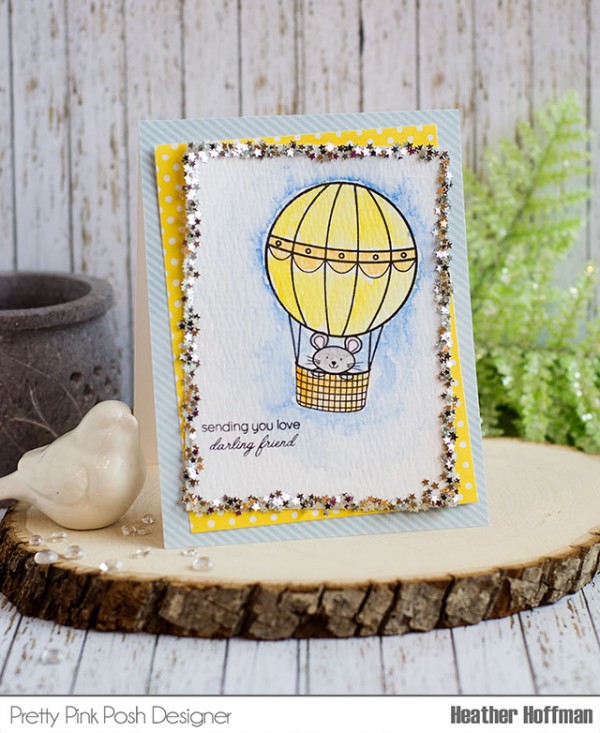
Heather here to share a couple cards I made using some of the BRAND NEW goodies that are releasing May 1st! So exciting, right?!?!? I’m also sharing a tutorial for these cards with a mini shaker tag!
A sweet friend recently gifted me with these adorable plaid papers (she obviously knows me well!!!) – so I had to pull them out to use on these cards! Those new tag dies are part of the new release – as are those lovely sequins – 4mm sizes of the popular Iridescent sequins! Squeal! So cute!!!
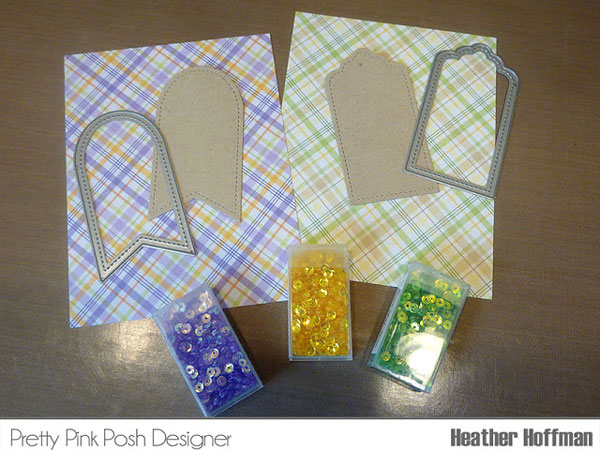
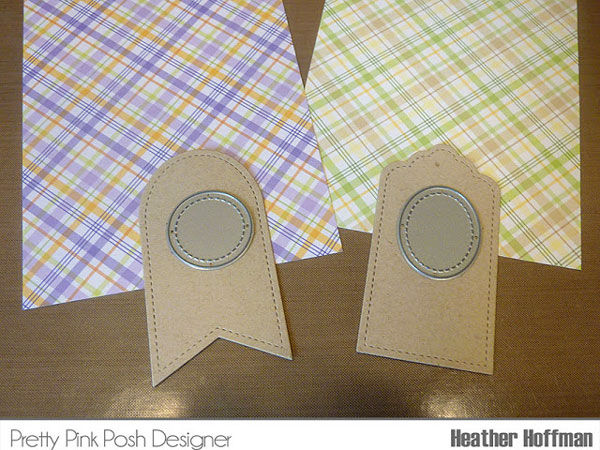
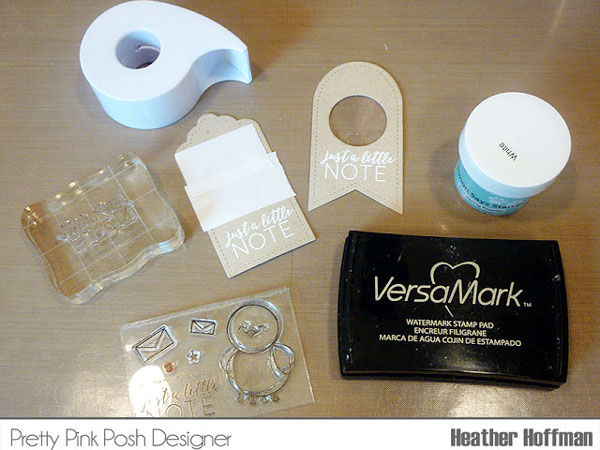
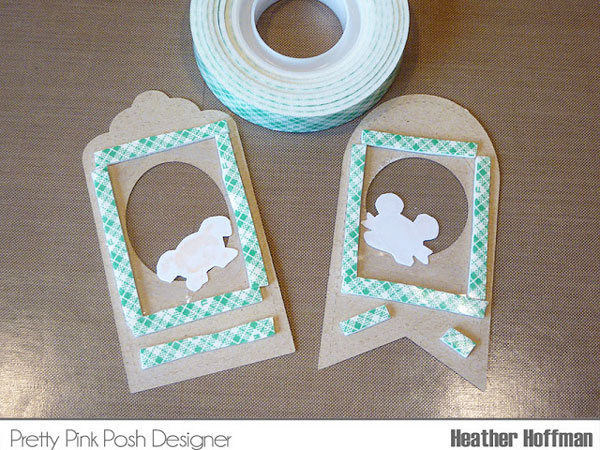
These tag dies come with smaller size dies that fit perfectly inside, or can be used separately – I used a couple of them to create the windows in my tags for the shaker element.
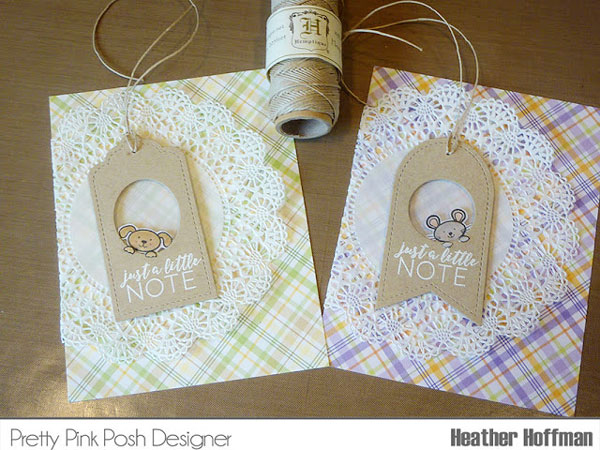
I also love using doilies on my cards – these are some that I purchased off of Etsy – they are 5 inch rounds – so I fold them around the front of my pattern paper to help them fit my card size better without having to trim anything off.
Next, I used some sturdy adhesive to attach acetate to my little windows.
I *should* have stamped and heat embossed my sentiments before adding the acetate – but since this was acetate that was safe to heat emboss on (and therefore wouldn’t melt with the heat gun) I went ahead and did it now using the adorable Birdie Notes stamp set. I DID learn that embossing powder heads right toward the acetate like a MAGNET and is HARD to get off! So on the second one, to save frustration, I placed some Post-it tape over the acetate while embossing, then was able to easily remove it.
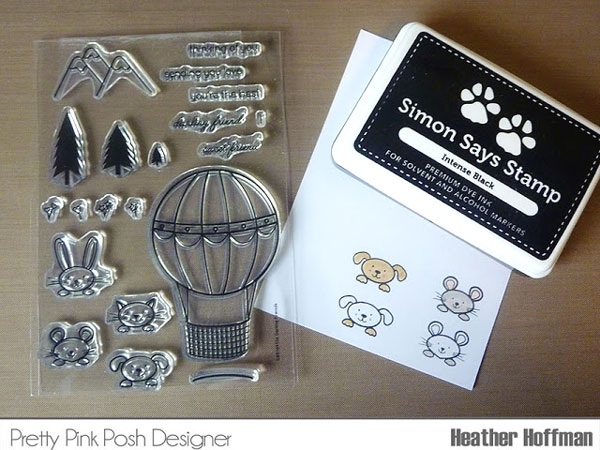
Next I chose a couple of the little critters from the Darling Friends set, stamped them twice, and colored with Copics. Notice on the second one of each I only colored their feet? There’s a reason for that!
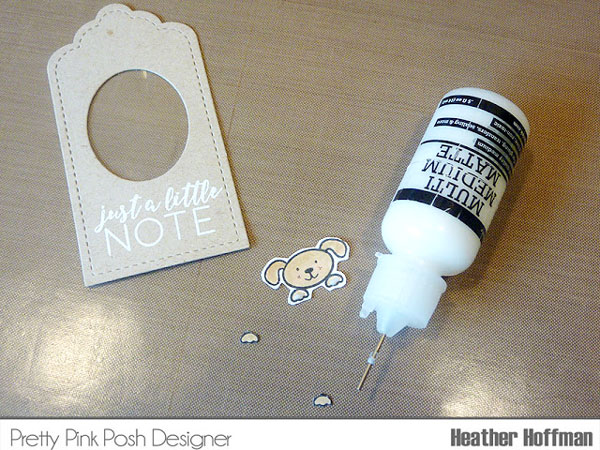
I fussy cut them out, then added a *tiny* dot of glue to the front bottom of the critters, and attached them BEHIND the acetate window. Added tiny dots of glue to the front feet, and attached them on the FRONT of the tag.
Do you see them here? How it looks like they are actually peeking through the window?
Add some trimmed down strips of foam tape to the back to hold the shaker portion of the sequins.
Next I punched tiny holes in the tops of the tags (they also come with a tiny punched hole, but I wanted them to be smaller – LOVE that they are separate and versatile that way!) and added some Hemptique twine.
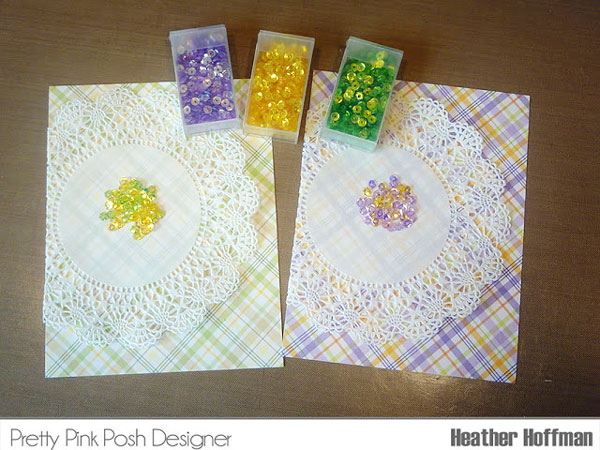
And then for the sparkly goodness – I mixed two colors of the new 4mm Iridescent sequins on each card, coordinating them with my pattern paper, then adhered my tags by the foam adhesive over the top.
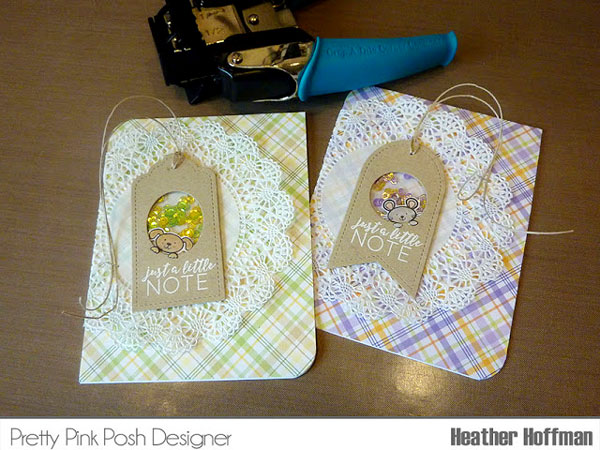
I love the feel of the free strings on the tags, but it drives me nuts when they don’t stay where I want! So I arranged them in a pretty sweeping patter, then added a tiny staple to one spot to hold them in place.
Finished off by attaching the entire front panel to my card base, then rounding off a couple corners.
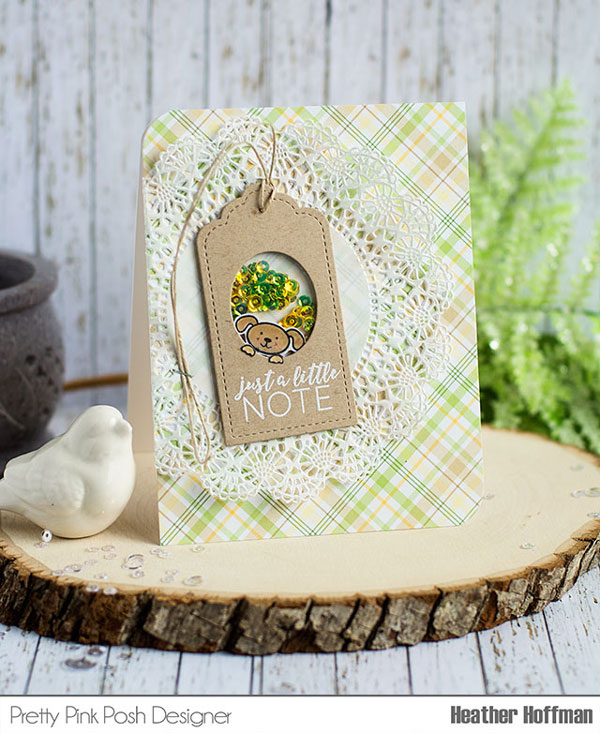
Here are the finished cards:
And a closer peek at the tiny shaker!
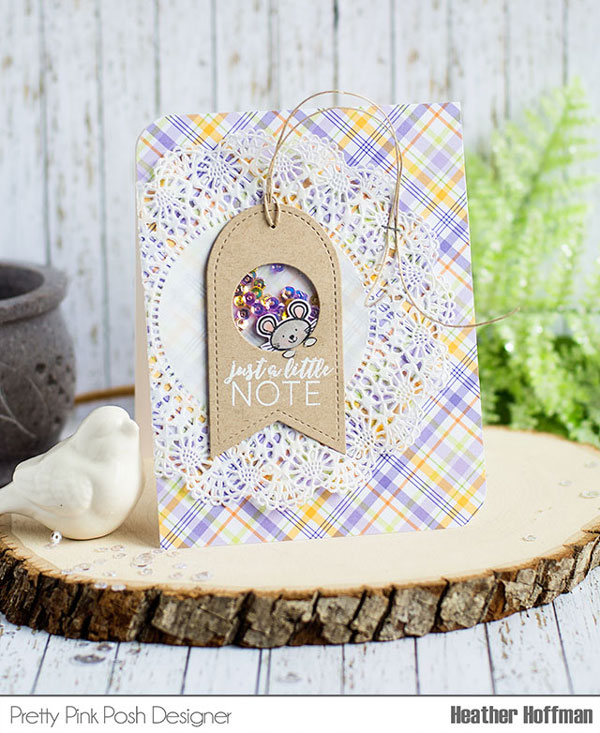
The other color:
And a closer look at this one too!
Thanks so much for stopping by today! Have a wonderful day!!!
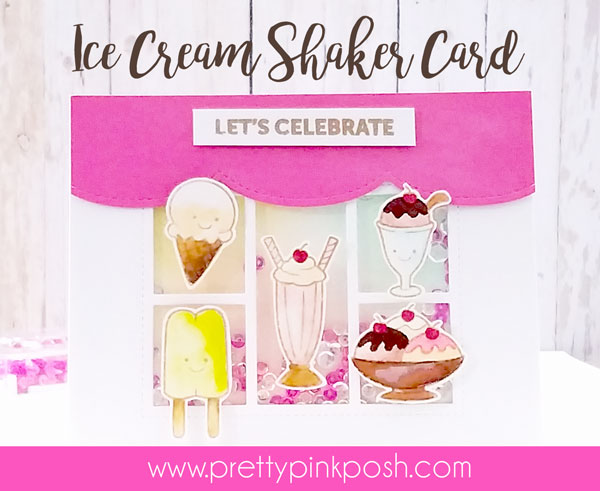
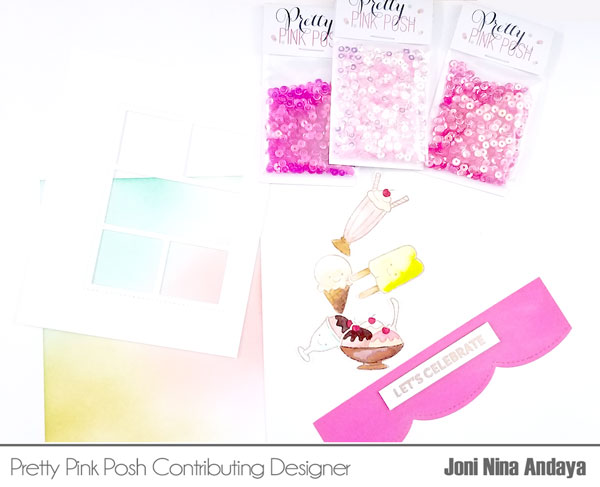
Hello Everyone, Joni here back with another card sharing the new upcoming Storybook 4 die set. For this project I created a shaker using the new 4mm iridescent sequins in Strawberry Burst, Fairytale Fuchsia, and Ballerina Pink(all new products release on May 1st).
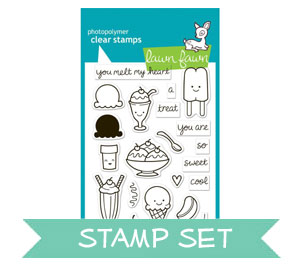
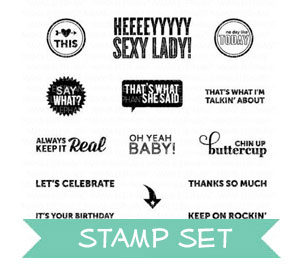
To begin, I die-cut a window panel using the new Storybook 4 die set. Then I distressed the card base with Distress Ink. Next, I die-cut the top panel for the window with fuchsia paper adhered the sentiment “Let’s Celebrate” from Mama Elephant Say What stamp set. The sentiment was gold heat embossed on a white cardstock. The stamp images I used was from Lawn Fawn Here’s the Scoop stamp set, they were watercolored and fussy cut.
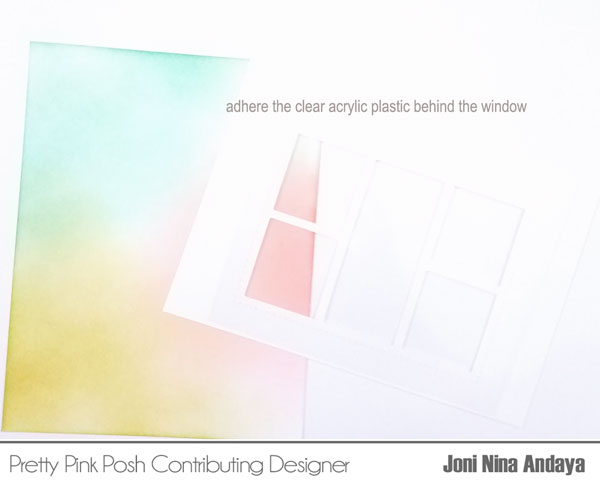
Next, I adhered the clear acrylic plastic at the back of the window die-cut.
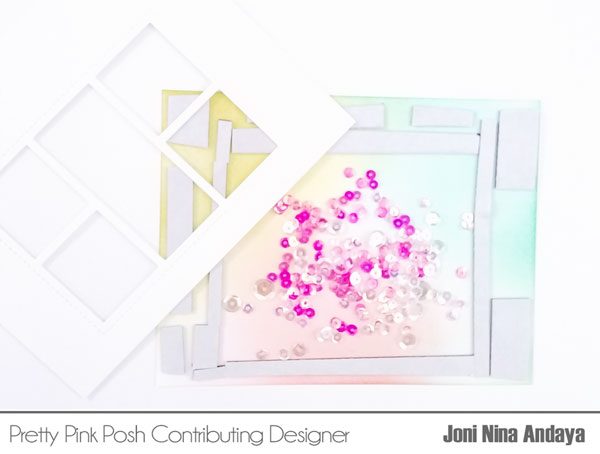
Next, I adhered some foam tape on top of the distressed panel and added the sequins. Then, I adhered the top of the window panel.
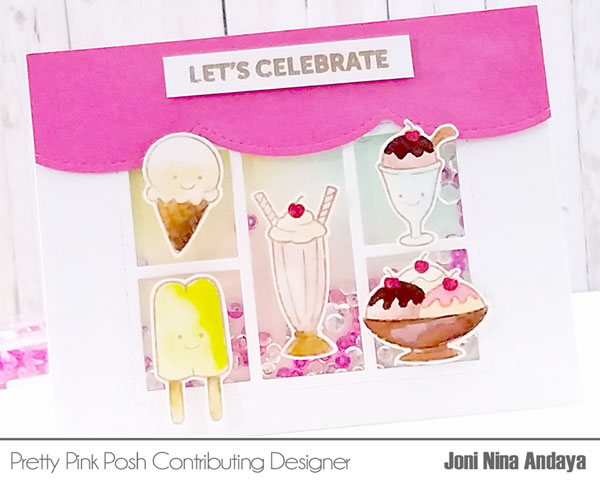
To finish off the scene, I added the top fuchsia panel using the scallop from the Stitched Borders 4 and placed the ice cream images with foam tape.
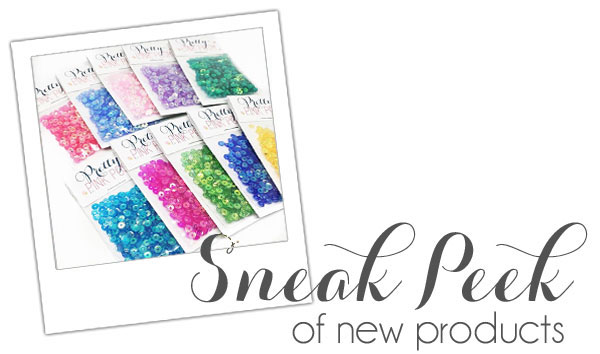
I hope you enjoyed the sneak of the new upcoming products coming your way on Sunday, May 1st. Below is a sneak peek that Paulina posted on Instagram of the pretty new iridescent sequins in the 4mm size.
Be sure to join us all week; there are more sneak peeks and we’ll be announcing the new design team. Thank you for stopping by! Have a wonderful week!!!
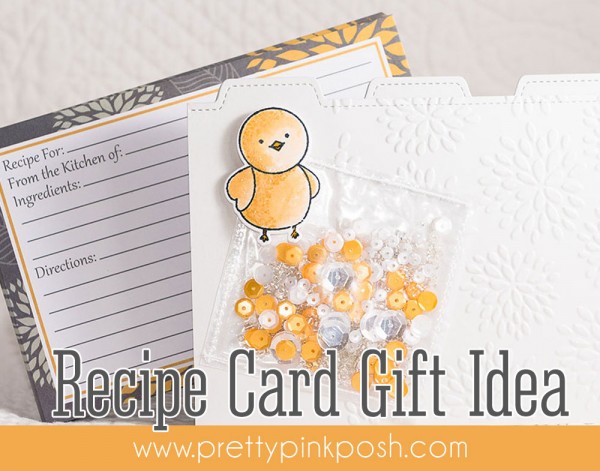
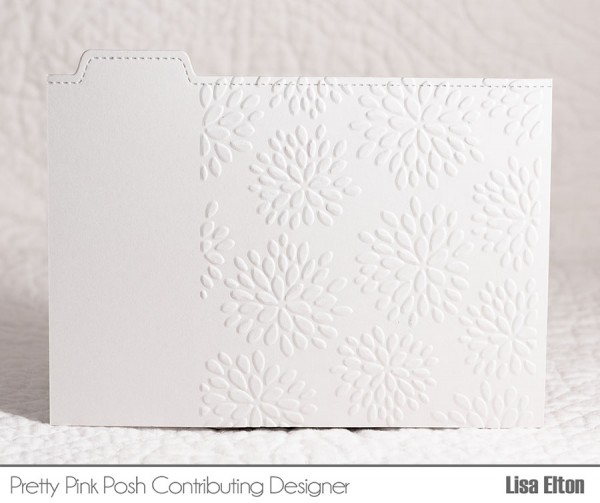
Hi friends, Lisa here today! I have a cute project featuring sequins and seed beads along with the Birdie Friends and Rainy Days stamps and dies. With wedding season upon us, I thought this would be a fun shower gift!
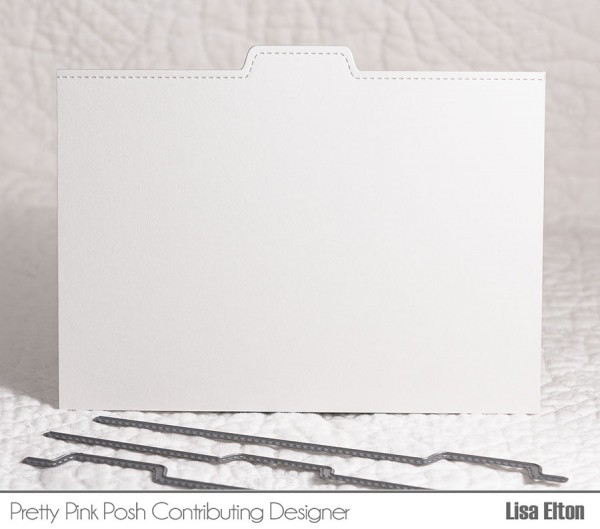
I began with a Soft Stone card stock cut to recipe card size. Using the Stitched Tabs Dies, I cut the tops of the panels for divider tabs.
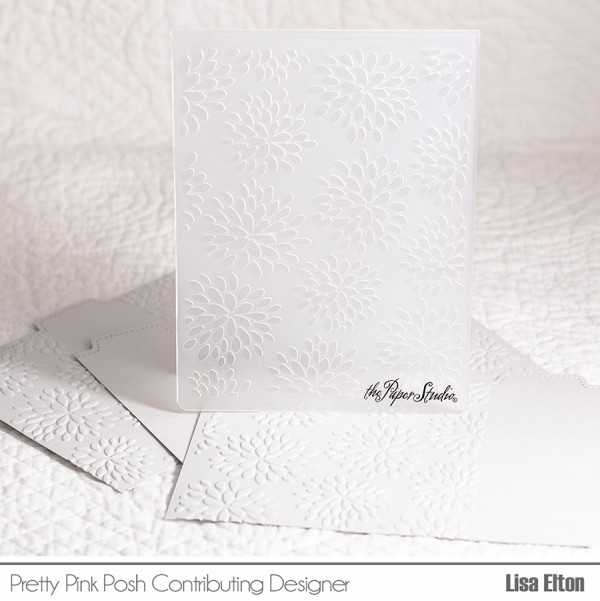
Next, I dry embossed portions of the dividers using a complimentary embossing folder.
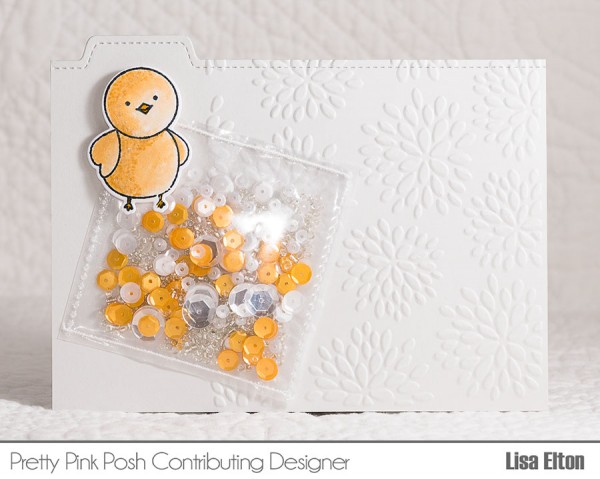
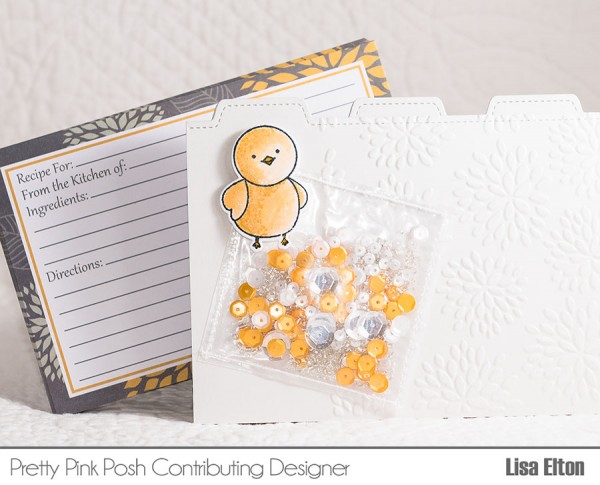
I made a small pouch from an office supply product. This had several small pouches on one sheet that would fit into a notebook. I cut one of the pouches leaving two of the pre-adhered sides intact. I stitched the bottom with my sewing machine then filled it with 6mm Marigold Sequins, 4mm & 6mm Marshmallow Sequins, 10mm Sparkling Clear Sequins and Silver Shimmer Seed Beads. The top was stitched shut and the pouch was added to the front divider with Thermo Web adhesive.
The sweet bird from the Birdie Friends stamp set was stamped, die cut and water colored. It’s added to the decorated panel with two layers of foam tape. A bit of Wink of Stella was added for good measure!
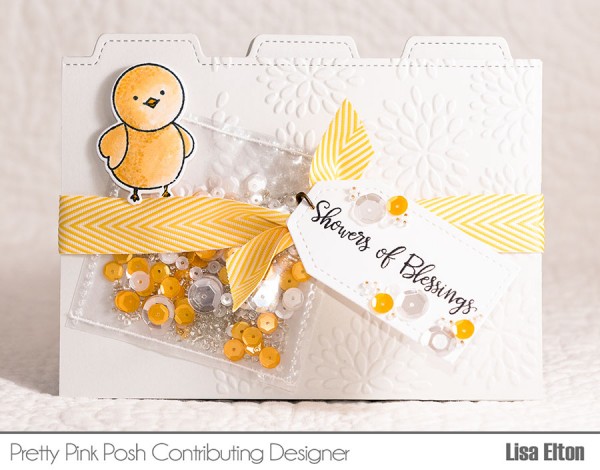
Everything was tied together with Yellow Chevron Twill ribbon. Using a Stitched Tags Die, I stamped a sentiment from the Rainy Days Stamp Set then decorated it with matching sequins and seed beads.
Thanks so much for stopping by and have a great day!
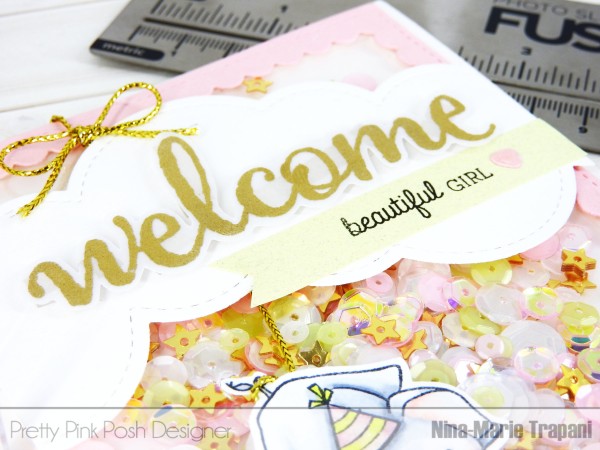
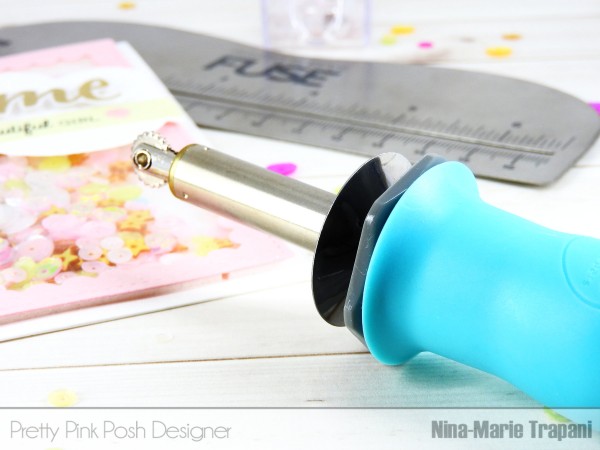
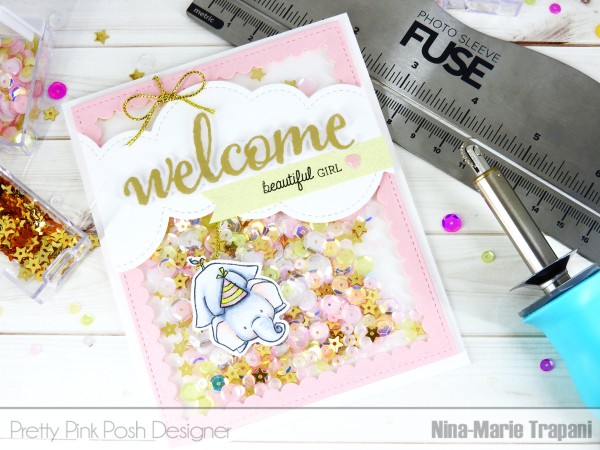
Hi everyone, it’s Nina-Marie here with you today! I’m going to share some inspiration and tips for using the We R Memory Keepers Fuse Tool with your Pretty Pink Posh products to create an easy and fun shaker card!
I love making shaker cards and prior to the Fuse Tool, most of us were making our shakers using LOTS of foam tape. While that works well, I have found that the Fuse Tool makes shaker cards not only easier to create but there are other benefits as well…
The sequins and other shaker elements do not get stuck to the sides of your shaker because there is no foam tape for them to stick to
There is less bulk because we do not need to create a dimensional well to allow the shaker bits to move around.
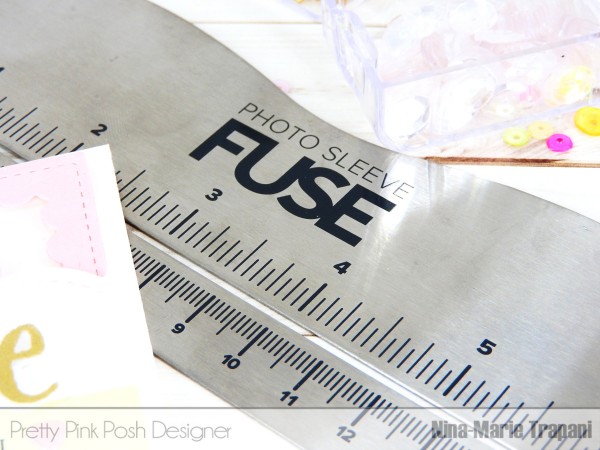
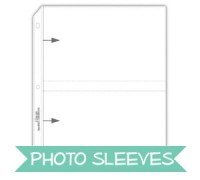
Purchasing inexpensive photo sleeves to use for your shakers is more cost effective then using a lot of foam tape.
These are just some of the benefits I have found so far with the Fuse Tool; honestly, I’m questioning myself as to why I hadn’t gotten this tool when it first came out!
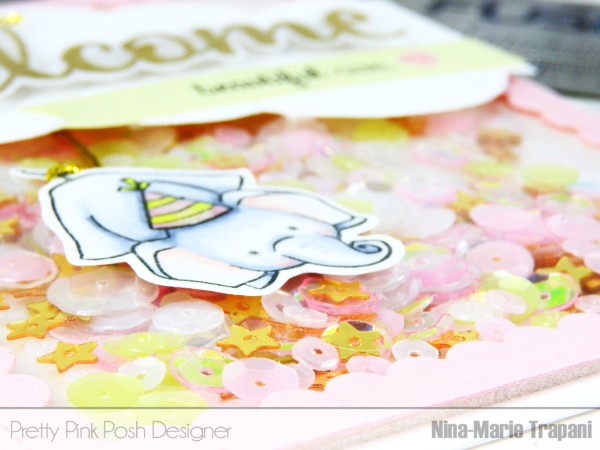
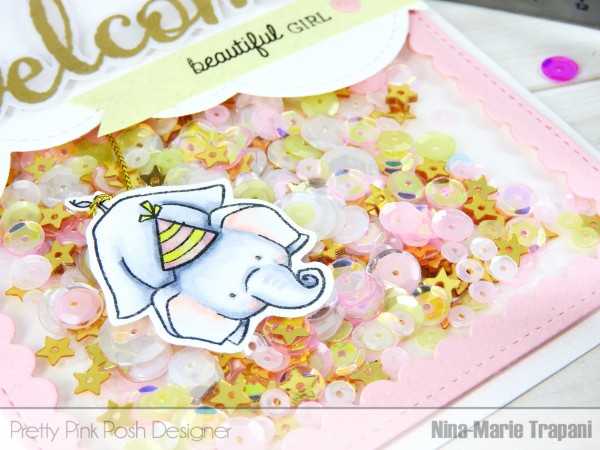
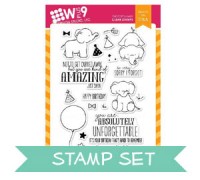
For this card I’ve created, I used a few different stamp and die sets; all the products are listed at the bottom of the post. I felt that the darling little elephant from WPlus9’s Unforgettable stamp set would be a perfect for a “welcome baby” card.
I colored the elephant with Copics and use him to create an extra interactive element on this card… watch the video to find out! I’ll also be talking more in-depth about the Fuse Tool in the video. I hope you enjoy and get some inspiration for using the Fuse Tool in your upcoming projects!
Thanks for stopping by and watching today’s tutorial… please give the video a “thumbs up” and subscribe to our channel for more inspiration, techniques and more!
We also wanted to have a giveaway in this post for the Fuse tool, along with a $50 Pretty Pink Posh gift certificate (so you can fill those shakers up)! Enter the giveaway below…
If you have any questions about this post, feel free to leave it in the comments! Thanks so much for stopping by and spending some time with me; I’ll see you again soon!
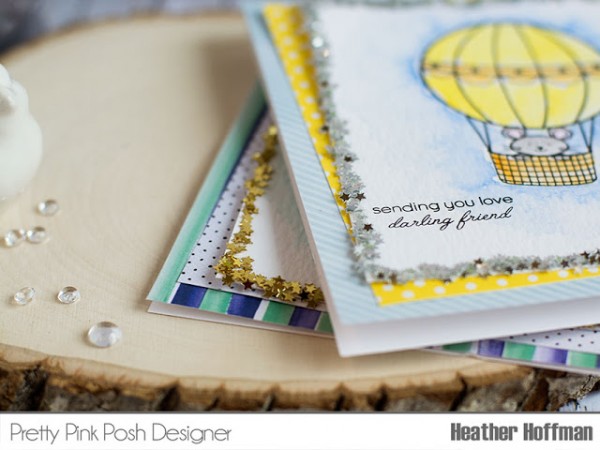
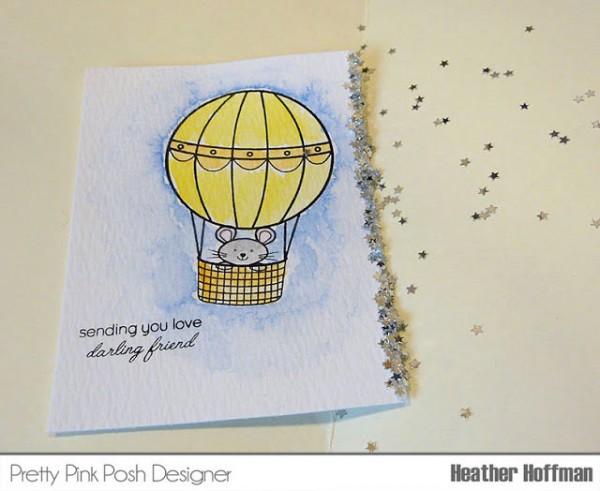
Here is a close up of the pretty sparkly edge – I love the magical look it gives!
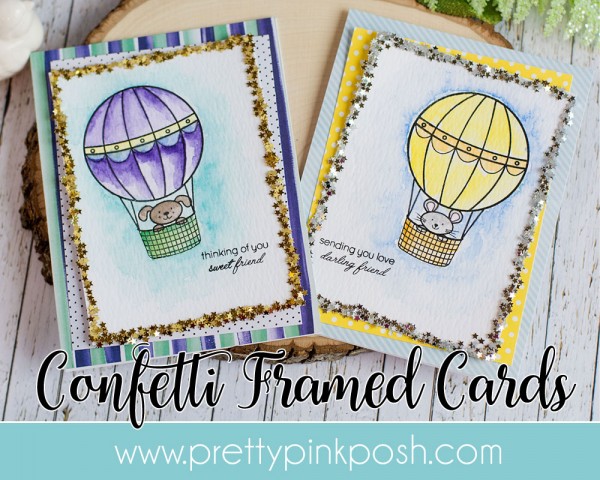
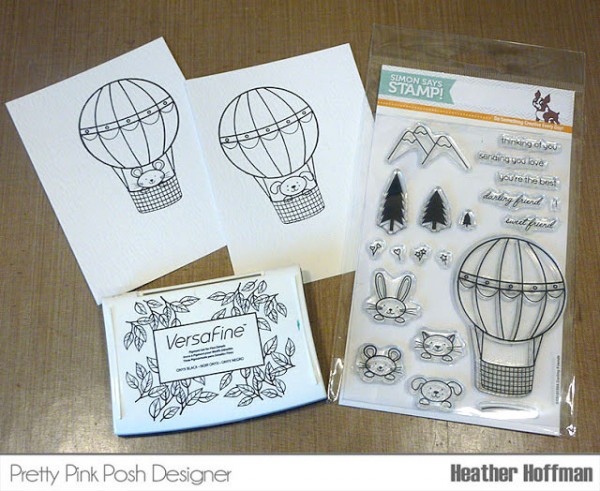
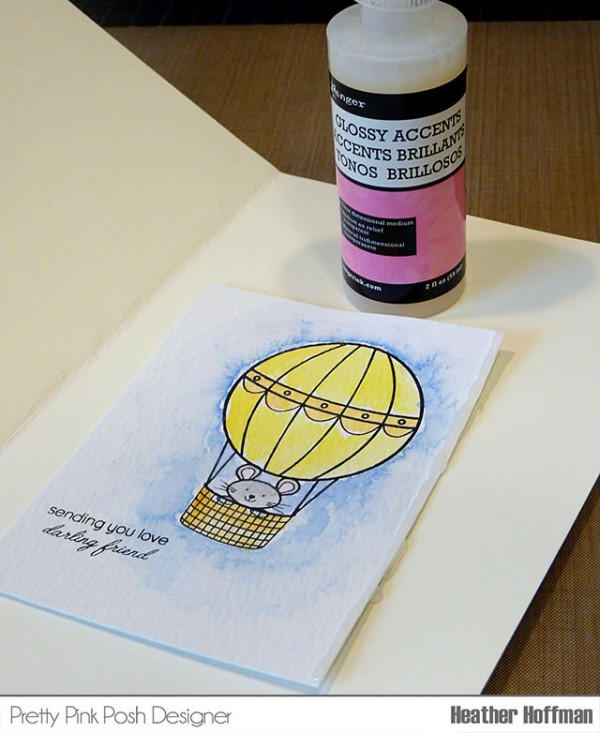
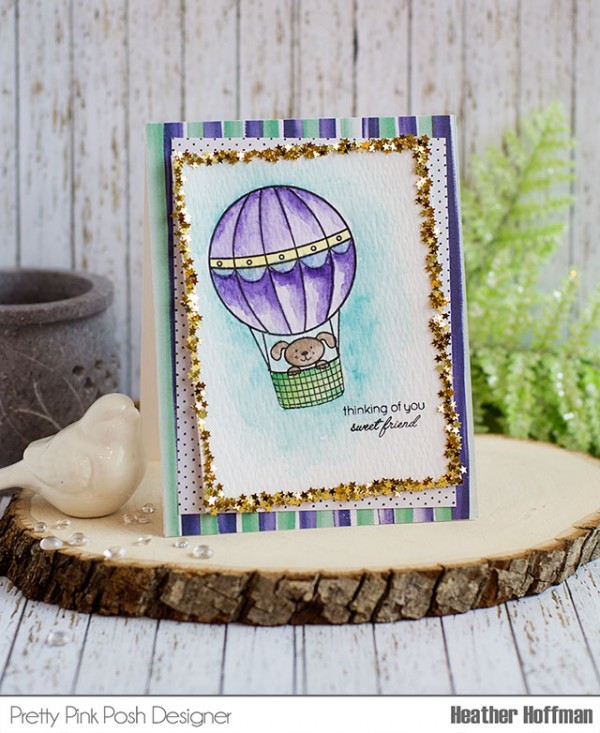
I started off by stamping my images on Ranger Watercolor paper using Versafine Ink – my favorite for watercoloring! I used the Pretty Pink Posh/Simon Says Stamp exclusive Stamptember Darling Friends set.
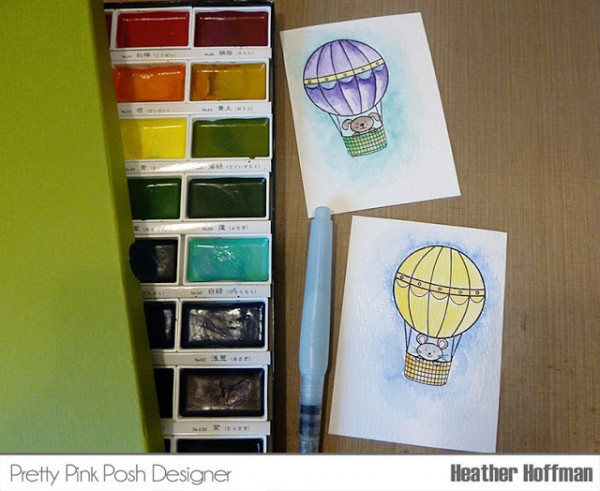
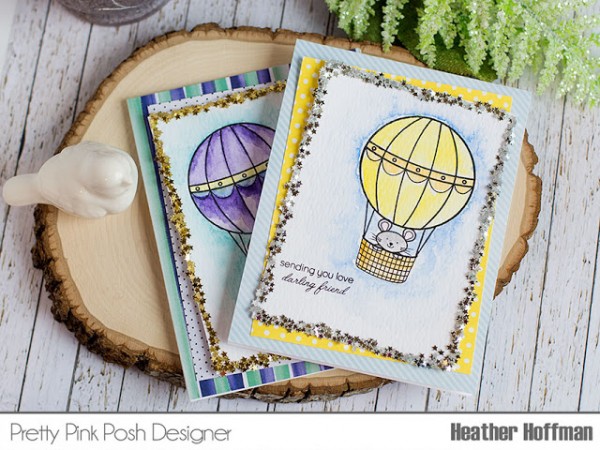
Next, I simply watercolored my images in two different colors schemes using watercolors and a waterbrush.
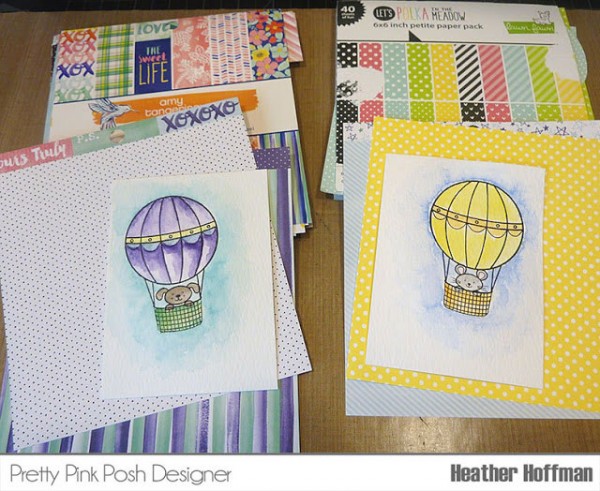
Sometimes I choose my pattern papers before coloring, and match my coloring to my paper, but this time, I watercolored first, then chose my papers. Took a little bit of time to play around and find what I liked, but these were the ones I settled on.
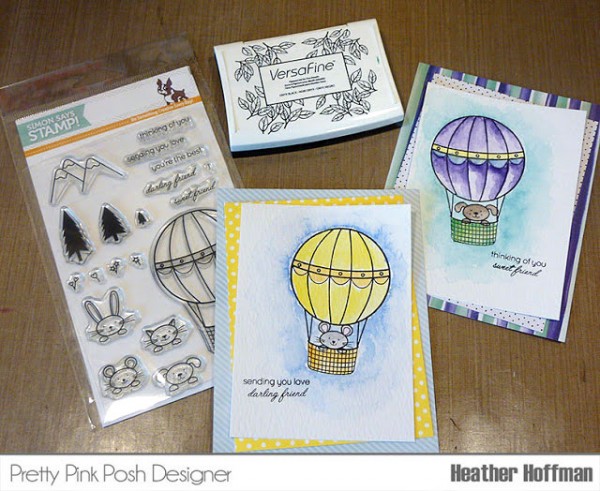
By this time my watercoloring was dry, so I stamped on my sentiments, again with Versafine ink.
Now the fun part! Using a bit of scrap paper to catch the excess, I add a thick line of Glossy Accents along one edge…
…then over another piece of scrap paper to catch the the extra confetti, I shake on a good coating of the Mini Star Confetti, then repeat, one edge at a time until complete.
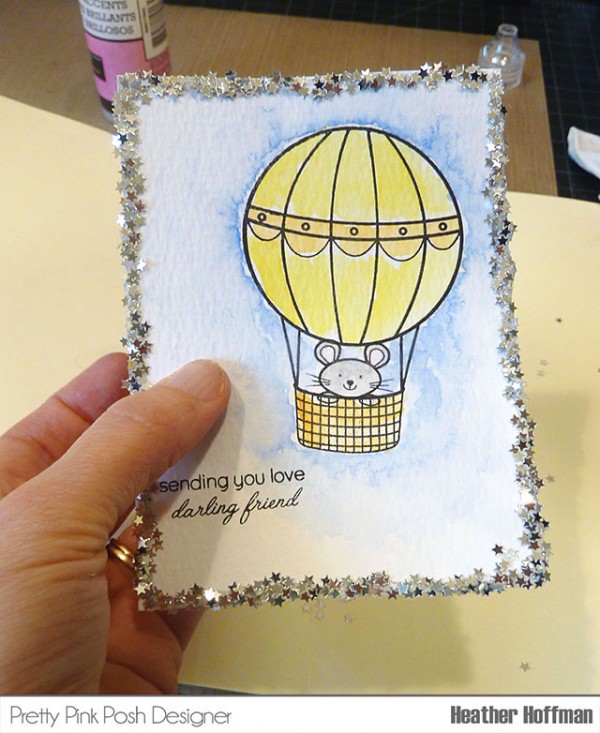
Then it is time for some patience while you allow it to dry!
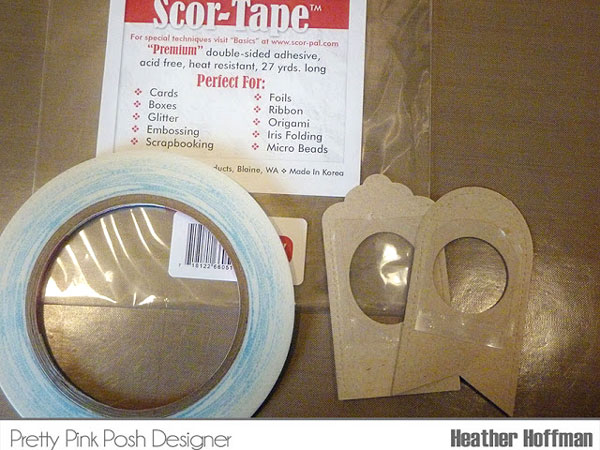
Next, I like to use a nice strong adhesive to hold everything together – Scor-tape does a lovely job of holding the watercolor paper in place so it doesn’t peel off.
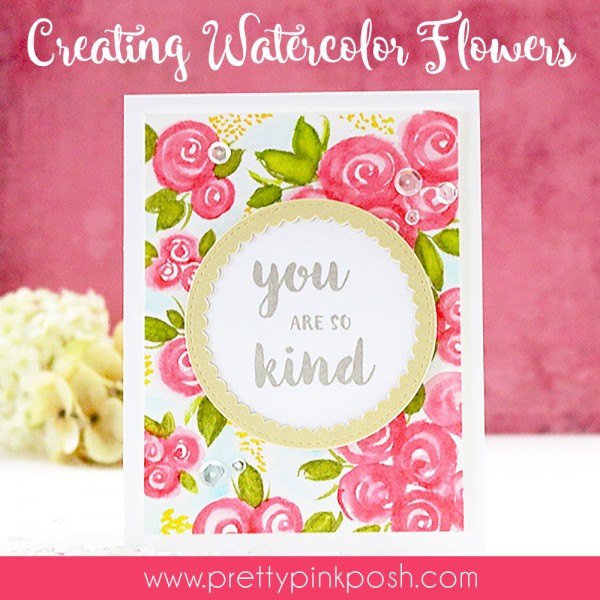
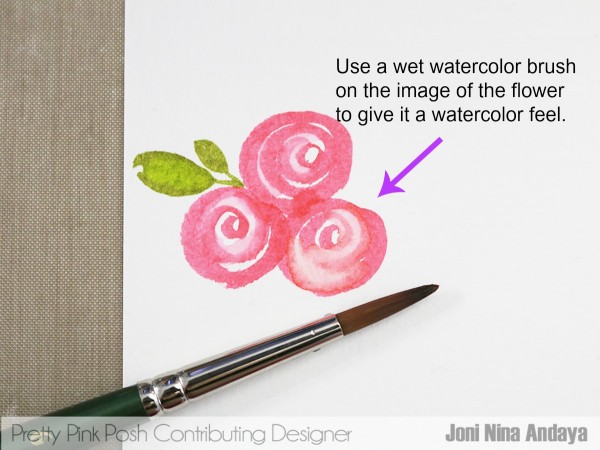
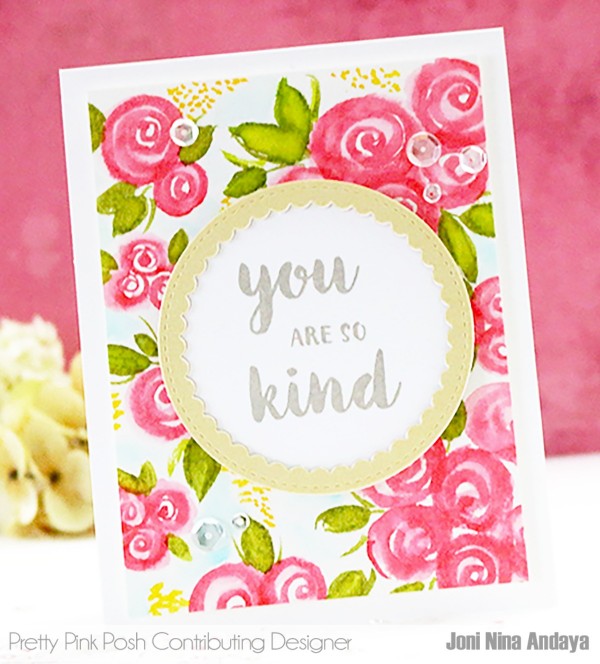
Hello everyone, Joni here sharing another new tutorial. Today I’ll be showing you how to create a simple watercolor background using the ZIG Clean Color Real Brush 60.
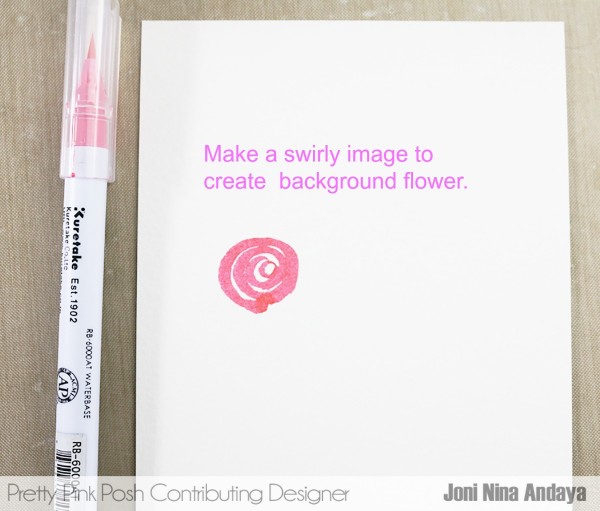
To begin I simply drew a swirly image using the ZIG Clean Color Real Brush 60. Any color will work. You can also try a different shape just add leaves to give it a flower look.
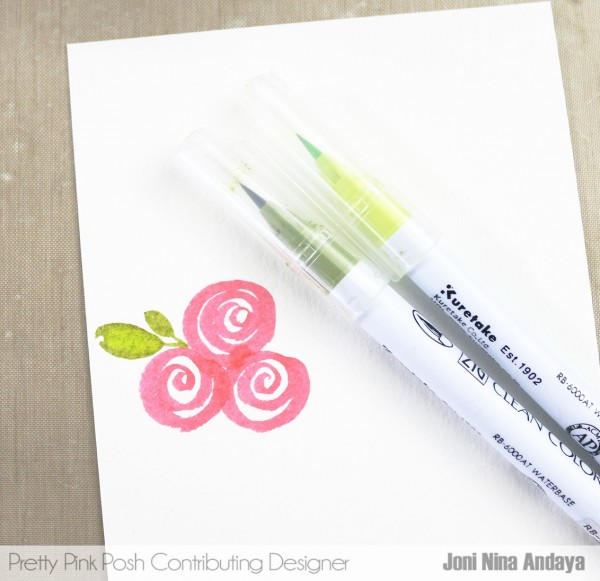
In this image below I simply just added a leaves image to go with my background flower.
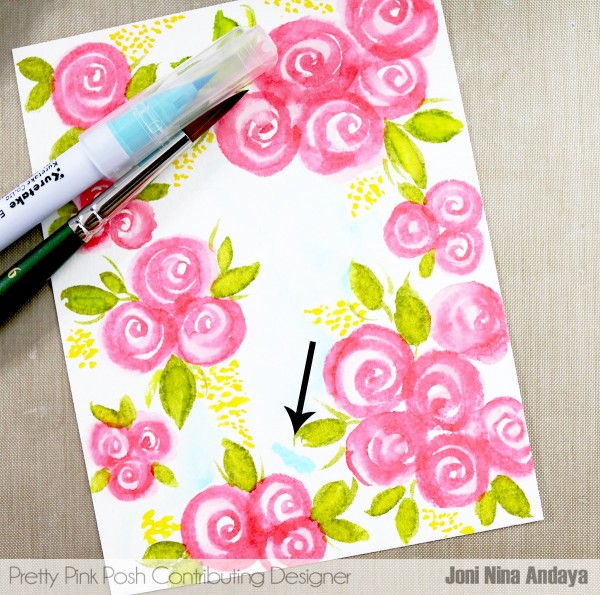
After drawing my image, I moved the image with a wet watercolor brush to give the image a watercolor feel.
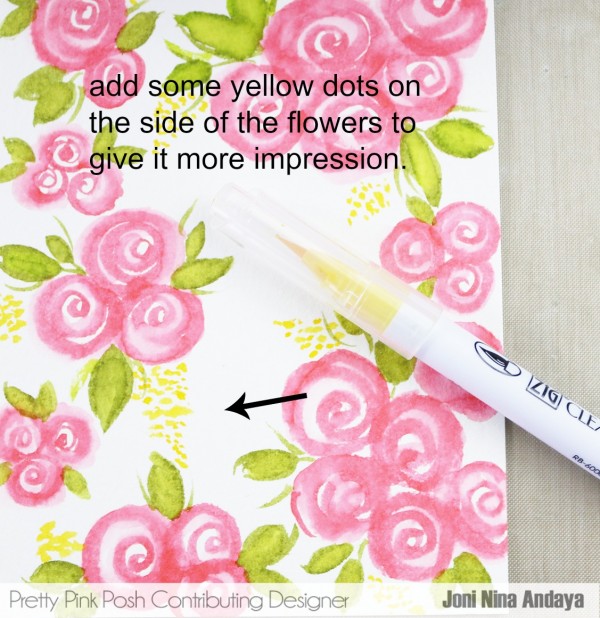
I also added some yellow dots with the flower to give it a more complete look.
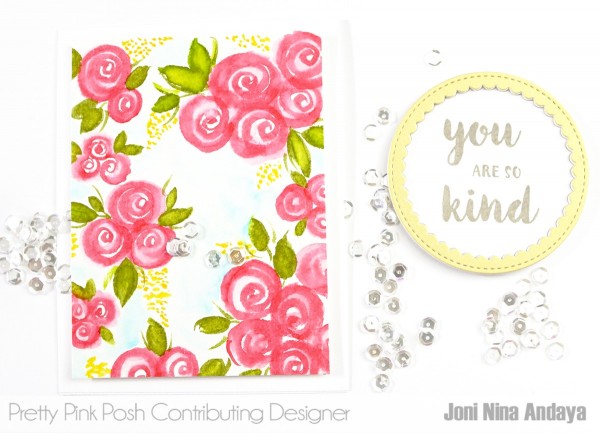
In assembling the card, I also added my favorite inverted Scallop Circle die(the smaller version). The sentiment is from Wplus9 You equal kind stamp set. I mounted the circle die-cut on a foam tape at the middle of the card panel to give it dimension.
Paulina wants to give you the opportunity to win these popular Zig watercolor markers and brushes. All you have to do is enter below leaving a comment with your favorite kind of flower!
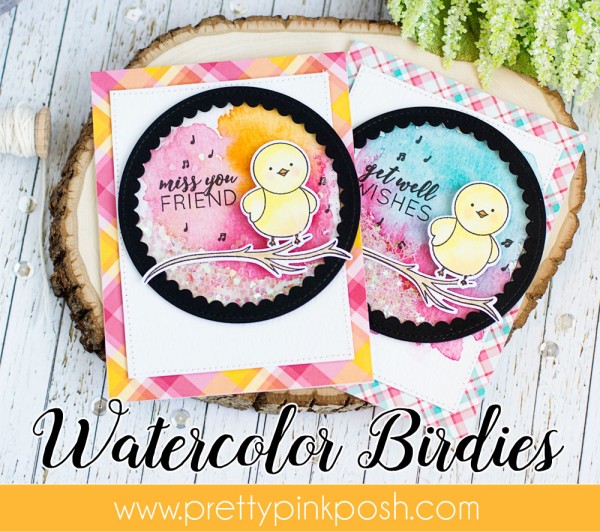
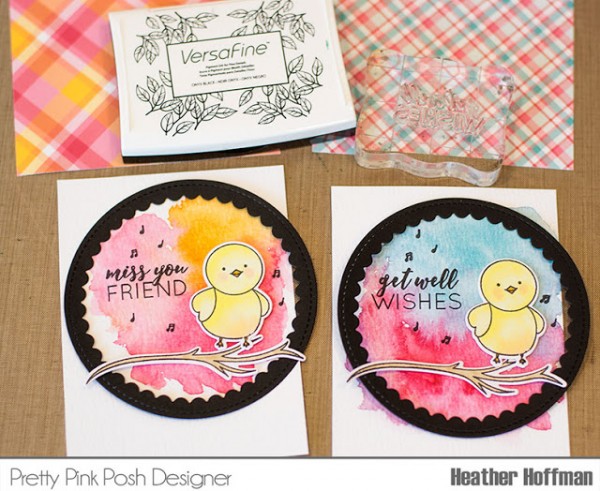
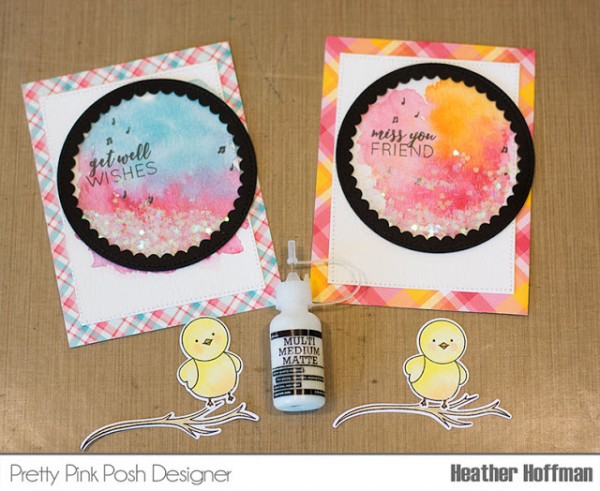
Heather here from Houses Built of Cards. I’m delighted to be sharing a photo tutorial showing how to recreate these bright shaker cards – similar to one I made for the recent release hop with PPP. Be warned – this is a picture heavy post, but hopefully it is clear and easy to follow!
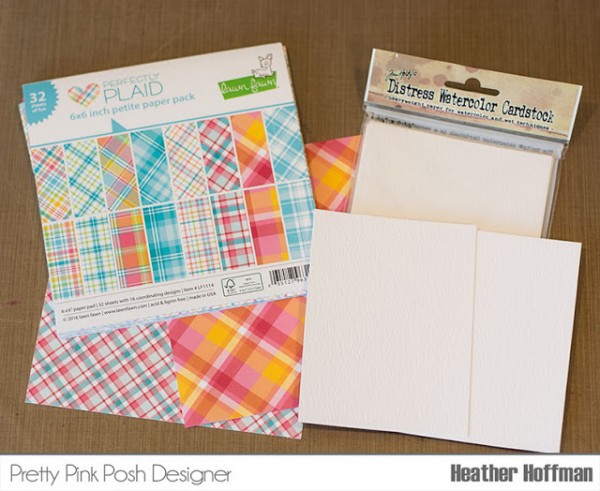
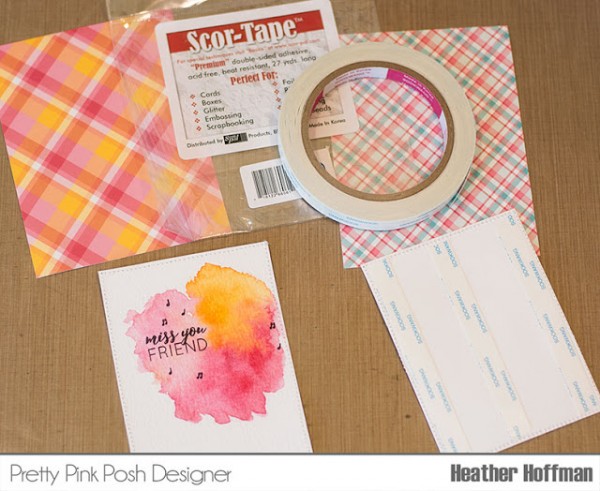
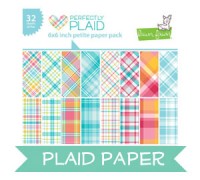
I started off by choosing a couple of plaid pattern papers – these will be trimmed to an A2 cardfront size – then trimming some watercolor cardstock to approximately 3 1/2″ by 4 3/4″.
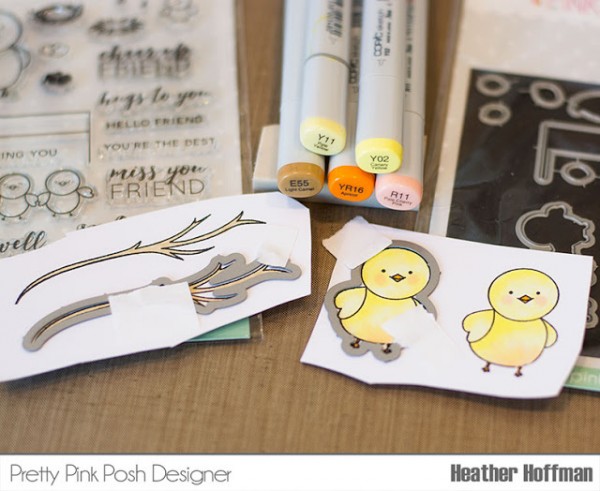
Next, I stamped the birdies and branches using Birdie Friends and Birdie Friends Coordinating Dies, colored with Copic makers, and used the coordinating die cuts. They are so easy to line up – I use a small piece of Post-it Tape to hold the die in place while I run it through my die cut machine.
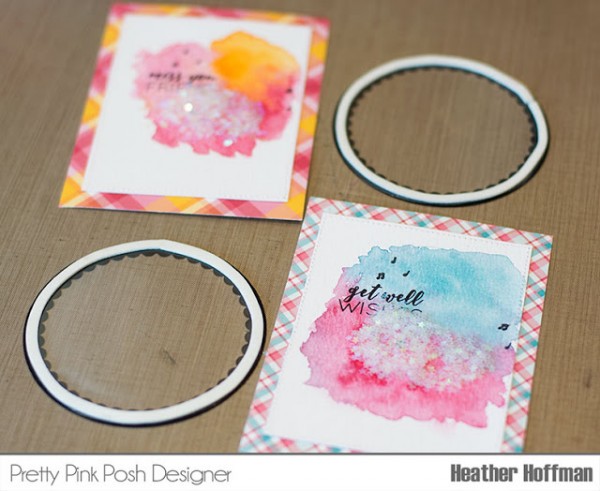
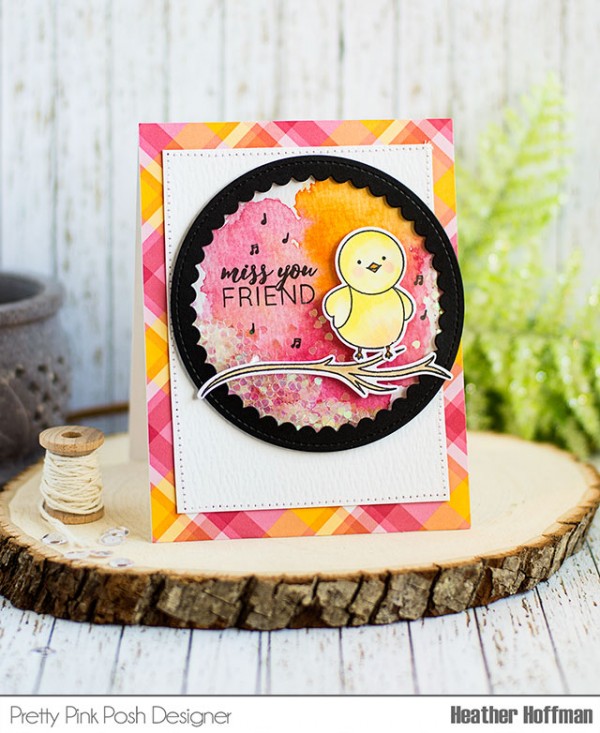
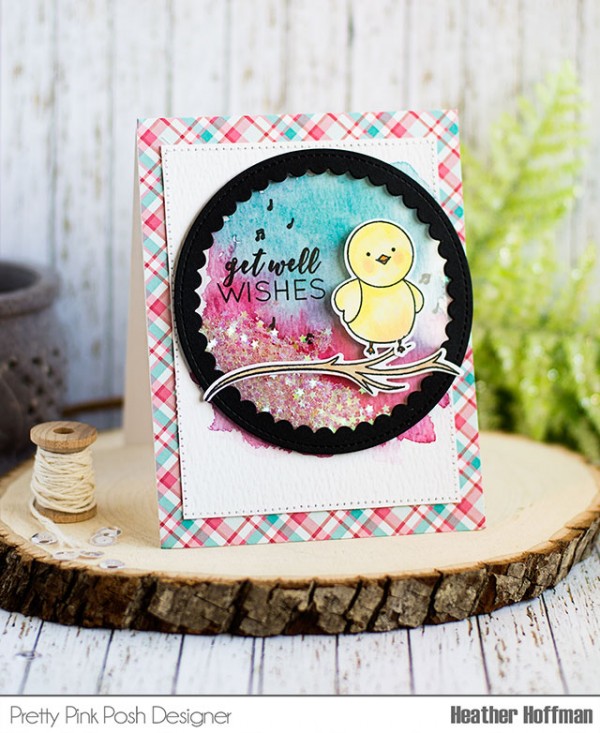
Next, I added a rough watercolor wash to the background, allowed it to dry well, then carefully laid my elements in place – NO adhesive now please! This just helped me line-up to stamp my sentiments, as well as those cute little musical notes, and have them placed perfectly when I finish assembling my shaker. The Scallop Circles were die cut out of black cardstock – I just love how this makes them pop!
Then, remove the frame and die cut images, and add a simple row of machine stitching around the edge. I love using my sewing machine to sew on paper!
Next, I use some good sturdy adhesive to adhere my watercolor panel to my trimmed pattern paper. I like to use Scor-tape – you don’t want the watercolor paper peeling up on these cards, or one side of your shaker will pop open and leak out.
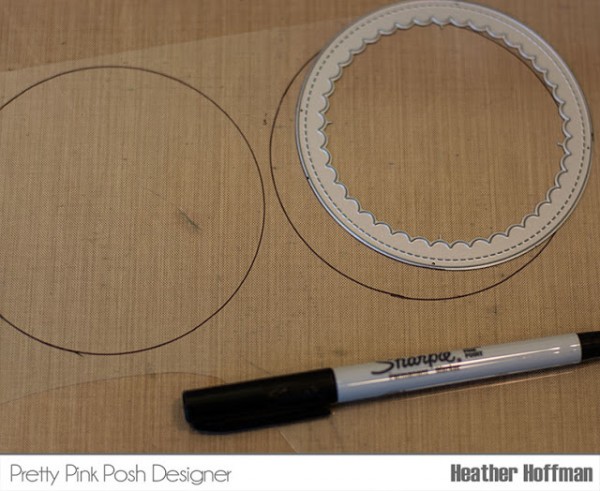
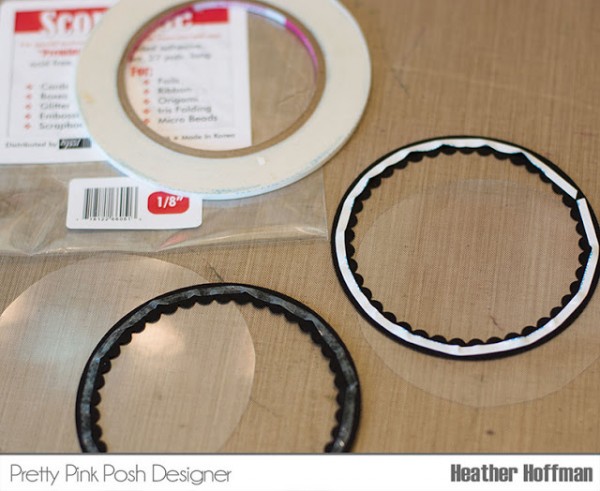
Now, to make the clear acetate window – I use a sharpie to trace around the Scallop Circlesdies on my acetate.
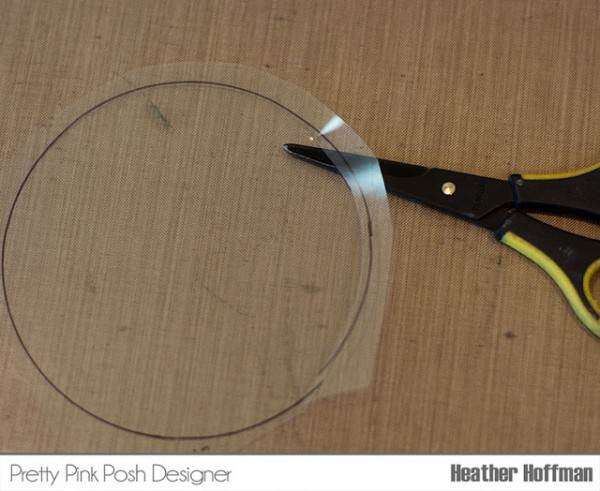
Then when cutting, make sure and trim inside the line you marked – this way it will fit behind your scallop frame without showing around the outside.
Adhere together – again using a nice sturdy adhesive – I love the slim 1/8″ width of Score tape. You can easily curve it around the frame, and when you remove the paper, all those curved edges will adhere flat once you press the acetate on.
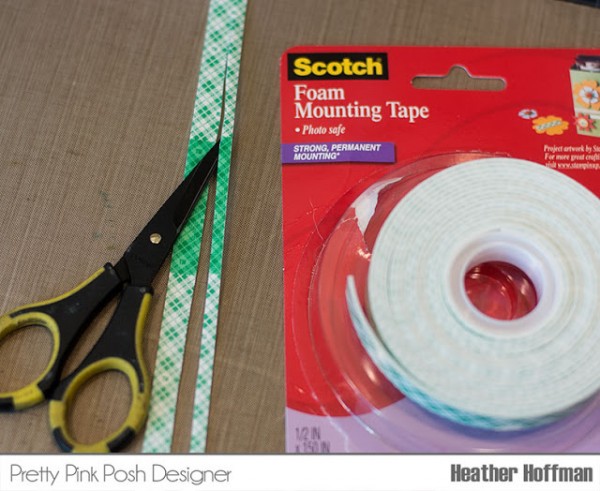
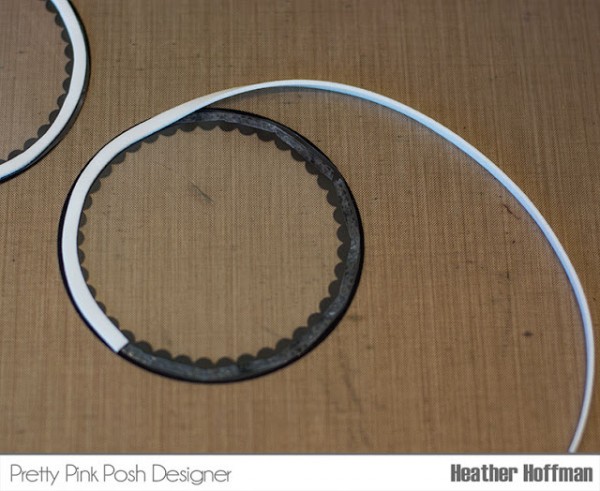
Next step is foam tape, to make sure there is room for your shaker elements to move. For the large scallop circle frame, I suggest cutting a 12″ long piece, then trim into thirds lengthwise.
The easiest way to attach the foam to the die cut frame is to remove the paper backing first – then it easily curves around the shape of the circle – so much less stressful then trying to bend the paper around! (And believe me – I’ve tried both!)
Once you have your windows ready, add a good dose of your shaker filling right on top of your card front – I’m using Iridescent Mini Heart Confetti and Iridescent Mini Star Confetti – then press your window over the top firmly before shaking it around to settle it all into place.
Finally, a bit of sturdy glue – my favorite is Ranger Multi Medium Matte, because it dries to a mat finish, so if a tiny bit leaks out, you’ll never see it! Use sparingly though – you don’t need much! Attach the branch and birdie to the front of your window and let dry.
That’s it! Here is a close up of each of these cards:
Unlimited color combos based on your pattern paper too!
Hello everyone, Joni here sharing another quick tutorial. Today I’ll be sharing how to create your own simple pop–up card that you can use for any occasion.
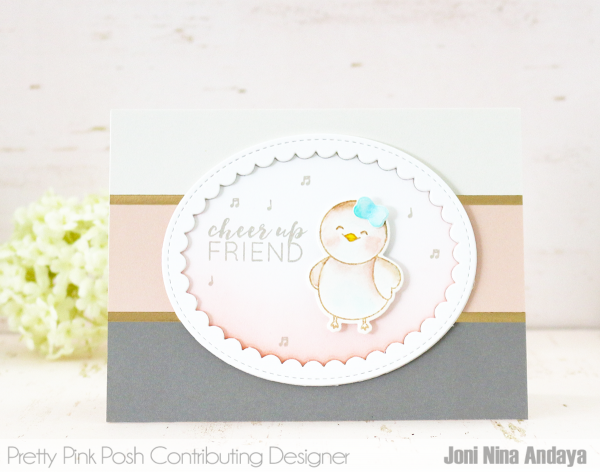
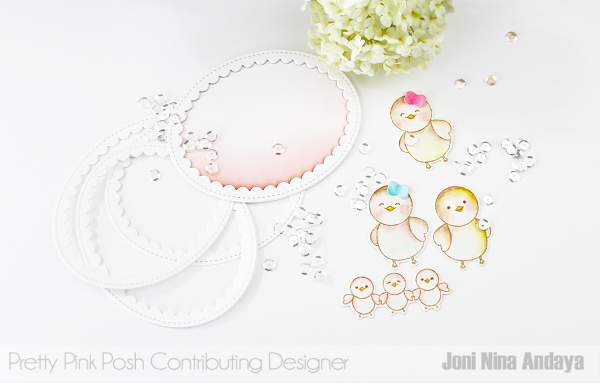
To begin, I die-cut some of the large oval from Scallop Ovals dies 5 times and distressed one of the middle part using PTI Melon Berry. Then I glued the scallop on top of the other like the photo above to give it more dimension. The sentiment “cheer up friend” I used for the front of the card is from the new Birdie Friends stamp set, but the cute birdie stamp I used for the front of the card is the Birdie Notes stamp set. The other cute birdies you see below are from the Birdie Friends as well. They were watercolored using my all time fave ZIG Clean Color Real Brush in the 60 pack and then die-cut using Birdie Notes coordinating dies and Birdie Friends coordinating dies.
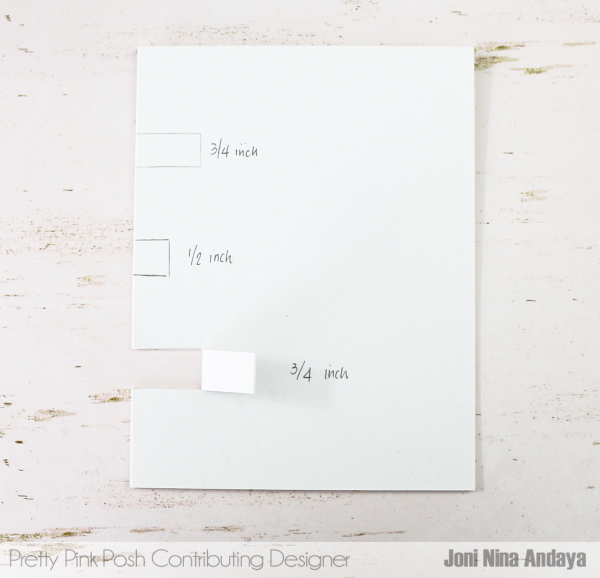
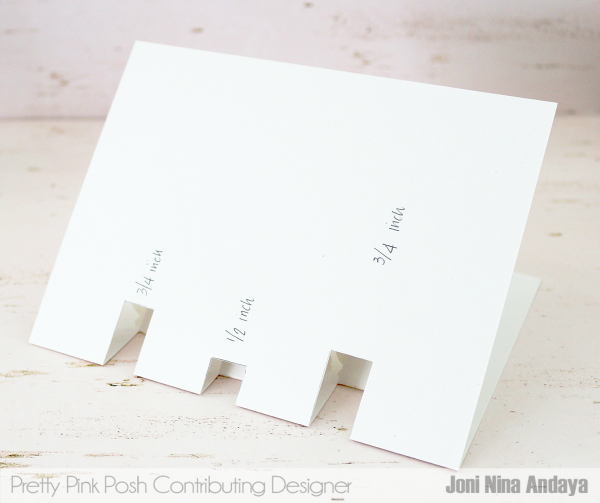
To create my pop-up card I measured the inside card a little bit smaller than an A2 card and created my pencil guide to were to cut and fold like the image below.
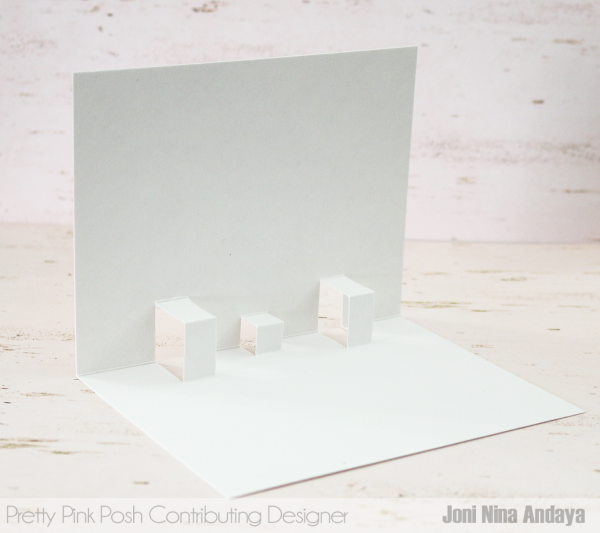
After cutting your desired pop-up stand, you can push them inside like the image below. These stand will hold your image for the inside of the card.
When you open the card this how it will look inside, now you are ready to glue your die-cut images.
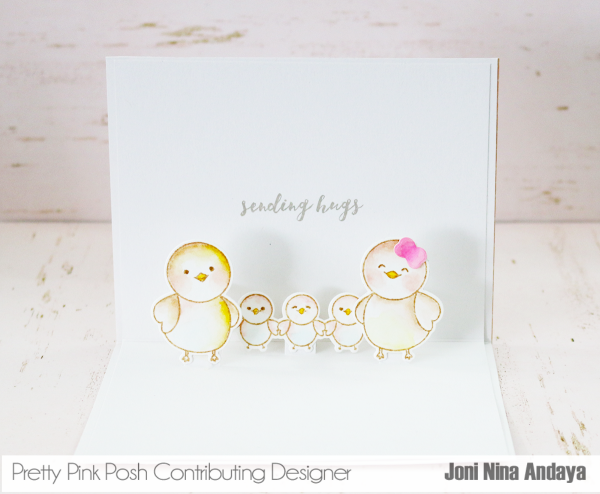
This is how they look after gluing them inside, aren’t they cute?
The bow die-cut that you see on the birdie’s head is from the Holiday Pals coordinating dies just in case you are wondering. The “sending hugs” sentiment is also from the Birdie Friends stamp set.
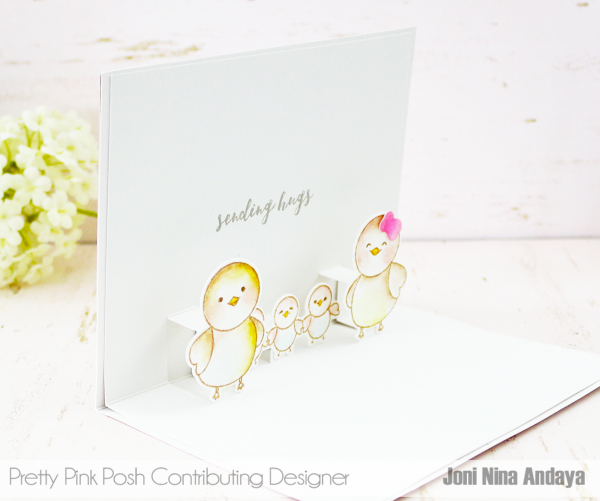
Here’s another look from the inside…
I hope you guys enjoyed this tutorial and are inspired to create your own. Have a wonderful week!