
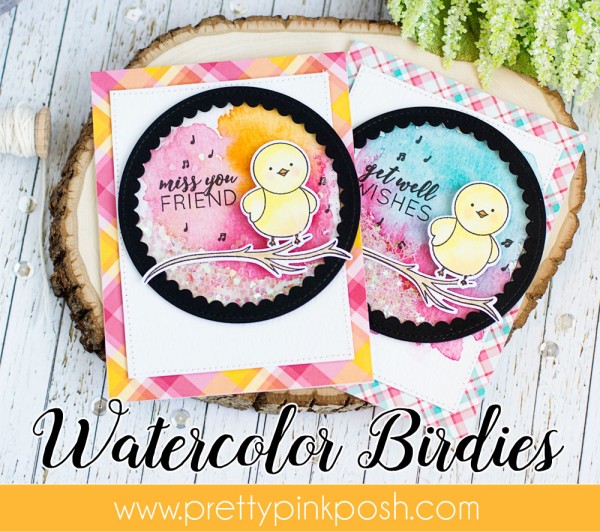
Tutorial: Watercolor Birdies
Good morning Pretty Pink Posh friends!
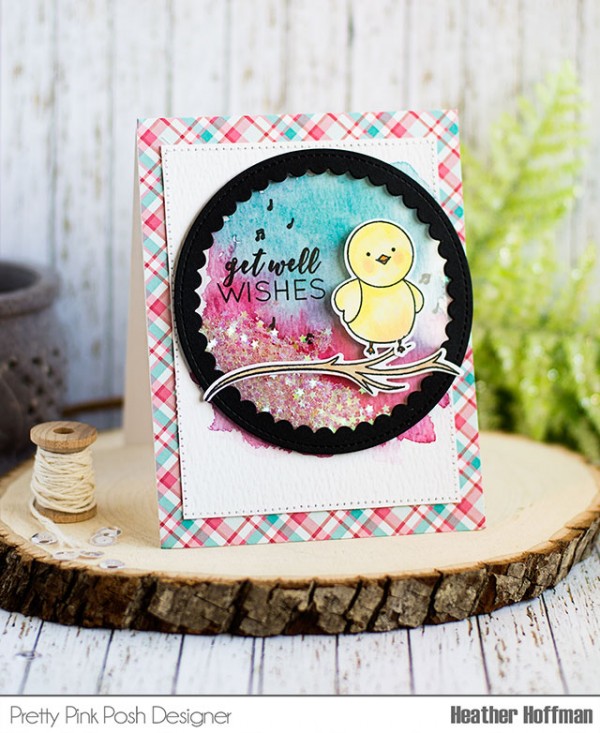
Heather here from Houses Built of Cards. I’m delighted to be sharing a photo tutorial showing how to recreate these bright shaker cards – similar to one I made for the recent release hop with PPP. Be warned – this is a picture heavy post, but hopefully it is clear and easy to follow!
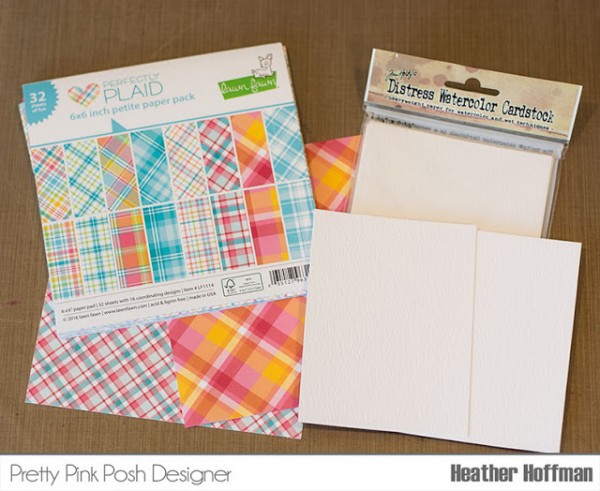
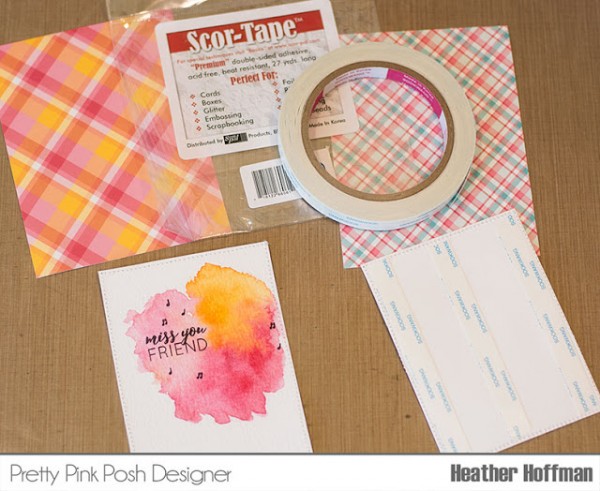
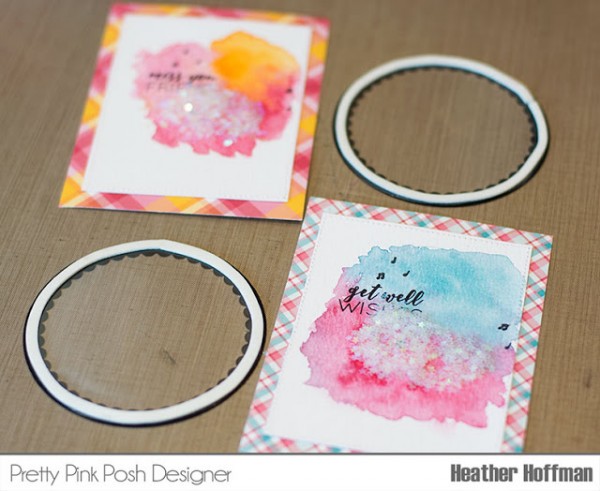
I started off by choosing a couple of plaid pattern papers – these will be trimmed to an A2 cardfront size – then trimming some watercolor cardstock to approximately 3 1/2″ by 4 3/4″.
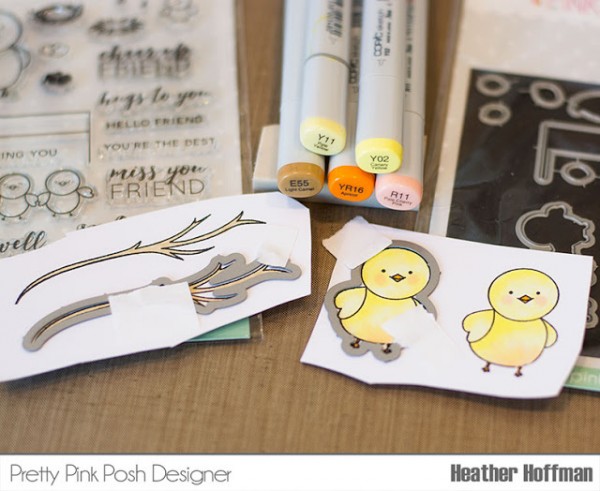
Next, I stamped the birdies and branches using Birdie Friends and Birdie Friends Coordinating Dies, colored with Copic makers, and used the coordinating die cuts. They are so easy to line up – I use a small piece of Post-it Tape to hold the die in place while I run it through my die cut machine.
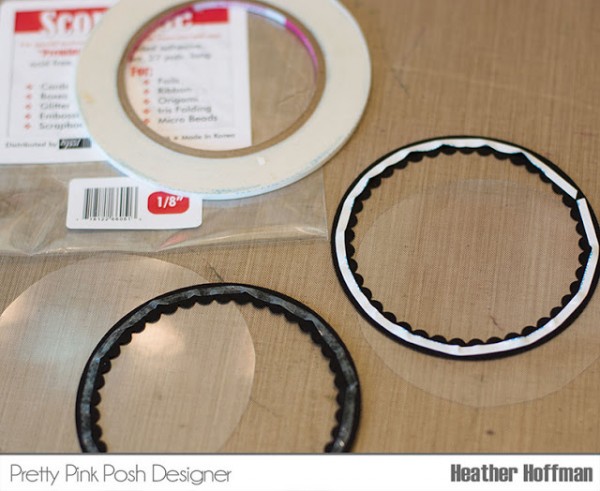
Next, I added a rough watercolor wash to the background, allowed it to dry well, then carefully laid my elements in place – NO adhesive now please! This just helped me line-up to stamp my sentiments, as well as those cute little musical notes, and have them placed perfectly when I finish assembling my shaker. The Scallop Circles were die cut out of black cardstock – I just love how this makes them pop!
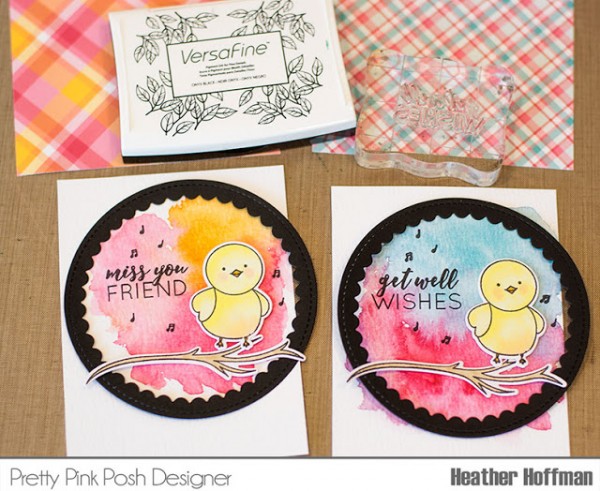

Next, I use some good sturdy adhesive to adhere my watercolor panel to my trimmed pattern paper. I like to use Scor-tape – you don’t want the watercolor paper peeling up on these cards, or one side of your shaker will pop open and leak out.
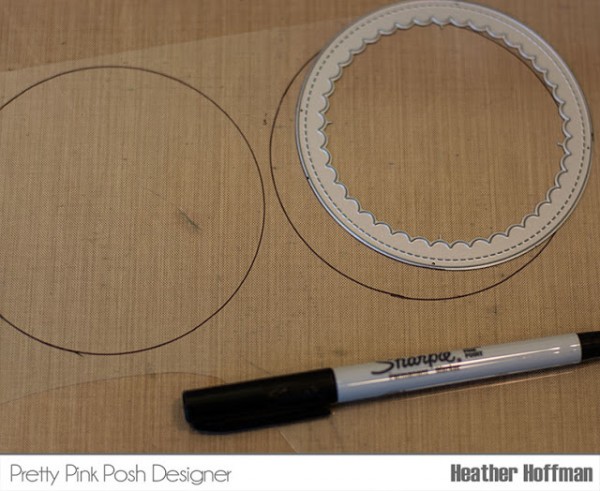
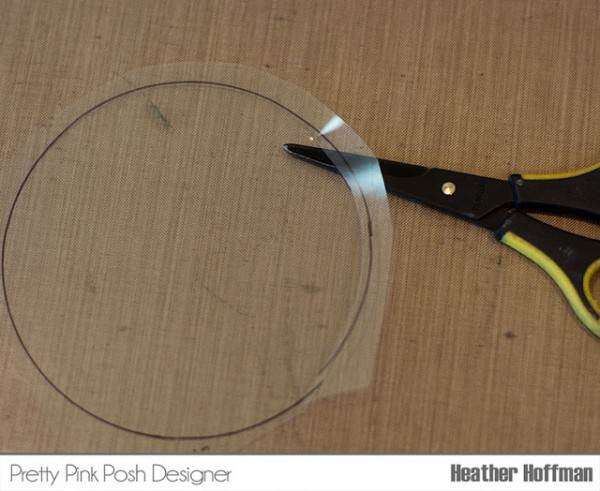
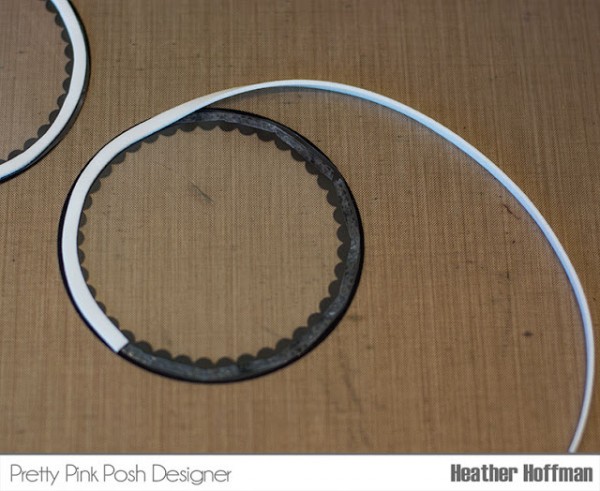
Now, to make the clear acetate window – I use a sharpie to trace around the Scallop Circles dies on my acetate.
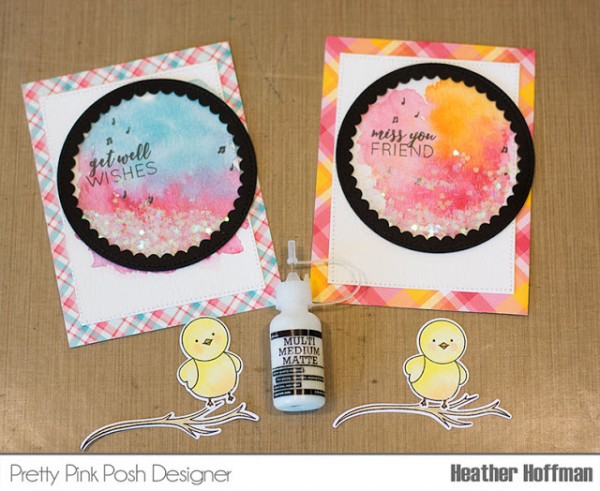
Once you have your windows ready, add a good dose of your shaker filling right on top of your card front – I’m using Iridescent Mini Heart Confetti and Iridescent Mini Star Confetti – then press your window over the top firmly before shaking it around to settle it all into place.
Finally, a bit of sturdy glue – my favorite is Ranger Multi Medium Matte, because it dries to a mat finish, so if a tiny bit leaks out, you’ll never see it! Use sparingly though – you don’t need much! Attach the branch and birdie to the front of your window and let dry.
That’s it! Here is a close up of each of these cards:
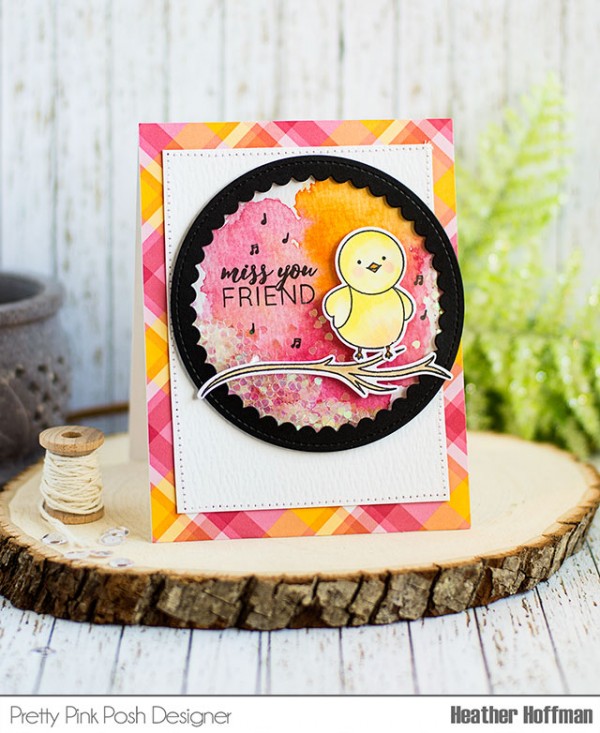
Unlimited color combos based on your pattern paper too!
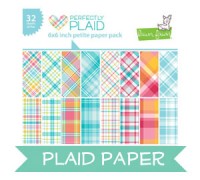
- Lawn Fawn Plaid Paper: Ellen Hutson // Simon Says Stamp
- Distress Watercolor Cardstock: Amazon // Ellen Hutson // Simon Says Stamp
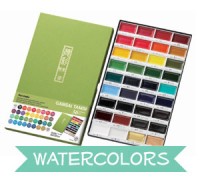
- Gansai Tambi Watercolors: Amazon // Ellen Hutson // Simon Says Stamp
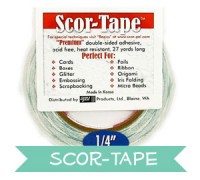
- Scor-Tape: Amazon // Simon Says Stamp
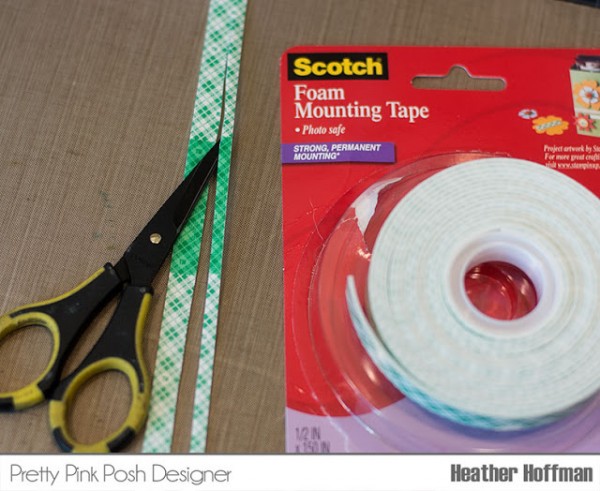
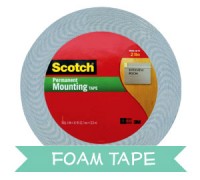
- Foam Tape (extra large roll): Amazon // Ellen Hutson // Simon Says Stamp
I don’t think I’ll see anything cuter all day!
Love both cards, received my set yesterday in the mail. I will be making cards today with this set, I will be sure to do some like this too.
Ooh, love, love, love this card! I recently (2 weeks ago, lol) bought 2 Prima Confections water color sets and have been painting lots of backgrounds for my PPP bunnies and birdies then framing them with the PPP scalloped circle, square and rectangule dies. I’ve been raising the frames with foam tape, but I have not done shaker cards–I couldn’t figure out how to get the foam tape curved around for the circle die–I’ve been leaving small gaps between pieces of foam tape. This tutorial is perfect and so timely for me! It’s as if you made this just for me, haha!
Thank you SO much, Heather for an awesome tutorial! I will be making 3 of these cards today for some friends who are experiencing some serious health problems. I think they will really brighten up their day!
Thank you too, Paulina, for having such a great team of amaxing designers and for posting this tutorial! I love all these awesome that really show us how to get the most out of our PPP products!
The plaid paper is as cute as can be!
Totally awesome: happy colors and so sweet!
These are wonderful cards and a fabulous tutorial! xxx
Hi Heather & Paulina ~ These are such adorably happy cards! I’m a TOTAL sucker for shaker cards and use all the PPP goodies to fill them. This stamp & die set are definitely on my wish list and if there was any doubt before, there certainly isn’t now after seeing your beautiful cards. Thanks so much for sharing the step-by-step photos too…perfect tutorial. ~HUGS~
OH my GOODNESS! These are absolutely FANCY = FANTASTIC, AWESOME, NIFTY, CUTE, YUMMY!!!!!
Darling card and I love the little chicks! Great tip about taking the paper off so it will curve better, thanks!
Absolutely love your shaker cards and thank you for the tutorial.
I must have that branch on the birdie. So stinkin cute. Thank you.