Tutorial: Birdie Bookmarks
Hello everyone, Joni here for peak of the new upcoming Stitched Essentials 1 dies that release tomorrow, May 1st.
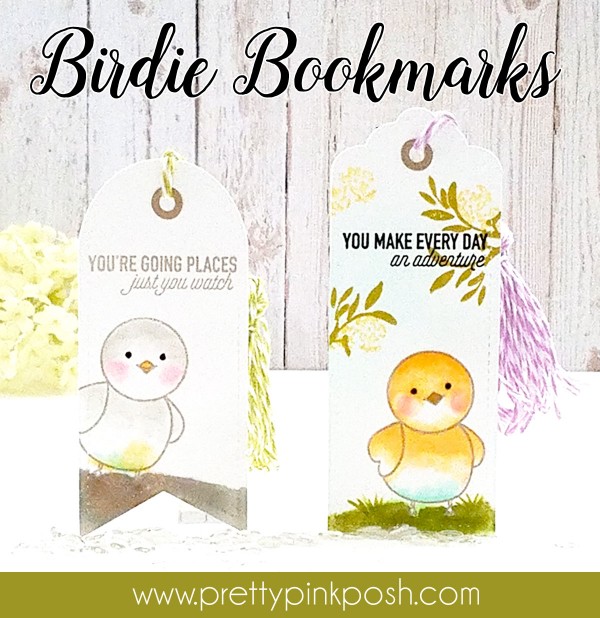
For this project I created a bookmark using this cute tag dies and coordinate using the cute chicks from the Birdie Friends stamp set. The chicks were stamped directly on the bookmarks and colored it with Copics. The sentiments I used were from Wplus9 Going Places stamp set.
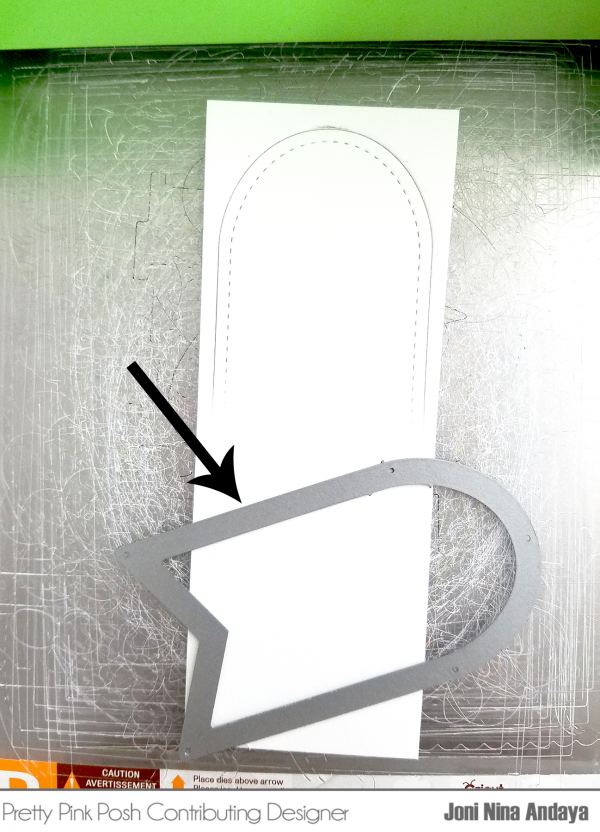
To begin, I die-cut he tag only to where the black arrow is pointing.
Next, I die-cut again to prolonged the tag and make it in to a bookmark. The pink arrow is showing where the cut is supposed to stop. The black arrow shows that you have to flip the plate and cut this way.
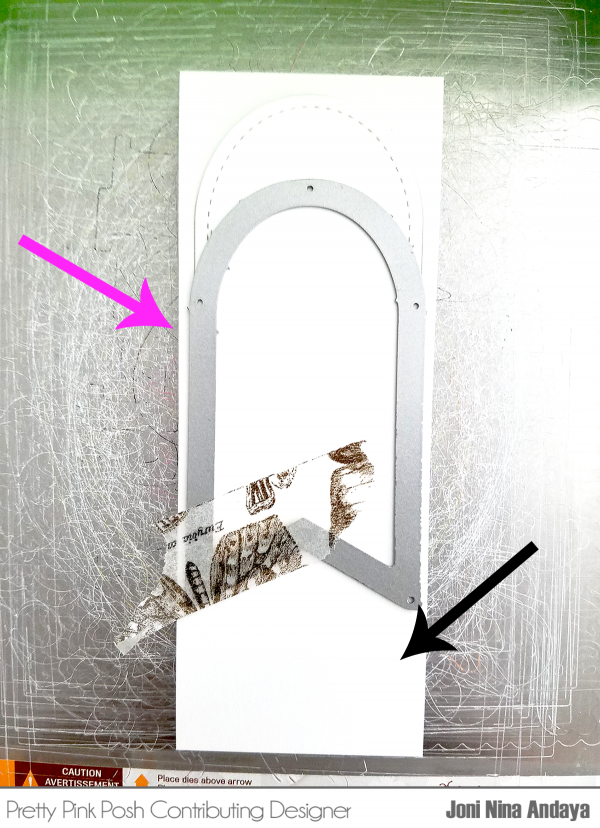
This picture is just showing you where the cut should stop.
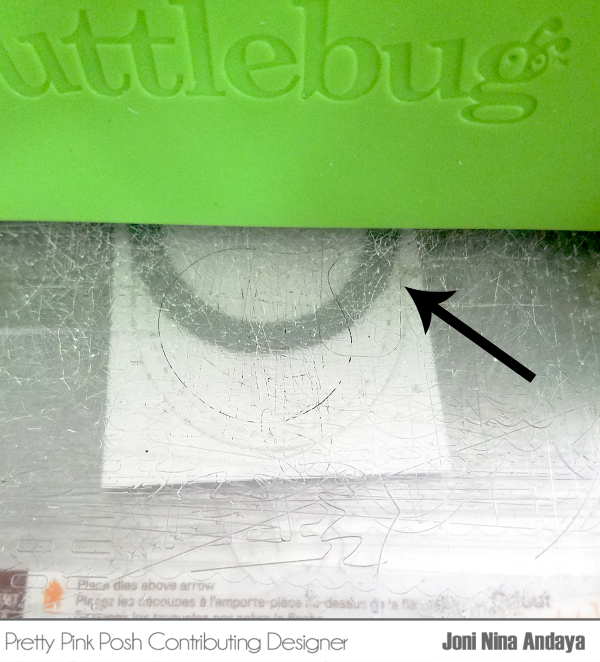
Next, I created a tassel for the bookmark. If you want a video tutorial, I used THIS one as a guide to make a proper tassel.
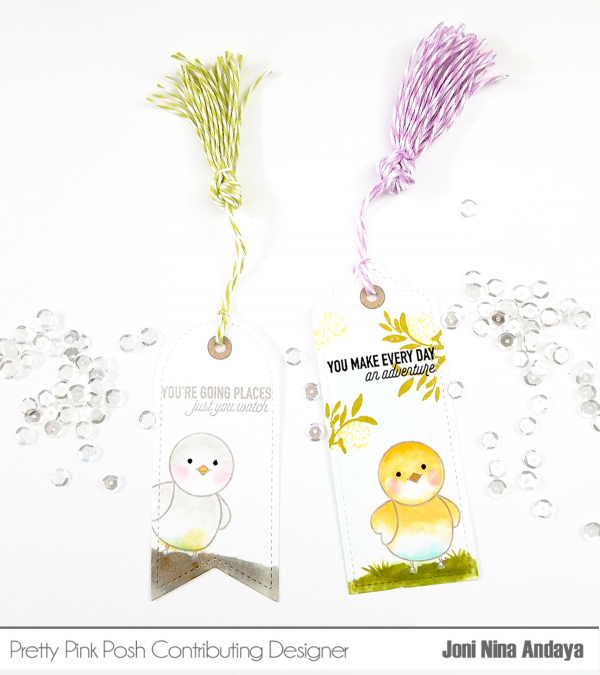
Here’s another look.
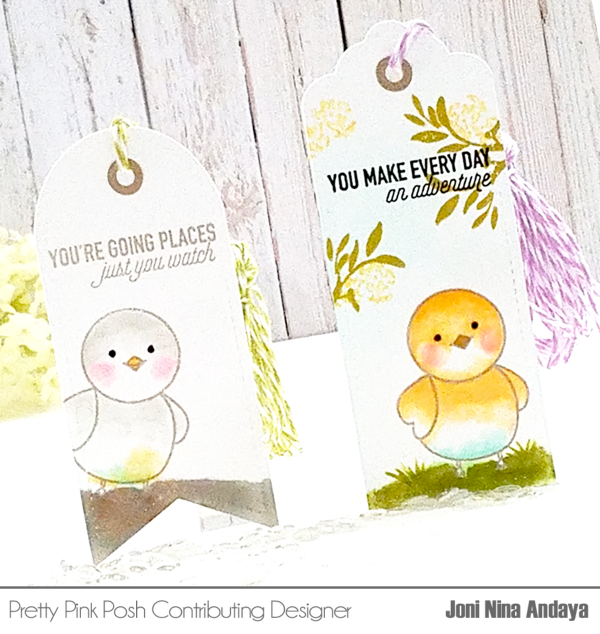
Don’t forget: tomorrow the new release is available in the Pretty Pink Posh Shop!
I hope you guys enjoyed this tutorial!


These bookmarks are the cutest ever! Great way of stretching the die!
Joni, these bookmarks are adorable. A great tutorial! TFS!
These are so tweet!
These bookmarks are so sweet. I love the birdie stamps.
An excellent idea for a little gift !
These are just darling! Love birdies more than anything! (Mine will be 20 years old tomorrow!). And I love the tassels; will have to save that video – thanks for sharing.
Can always use more sequins and your wonderful dies!!
So cute!! Love Birdie and the fun tassels!!!
Thank you for showing with such detail how you elongated the tags. I’m still a bit new to this and more of a visual learner. I’m loving your idea!