Hello, Gemma here today to share a graduation card featuring the latest release from Pretty Pink Posh. The release includes stencils for the first time and they are fabulous!
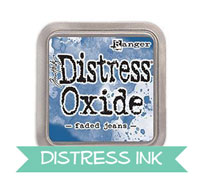
I love stencils for several reasons – how easy they are to use, the possibility to get many different looks, the price point is low, and they are easy to store if you have limited craft space like me. I’ve used the Graduation Stencil for my card today. I inked onto dark blue cardstock with Faded Jeans distress oxide ink. I love the luminous quality of distress oxides on dark cardstock.
After coloring and die cutting, I added more shades with my colored pencils.
Next, I die cut the Mother’s Day Script Die out of white card stock, then I colored the die-cuts with Copic Markers: E49-E47-E44. I diecut the same letters again and glued them together using Multi Medium Matte. The small ‘Happy’ was from Fox Friends stamp set and was heat embossed in white on brown card stock.
In order to make a background for my flowers and scripts, I diecut the same watercolor paper using Lattice Background Die and adhered it on a white card base using with the use of Multi Medium Matte. Now it’s time for adding all the colored pieces and create a scene on our A2 panel.
Hello, Pretty Pink Posh’ fans! This is Yana Smakula. In this video, I’m sharing a very easy method to create money holder greeting cards. You won’t need any specialty dies or supplies for this type of card and you should be able to create a card design like this using most of your Pretty Pink posh stamps and coordinating dies.
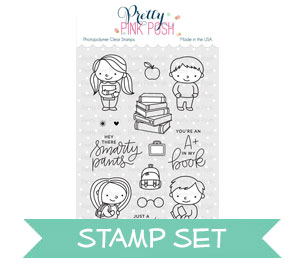
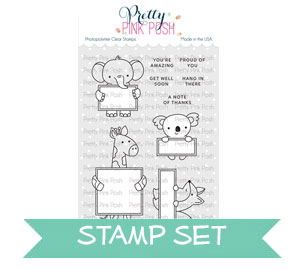
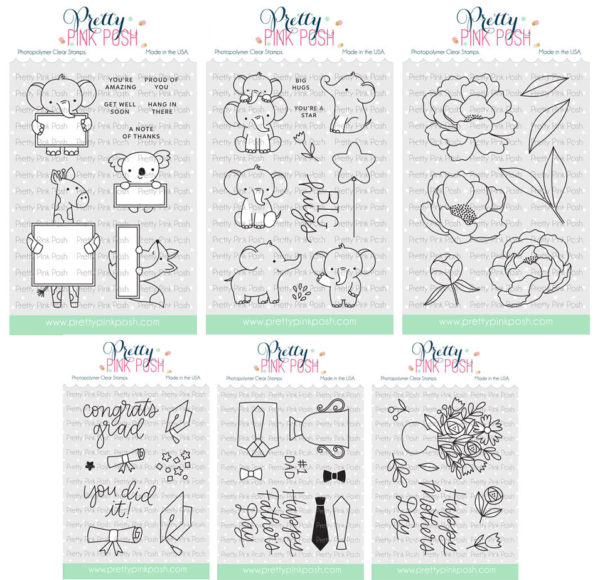
I started by stamping some images in black Copic marker friendly ink onto white paper. The size of the images you pick is the only thing that matters as you’ll want to use something that’s big enough to hide a folded bill behind it. So a small critter stamp, for example, is not going to work. But a cute giraffe, like the one I’m using here and also a gorgeous floral arrangement will. Both of these images are from Pretty Pink Posh and come from the Animal Signs and Mother’s Day stamp sets respectively.
Watch my video tutorial below to learn how I made this card.
Next, I quickly colored these using Copic markers. Nothing fancy, just some quick strokes of color to bring these images to life. I used YG03, YG17, RV34, RV11, RV10, Y11, Y35, Y17, BV11, BV00, and BV000 markers. To color the giraffe I used E37, E33, E31, R0, and E51.
I wanted to combine these two images and have my critter holding a floral bouquet and not the frame. I did some fussy cutting to eliminate the image parts I didn’t need and using foam adhesive squares I foam mounted the flowers onto my critter, added front legs and the tail. Super cute! and it wasn’t hard to do at all.
Next, I’ve done some partial die cutting using a coordinating die. To make the partial cut I only covered the part of the die that I wanted to cut into the paper and left the other part of the die free. This allowed me to do partial die cutting and only die cut the top part of my giraffe.
I also wanted to add some dry embossing to the background. I used a new Wide Stripes stencil and dry embossed on the background. I love the result! It looks very clear and simple, yet there’s pretty linear texture in the background!
I trimmed this panel down to 4” x 5 1/4”, I also made an A2 card base using hot pink cardstock. I folded the money bill and inserted it into the partially die cut panel. Next, I added foam adhesive around it making sure not to touch it. I wanted to block the bottom part of the panel so that I didn’t have stuff falling down into the card and making it impossible to get it out.
I also used my anti-static powder tool to eliminate any of the residual stickiness on the foam tape so that nothing would stick to it. Once done, I adhered the panel onto a card base, foam mounted the critter, added the bill and dressed up this card using pink stamped stars and Pearlwhite jewels.
I also made one more card to share, this one is for Graduation and it uses the same concept and almost same supplies.
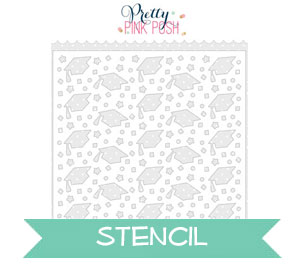
I used a different stencil for the background, Graduation, and blended some pastels over it to give it some color and help highlight the embossed areas.
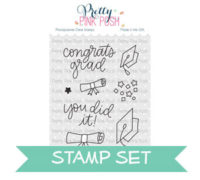
Next, I stamped, colored and cut out an adorable elephant from the Animal Signs stamp set. I used W5, W3, W1 and R20 markers. I also stamped a graduation cap and a scroll from the Congrats Grad stamp set and colored those images using Copic markers as well. I used RV34, RV11 and RV10 colors along with C9, C7, and C5 markers.
I foam mounted this darling baby elephant onto the background matching him with the partial cut already made. Next, I added his graduation cap and a scroll using foam adhesive. I foam mounted the entire panel onto a light pink card base and also embellished it with a few stamped & die cut stars and pretty white jewels.
While the slits in these cards are relatively small you should be able to tuck any folded currency bill inside or tuck a little handwritten note if you like.
PRIZES: be sure to leave comments on each stop. I’m giving away 4 $25 gift certificates to four random comments (2 winners each day) left before May 8, 2019 at 11:59 PM PST. I’ll be announcing the winners next week, so be sure to return and see if you are one of the winners!
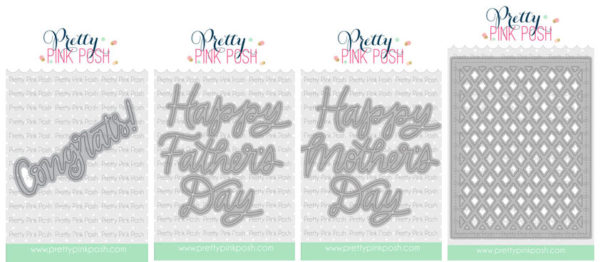
I diecut Congrats Script Die out of white card stock twice, colored the top surface with Copic Markers and glued them together using Multi Medium Matte.
I used colors of E49-E47-E44 for script die-cuts. Before assembling a card, I chose cheerful sentiments to be inserted on the blackboard from Animal Signs Stamp set, School Friends Stamp set, and Bear Hug Stamp set and then I heat embossed them in white on each blackboard the critters are holding in their hands.
Now it’s time to assemble all the pieces together into a card! I adhered the background panel onto a card base, then I glued Congrats Script die cut on the top, and then I added cute critters with hats using Glue Dots and Foam Adhesives, I also put eyeglasses from School Friends stamp set on the koala, which made the whole scene look so fun! As a final embellishment, I adhered Shamrock Jewels and Lemon Drop Jewels around the scene and finished off my card.
Main colors of Copic Markers I used are warm gray for the koala, cool gray for elephant, neutral gray for a black hat, BV08-V09-V06-V04 for purple hats, G29-G28 for blackboards, Y38-Y35 for yellow points, and R29-R22-R14 for red points.
PRIZES: be sure to leave comments on each stop. I’m giving away 4 $25 gift certificates to four random comments (2 winners each day) left before May 8, 2019 at 11:59 PM PST. I’ll be announcing the winners next week, so be sure to return and see if you are one of the winners!
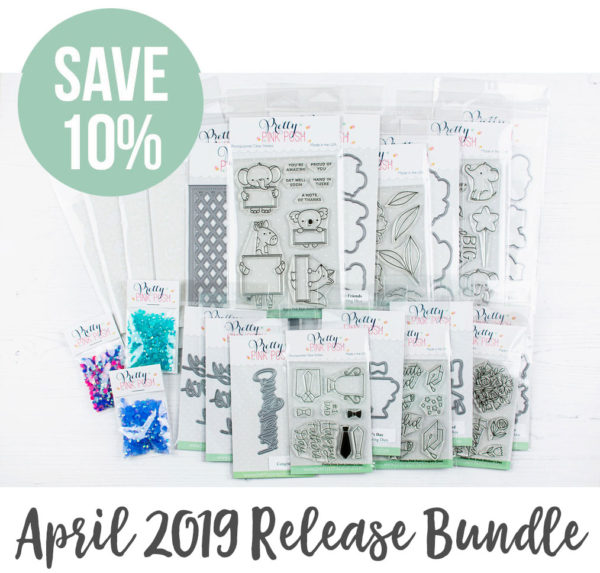
The April 2019 Release is now available in the Pretty Pink Posh Shop and select retailers that carry our products. If you missed our post earlier, we revealed all of the products in picture form, but if you would like to see them in a video, Ardyth has that for you today!
Hello, Gemma here today with a card to share using some fabulous products from the Pretty Pink Posh April release.
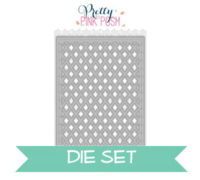
I was so excited to use the new Lattice Background die. I am a huge fan of cover dies. I think they are fantastic for adding interest to clean and simple cards. The Lattice Background die is so gorgeous, it’s definitely a must have.
I began by cutting a piece of blue pattered paper to fit my A2 card base, adhering it with liquid glue. I then die cut the Lattice Background die from white card and layered it over the top.
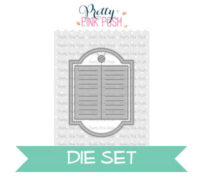
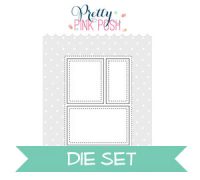
To create an area in the centre of the card, I die cut the Storybook 1 die from white card, trimming it down to give a small border and adhering to my card.
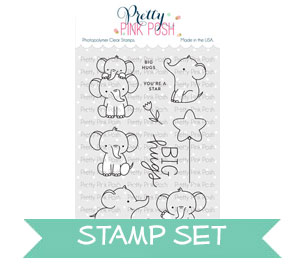
I chose two elephants to feature on my card. The elephant holding the sign is from the new Animal Signs stamp set. The elephant and the star balloon are from the new Elephant Friends stamp set. I love that the greeting from the Elephant Friends set fits perfectly on the sign.
I coloured the images with copic markers, then die cut them with the coordinating dies.
I used foam tape to adhere them to my card, then added some glossy accents to the balloon and a few Sea Glass jewels around the images as a finishing touch.
Thank you for joining us today. I hope you enjoyed today’s card and were inspired.
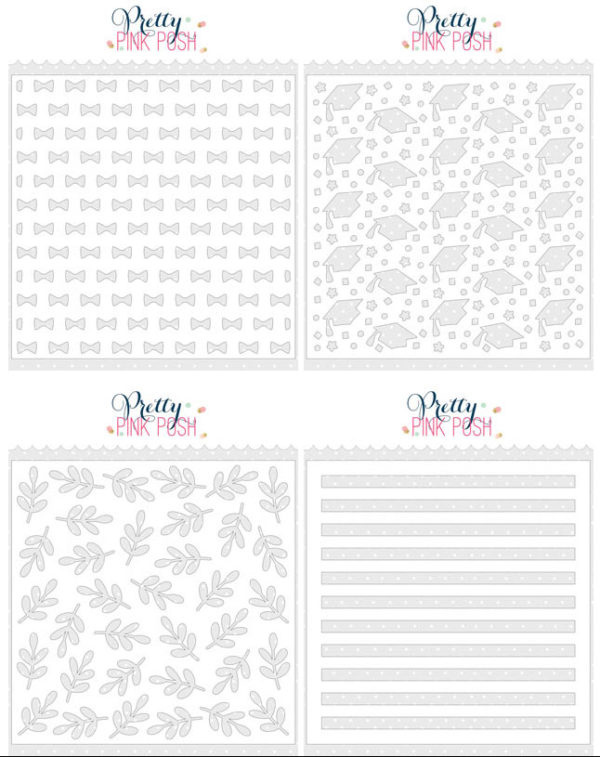
We are so excited to releasing our very first stencils in this release. We have FOUR designs and each one is super fun. The names are: Bow Ties, Graduation, Leaves and Wide Stripes.
I have a limited amount of bundles available where you can buy the whole collection in one easy click. Plus, you’ll get 10% off!
We will see you soon as we show you the new products in a video and we’ll have a card sharing some of the new products!
Hi friends! Angelica here, and I am so excited to be part of this week’s sneak peeks of the new April/May Release. Today I have made a few cards with some of the dies that will be available on April 29th.
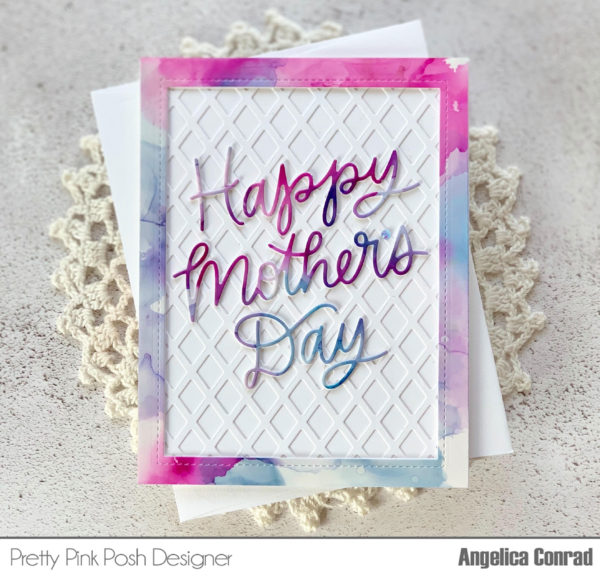
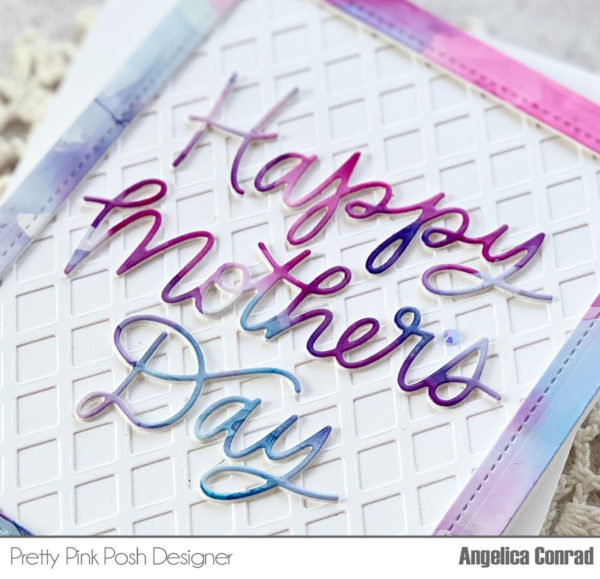
This first card I used the new Lattice Background Die and the new Mother’s Day Script Die. I ink blended Festive Berries, Picked Raspberries, and Spun Sugar Distress Oxide Inks onto a white card stock panel, then added the lattice die cut panel on top. I die-cut Happy Mother’s Day several times out of white card stock to stack and glue together for dimension. I die-cut one more time with gold foil paper, and glued it to the top of the stacked words. Next I stamped and Copic-colored the vase and flowers from the new Mother’s Day stamp set, and used the Mother’s Day coordinating die to cut it out. To complete the card, I used foam squares to add the vase, and Multi Media Matte to add the words.
I made a second Mother’s Day Card using the same dies, using an Alcohol Pearl ink panel to die-cut the words and make a frame from.
I used the rectangle die from the Stitched Notes die set to cut the frame. I kept the background white-on-white for a clean look.
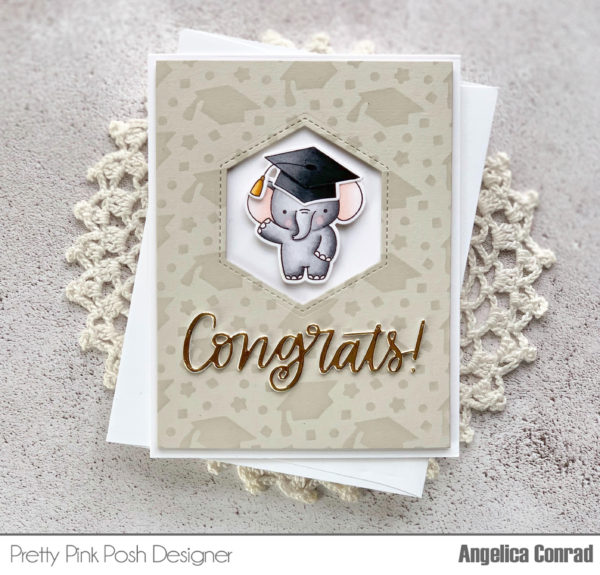
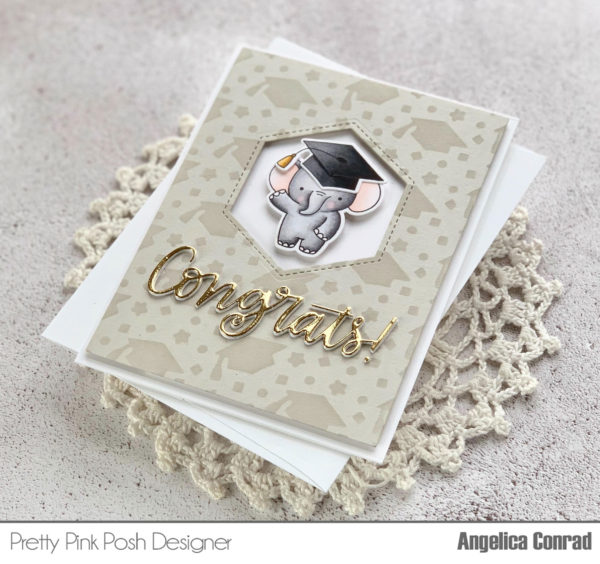
My last card showcases the new Congrats Script Die. I couldn’t help but use a few other new products to make this adorable graduation card.
On gray card stock, I blended matching ink over the new Graduation Stencilto make the background. I trimmed the panel down and die-cut a window using the middle size die from the Stitched Hexagons Dies. I stamped and Copic-colored the adorable elephant from the new Elephant Friends stamp set, and a graduation cap from Congrats Grad stamp set. I die-cut the elephant and cap with the coordinating dies, then added the panel and elephant to an A2 size card base with foam adhesive. I die-cut Congrats three times from white card stock, and one time out of gold foil card stock. I stacked and glued the words together, then glued the word to the card front.
I hope I have given you ideas on how to use these new dies. Thanks for stopping by!
Good Morning Friends! It is Dana here today sharing a graduation card sharing a sneak peek of the new Congrats Grad stamp set, along with one of the new stencils, Graduation!
I started my card by creating my background with the Graduation Stencil and Transparent Gloss Texture Paste from Ranger. I used a palette knife to apply the paste all over my card panel. When you first apply the paste it is white.
For my card layout, I used the Scallop Frame die. I stamped my sentiment onto the inside piece and inlaid it back into the frame. Next, I attached my images with foam adhesive and attached everything to my A2 card base.
I hope you have been enjoying the sneak peeks so far. We still have one more sneak peek of the April 29th release, join us again tomorrow!
Good morning Pretty Pink Posh friends! It’s Heather here and I’m super excited today to be sharing some cards using some of the brand new release coming soon from Pretty Pink Posh- and it’s a FAB release I can tell you for sure!
I got the chance to use the SUPER adorable new Animal Signs stamp set, and paired it up with 3 out of 4 of the very first Pretty Pink Posh stencils!
I couldn’t possibly choose which images I wanted to use, so I stamped and colored all of them – then die cut them with the Animal Signs coordinating dies.
I did some dual layer ink blending on the backgrounds of my card bases – basically blending one color of ink softly in the background, then layering the stencil over the top and blending the SAME color but darker for a tone on tone effect.
Hello stamping friends! Suzy here and I’m so excited to be sharing with you some of the brand new Pretty Pink Posh products today! I get to show you cards using the Father’s Day Stamp Set and the Mother’s Day Stamp Set.
I made the front panel of this card using the Storybook 1 Die and the Bow Ties Stencil with Distress Inks. I kept the ink very light so it was subtle since the inside of the card should be the focal point. I created a watercolor panel for the inside of the shaker window.
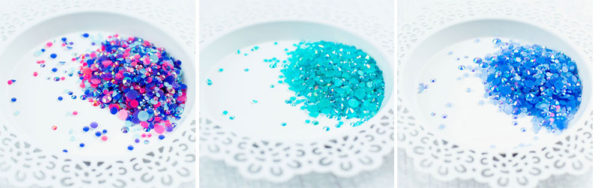
I stamped the Father’s Day Stamps using a light color of ink and then colored them in with colored pencils. I attached them to the top of the windows. I used seed beads inside the shaker in Hydrangea,Spring Green, and Aquamarine. I then attached some Starry Sky Jewel Mix around the stamped images.
I die-cut the die from white cardstock twice. I attached the first one to a card front by using adhesive behind the entire piece so all of the little inside pieces stayed in place. I then rubbed Distress Oxide Inks in yellows over the entire piece. I then popped all the inside pieces out of the second one and attached that over the yellow one.
I stamped the sentiment from the stamp set on the center of a Scallop Circles Die. I then stamped some of the flowers and the bouquet (twice) from the stamp set using a light color of ink. I colored all of the flowers in with colored pencils. I cut some of the flowers out of the two bouquets and arranged all of the flowers around the circle frame.
Thanks so much for joining us today for our preview of the Mother’s Day Stamps and Father’s Day Stamps. I’m especially excited about this gorgeous Lattice Background Die which is a must for all card makers! Stop by tomorrow for another look at the April 29th release!