Sneak Peek: Sweet Chocolates + Valentine Cupcakes
Hello crafty friends, Arsenia here! I’m thrilled to share these sneak peeks using the new Valentine Cupcakes and Sweet Chocolates stamp sets.
I’ll be sharing two color palettes today one is nontraditional colors for Valentines, and one is basically an iconic color palette for Valentines. I had so much fun making these beauties, both sets coordinate well together. I absolutely adore these products, let’s get started!
New release will be available January 3rd
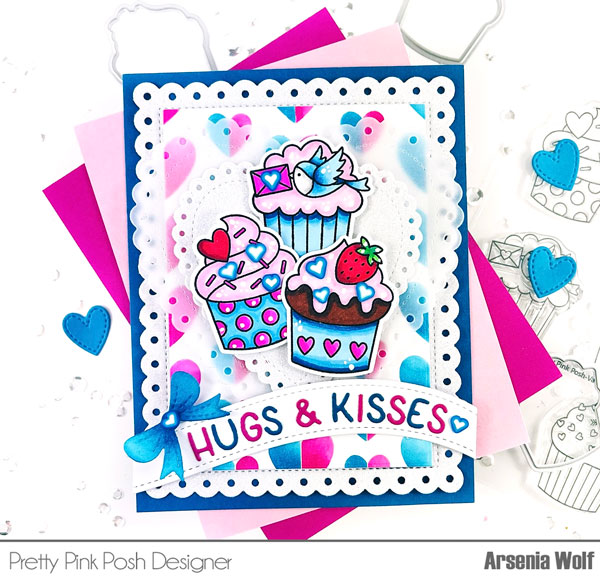
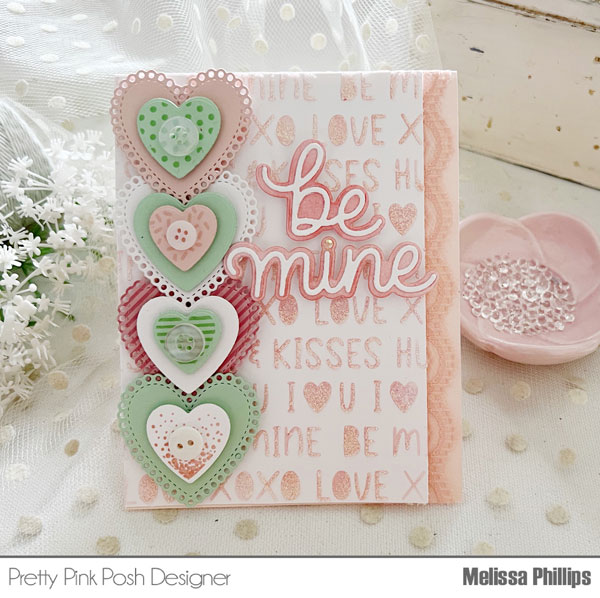
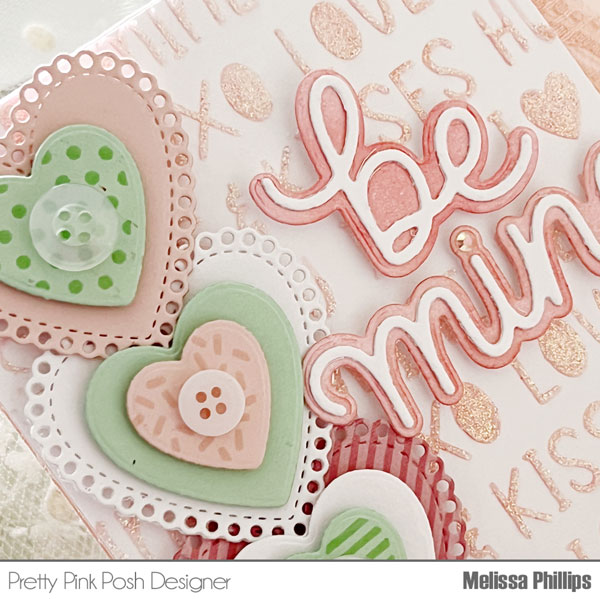
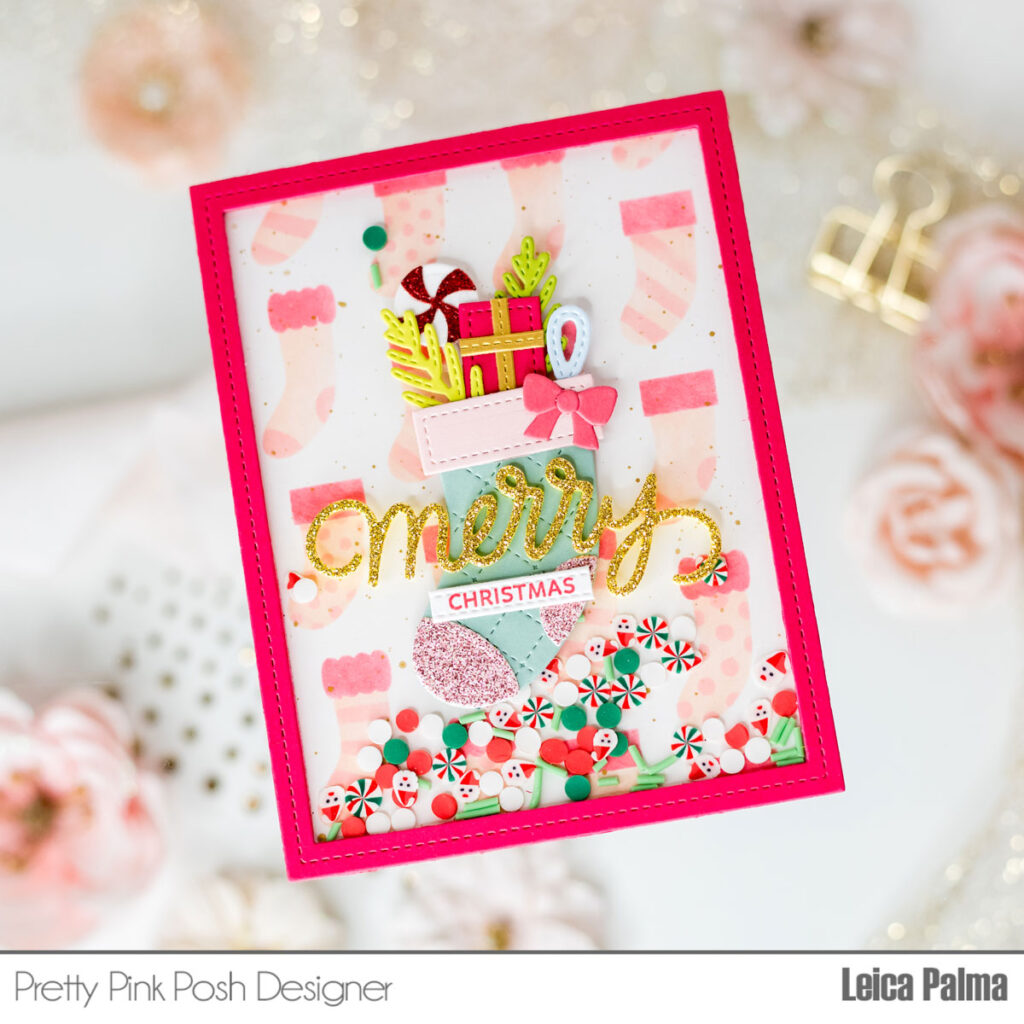
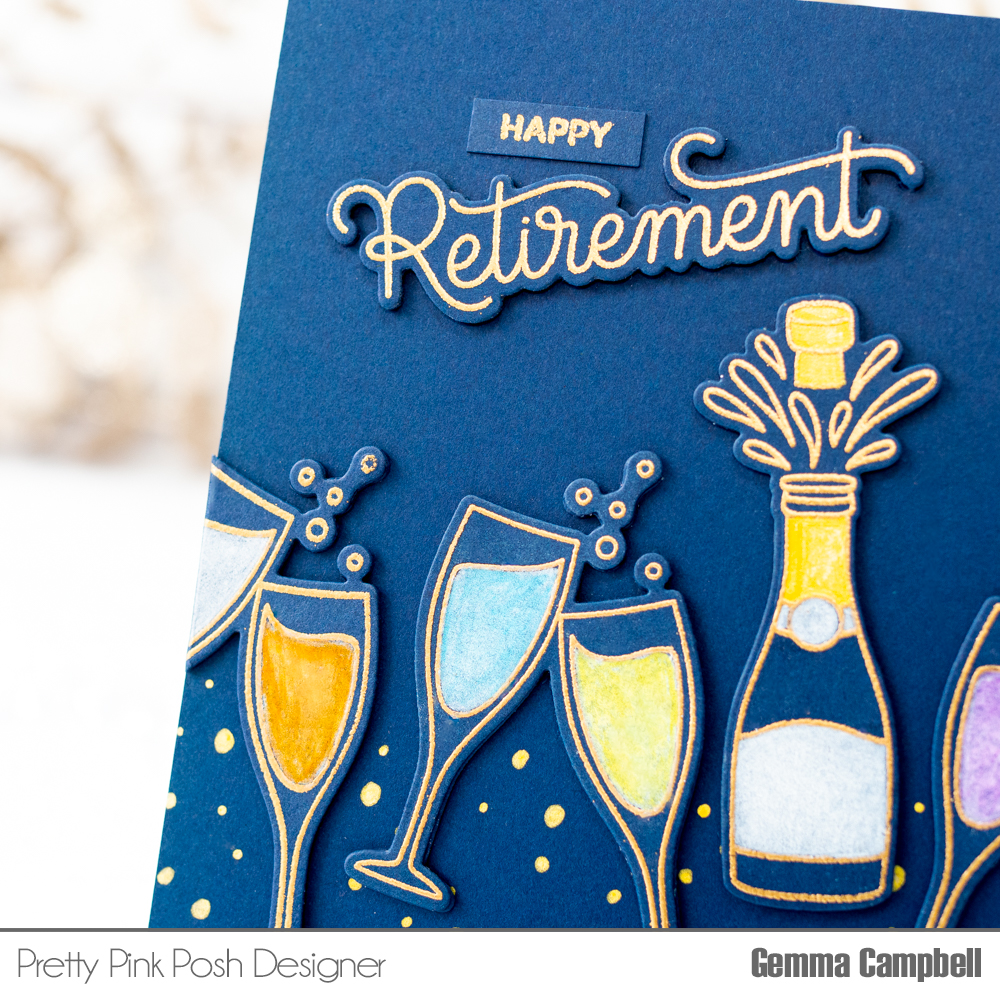
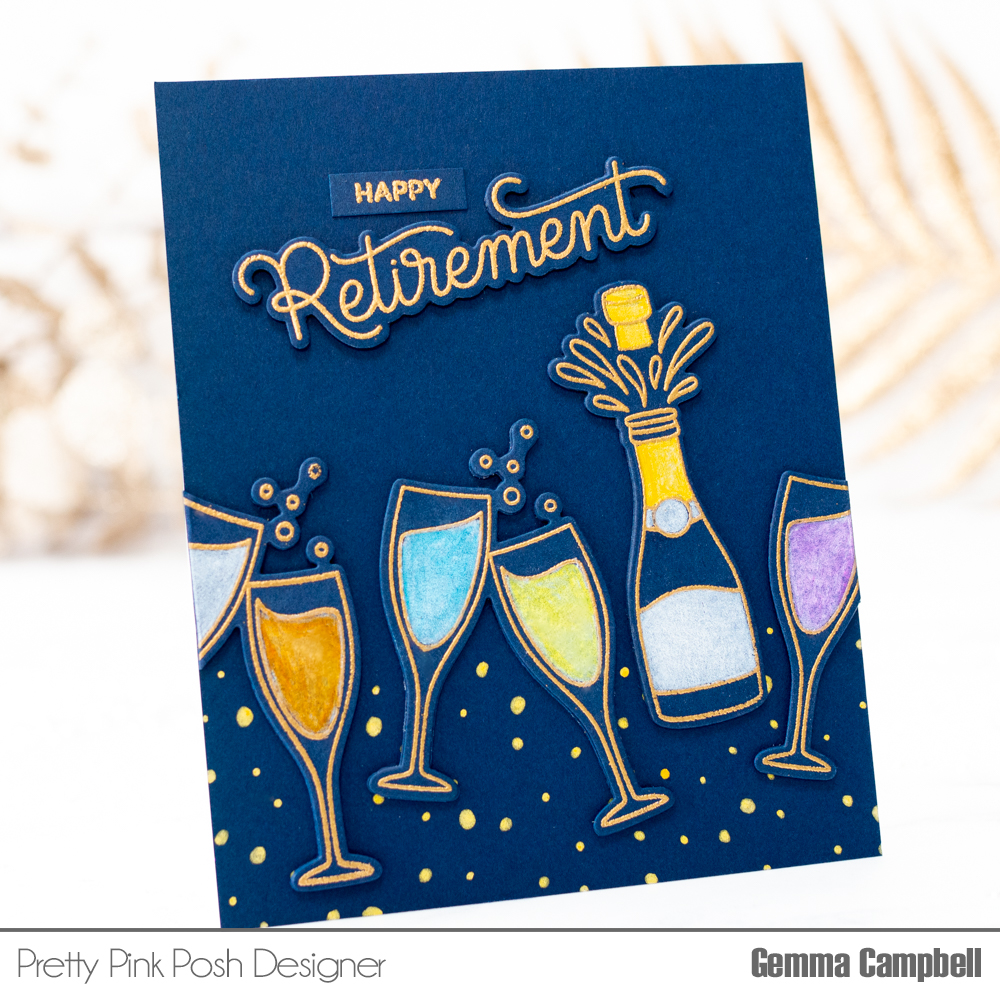
For my first card I stamped and colored the images from the new Valentine Cupcakes stamps with Olo alcohol markers using an array of fuchsia and blue colors, not your typical Valentine color palette. I did add a few elements of red but overall fuchsia, blue, and a light pink are the main colors.

For my background I used the new Half Heart 2-layer stencil, it’s a beauty! I used die inks for the blending in bright blues and fuchsias. I was determined to use the Eyelet Rectangles Dies from the most recent release on my project, these dies are a favorite of mine. I cut the large Eyelet rectangle out of white glitter cardstock and cut my stenciled panel down to nestle it on to the large Eyelet Rectangle die. I needed a resting place for the cupcakes, I decided to use the new Eyelet Hearts Dies! I cut the large heart in velum and a smaller one from white glitter cardstock.
I adhered the elements to my card base and decided to add a few embellishments. I used the new Colorful Heart Clay Confetti, specifically the blue hearts. I added a few highlights with my white gel pen and embellishments are done!
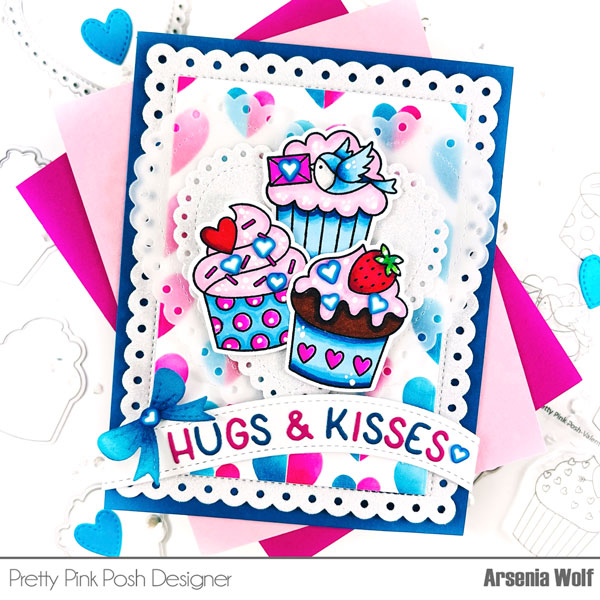
The next and final step was the sentiment. Oh yes, I did…I used another new product from the release called Elegant Banner Heart! It’s a gorgeous set of dies and sentiments are perfecto for Valentines and basically anytime of the year. I glued the letters from the Elegant Banner Heart dies to classic die called Stacked Edges 1 Dies. I finished the sentiment off with a royal blue bow from the Holiday Mug Additions Dies and a few more of the Colorful Heart Clay Confetti, ta-da all done!
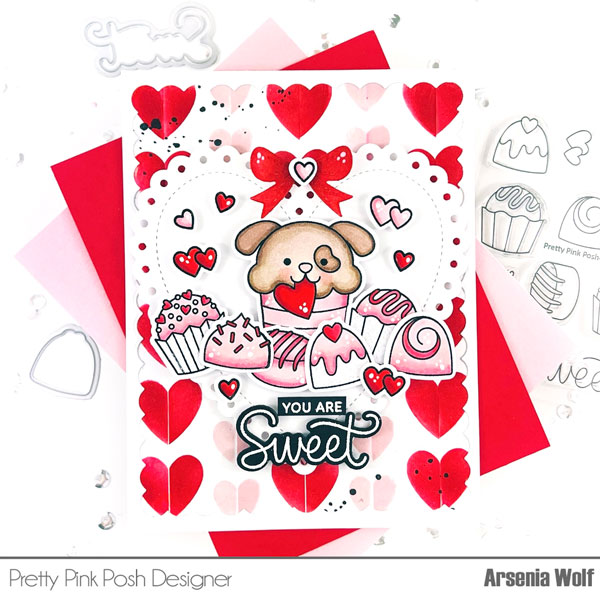
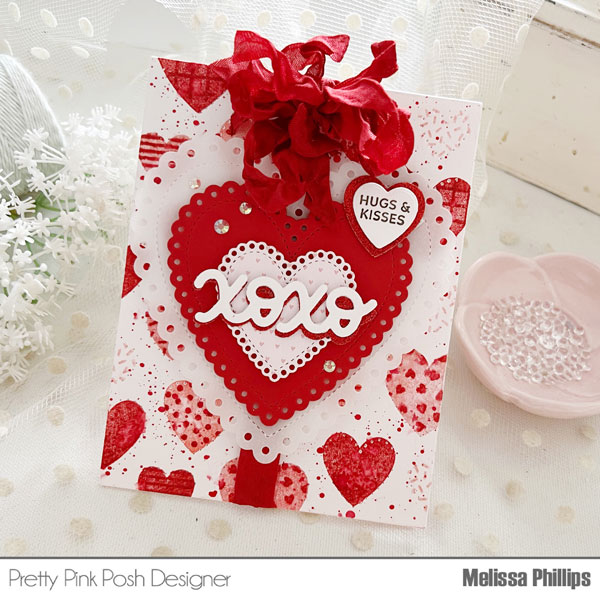
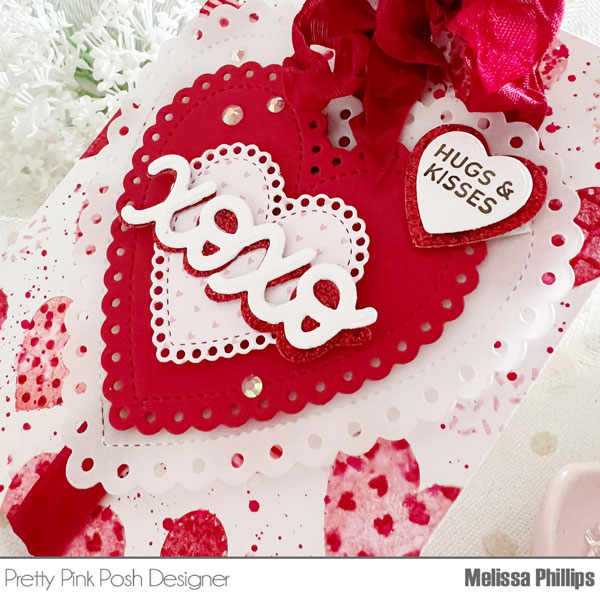
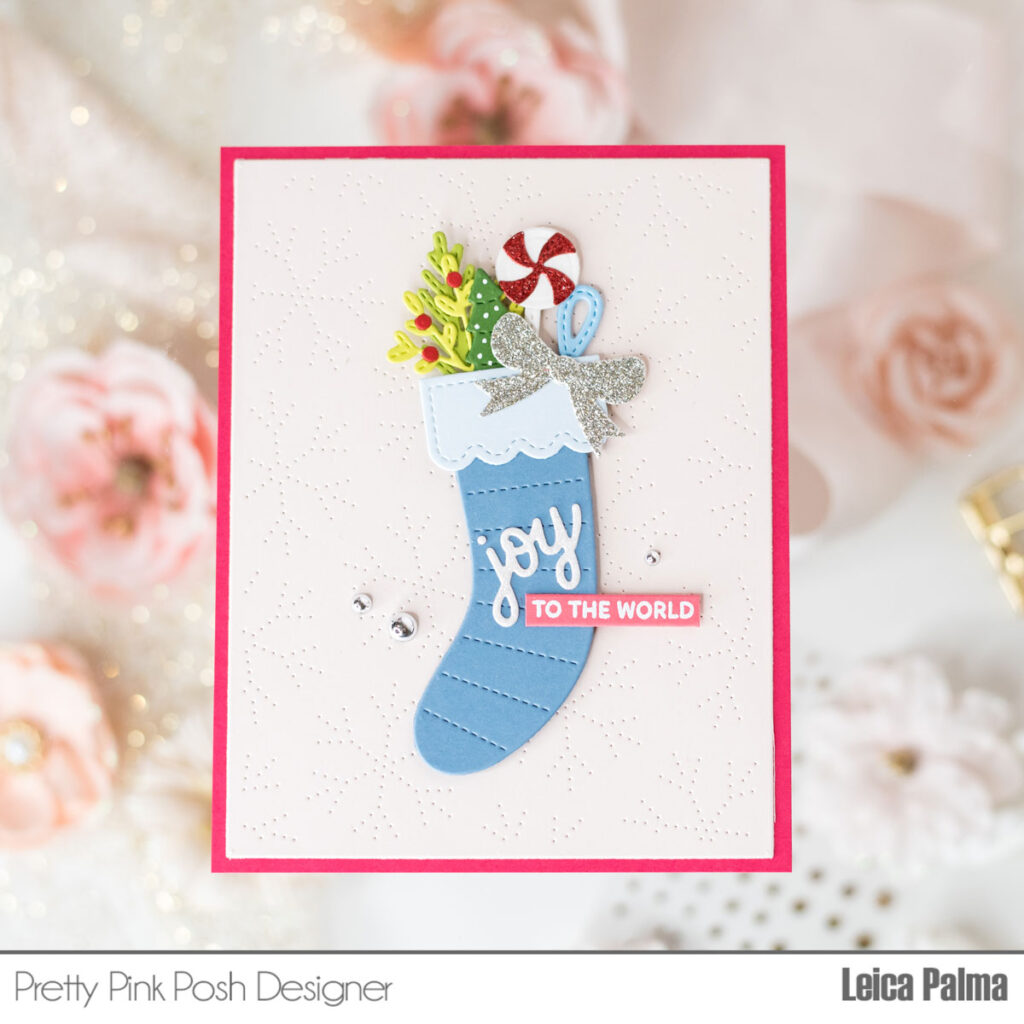
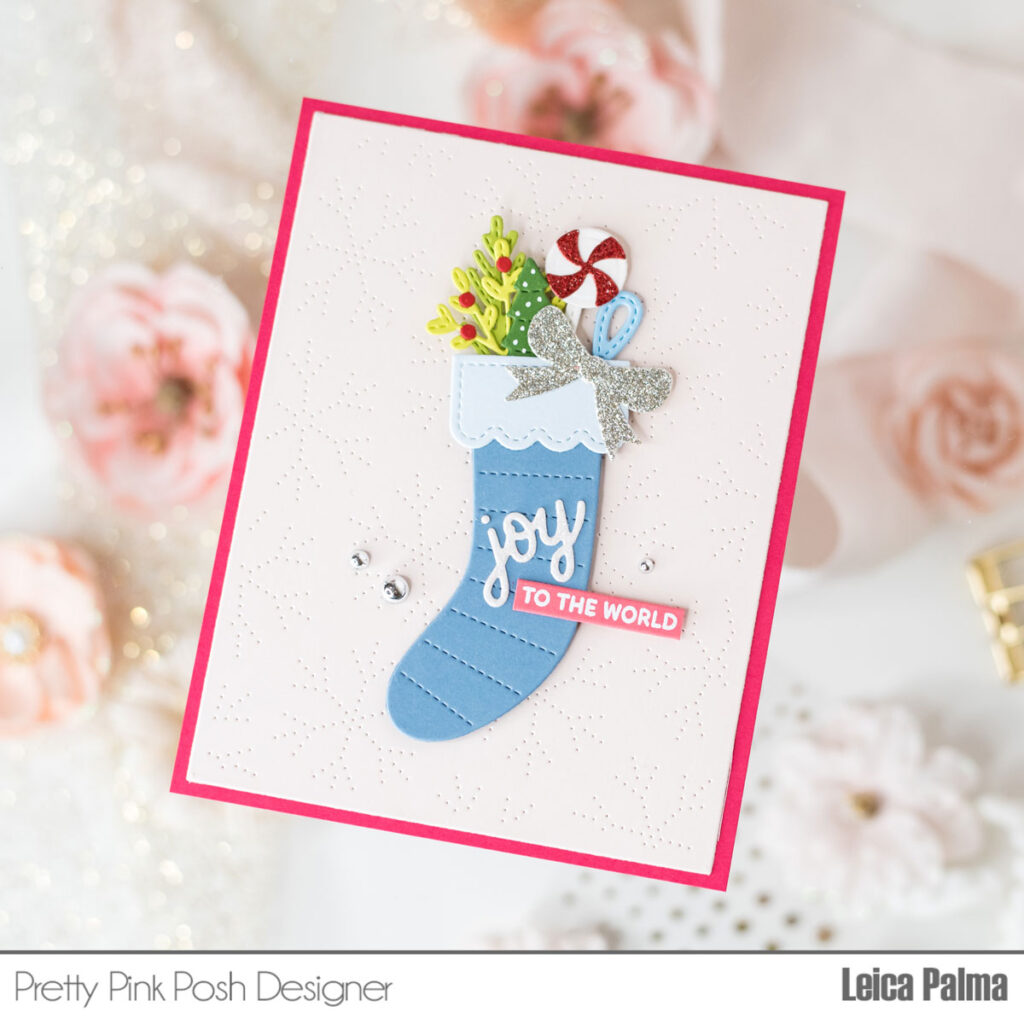
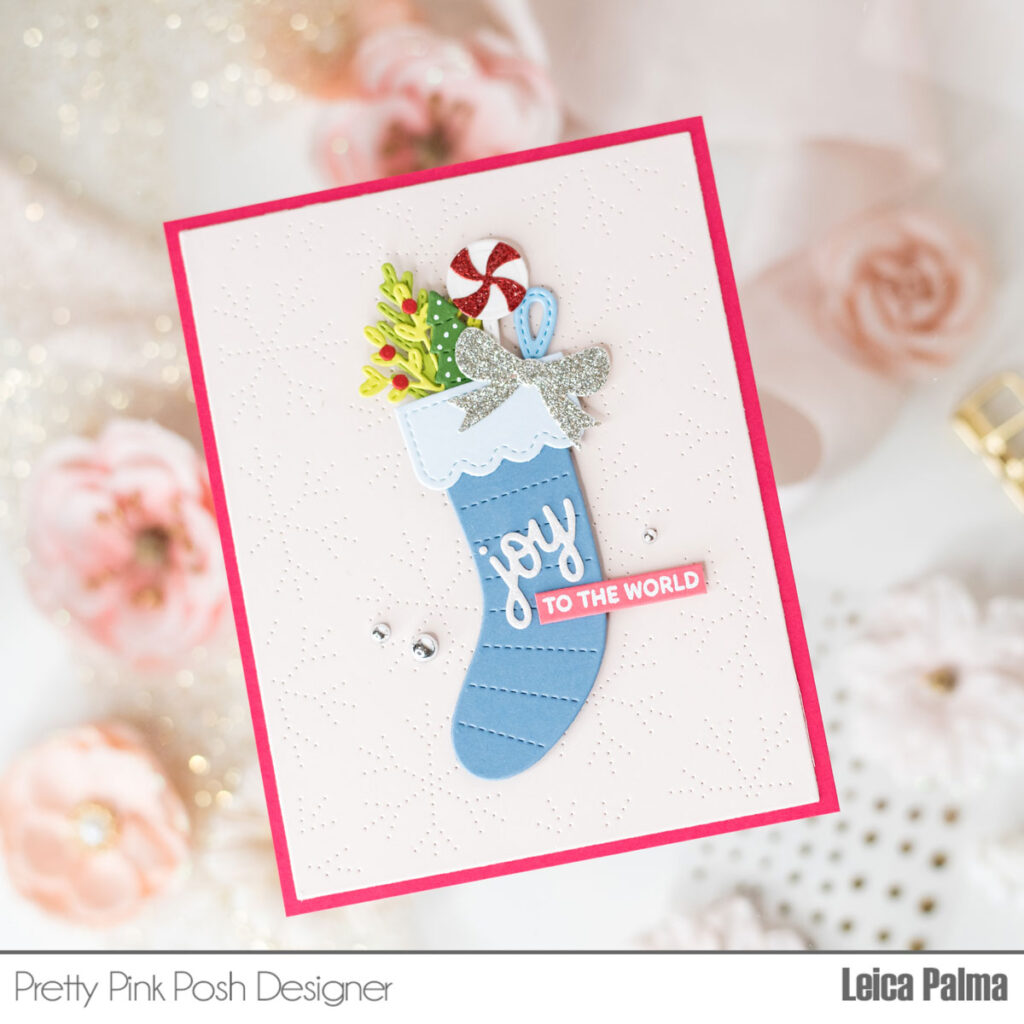
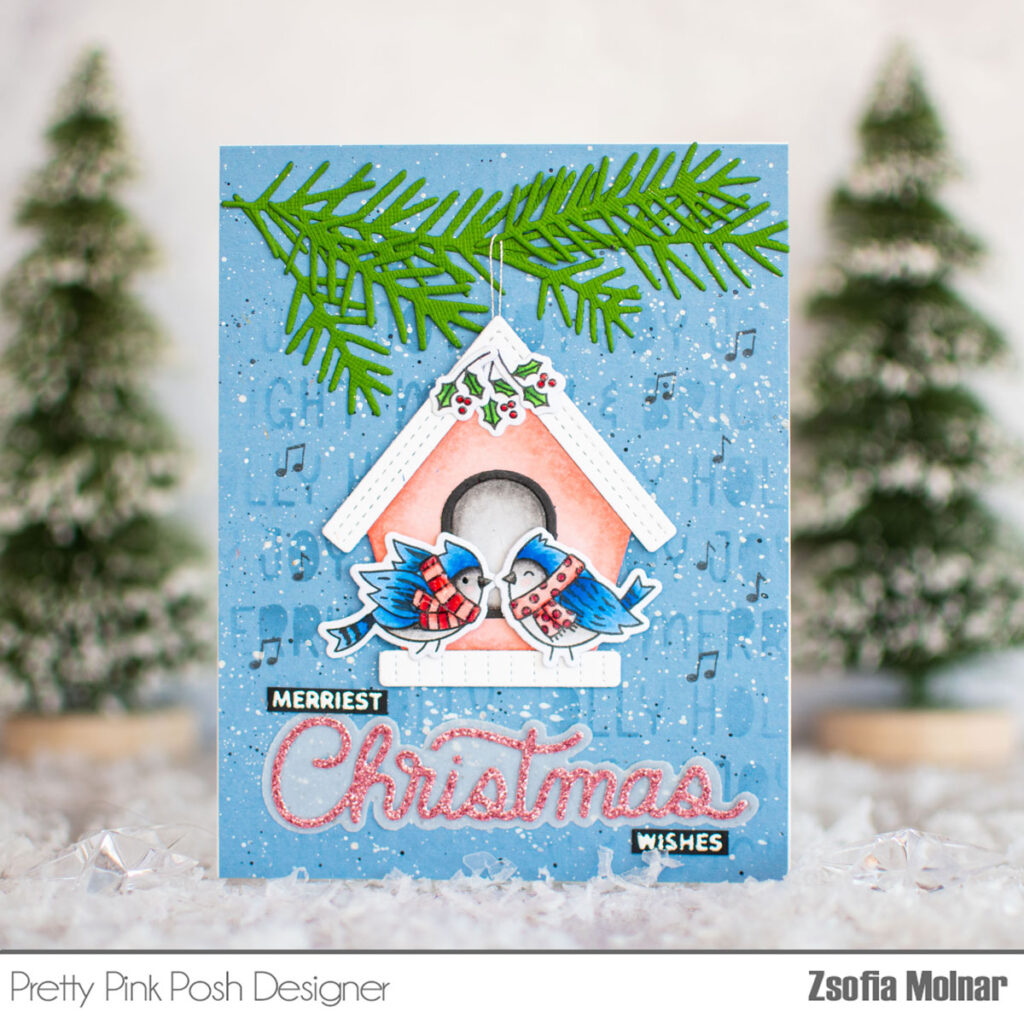
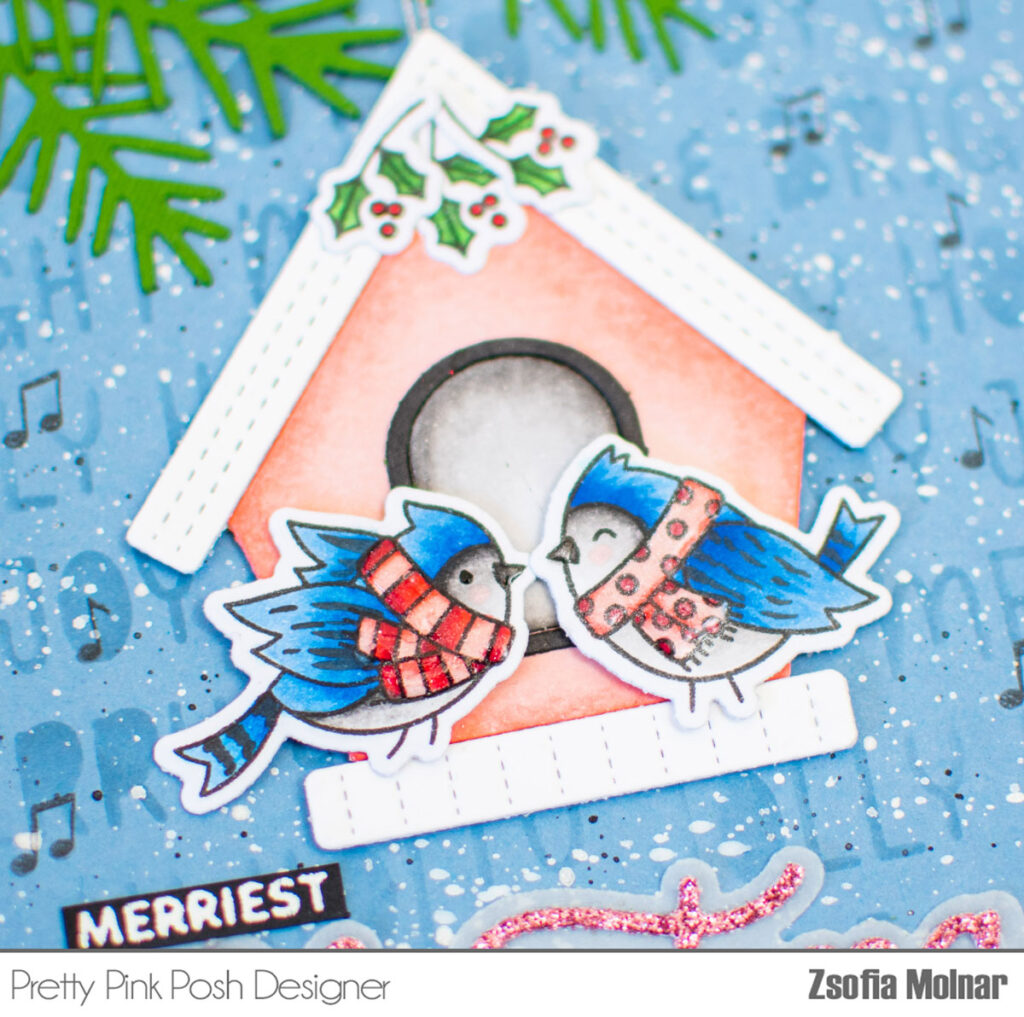
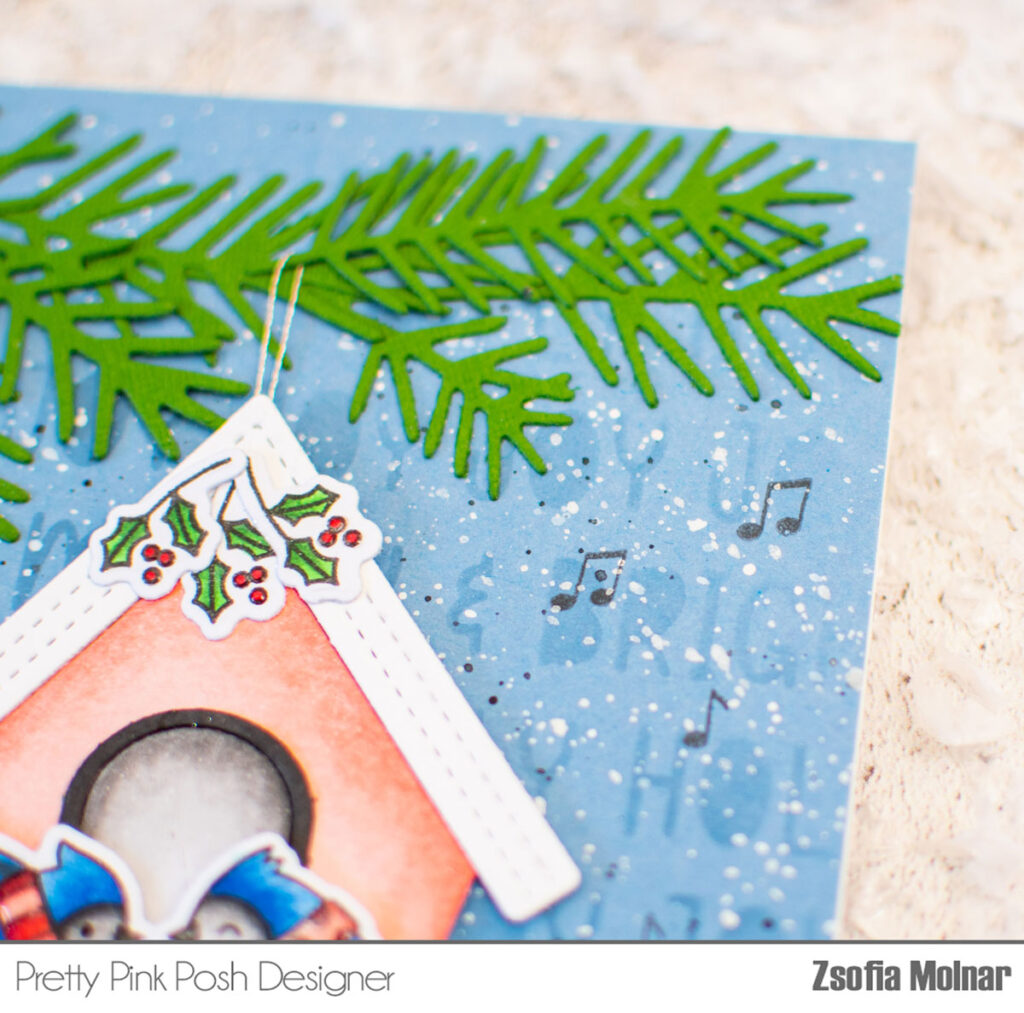
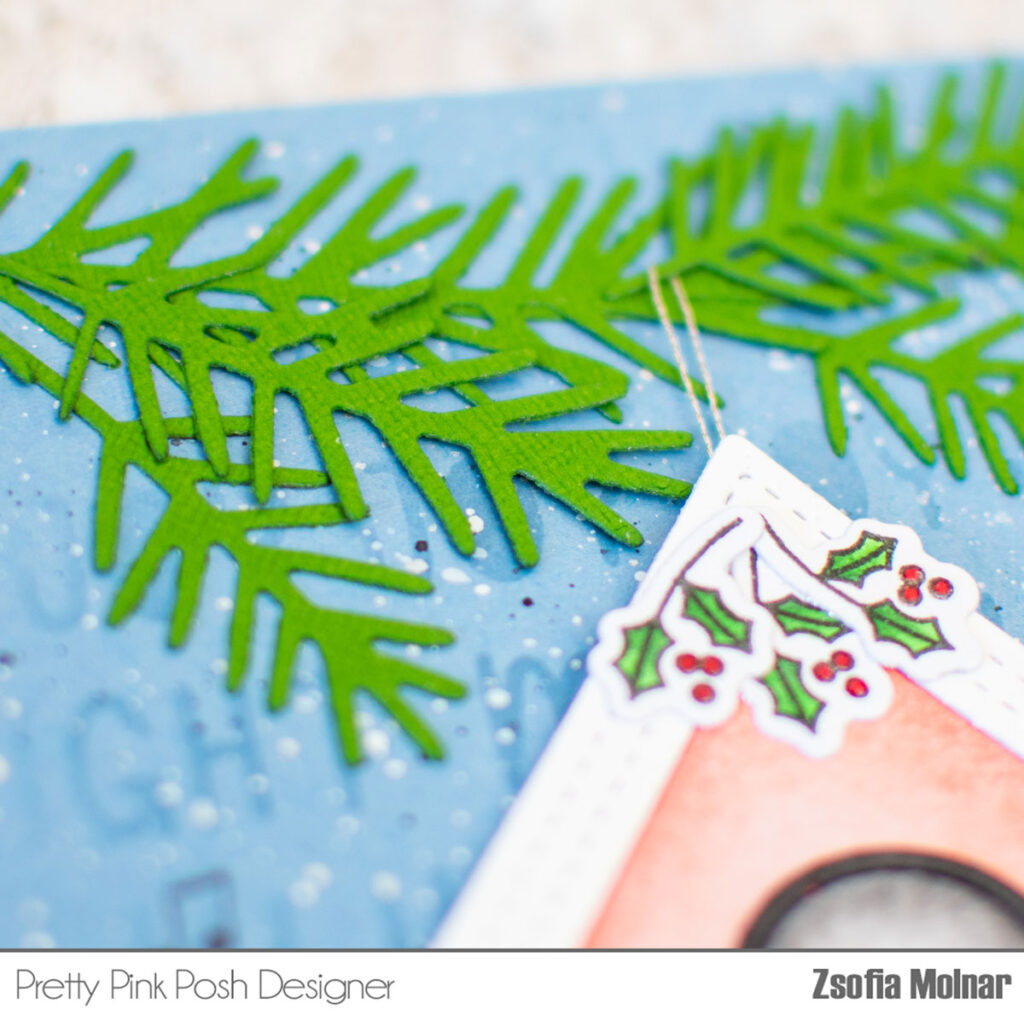
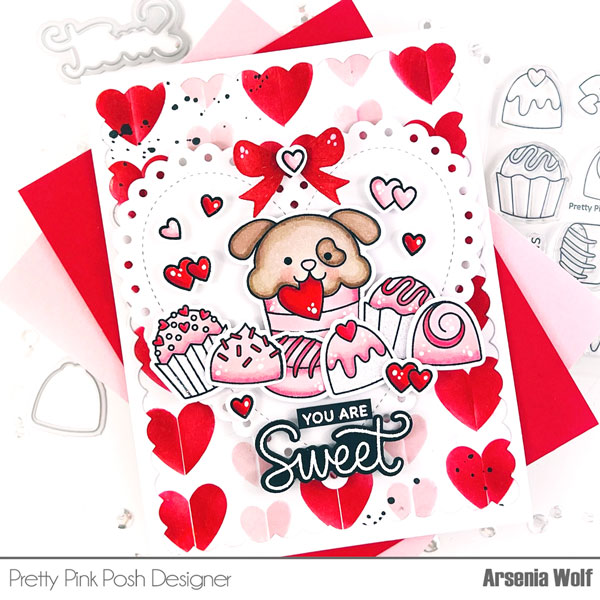
Now onto my second card using the super cute Sweet Chocolates Stamps and Dies! I stamped and colored the images with an array of Spectrum Noir alcohol markers in pinks and reds. For the background I used the new Half Heart 2-layer stencil, but I stenciled the hearts in one solid color using pink and red die inks. I added some black splatters to the top left and bottom right of the background panel. I decided to use the negative piece from cutting the large Eyelet Rectangle Die out of a A2 card base. I adhered it to the background panel with liquid glue.
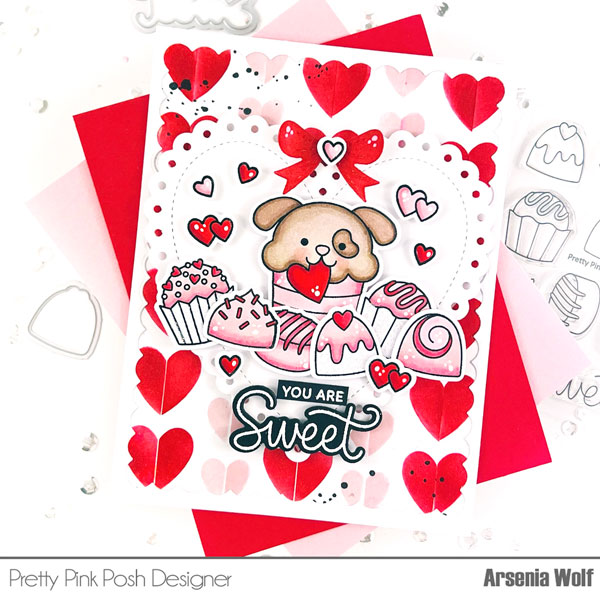
Next, I realized I needed a resting place for the stamped die cut images and once again I decided to use the new Eyelet Hearts Dies. I die cut the large Eyelet Heart out of white cardstock. I adhered the large Eyelet Heart Die onto my panel with double sided adhesive foam tape. I arranged the elements onto the heart and decided to add the adorable doggie cupcake from the new Valentine Cupcakes Stamps with coordinating dies!
The final step was the sentiment and that was easy-peasy, I used the cute sentiment from the Sweet Chocolates stamps and dies. I love a good white embossed sentiment on black cardstock! The final step was adding a bow to the top of the heart using the Holiday Mug Additions Dies and white gel pen highlights. Ta-da this beauty is done, and I think it’s stinkin’ adorable!
Friends, the release is phenomenal and is full of gorgeousness, everything works so well together! I want to thank you for stopping by and stay tuned for more fabulous sneak peeks!
Crafty hugs!
Arsenia