Merry Christmas!
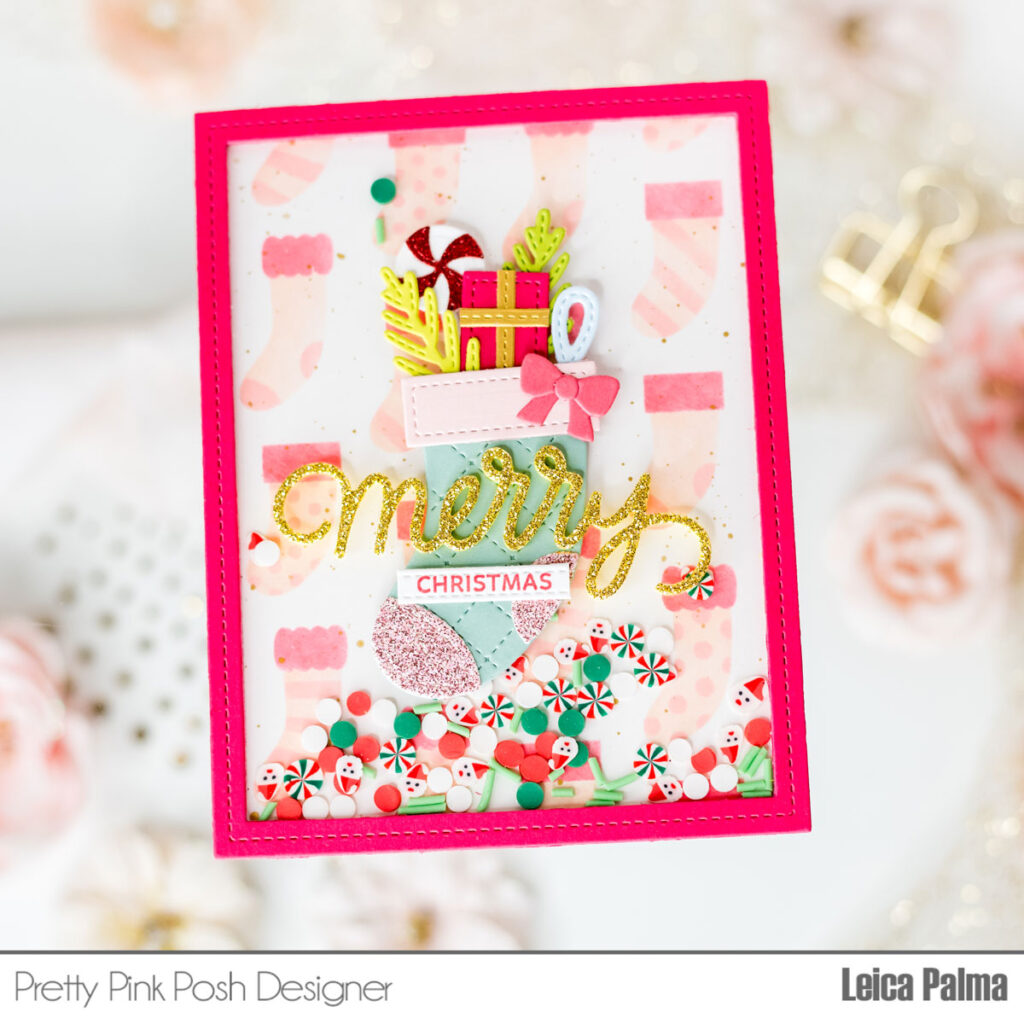
Hello crafty friends, Merry Christmas! Leica here and I’m excited to show you how to make a fun A2-sized Christmas shaker card. Trust me, this card is an absolute delight to make, and whoever gets it will be over the moon! It’s so satisfying to give it a little shake. Let’s jump in!

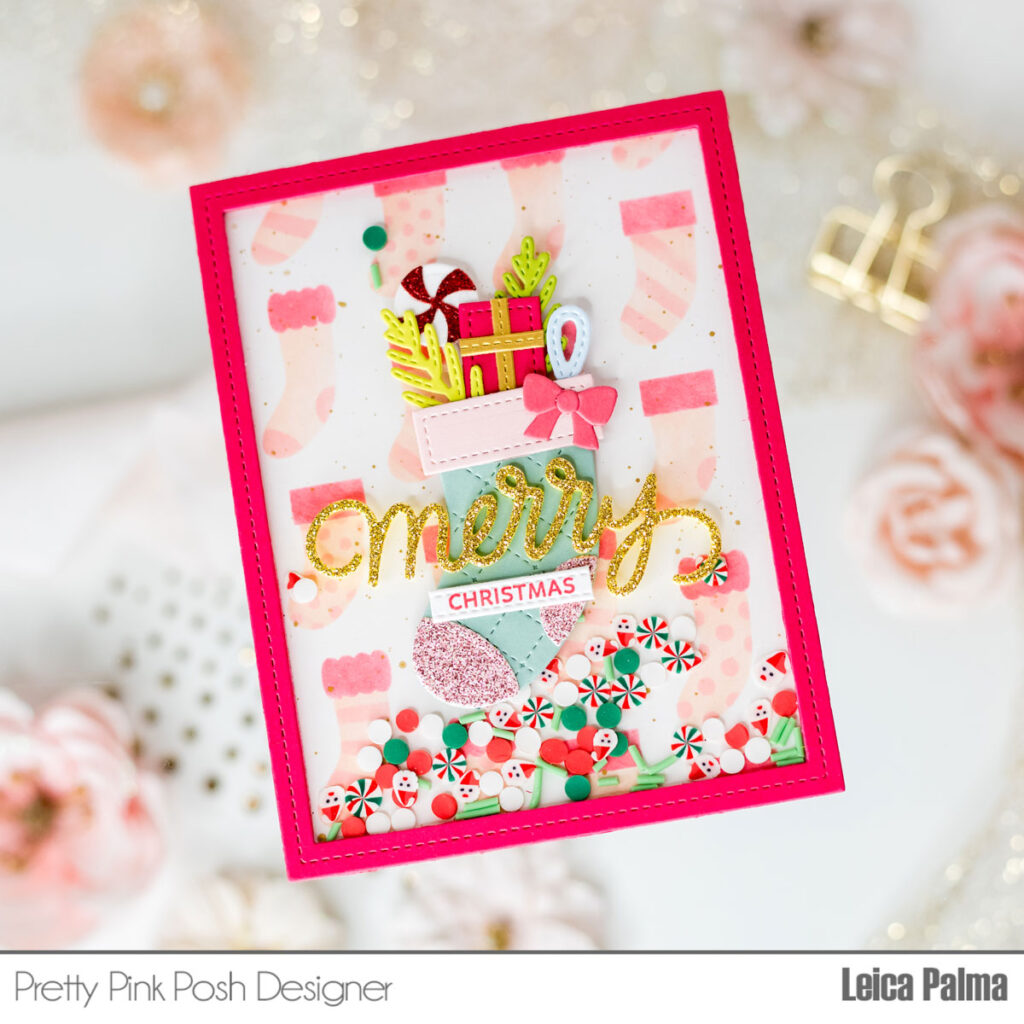
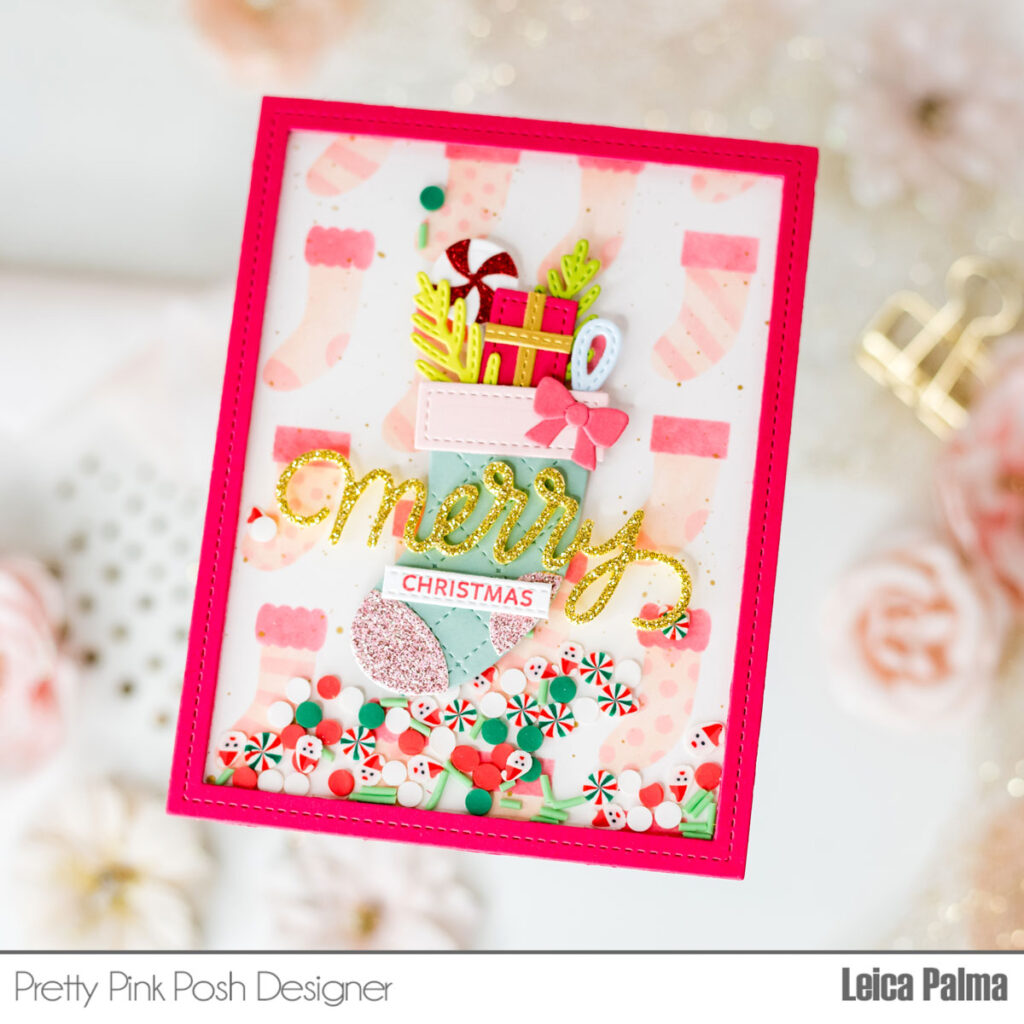
I started with a white A2-sized piece of cardstock and gave it a fun background using the Layered Stockings Stencil. This stencil has three layers, and you can customize your card panels with different ink colors. For my card, I used Festive Berries and Saltwater Taffy Distress Oxide Inks. I added some splatters of gold acrylic ink to make it even more interesting.

To create the shaker part, I cut out a red frame using the Fancy Cake dies. I glued a clear sheet on the back of the frame. Then, I added foam tape on the back of the frame and filled it up with the Jolly Santa Mix before sealing it shut.
Next up, I assembled a Christmas stocking using the Build A Stocking Dies and filled it with bits from the Holiday Mug Additions Dies. For the words, I cut out “Merry” in gold glitter foam and placed it on top of the stocking. Then, I added “Christmas” on a strip of white cardstock and raised it up with some foam tape just below “Merry.”

Finally, I glued the card panel onto a standard A2-sized card base, and there you have it—my Christmas shaker card! I hope I’ve inspired you to give shaker cards a try. Be sure to share your creations with us using #prettypinkposhstamps. Happy crafting!

Merry Christmas and love your gorgeous stenciled bg and card!!
Such a fun card with all the details 😍