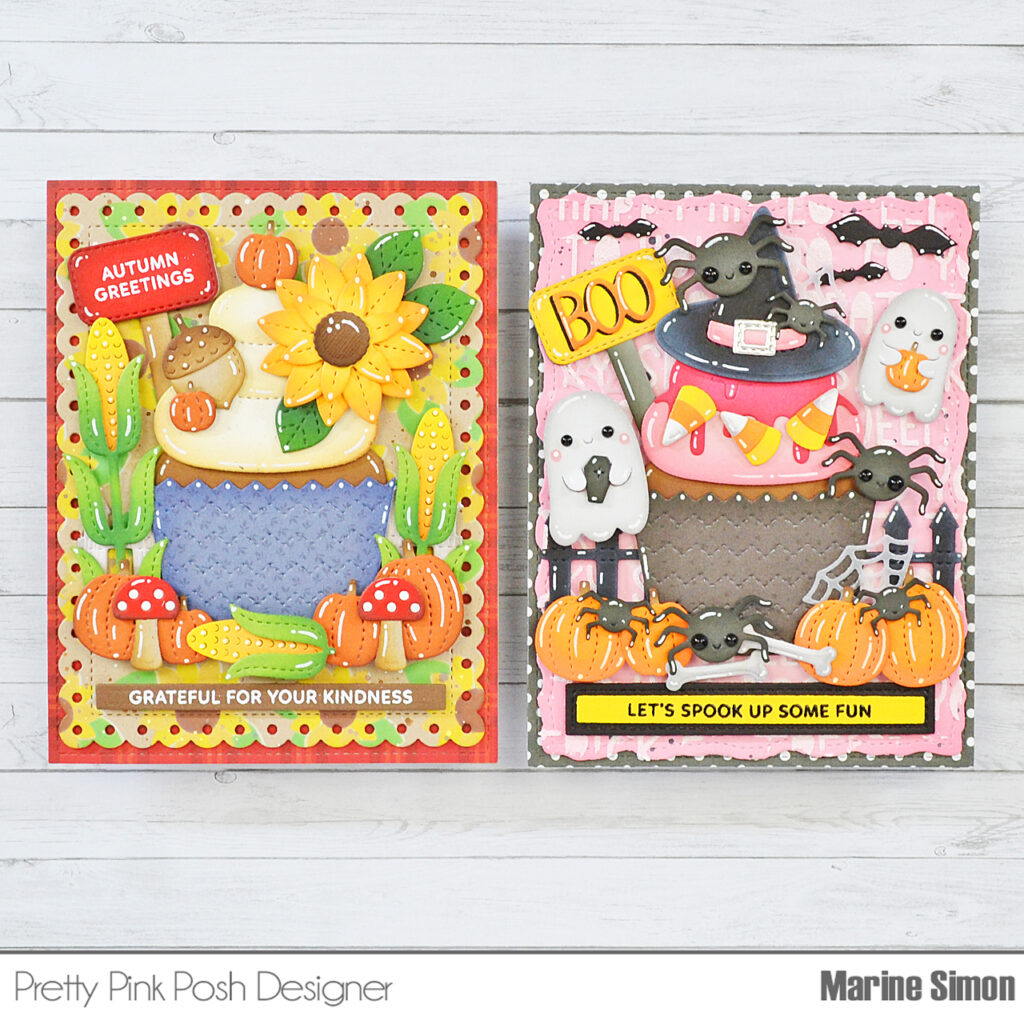
Sneak Peek: Fall Harvest
Hello crafty friends, Arsenia here! I’m thrilled to share this sneak peek using the Fall Harvest stamps with coordinating dies! The images are beautiful from this set, the possibilities are endless! I had fun creating these beauties and the color palettes might be a little unexpected for Fall. Fall crafting is my favorite, let’s get started!
New release will be available September 9th
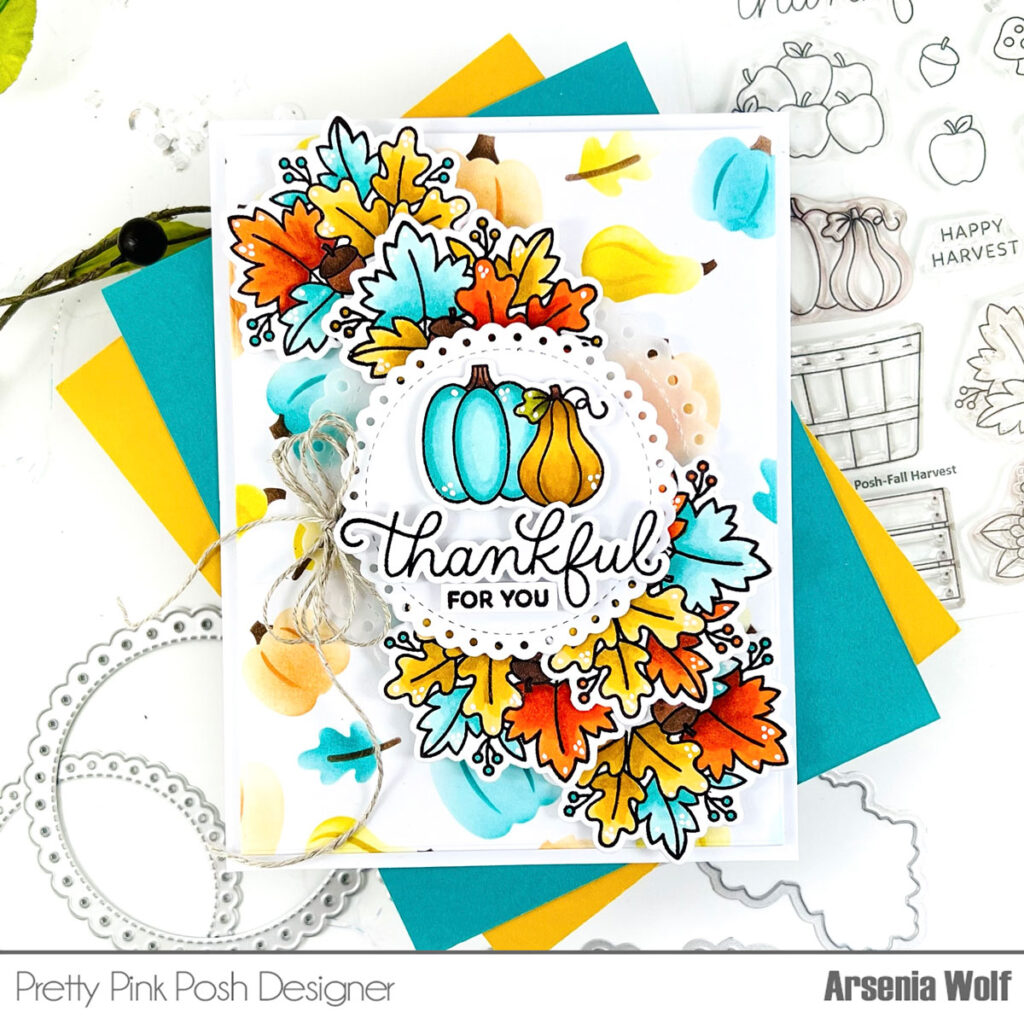
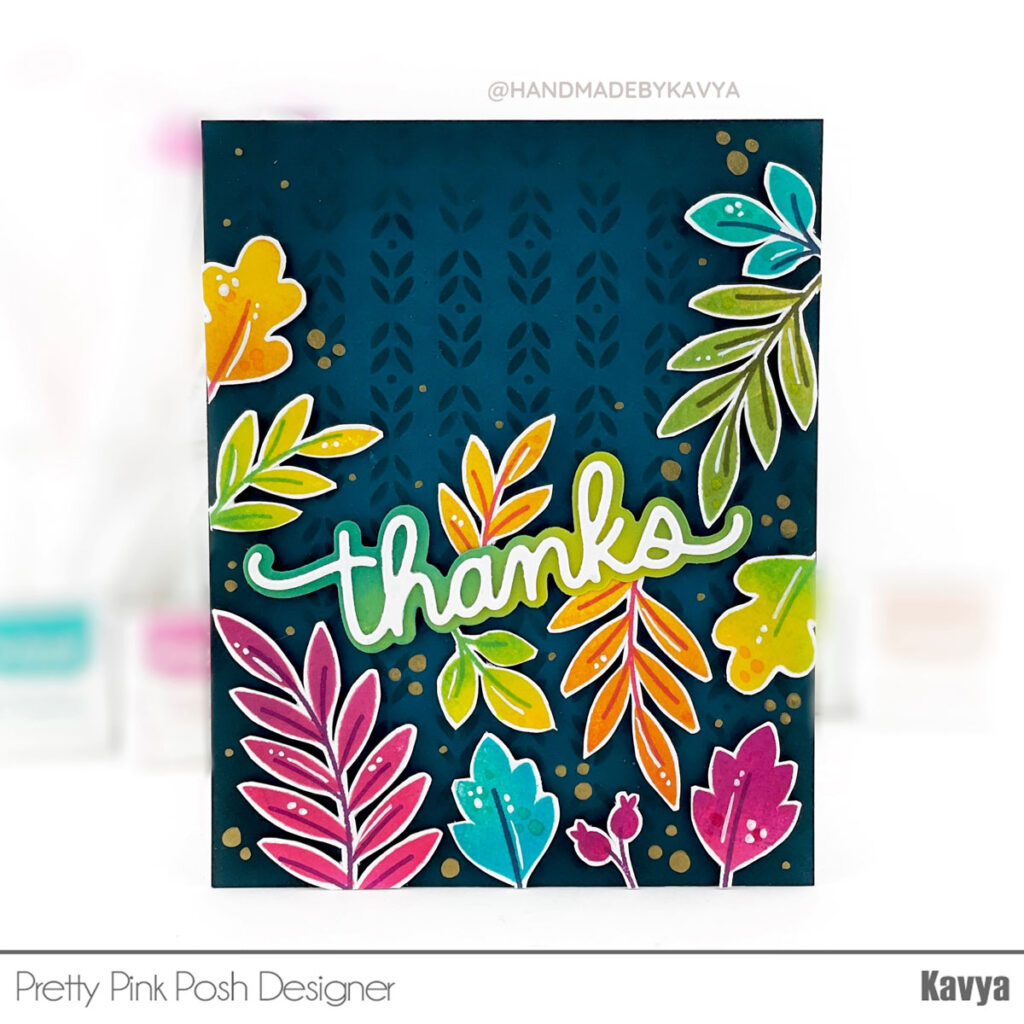
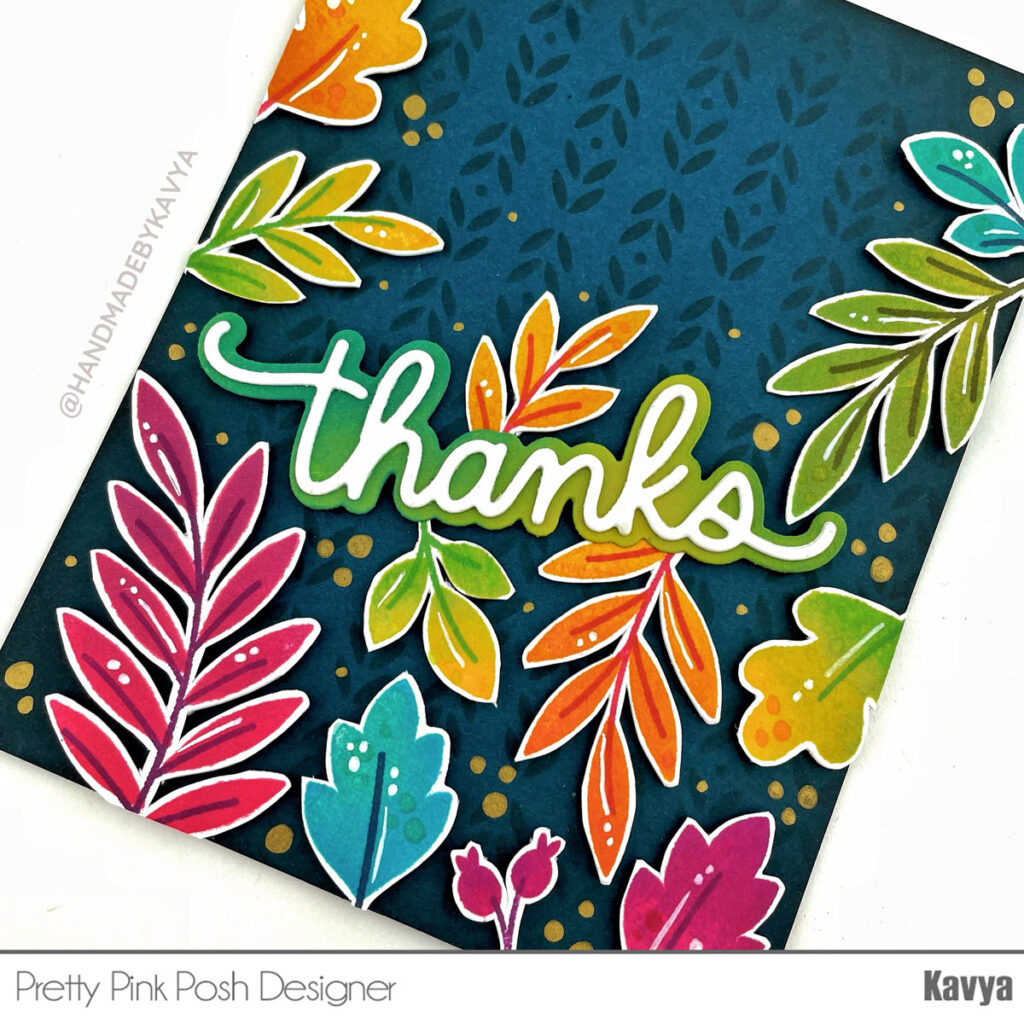
First, I stamped and colored the images from the Fall Harvest stamp set with an array of alcohol markers from my crafty realm. Once I colored all the images I decided to focus on one specific image to make a beautiful fall spray of leaves cascading down my card. I used teals, dark yellows, and burnt orange colors for my palette. Next it was time to work on my background, I used a new stencil set called Layered Autumn Harvest and I can’t get enough of this stencil! This stencil makes gorgeous backgrounds! I added some faux brown splatters to the top left and bottom right of the card panel.
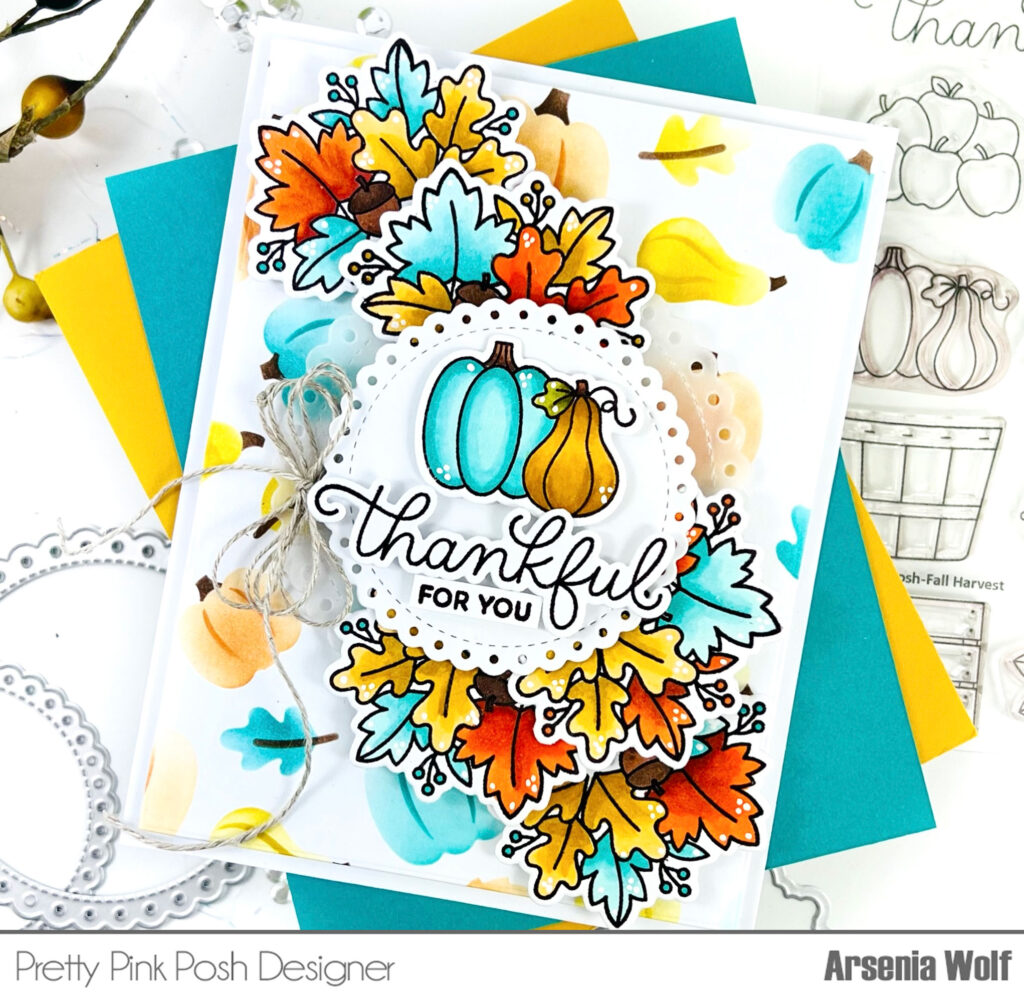
I needed a resting place for the sentiment, I decided to use the Eyelet Circle Dies! I adore the script of this sentiment and it’s included in Fall Harvest stamp set and has a die! I finished card with some white gel pen highlights and added a small twine bow! Ta-Da card done and I love it! The images are versatile in this set, you can make sprays, wreaths, and more!
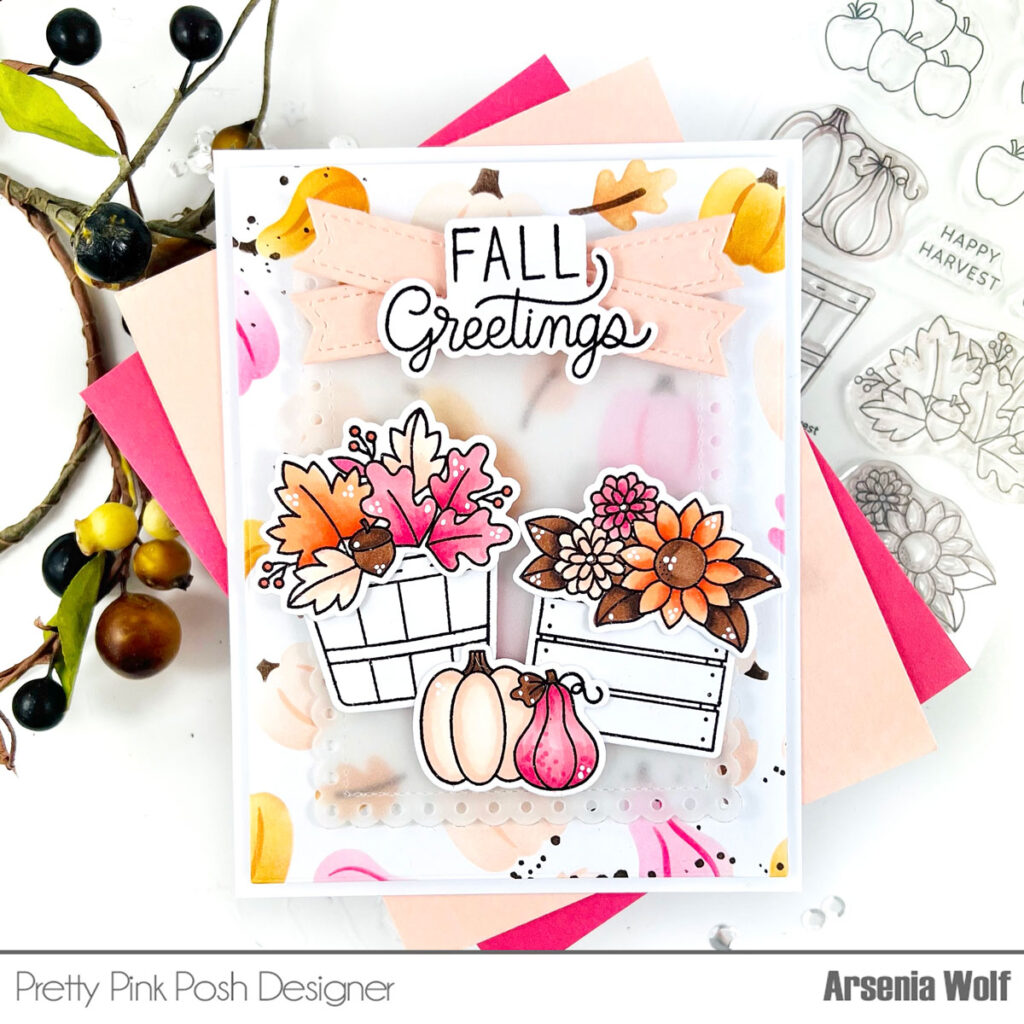
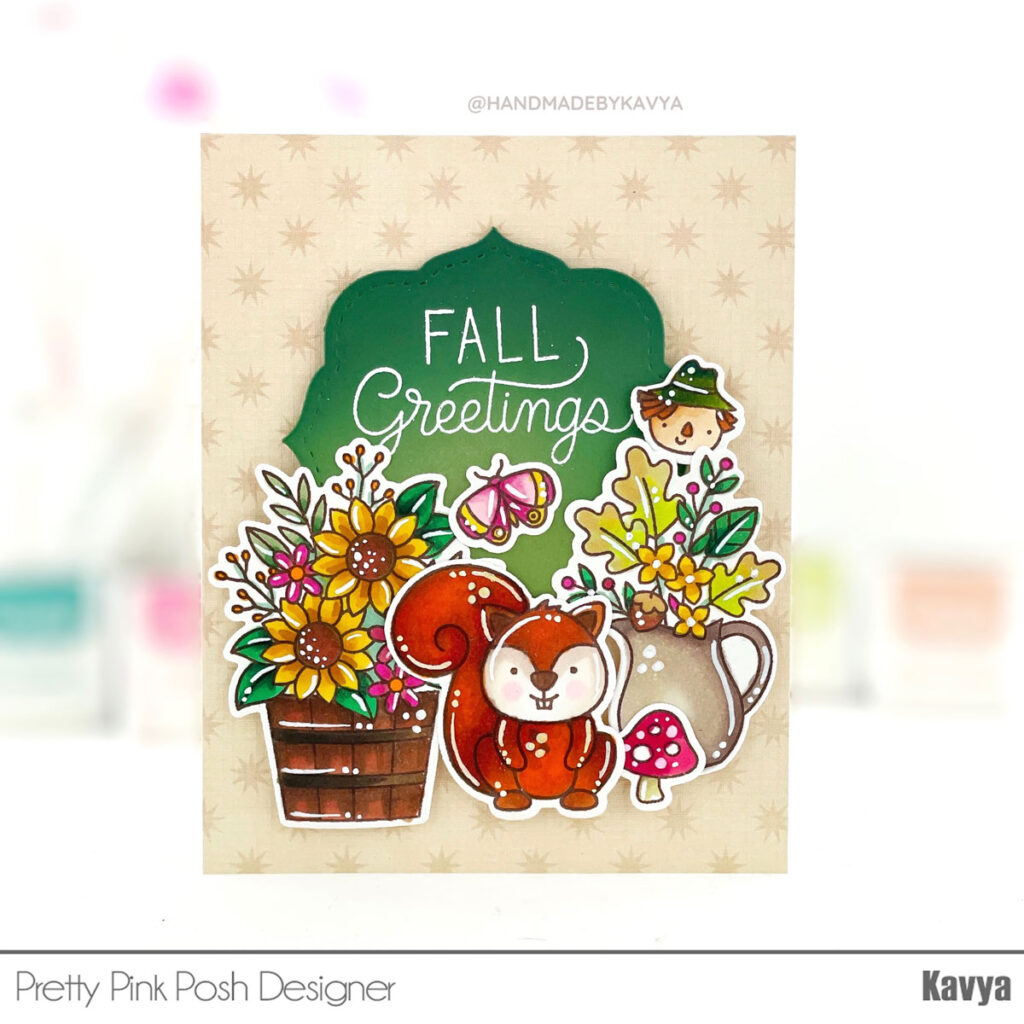
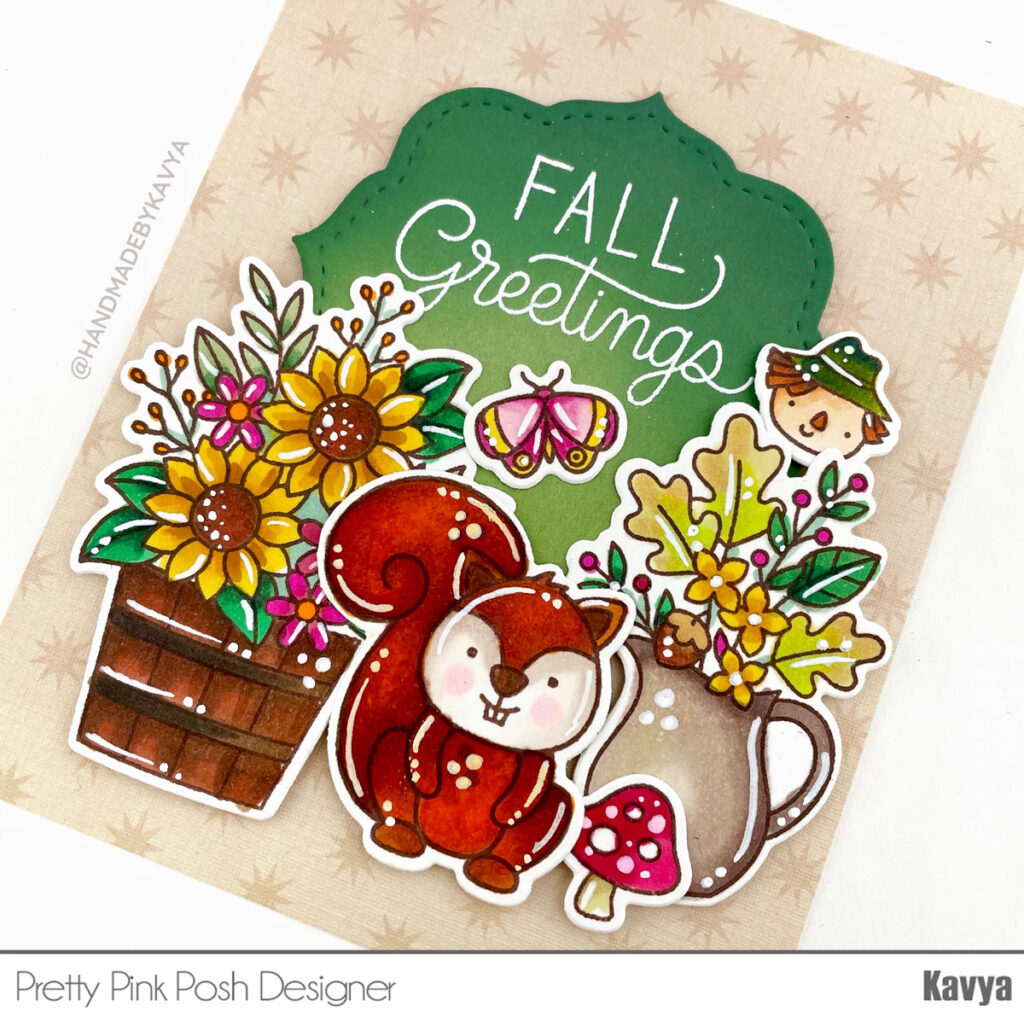
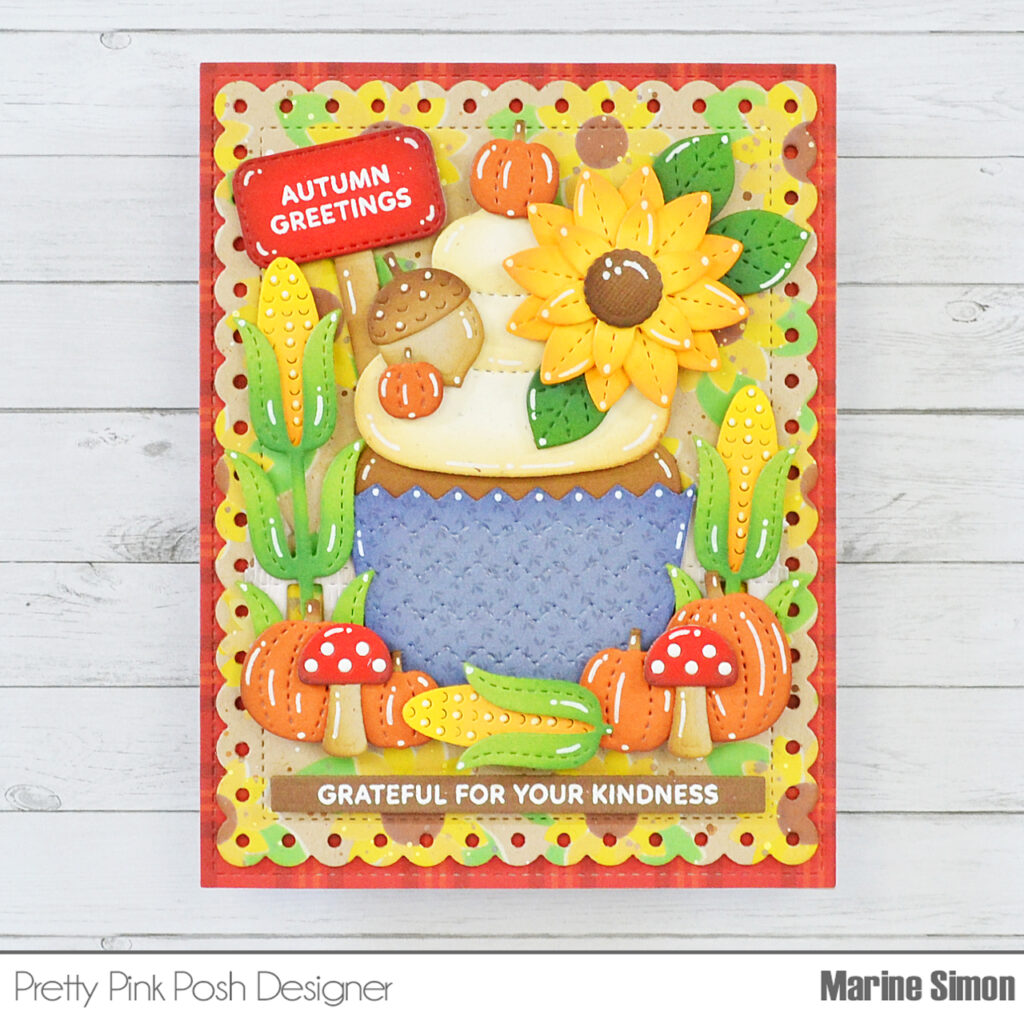
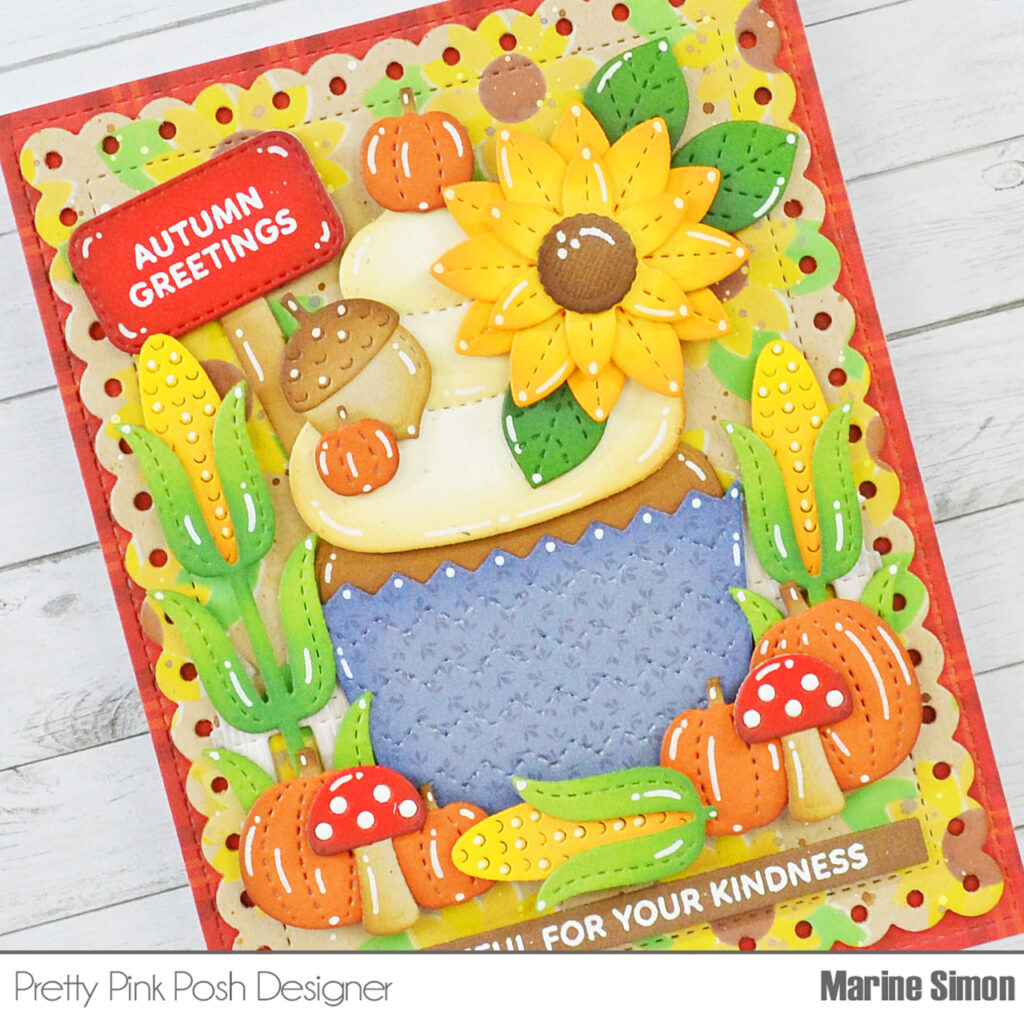
For my second card I decided to embrace several of the images from the Fall Harvest stamp set with coordinating dies! I stamped and colored the images in an array of pinks, oranges, peach, and brown alcohol markers! Next, I took the coordinating dies and did some die cutting.
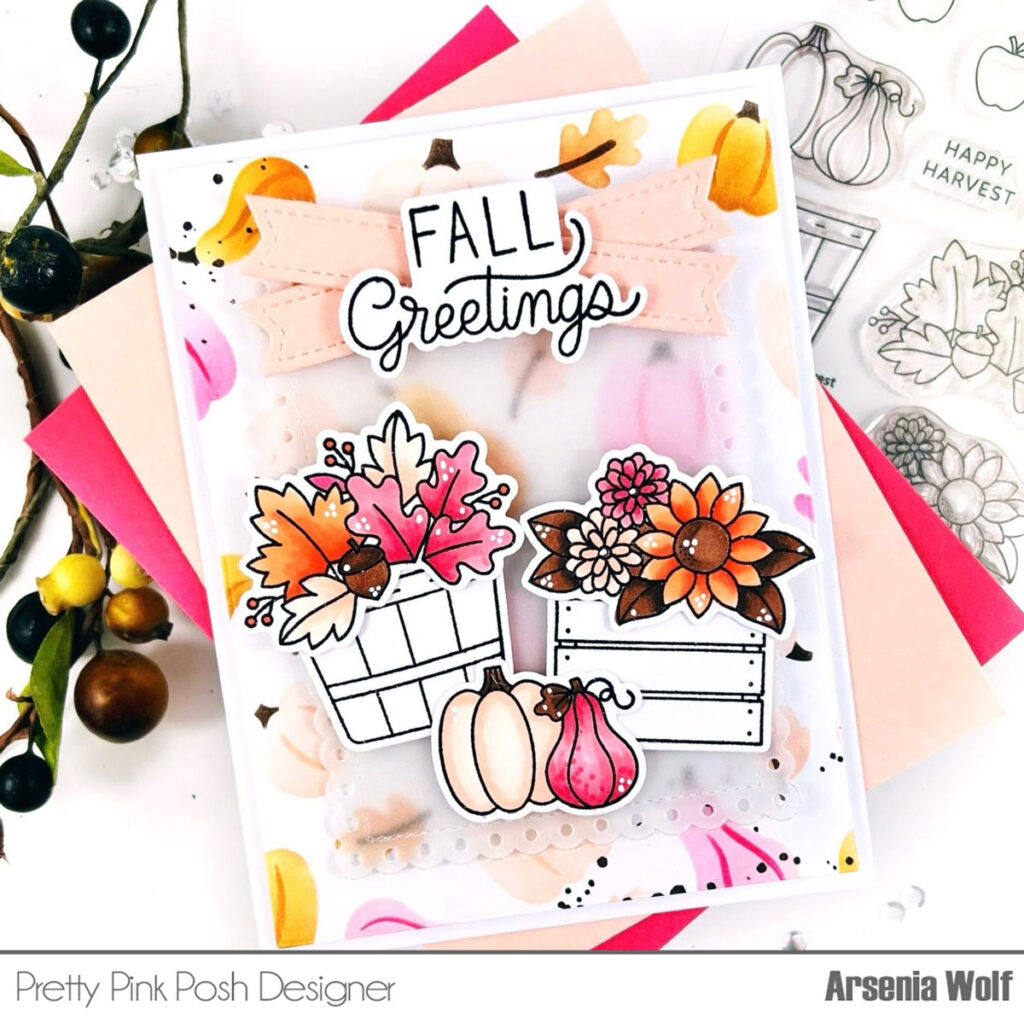
For my background, I used the new Layered Autumn Harvest Stencils! I needed a resting place for my images and decided to use the Eyelet Rectangles Dies, specifically the largest die. I cut the die out of vellum and adhered to the cardbase. My sentiment is from a new set called Fall Bouquets stamp set with coordinating dies. This is just a little sneak peek into this gorgeous set! I wanted a backing for my sentiment and i decided to use one of my most used die sets called Sentiment Strips Dies. I finished the card up with some white gel pen highlights! Friends I adore this card, I love the shabby chic autumnal look of this beauty!
The new release is chock full of fall goodness! Thank you so much for stopping by today and make sure to visit tomorrow for another sneak peek!