
Warm Autumn Cupcake
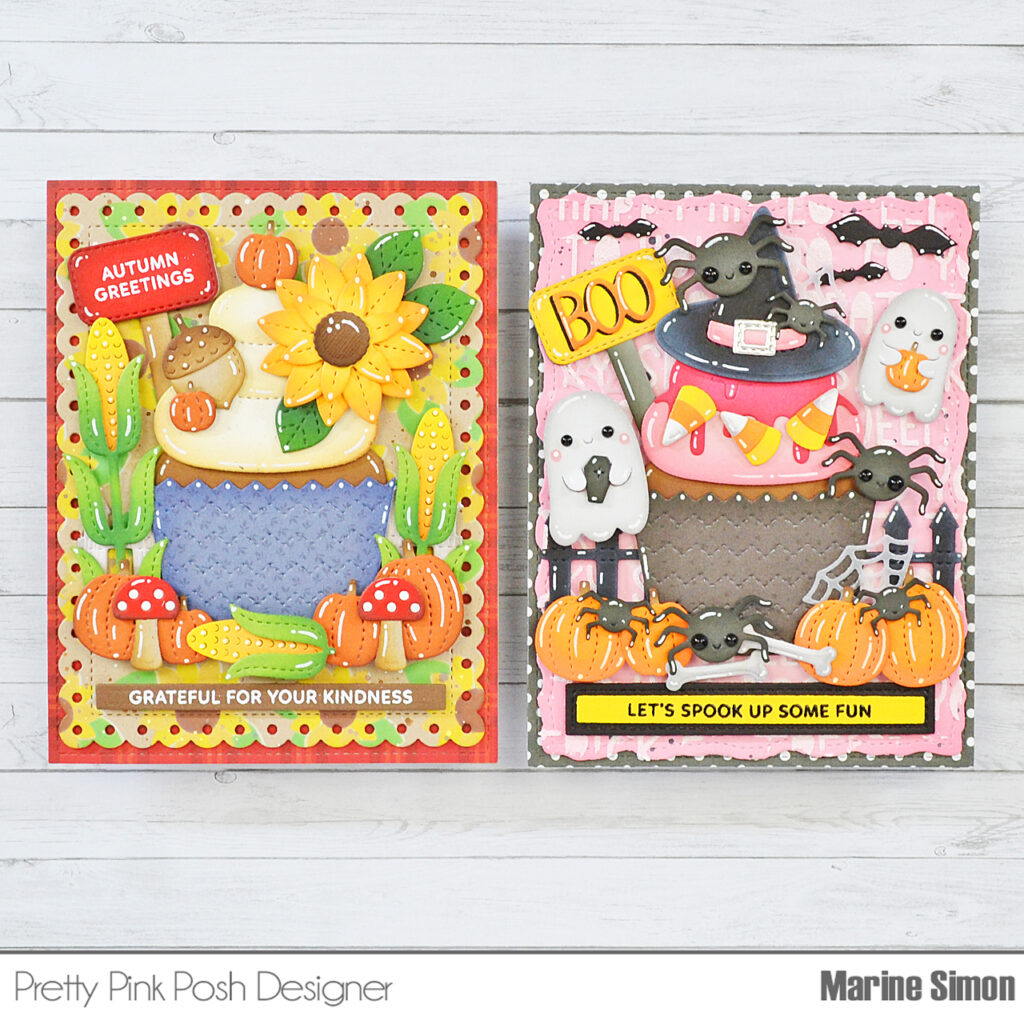
Hello crafty friends, Marine here, I’m happy to be back on the blog with this autumn cupcake I’ve created as a companion to the Spooky Halloween Cupcake I shared with you a couple of weeks ago. When possible, I like to take ideas from other cards, and just by changing the color palette and/or theme, create a completely different card. And once again, my card features a good mix & match of different sets because I like to stretch my supplies and use them regardless of their original purpose.
See the Halloween Cupcake card post HERE
For today’s card, I started off by cutting a large Eyelet Rectangle out of kraft cardstock, and I knew that I would put a sunflower on my cupcake, so I went for a sunflower pattern on my background. And when I stencil on kraft cardstock, I like to create a white base first in order to make the colors stand out, so I used the Layered Sunflower stencil A and B along with white pigment ink to make the white base of my sunflowers.
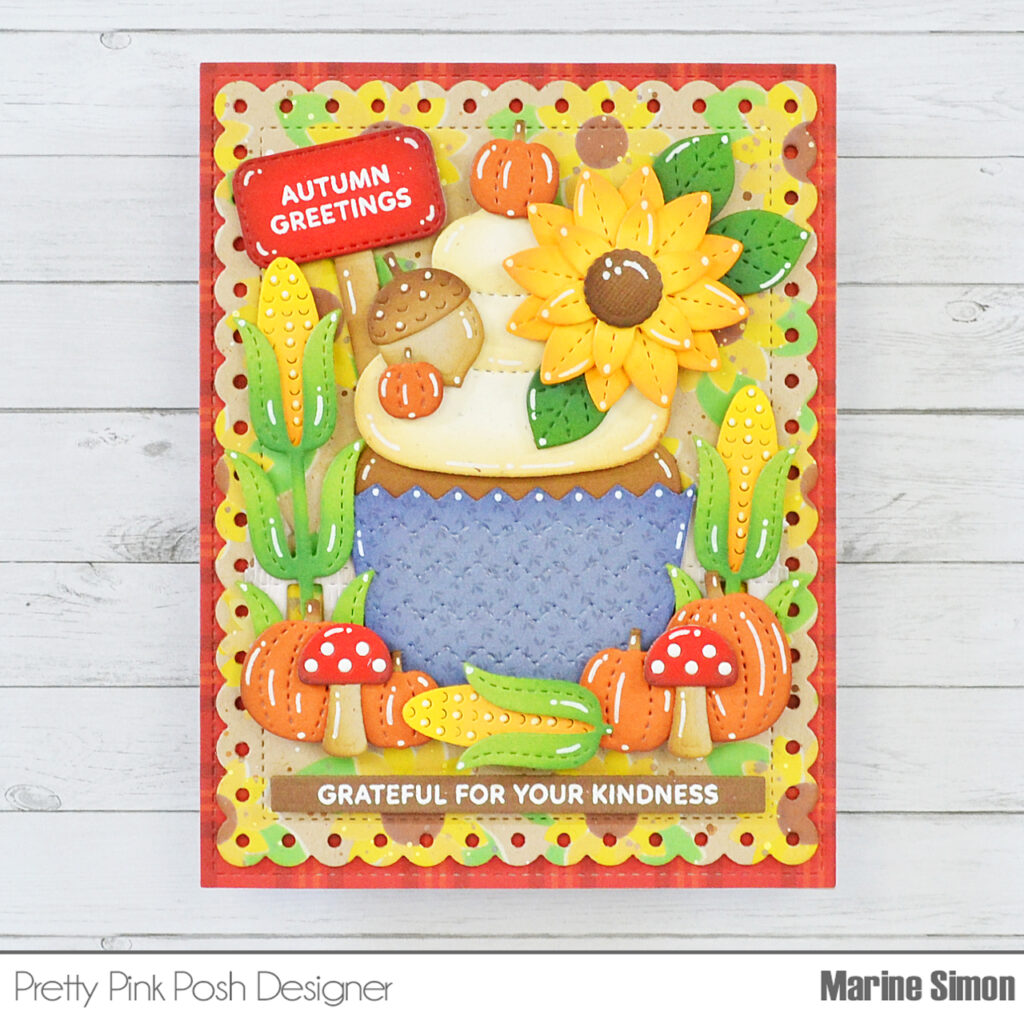
Next I used the stencil A along with mustard seed oxide ink to make the first part of the petals, and then the stencil B along with fossilized amber oxide ink to make the second part. To make the leaves, I used the stencil C and mowed lawn oxide ink, and to make the center of my sunflowers, I used the stencil D and vintage photo oxide ink. I mixed some vintage oxide ink with water, and used a small brush to make splatters all over my panel, and did the same with copic opaque white ink.
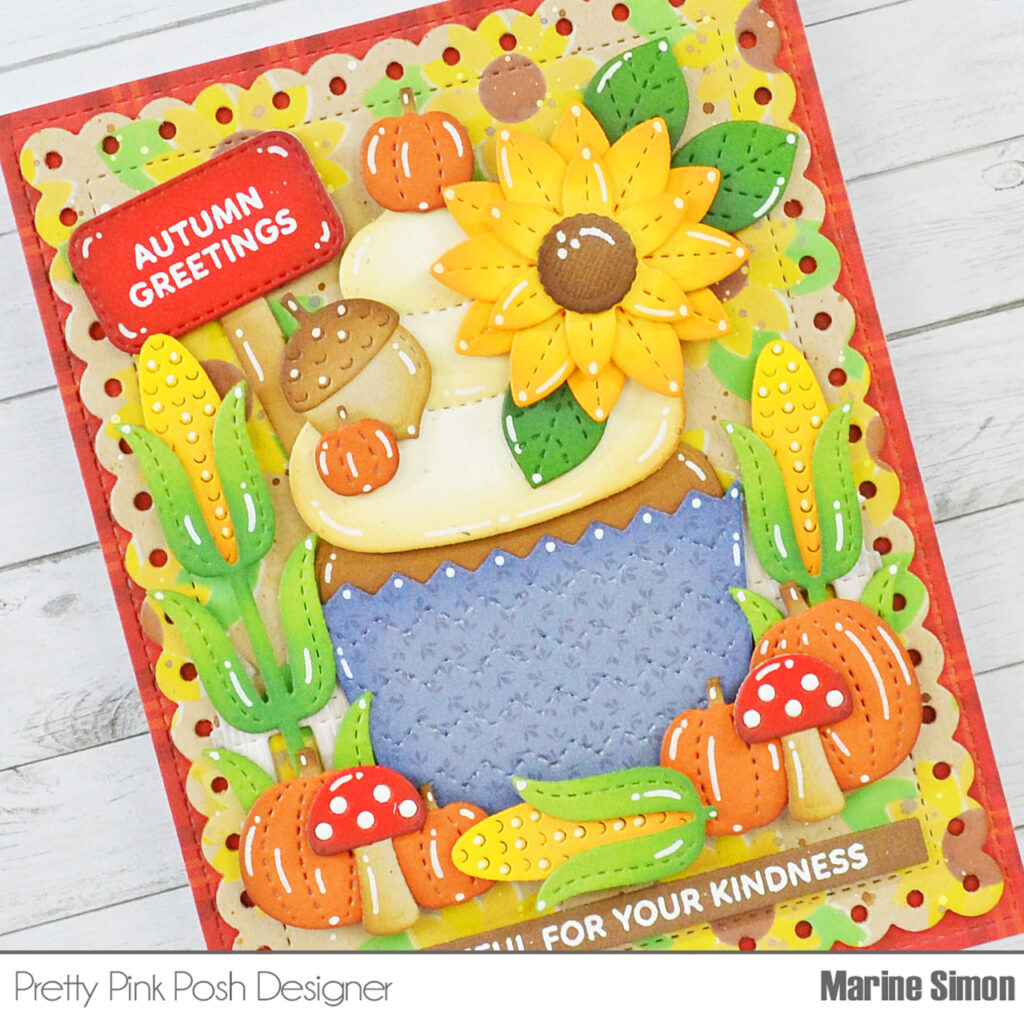
I cut all the bits and pieces out of pattern paper and colored cardstock, and added more depth to each element using oxide inks. Here is a detailed list of the die sets I used: • Big Halloween Cupcake – wrap, cream, cake, pumpkins • Spooky Mug Additions – pumpkins • Fall Mug Additions – sunflower, acorn, leaves • Fall Cornucopia – mushrooms, sunflower, corn • Big Easter Cupcake – sign.
I white heat embossed “Autumn greetings” from Fall Jar on the sign. I also white heat embossed “Grateful for your kindness” from Sentiments Strips: Fall on brown cardstock, and trimmed it into a slim banner using a Sentiment Strips die. Next I assembled and attached everything on my Layered Sunflower background using 1mm and 2mm foam squares, liquid glue and 3mm glue dots.

As always, I finished my card by adding highlights and details to the elements using a white gel pen. And that’s it! I hope that my card has inspired you to shop your stash, regardless of the theme, to create unique cards. Thanks for stopping by!
Today is the LAST DAY to save 20% on all in-stock stamps, dies and stencils! Add the items to your cart and the discount automatically applies to qualifying items!
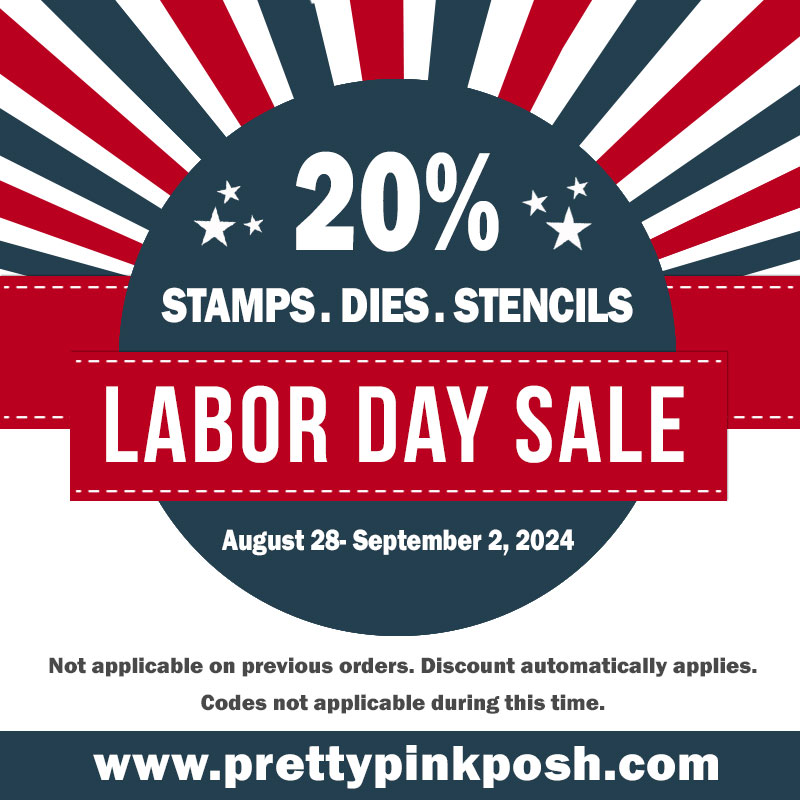
Please note that sales prompt a huge influx of orders, so processing takes longer than usual. We package each item by hand and appreciate your patience and understanding.
These are amazing!