Design Team Announcement + Giveaway
It’s time to announce the team for this upcoming design term. It’s bittersweet to say farewell to any designer, especially those who have become part of the Pretty Pink Posh family. However seasons in life change and sometimes goodbyes are necessary. We are saying a fond farewell to Lisa, Kristie and Kavya.
We are welcoming Emily, Jill, Sophie, and welcoming Melissa back to the Pretty Pink Posh team and are so excited to see their future PPP projects!
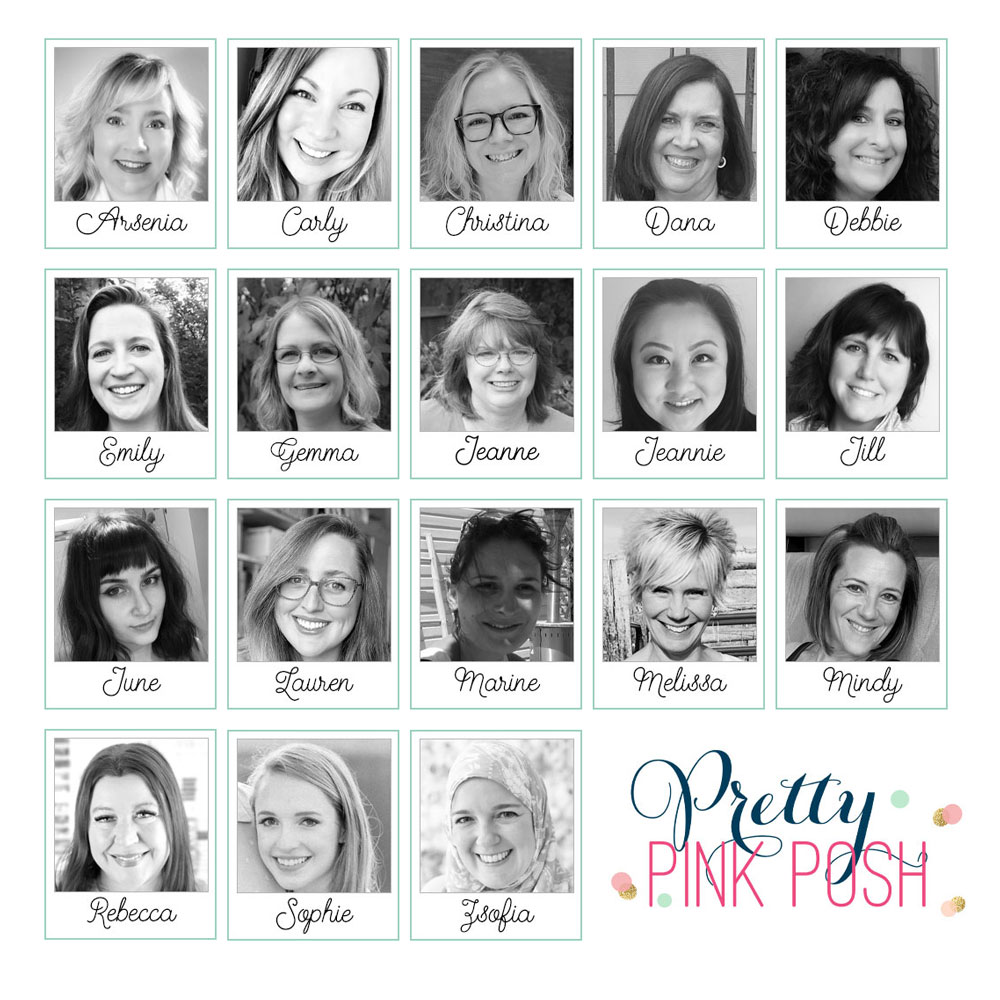
Arsenia / IG: plant769
Carly Minner / IG: carlyteeminner
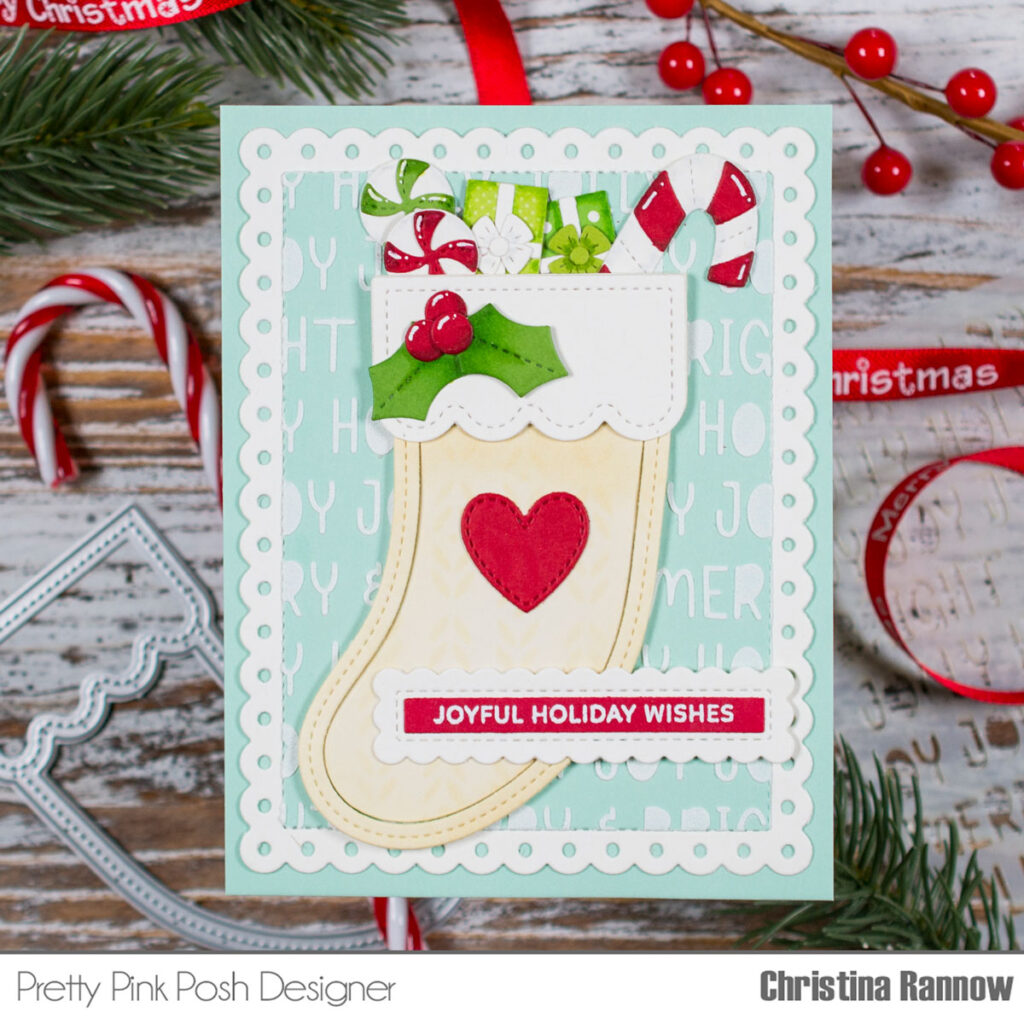
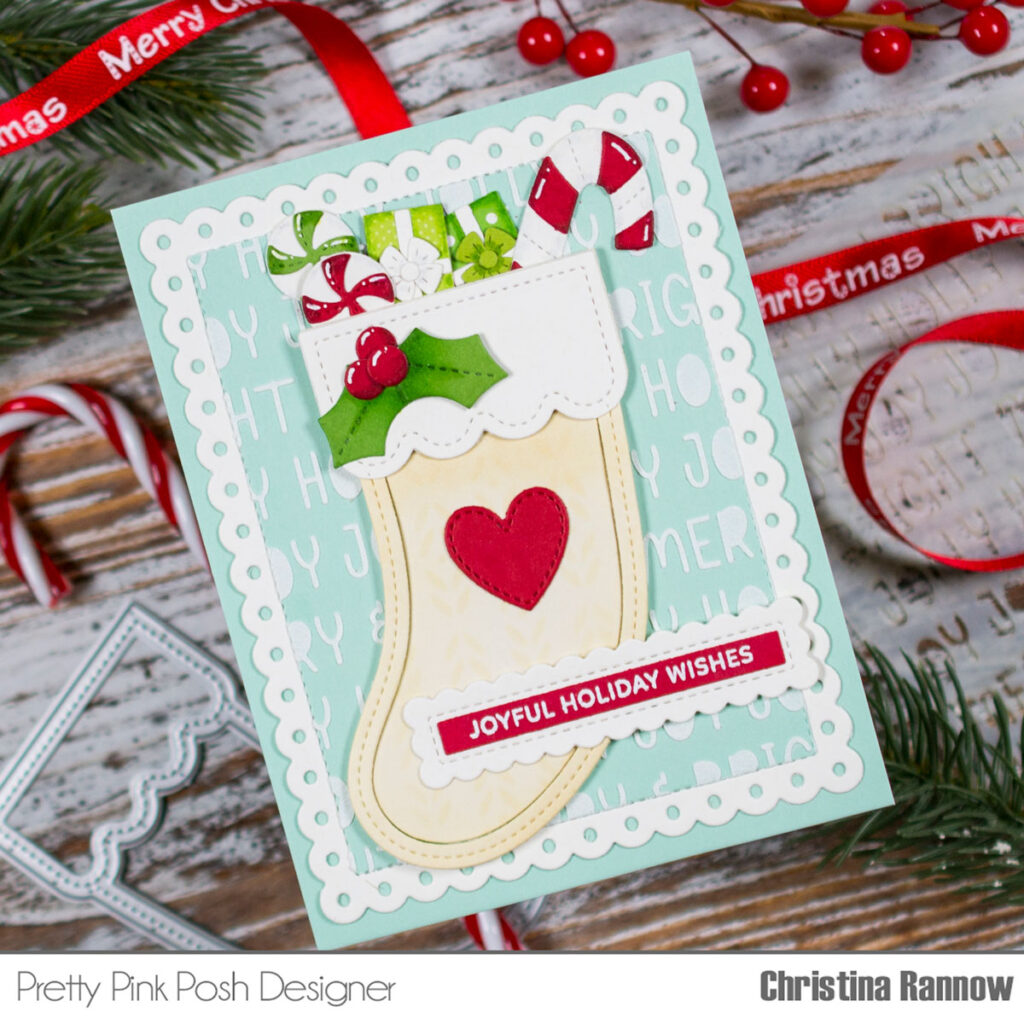
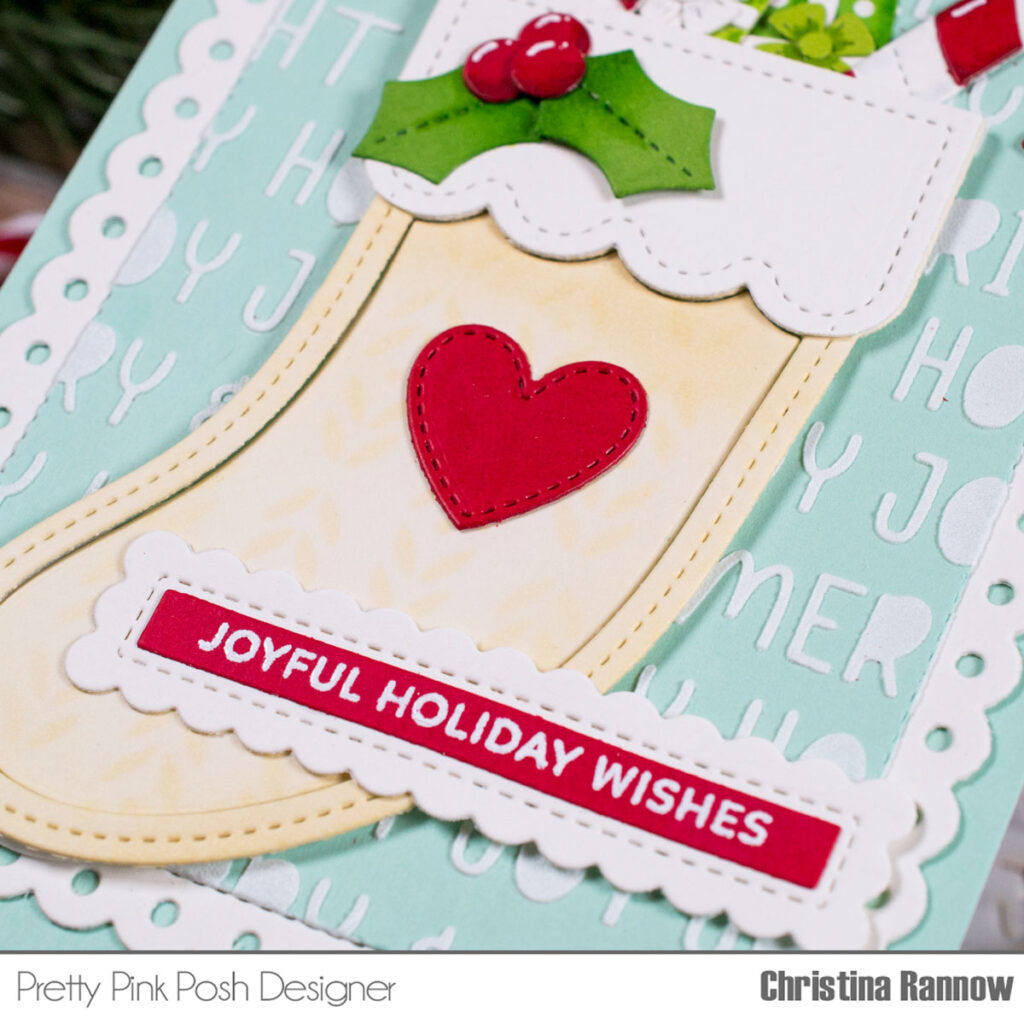
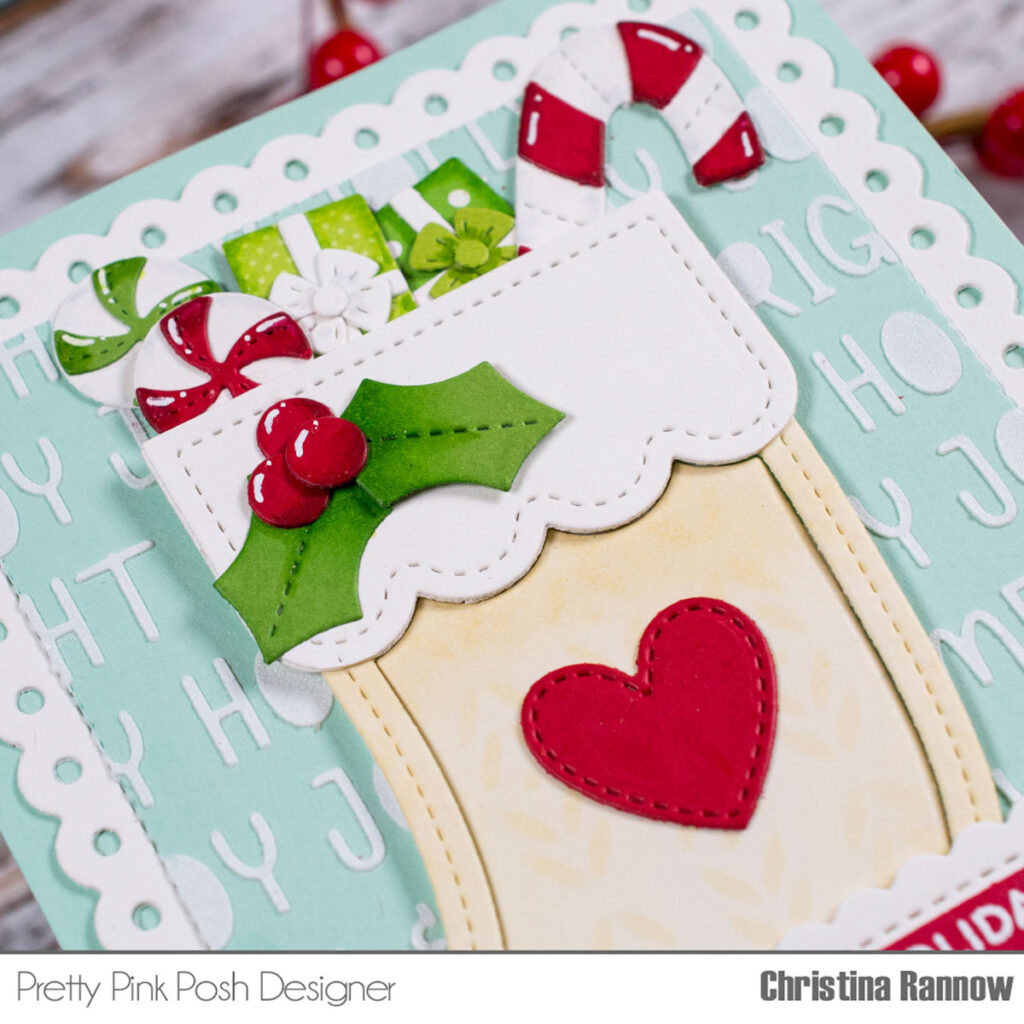
Christina Rannow / IG: mycraftytrails
Dana Kirby / IG: dkirbystamps
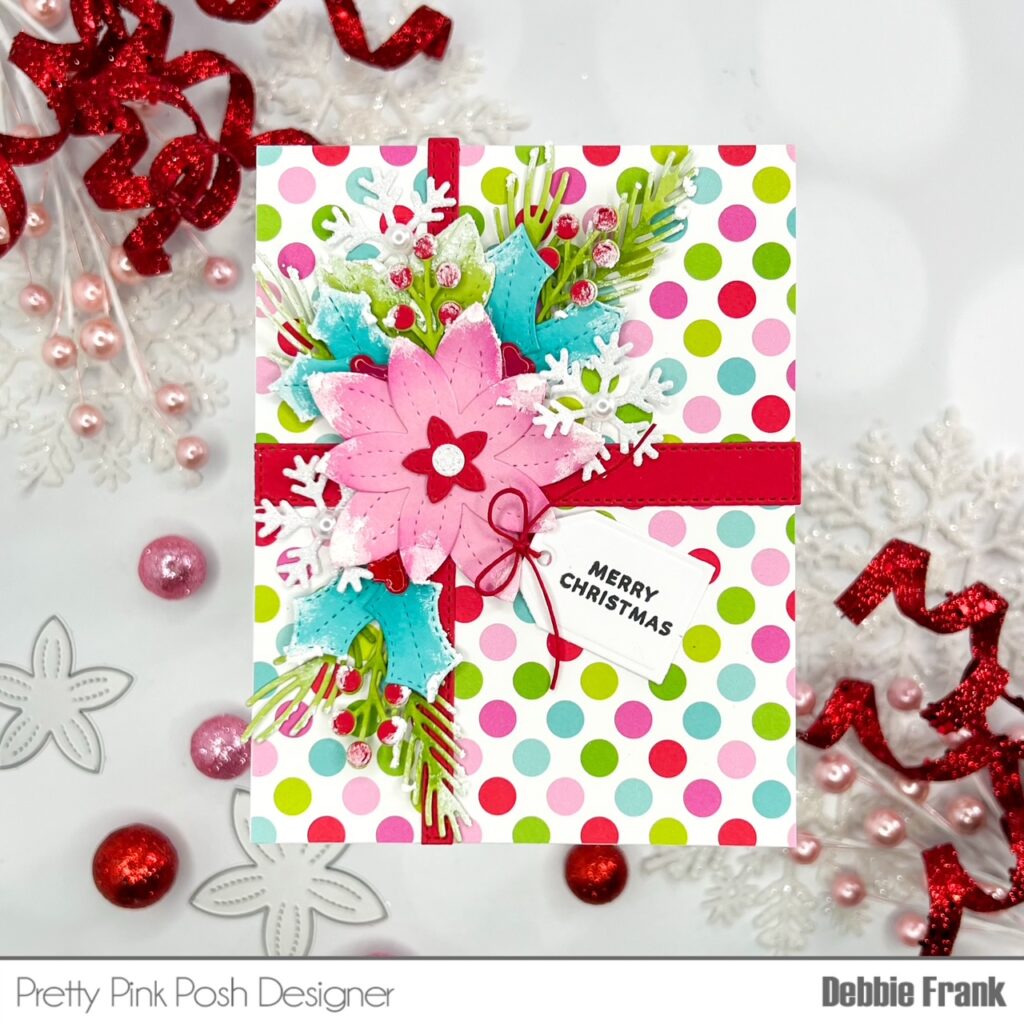
Debbie Frank / IG: franklyjustcards
Emily Mydlowski / IG: popsofpaper
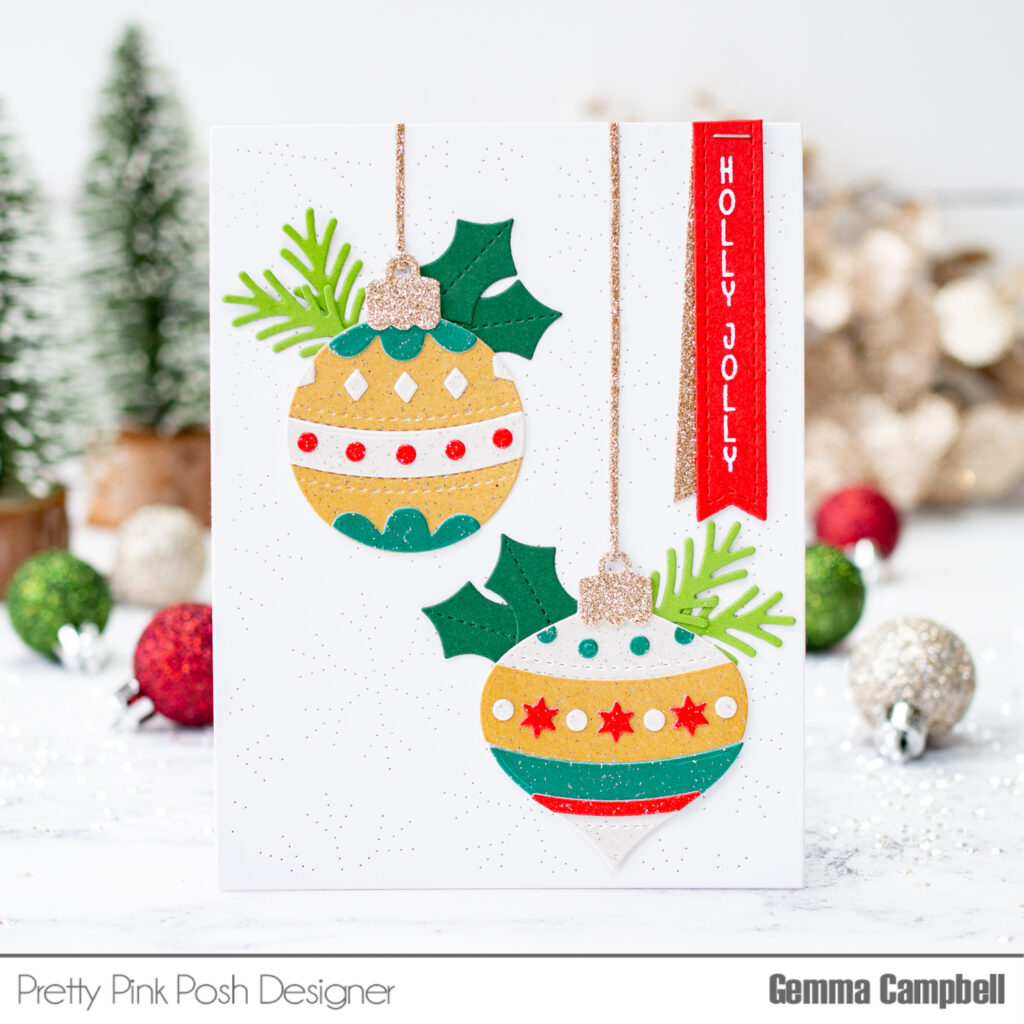
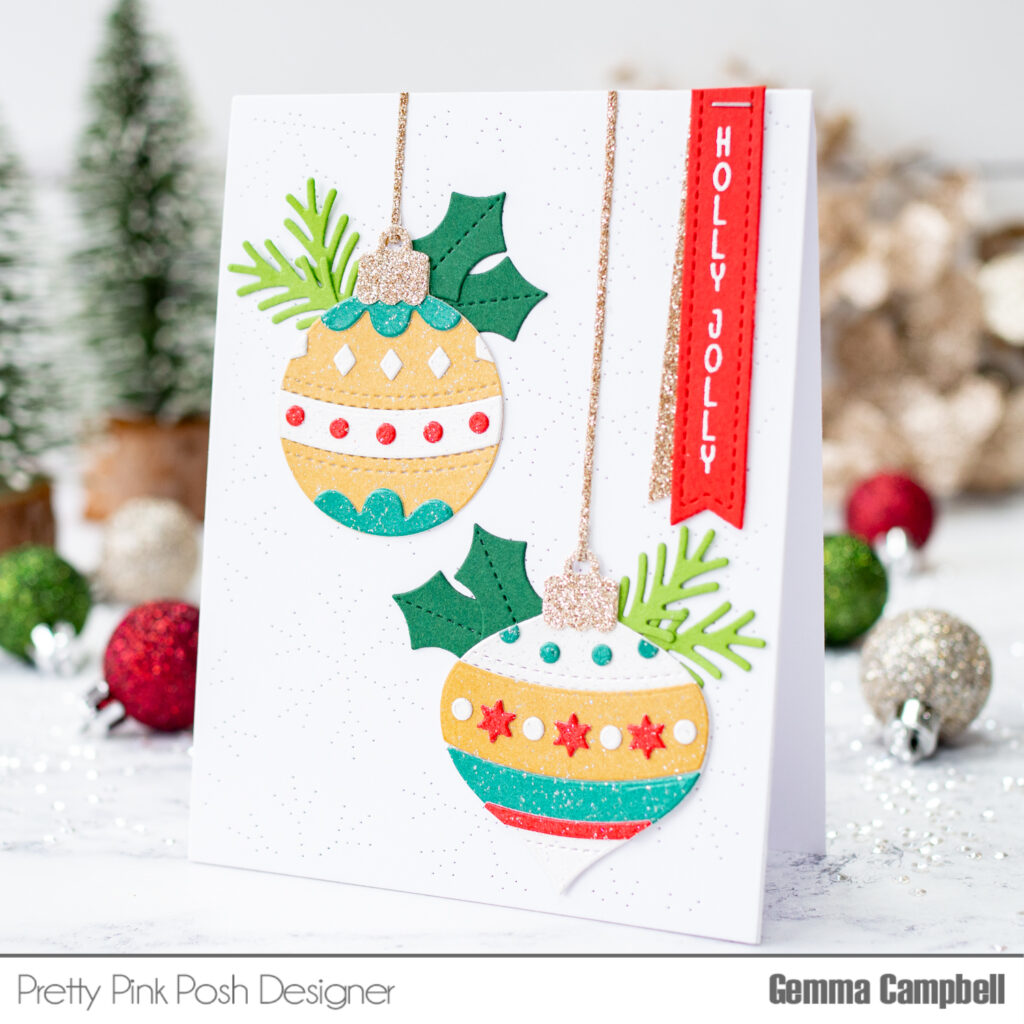
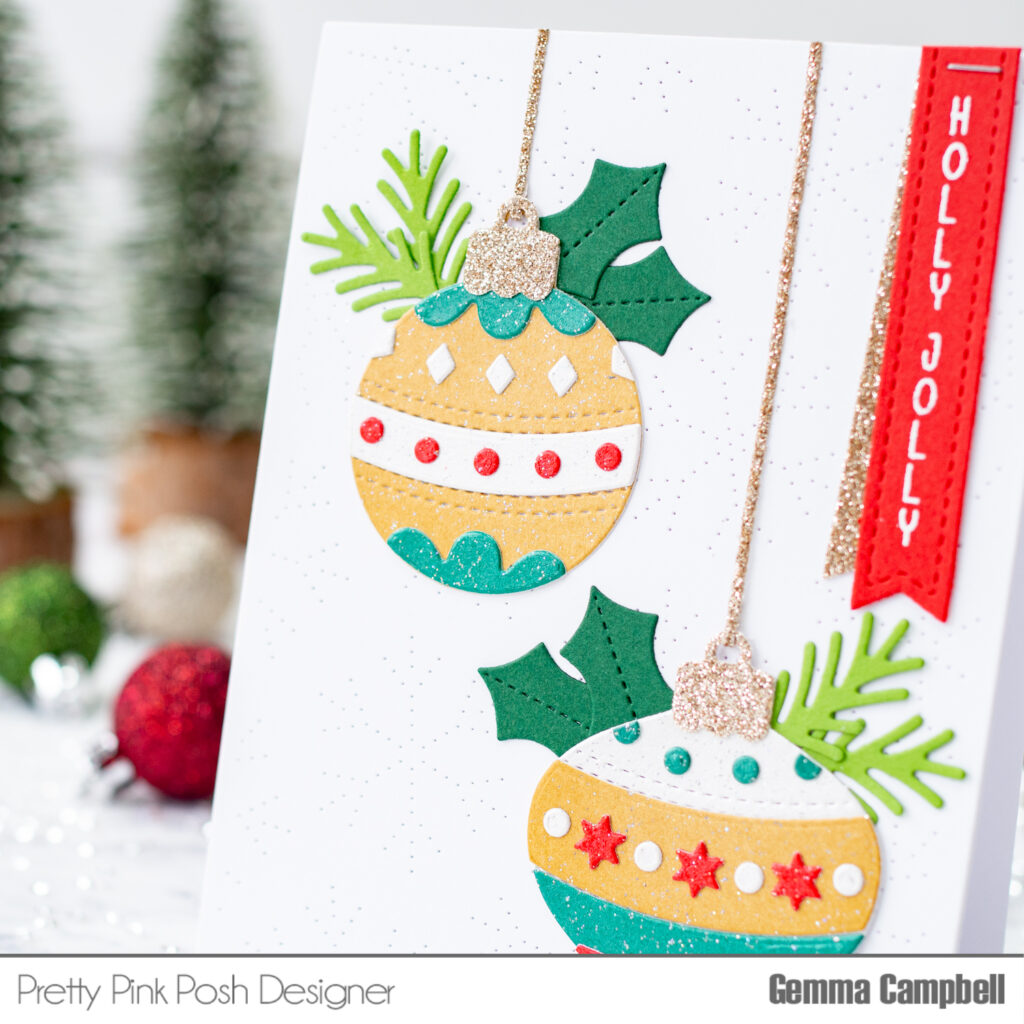
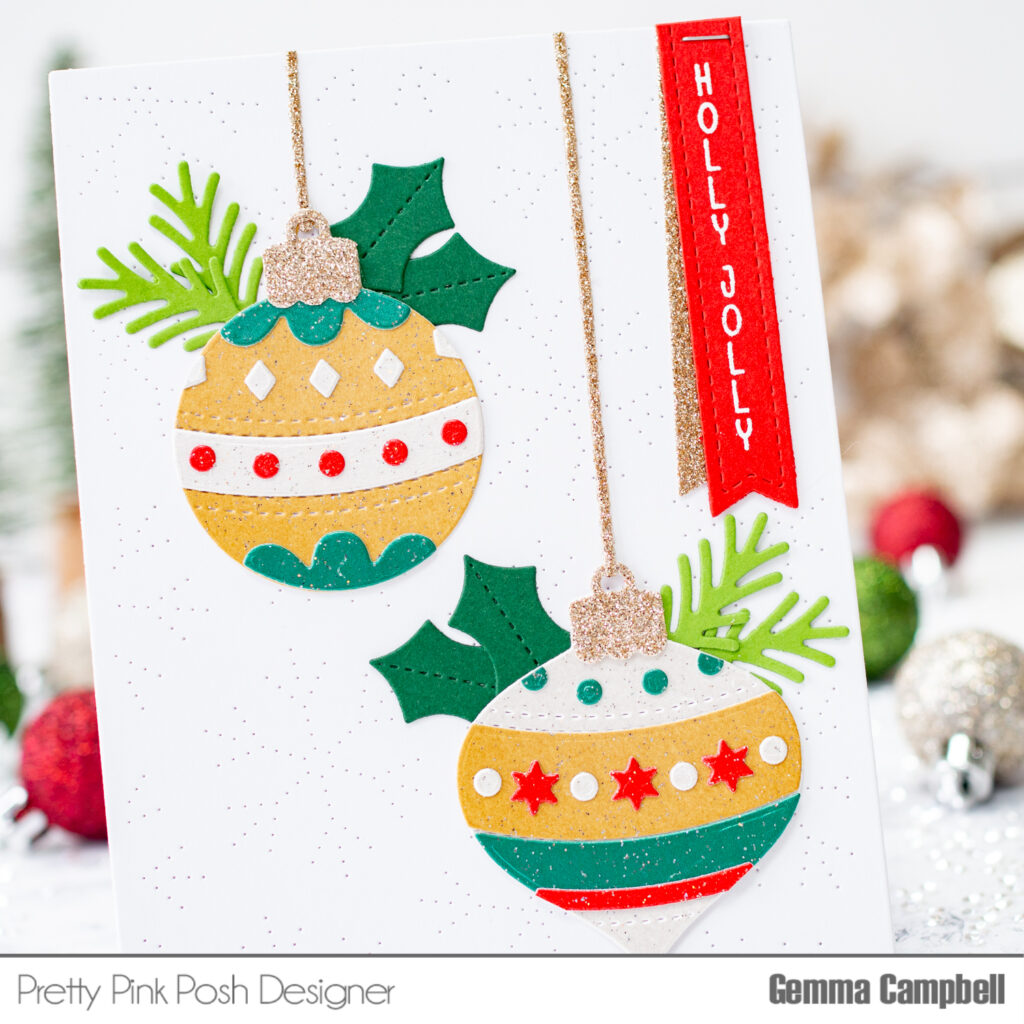
Gemma Campbell / IG: lollipolly
Jeanne Jachna / IG: jeannejachna
Jeannie Lieu / IG: insideoutjeans
Jill Hawkins / IG: jilldhawkins
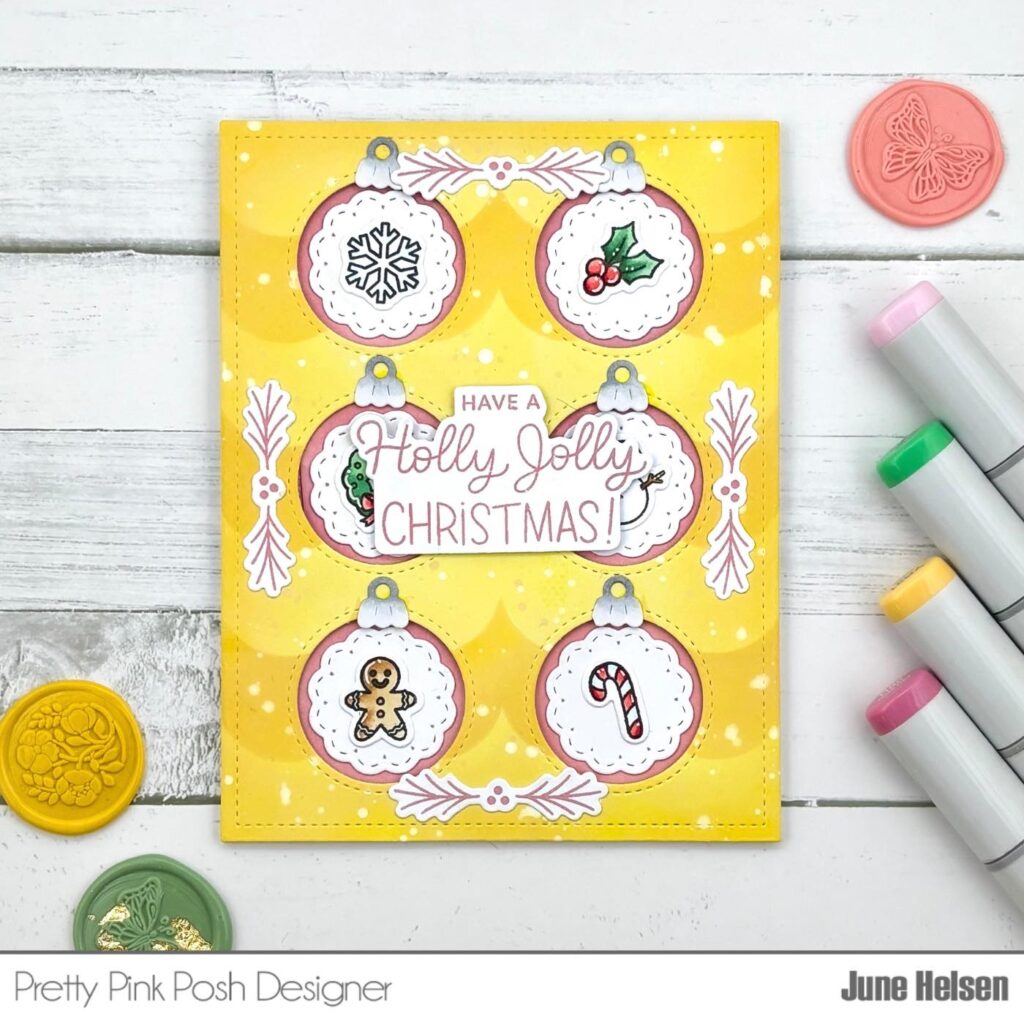
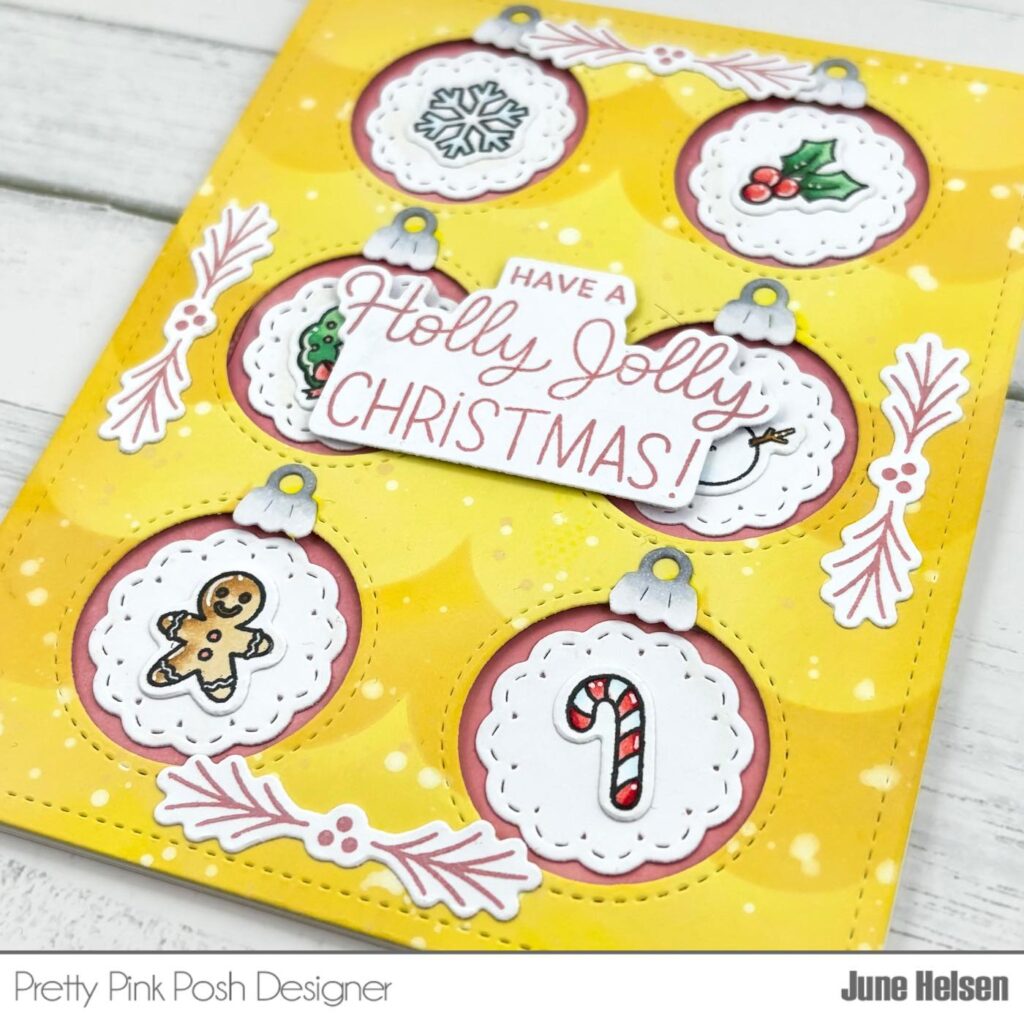
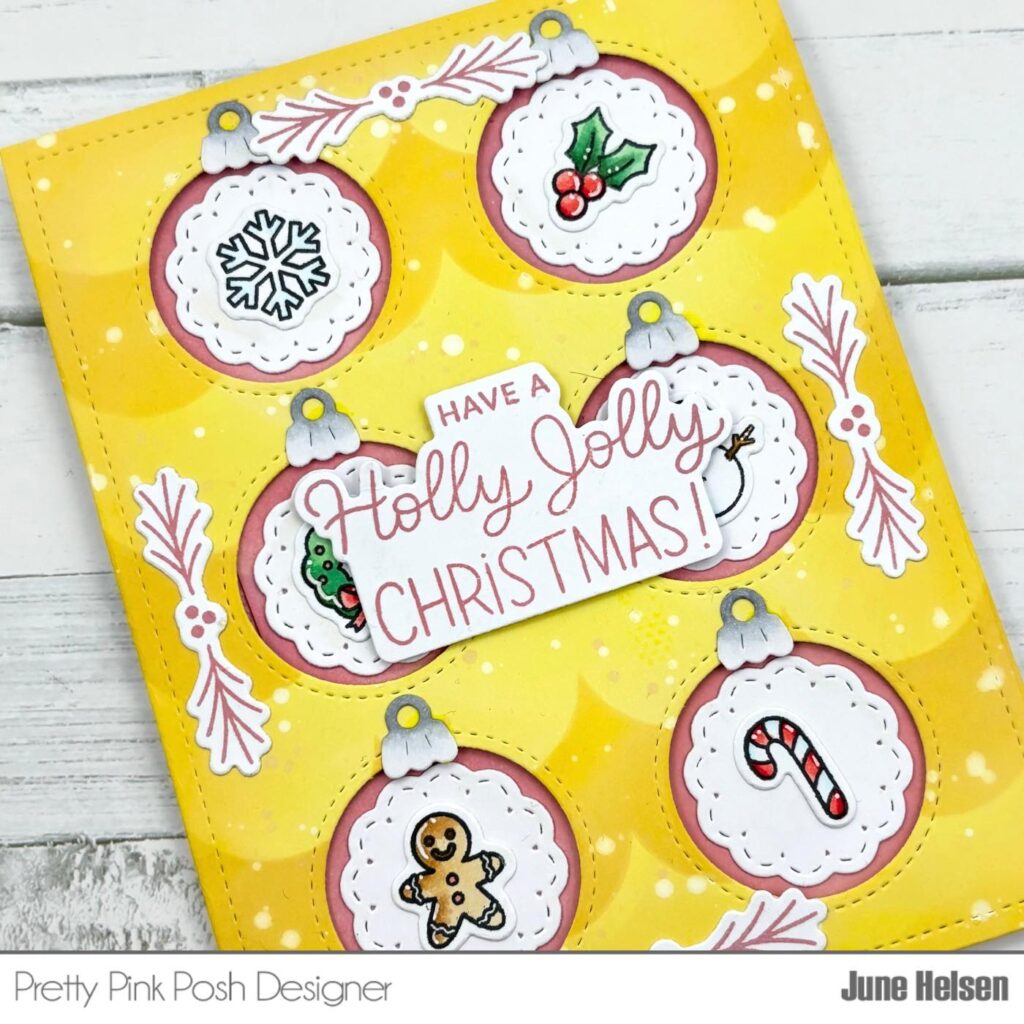
June Helsen / IG: hellojuniper_
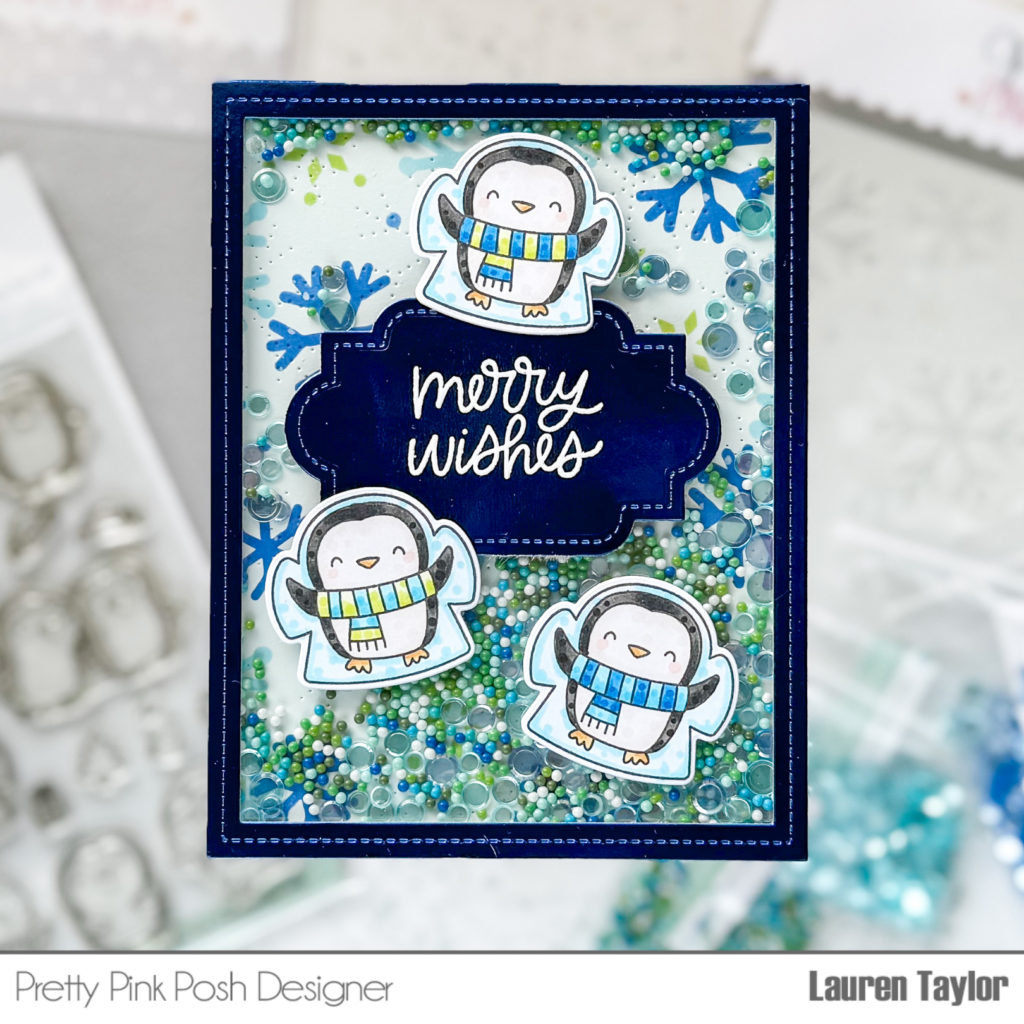
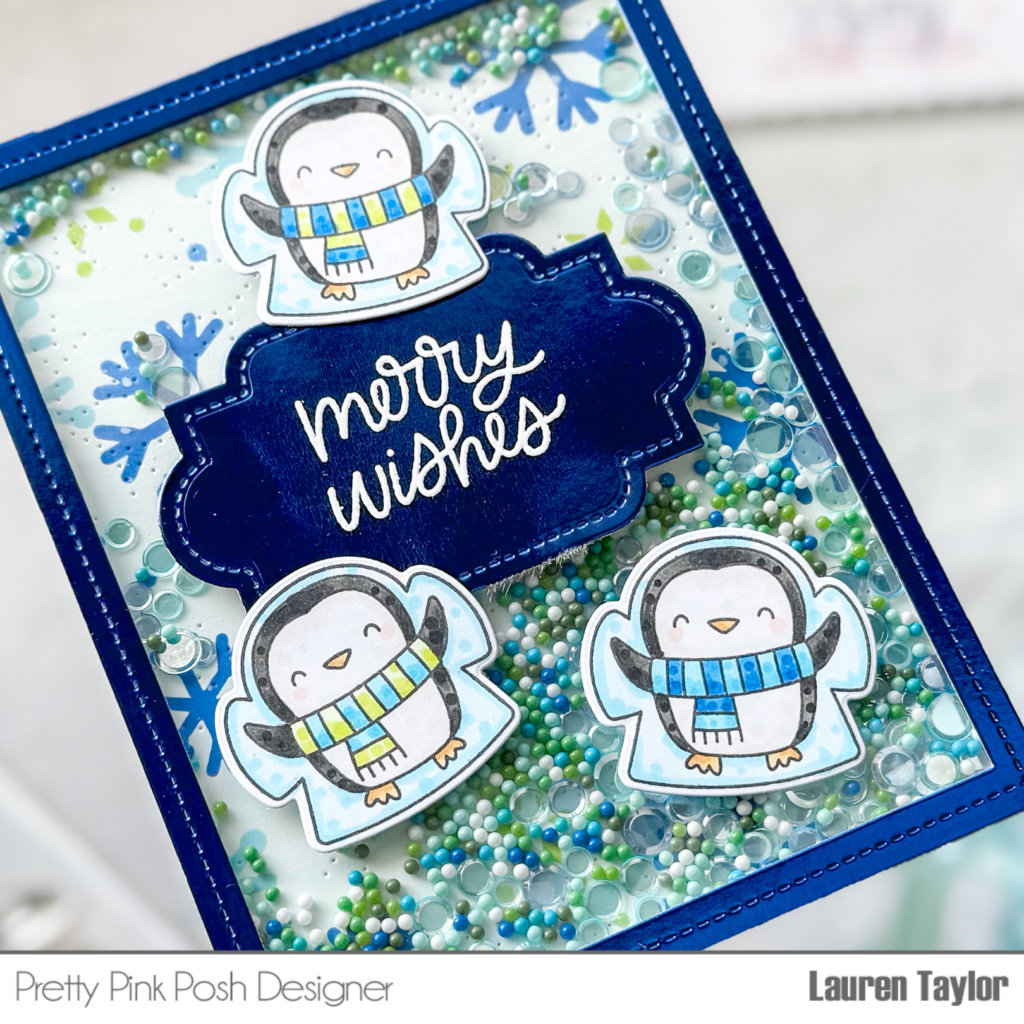
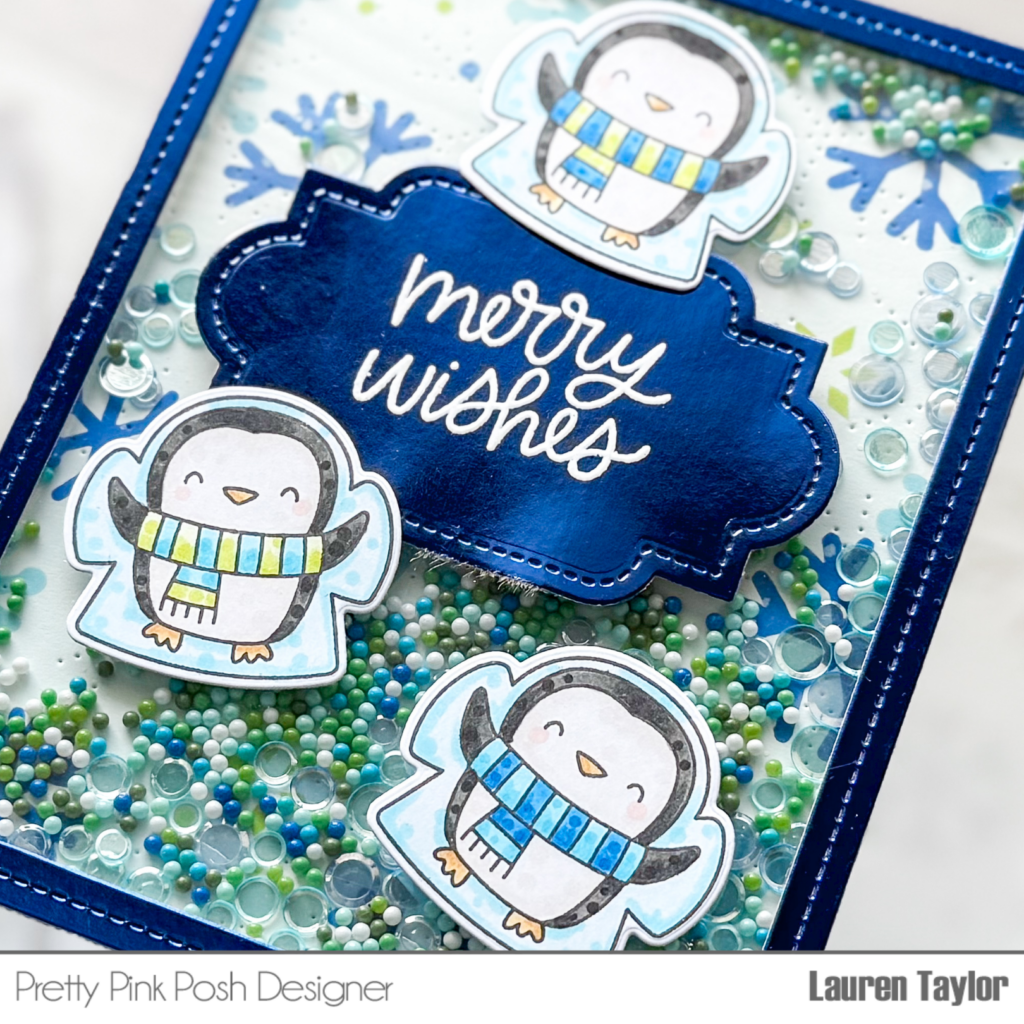
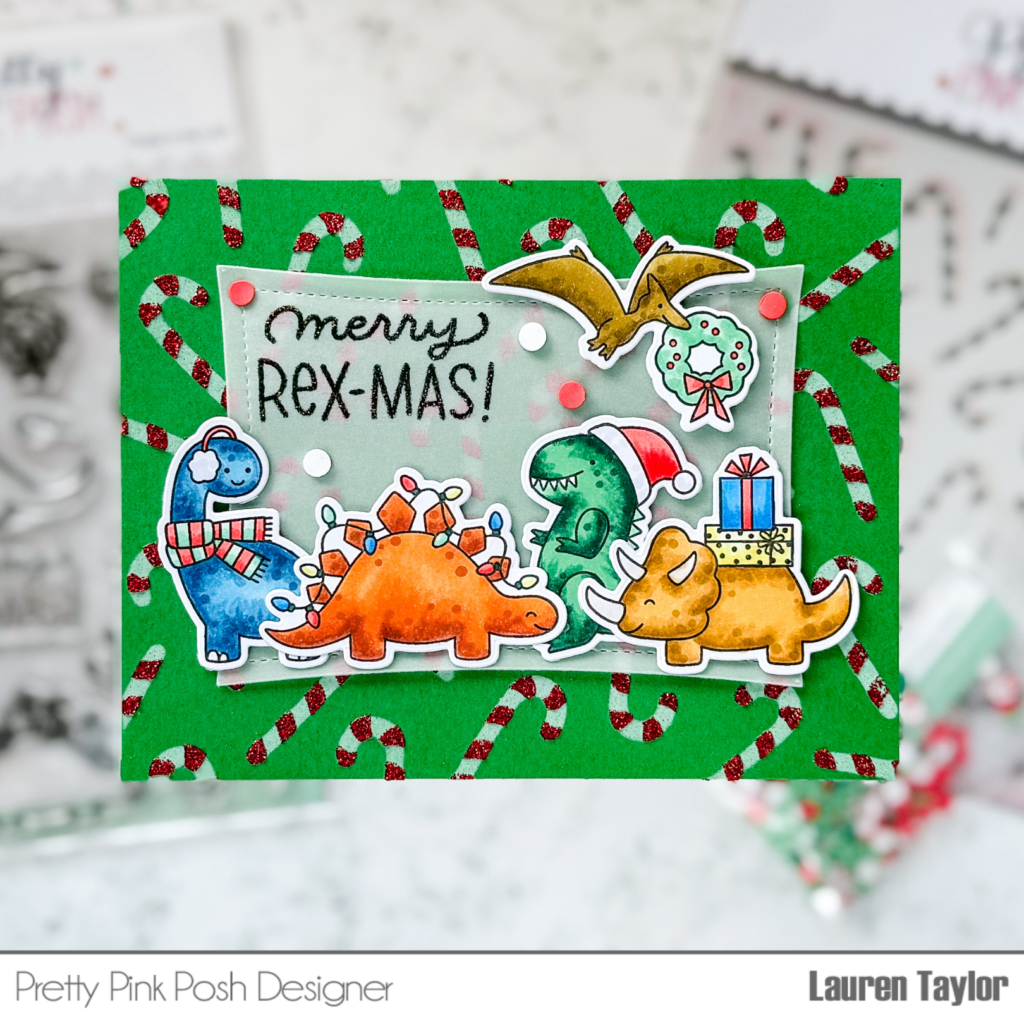
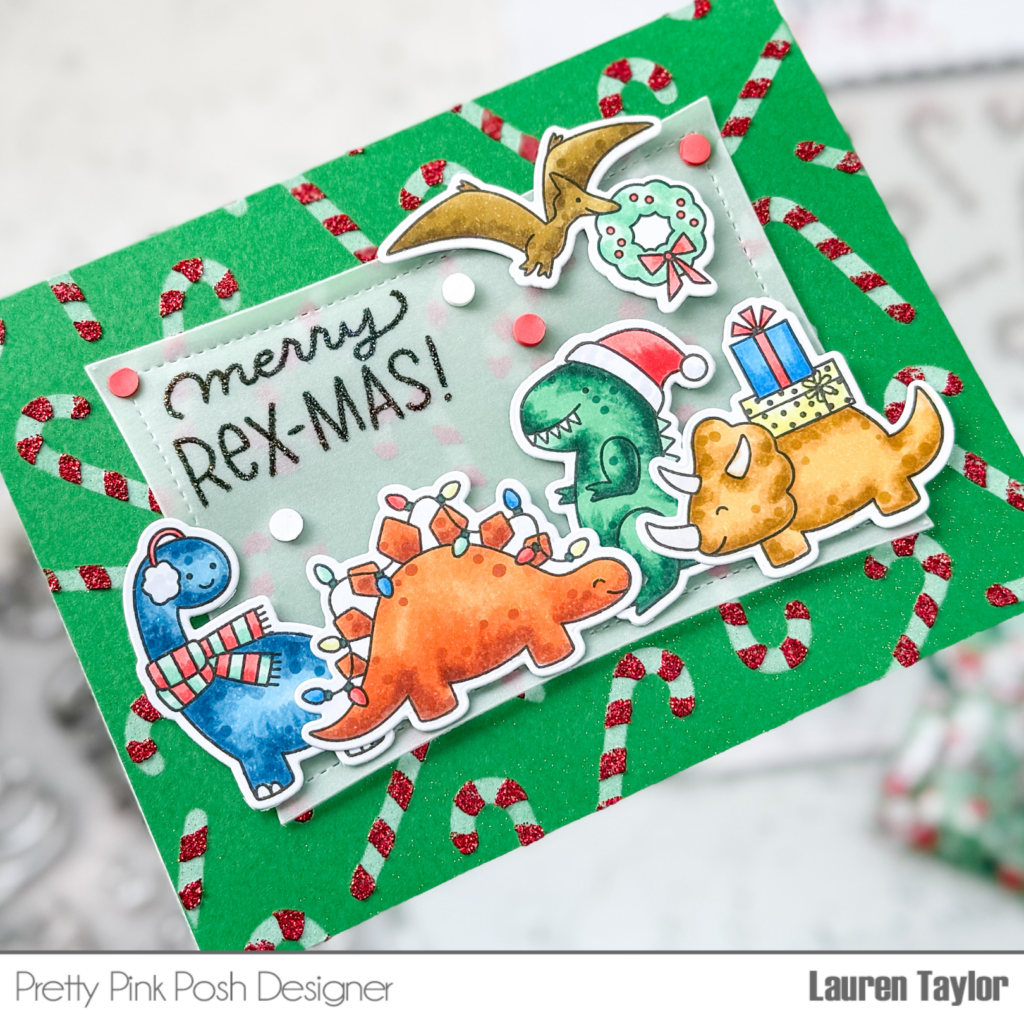
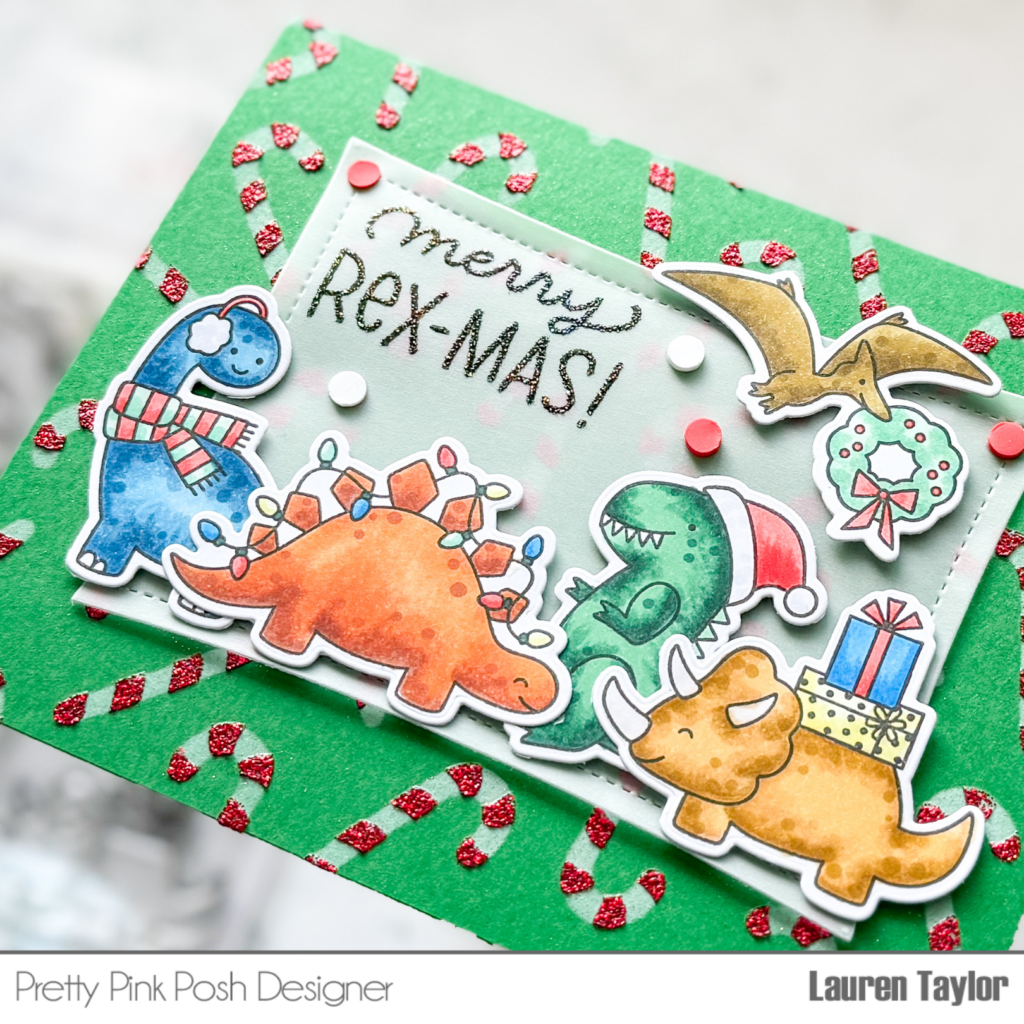
Lauren Taylor / IG: lauren.taylor.made
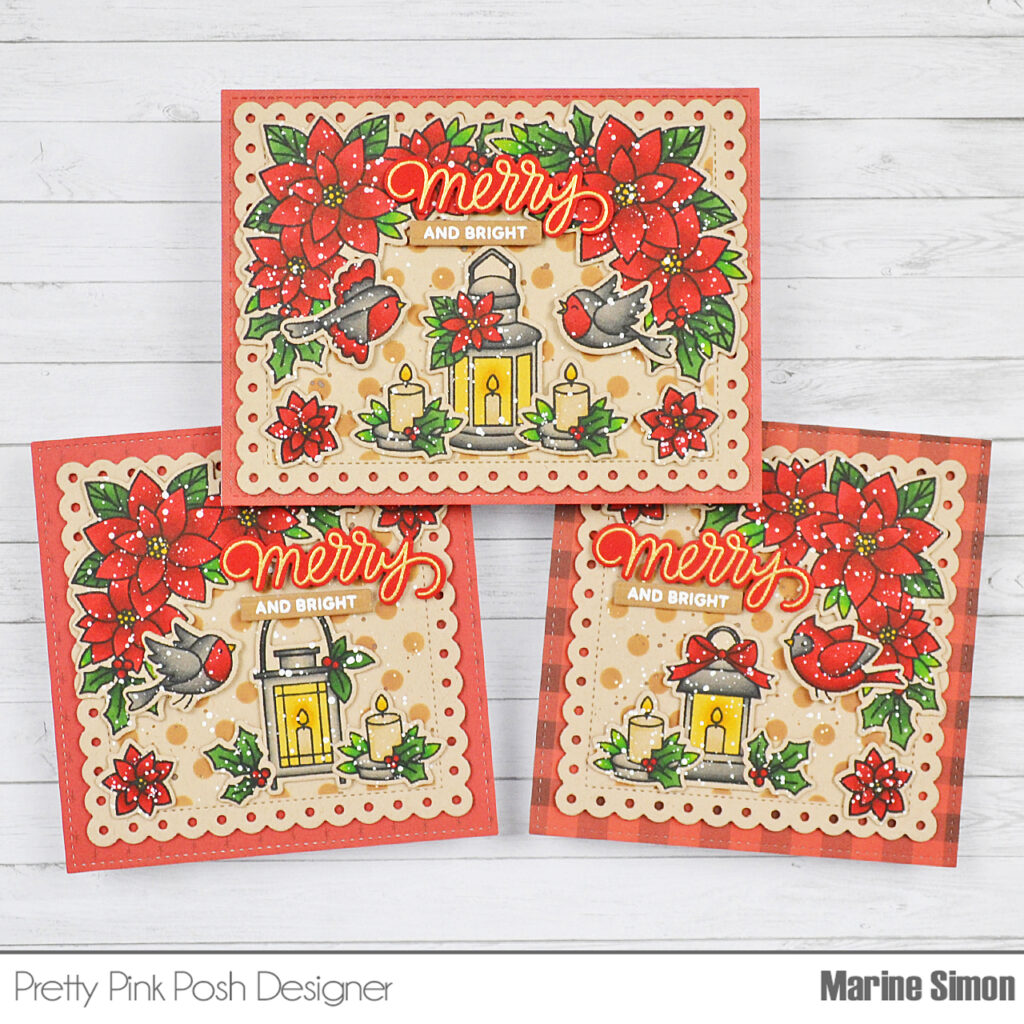
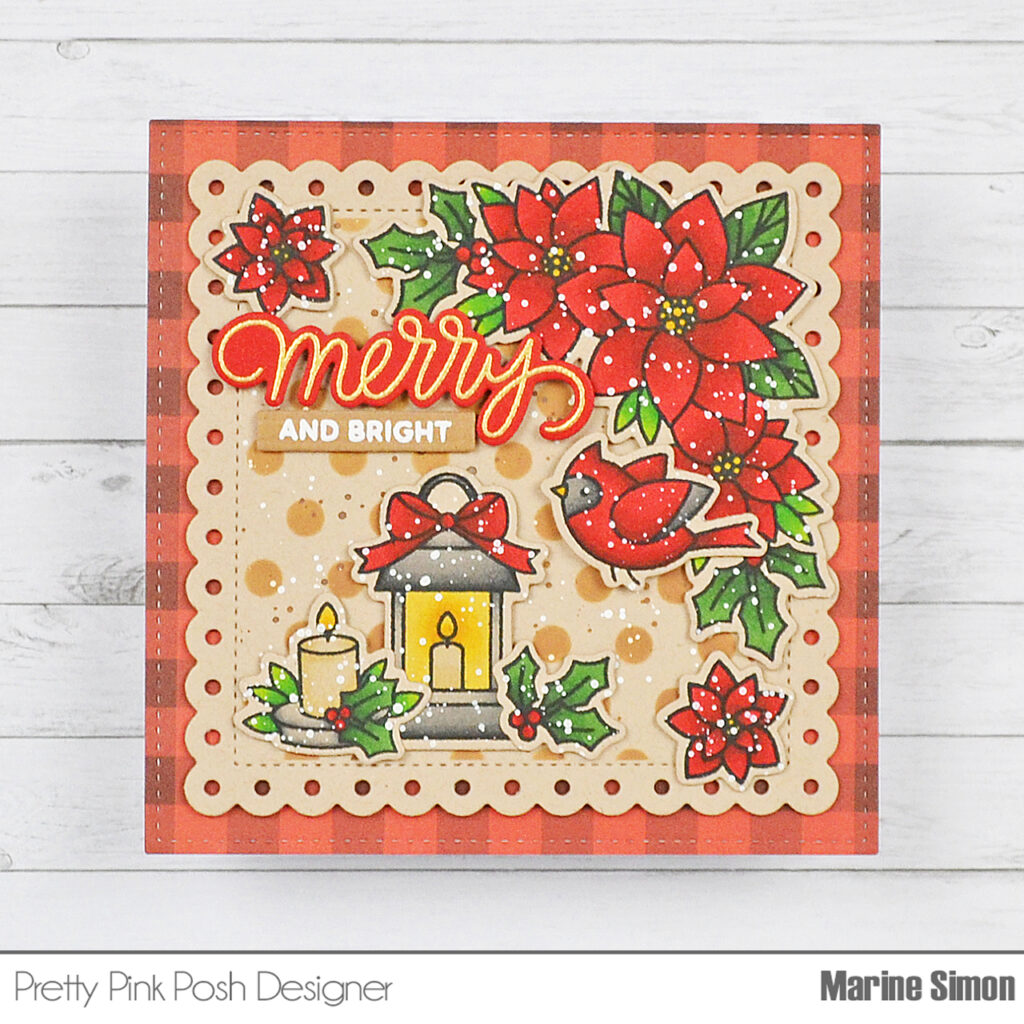
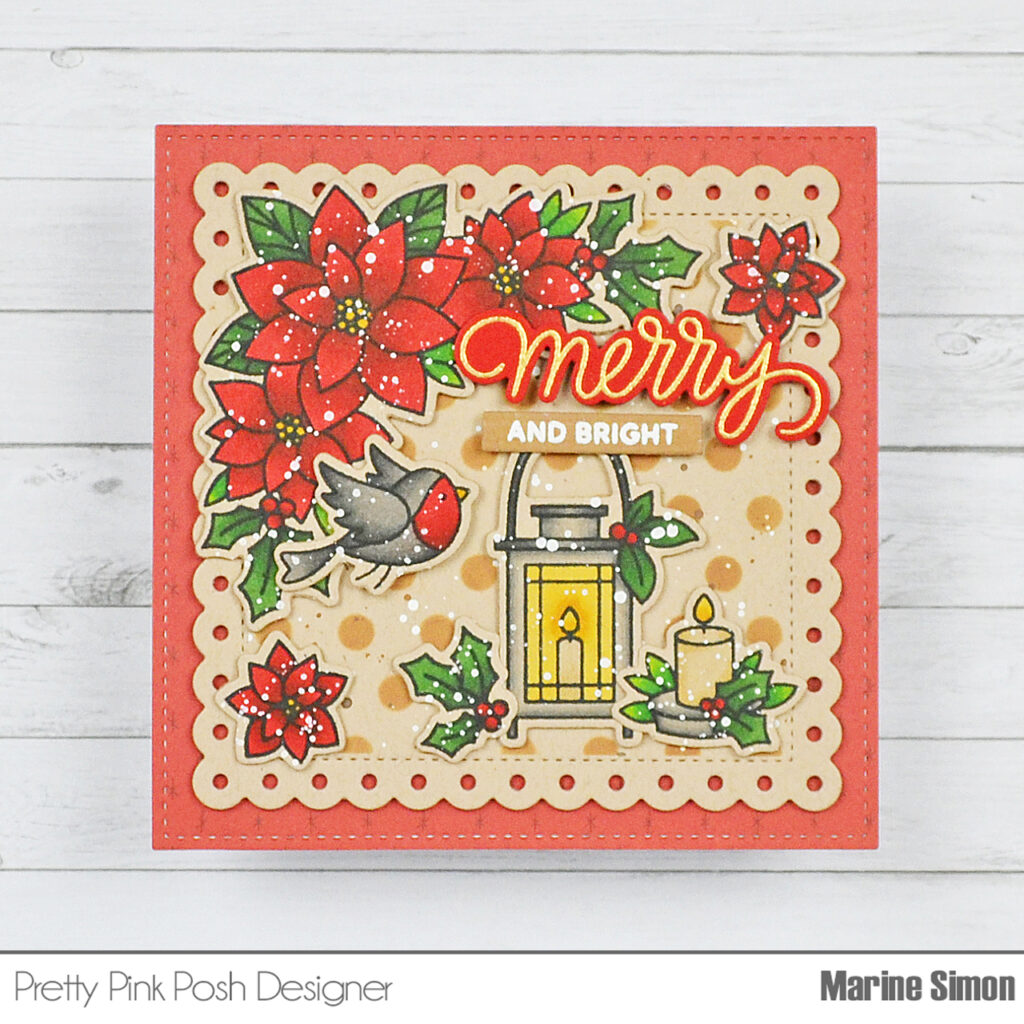
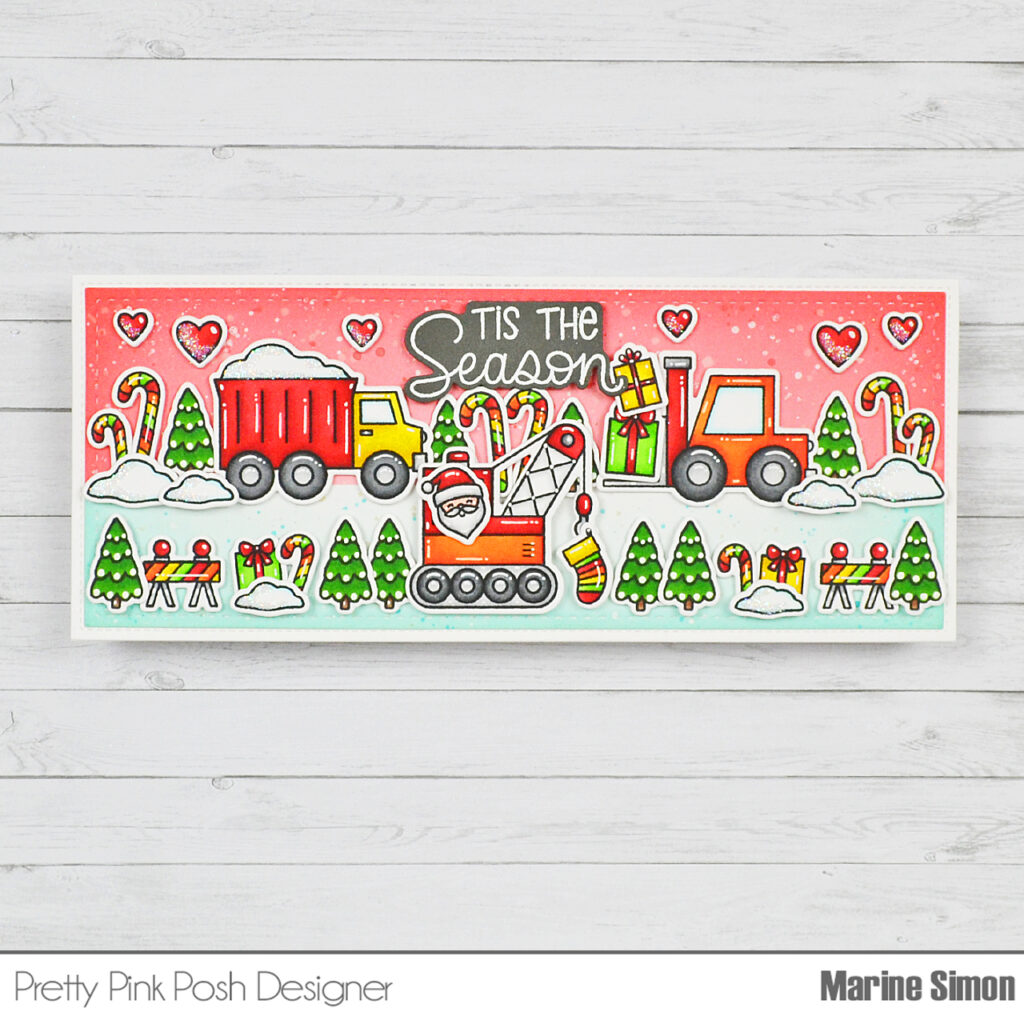
Marine Simon / IG: marine23simon
Melissa Phillips / IG: lilybeanmom
Mindy Eggen / IG: mindyeggendesign
Rebecca Keppel / IG: rebeccakeppel
Sophie Ems / IG: thepeppermintpost
Zsofia Molnar / IG: safsafdesign2016
In honor of the new team, we are doing a big $100 gift certificate giveaway! Leave a comment on THIS post on 3 designs/ products you’d like to see from us in 2025. One lucky comment left by January 5th will win a shopping spree. Congratulations to Jennifer Spence on being the lucky winner. We’ll email you!

Be sure to give lots of love to the designers! We can’t wait to read your comments and suggestions!