Tutorial: Creating Colored Droplets
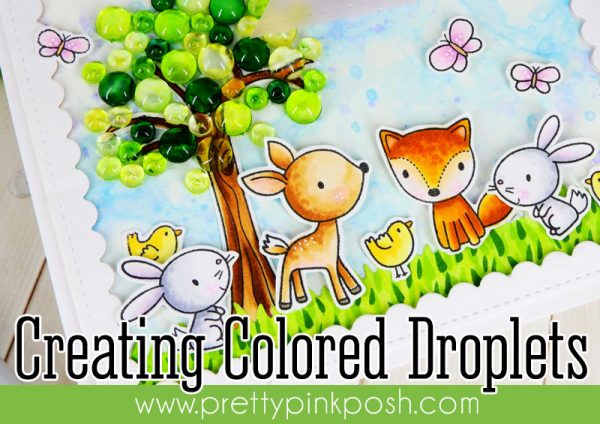
Welcome back everyone! It’s Nina-Marie here with you today featuring a fun technique on coloring your Pretty Pink Posh Clear Droplets to create gorgeous embellishments for your cards!
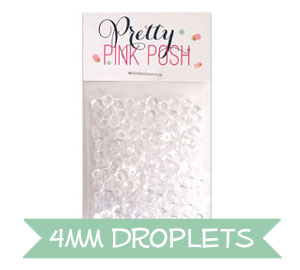
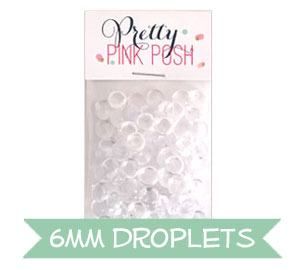
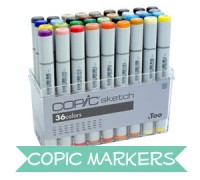
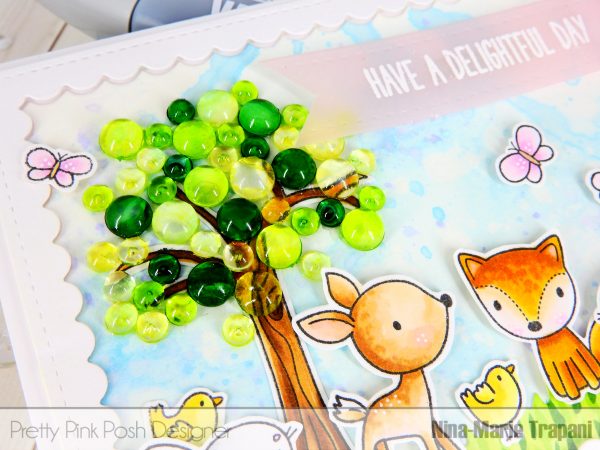
I love using Clear Droplets on my cards; because they are clear, this makes them perfect for using with just about any style of project! However, sometimes you might find you want them to be a specific color to coordinate better with your card, or to create a certain effect. Well, by using some Copic refill ink, you can do just that!

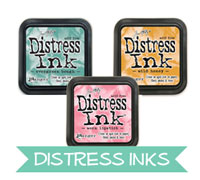
I used refills for this technique today, but bear in mind you can color over the Clear Droplets with markers instead. Since I was creating a lot of the same color of droplets, I ended up using the Copic refills because it was faster than coloring with an individual marker.
For those of you looking for other alternatives to recreate this technique: Copic ink is alcohol based; and while I haven’t tried it personally, I would imagine that other alcohol inks like Ranger Adirondacks, Nuvo/Tonic Creative Pens, Chameleon Pens, Touch Twin Markers and others would also work. Just do some testing before trying it on a specific project!
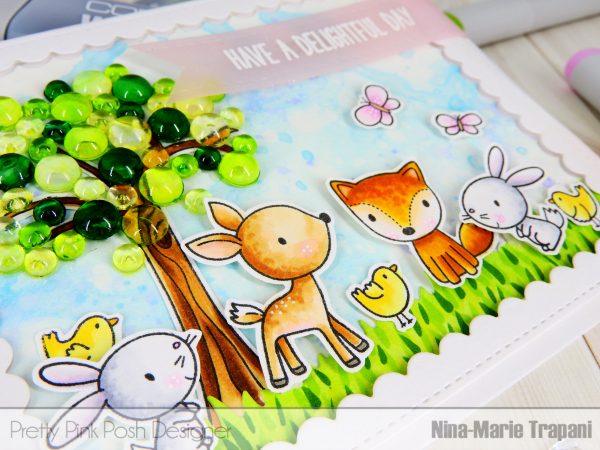
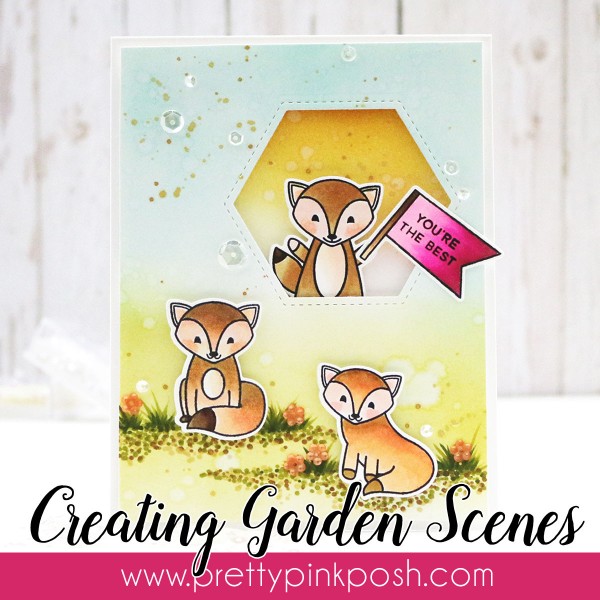
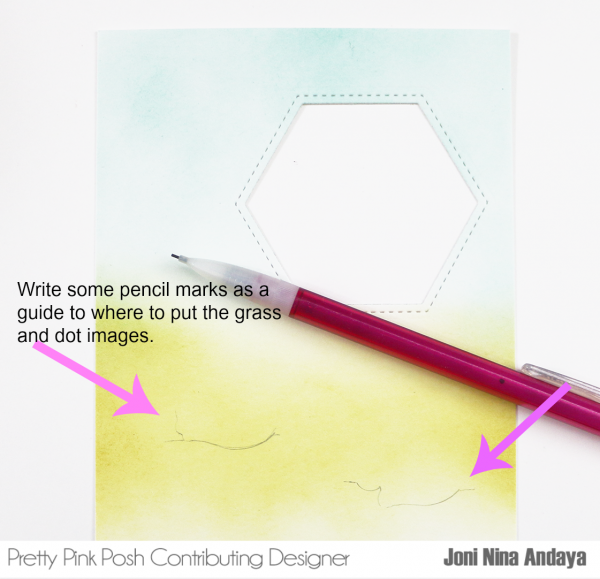
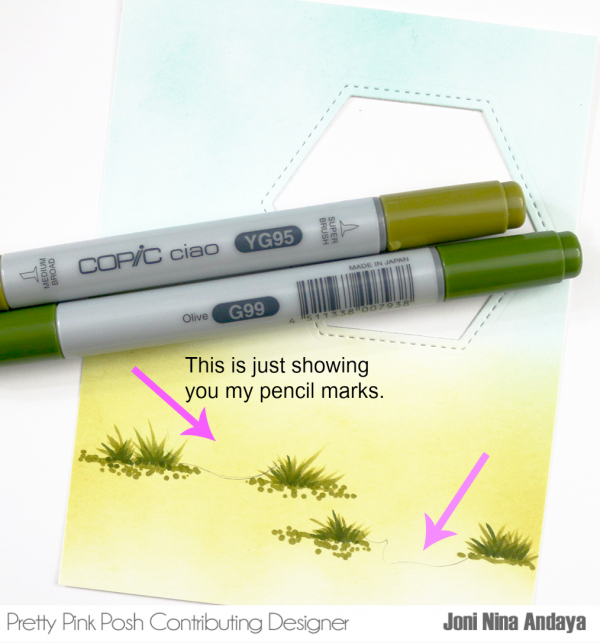
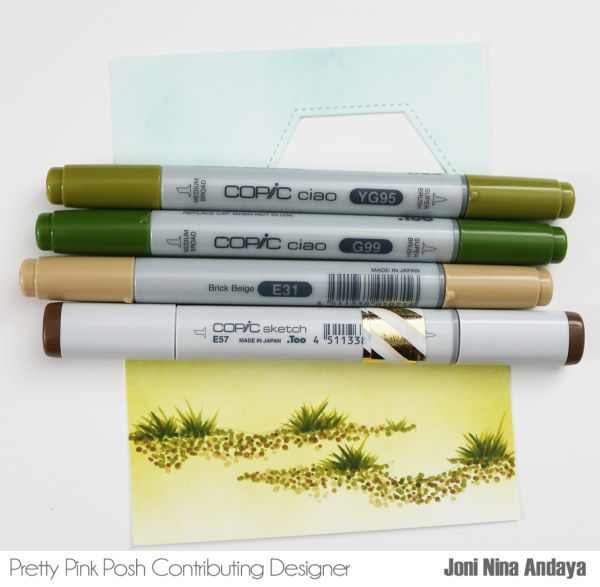
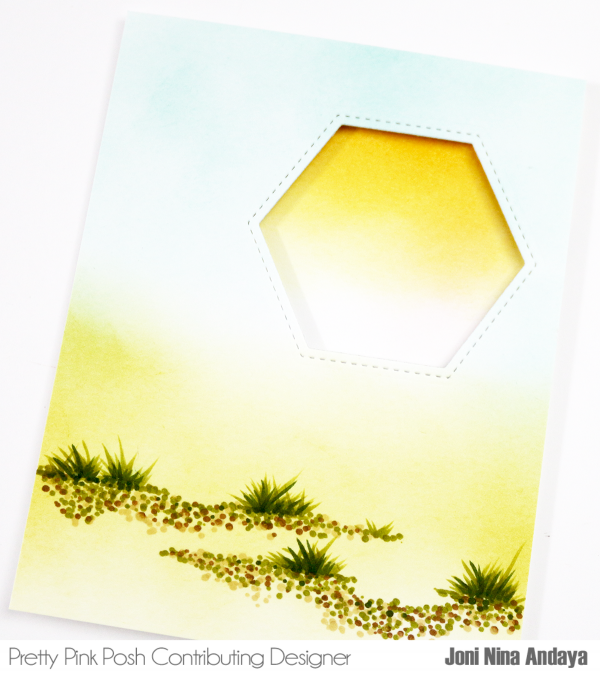
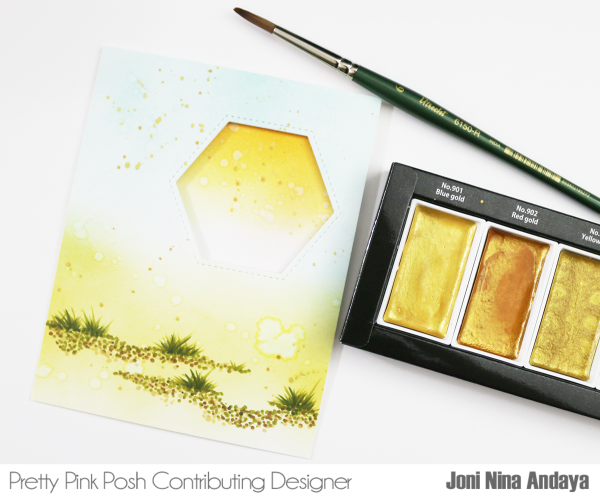
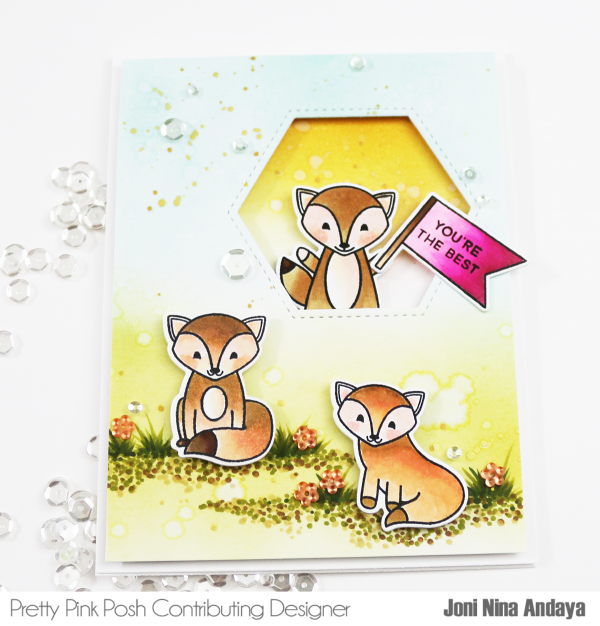
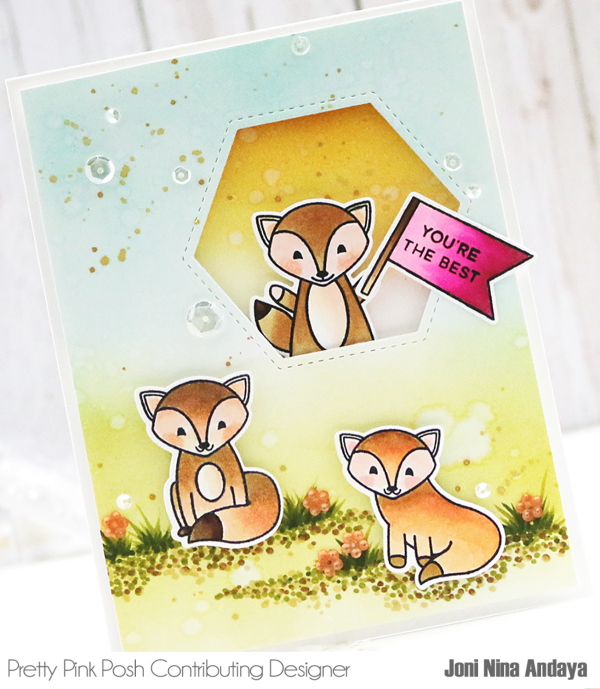
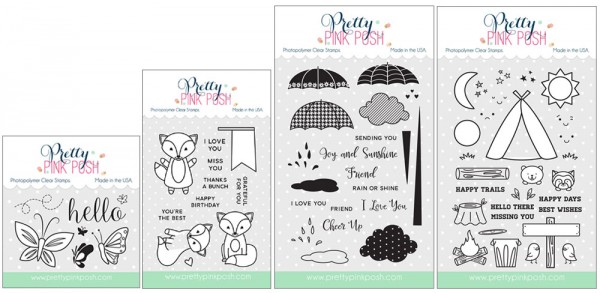
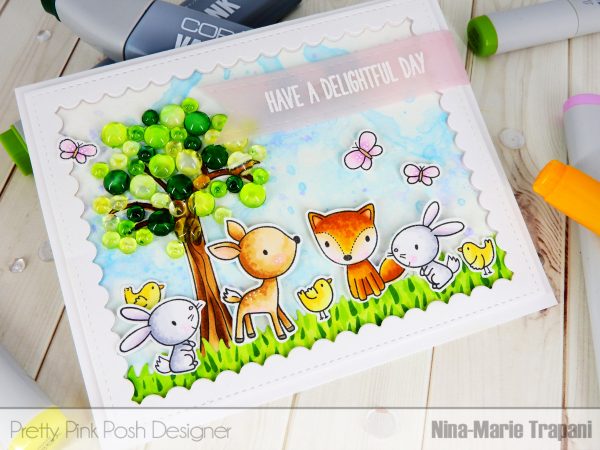
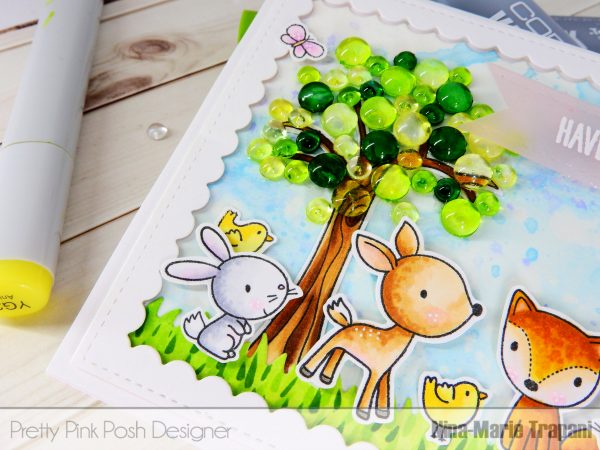
In today’s video, I’ll be sharing the steps I took to create the colored Clear Droplets, including a few tips and tricks! I’ll then walk you through how I used those droplets to create the sweet scene card you see in the photos, using Pretty Pink Posh dies and stamps from My Favorite Things!
xoxo, Nina-Marie


 Hello friends!!
 Here is how I made my card: