Hi friends! It’s Nina-Marie back with you today and I am sharing some inspiration for using the new Pretty Pink Posh STAMPtember exclusive set that was designed for Simon Says Stamp!
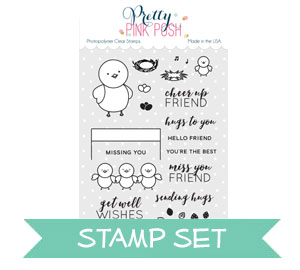
This set called Winter Bird Friend is SUPER cute, and features some fun accessories that can be used to dress up the bird that is also included in the stamp set. I wanted to use the set however to show you that you can use the accessories with some of your other favorite Pretty Pink Posh sets!
I’ve paired the Winter Bird Friend set with the Fox Friends stamp set, also by Pretty Pink Posh, to create a cute snowy scene! I love how adorable the foxes look with their winter attire on… ready for a fun day in the snow!
In today’s video, I’ll be sharing how I created this fun scene, along with tips and tricks on a few techniques I used during the card process!
I hope this was inspiring to you and showed you how you can get even more use out of the fun images included in the Winter Bird Friend stamp set! Thanks for spending some time with me today… I’ll see you again very soon!
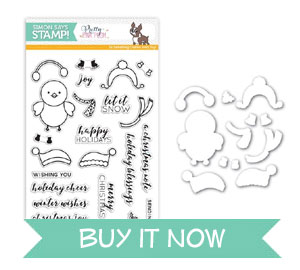
I’m so excited to announce we are releasing another exclusive, limited edition stamp set for STAMPtember® over at Simon Says Stamp! Last year we released our very first stamp set there and you all seemed to really enjoy it, so we thought another set was in order. Our new exclusive set is called Winter Bird Friend.
Today I have the lovely Liz, one of my PPP design team members, sharing cards using this new set. Let’s take a look at what she created…
I thought it would be fun to create a winter scene using these adorable little birds using this exclusive Winter Bird Friend set all dressed up in their little outfits, so I started off by using some distress inks for the sky and combined, Salty Ocean, Peacock Feathers, and Tumbled Glass. Also, added some white splatters to resemble some snow.
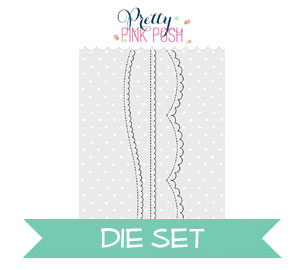
Next, I created these snow hills by using the new Scallop Borders die where I die cut three of them to place one on top of another to form the hills.
To add some dimension, I used some white fun foam underneath the middle and top hills, but before placing the top one, I stamped down one of the many wonderful Christmas sentiments.
I love the variety of the winter hats from this set along with the cute scarf’s, so I pulled out my copic markers to color them using a red combination of R35, R46, R59 and glued them in place. Also, added these adorable little ice skates and added some silver glitter.
To add some more details to the scene, I pulled out these wonderful trees from the Winter Friends set and added several 4mm Clear Droplets to give the illusion of snow falling. Plus, I love how they shine against the sky and snowy hills.
For this next card, I was thinking of a snow globe and thought it would be perfect to use this beautiful Window Frames as it’s also one of my favorites to create scenes. Plus, I love the detailed stitching it leaves along the window both outside and inside.
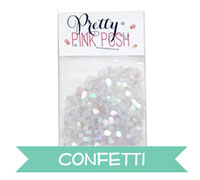
From there, I thought stars would look nice, so I pulled out some cute Silver Mini Star Confetti and glued them down. Love how these mini stars adds details. From there, I added several Silver Shimmer Beads for the shaker portion as I love the way they shake inside and adds to the snow effect.
Last but not least, I got another chance to play dress up with these darling little birds with their hats, scarfs, and little shoes. Also, I couldn’t resist but to use those little ice skates again while the other one has little booties. Aren’t they cute?
Here a sneak peek of just a few of the projects the DT created with this set. Be sure to hop along to see their full posts!
I hope that you all love this stamp set and are inspired by the samples the design team created. A giant thank you to Simon Says Stamp for letting me be part of STAMPtember®.
NOTE: these sets are available exclusive through Simon Says Stamp and are limited edition.
Hello everyone, Joni here participating in the Fall Coffee Lovers Blog Hop. Pretty Pink Posh is one of the sponsors and we thought it would be a good time to share some sneaks of the upcoming products for the coming October 5th release.
To begin my card, I first stamped the coffee images from the upcoming Christmas Friends stamp set. The different sized leaves and groundhogs are from the upcoming Giving Thanks stamp set. I also stamped the sentiment on the card base. Then, cut the larger frame from the Scallop Ovals dies to create a shaker for my card.
Here’s another closer look at the card and also the stamps!
We hope that you enjoyed today’s card and look at the upcoming release. Also, we hope we inspired you to create a fun fall themed coffee cards for the blog hop.
We’ll be back tomorrow with a special post about an exclusive product- see you then!
Good morning my sparkly Pretty Pink Posh friends! Heather here this morning to share a fun little camping theme card with you! Since I hadn’t had a chance yet to play with the new Camping Friends Stamp Set – AND my family just returned from camping recently, it seemed like the perfect opportunity!
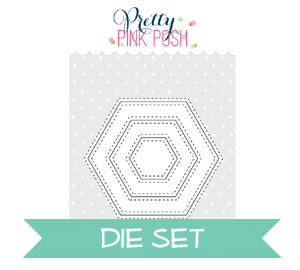
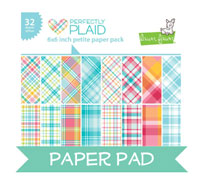
I went a little non-traditional with the colors – I actually chose my plaid paper first, then based my color scheme around that – so bright and happy! I used the new Stitched Hexagons Dies for the base for my scene, and Scallop Border Dies to create both the hill and the side border of the plaid paper.
I also used the coordinating Camping Friends Dies to cut out the elements for my scene. Once they were colored with Copics, I layered everything together, tucked a doily underneath, and finished off with some Iridescent Mini Circle Confetti attached in the sky with some Glossy Accent dots – like it’s raining glitter!
Thanks so much for stopping by today! Have a wonderful day!!!
Hello crafters! Julia here and today I have a fun card for you showing off the Fox Friends stamp setfrom the August release!
I wanted to create a silly card, just because I looked at the Fox Friends stamps and one of the foxes jumped out at me (pun intended!) and I thought it would be fun if he would be photo-bombing! (Have you ever followed Jennifer McGuire’s stream on IG? Her family is amazing at photo-bombing, so that’s probably where I got the idea from, LOL).
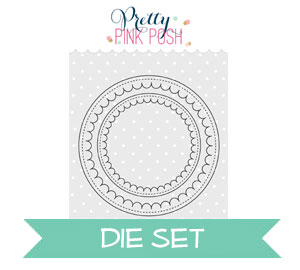
I stamped the foxes on copic friendly paper and used my alcohol markers to color them in. I like high-contrast coloration, so I even added a dark brown in to the color mix to make sure I got nice, deep shadows. I used the Scallop Circles die to create a window-opening on my front panel and sponged the card base behind it with some blue distress ink for additional contrast.
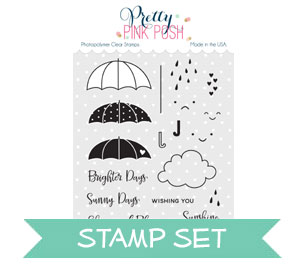
Hello everyone, Joni here with another cute tutorial using the open cloud image from the Rainy Days stamp set. Really versatile and creative use for Halloween cards!
To begin, I stamped the clouds multiple times onto white cardstock.
Next, I drew some faces on the clouds using the pencil first, then I added the Micro Pen on the top of the pencil marks and erased the leftover.
Then I distressed the black cardstock with white pigment ink to create that chalk finished. Next, I colored the clouds with Copic markers and die-cut it with Rainy Days coordinating die.
I then adhered the clouds with foam tape. The die-cut “booyah!” were from the Papertrey Ink Headline Alphabet dies. I also added some Pewter sequins for added interest.
Here’s a closer look at the card. You can create so many fun designs, even for Thanksgiving or Christmas!
Thank you so much for joining me today, I hope you liked it! Have a wonderful day!
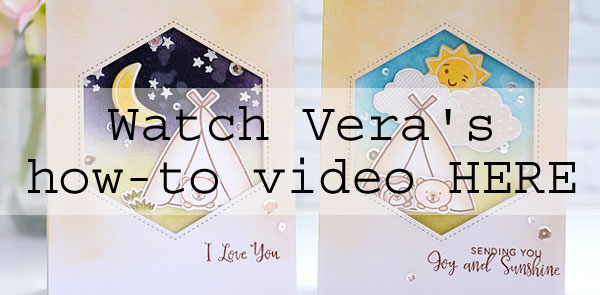
Hi everyone! This is Vera and today I have Hexagon Magnetic Bookmark to share with you featuring the Pretty Pink Posh Stitched Hexagons Dies.
Magnetic bookmarks are popular lately and they’re so easy to make! When I saw the Pretty Pink Posh Stitched Hexagons Dies I knew that there were so many options for both cards and other projects.
To create these magnetic bookmarks, I used white cardstock and flexible magnet sheet (you can use flexible magnet tape too). The images are Pretty Pink Posh clear stamps : Camping Friends | Holiday Pals | Rainy Days and the sentiments are from the Birdie Friends Stamp Set. I blended the hexagon die cut with dye ink pad and colored the images using Zig Clean Color Real Brush. On the back side, you can write the words as desired using a black marker and white gel pen.
Here’s a video to show how I created these bookmarks from the start to finish.
Hello friends!! Amy here. Today, I want to share a watercolor card using the Blissful Butterflies Stamp Set. For my card, I used my favorite technique – white heat embossing and loose watercoloring. This set is perfect for this technique! I chose to use colors close to the nature to make a refreshing get well card.
Here are more details:
On a watercolor paper, stamp the butterflies from Blissful Butterflies Stamp Set with Versamark ink. Pour white embossing powder and heat set with heat gun
Blend Twisted Citron, Scattered Straw, Pine Needle and Cracked Pistachio distress inks on the butterflies. Brush water and more inks on top with a paint brush. Add white watercolor splatters and Perfect Pearl mist. Die cut the panel with SSS Basic Stitched Rectangle Die
Heat emboss the sentiment from Birdie Friends Stamp Set using SSS Antique Gold embossing powder. Fussy cut out with scissors
Hello Pretty Pink Posh friends!! Shannon here today with a watercolor background card created from the lovely new Blissful Butterflies stamp setand the Zig Clean Color markers. (We have found that the best price in the States is Amazon- they even have the new 80 pack!)
I started off by stamping all the butterflies in the set onto watercolor paper covering the whole background.
You can make the background as full, or sparce, as you want. Also, if you want a more subtle look, you could use a brown or light gray ink.
I then started coloring all my butterflies individually with my Zig Real Brush markers. I splattered of of the the colors onto the background for more interest.
This is the part where you can really have fun and use a particular color palette, or create a bright and colorful card.
I stamped the hello sentiment from the set, along with the friend sentiment from theRainy Days Addition stamp set with black ink onto a piece of Lavender card stock.
I then cut the scallop border on each side of my panel with Scallop Borders die before adhering onto a black card base. If you wanted to add a little extra sparkle, you could use the Wink of Stella brush or add some sequins to match your card.
That’s it for my card today! Thank you for stopping by!