Creating 3 Fall Cards + Video
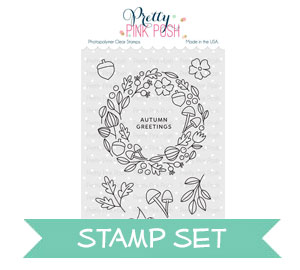
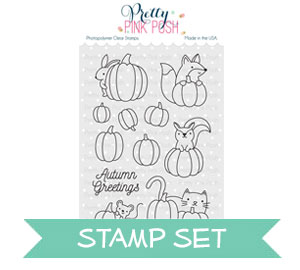
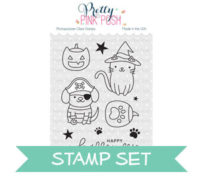
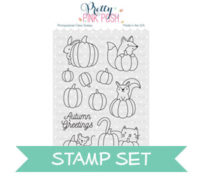
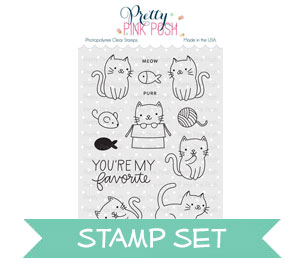
Hi friends, Eloise here today with another video over on the YouTube channel. I’ll be using three of the brand new stamp sets; Halloween Pals, Pumpkin Patch Critters and Cuddly Cats to create three grid design cards. I love using this layout to use many images at once, and to also create quick and easy cards that you can mass produce easily. I’ll be using the same supplies and the same concept for each card as well to make them quicker to make, as well.
To begin my cards today I started off with stamping out all my images. I used Copic Friendly black ink and Neenah Solar White cardstock. I stamped out a ton of the images, enough to make a grid on each of my cards and then coloured them in with Copic Markers.


Copic Markers Used: E74, E77, E79 / E42, E44, E47 / W0, W1, W3, 0 / YR31, YR24, YR27 / E53, E55, E57 / R00, R20, R22 / R17, R29, R89 / E70, E71 / Y17, YR24, YR27, E37 / E95, E97, E99, E07 / Y17, YR04, YR18, E37 / Y13, Y15, YR23 / YG61, YG63, YG67 / BV02, BV04, BV08 / W5, W7, W9
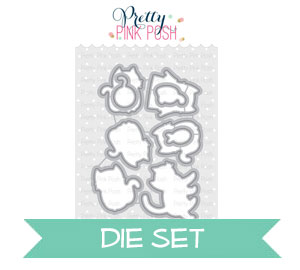
Now that all my images are coloured, I used the coordinating dies to cut them all out. I then set them off to the side in their groups and worked on my card bases. I used some green cardstock to create two regular sized card bases and one square card base for all three of my projects,

I then used the Dotted We R Memory Keepers Embossing Folder to emboss on all three of the card fronts, to just give them a little extra detail. I then added foam tape onto the backs of all my images and arranged them onto my card bases.

Now that all my images were adhered to my card bases in their grid design, my last finishing touch was to add the sentiments. I used the sentiments from each stamp set and white heat embossed them onto strips of black cardstock. I then added more foam tape behind the sentiments and adhered them into place onto my cards.


So that finished up my projects today, super simple and easy to create. Of course, you could go more elaborate on the backgrounds and make them all look more different, but this is just a super simple way to create these simple cards.


 Hi everyone,