
Tutorial: Creating Two Valentine Cards
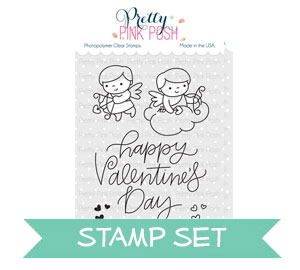
Hi friends, Eloise here and today I’ll be using the new Cupid Friends stamp set to create two different sequin shaker cards. I’ll also be using the Stitched Notes Dies along with the Love Shaker Die and a few sequin mixes to create my cards today.
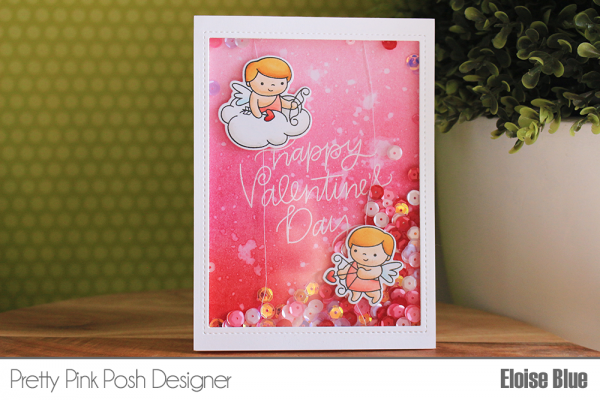
For my first card, I’ll be creating a full card shaker, with some images floating inside. So, to begin, I stamped out the two cupids from Cupid Friends and coloured them in with Copic Markers. Once I finished colouring them in, I went ahead and cut them out using the coordinating dies. I set those off to the side so I could work on my shaker pocket. I took a white piece of cardstock, cut it down to 4” x 5 ½”, then used the large rectangle die from Stitched Notes Dies and cut that out of the centre. This created a frame for my full card shaker. I then added adhesive on the back of the frame and adhered a piece of acetate to the back.
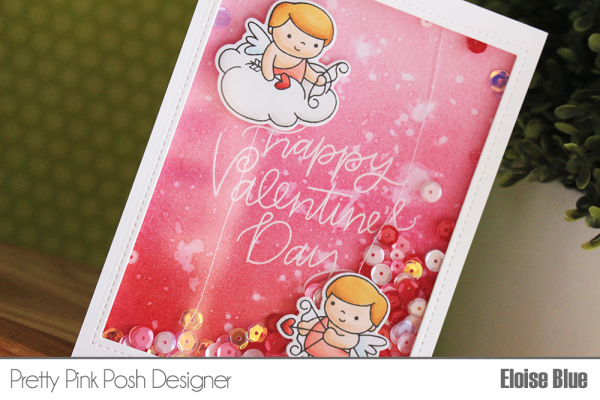
Next, I took a piece of watercolour paper, cut it down to slightly smaller than 4” x 5 ½” and used the ‘Happy Valentine’s Day’ sentiment from Cupid Friends and white heat embossed it into the centre of my card stock piece. I then used some Festive Berries, Picked Raspberry and Spun Sugar Distress Inks to create a blended gradient effect. Then splattered some water over top to create a water splotch effect. I dried it off with a heat tool and could start to assemble my shaker card.
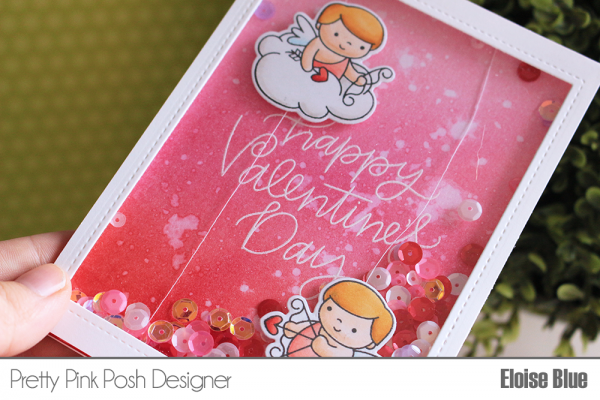
I went ahead and added some white thread onto the backs of my angels, then took the ends of the thread and adhered them directly to the ink blended panel using some scor-tape. Then, I added in some Sweetheart and Spring Blooms Sequin Mixes in the middle of the panel. Lastly, I added two layers of foam tape behind my white frame from earlier and adhered that over my card base directly. That finished up the first card, let’s move onto the second card.
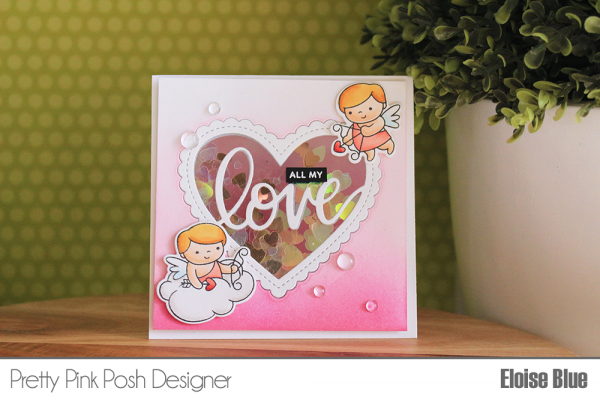
For the second card, I wanted to create a see-through shaker design. To start up, I coloured the same two angels the same way I did for my first card and then cut them out using the dies. Next, I cut a card base to 4 ½” x 9”, scored at 4 ½” to create a square card. Then, cut down an additional white panel to 4” x 4” to create my shaker in. I then took the Love Shaker die and cut it out of the centre of my panel. Once that was cut through, I lined up the cut panel over top of my card base, then pressed in the Love Shaker die so I could cut it from the right place in my card base also. Once they were both cut, I set them off to the side to create a stencil. I cut the same die from some thin acetate, so I could ink blend through it.
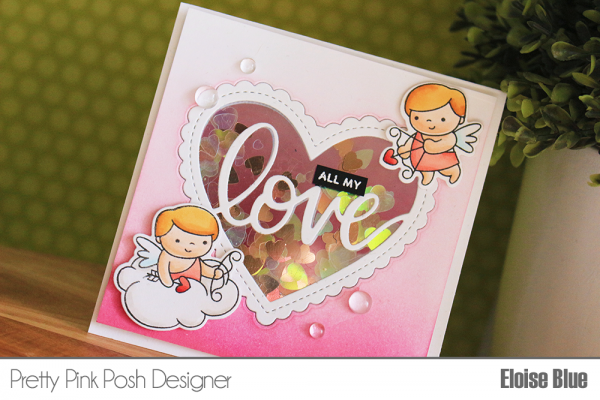
To line up my stencil on the inside, I first closed my card, placed the ‘Love’ positive piece inside the negative piece, held down the inside of the love piece with my fingers, then opened the card base, adhered the stencil over top making sure all the grooves lined up with each other. Then, adhered down all three sides and made sure the front of the card lined up with the inside, it did so I began ink blending. I used Picked Raspberry and Spun Sugar Distress Ink to ink blend on the inside of my card. Once I ink blended that I went ahead and ink blended my front panel with the same two colours. I then added adhesive onto the back of my front panel and adhered down a piece of acetate over top, then repeated the same steps for my card base. I then added adhesive onto the back of my love frame piece and adhered it on top of the acetate and also did the same thing for the inside of my card, except I added adhesive on the front of the piece and not the back so everything lined up.

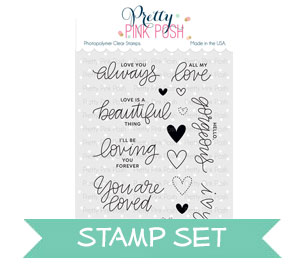
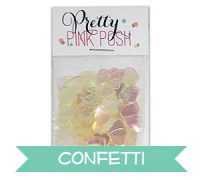
Lastly, I added some Rose Gold Heart Confetti and also some Iridescent Heart Confetti to the inside of my shaker, added a layer of foam tape and adhered my panel over top. I also added my Cupid images with more foam tape and scattered around some Clear Droplets too. To finish up my card completely, I cut apart the ‘All My Love’ sentiment from Love Sentiments and white heat embossed the ‘All My’ sentiment onto some black cardstock. I cut that down into a strip and adhered that onto my card also and that finished up my second card.
Super darling creations!! Love these cards :)
These are both really lovely Valentine’s Eloise. The sequin mixes are so pretty in them both. Well done.
Two beautiful, vibrant Valentine shaker cards and love those adorable cupids!! Love your sequins too!!
Soooo Cute!!!!
Cute shaker cards and the sweet images. So cute.
So sweet!