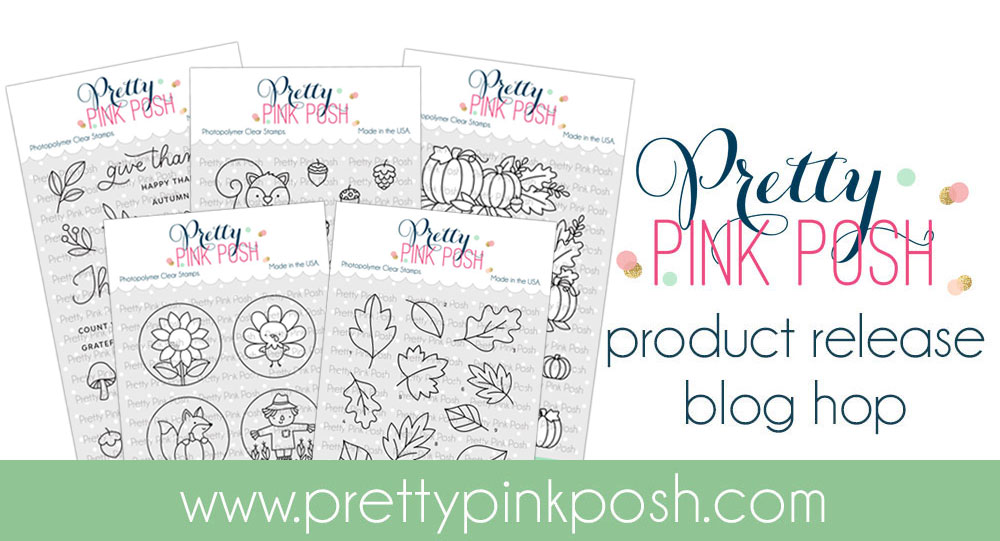
Pretty Pink Posh STAMPtember 2021 Exclusive Set

Hi friends! It’s Dana here today and I am so excited to be sharing a card that uses the much anticipated exclusive, limited edition collaboration set for STAMPtember! It’s called Skiing Bear and it is just so adorable!
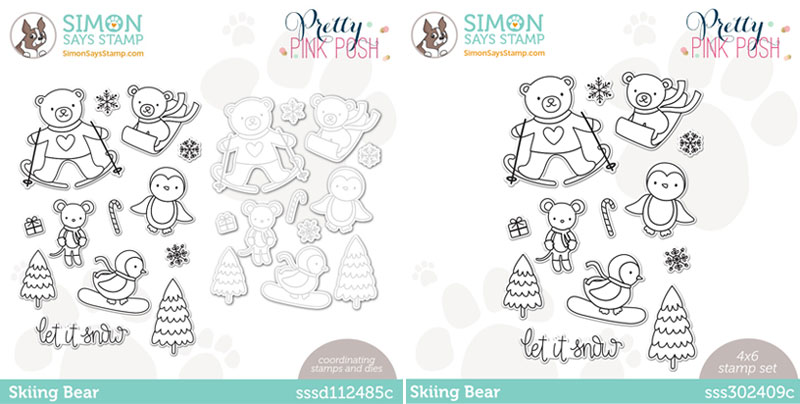
Don’t forget: once this set sells out, it’s gone for good! Get this holiday set, which won’t be released again, while you can!
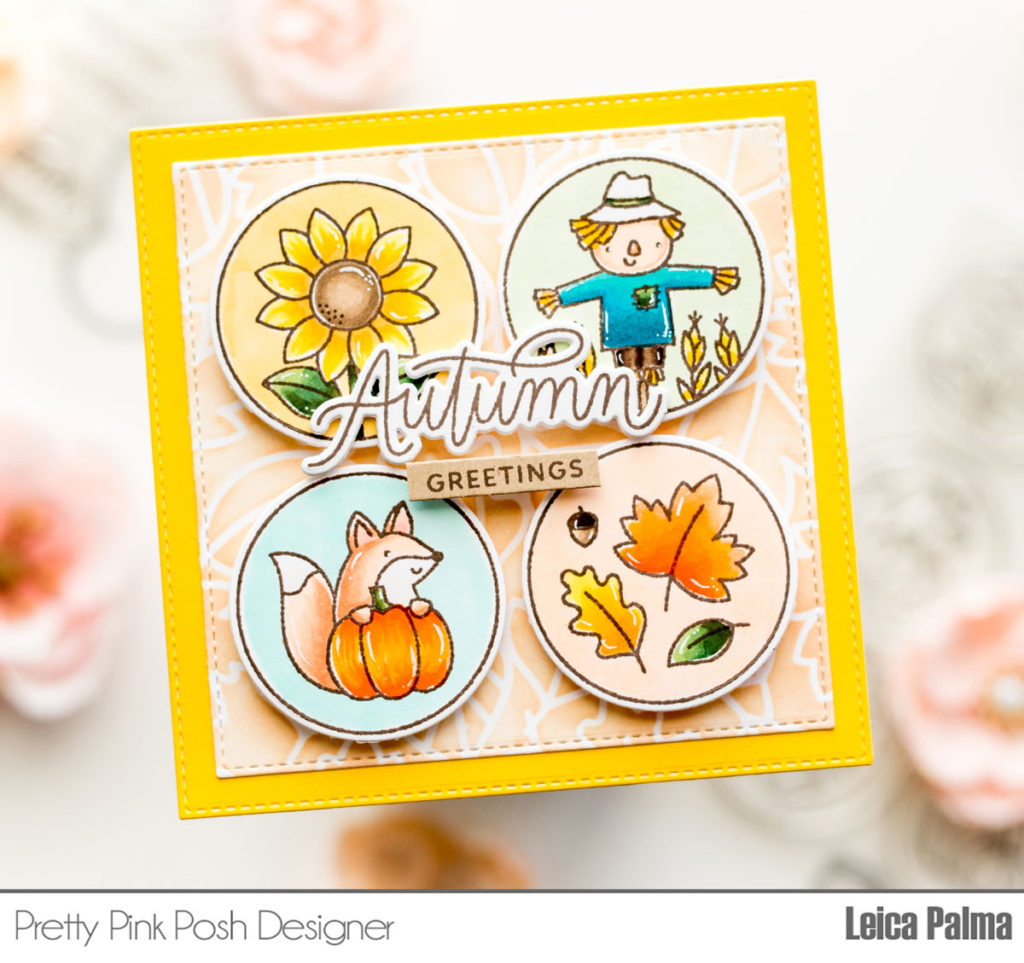
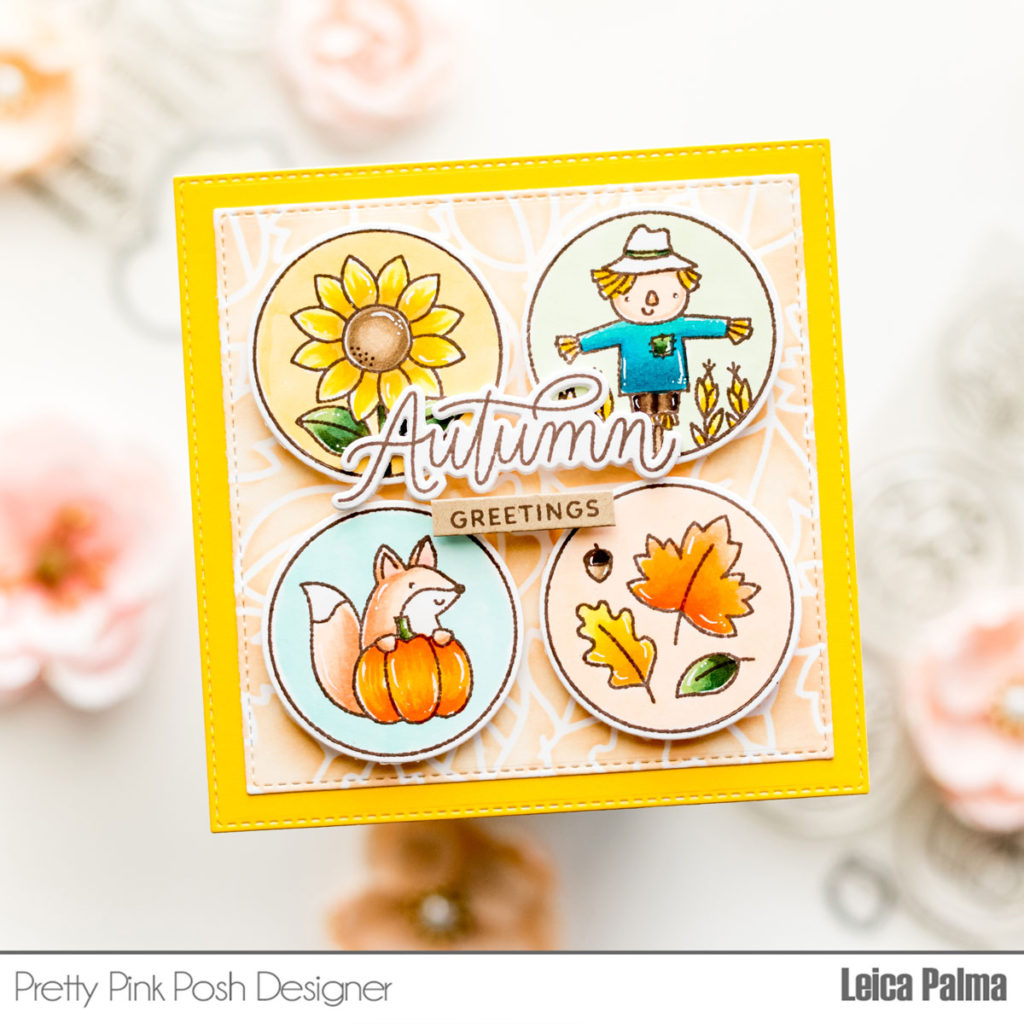
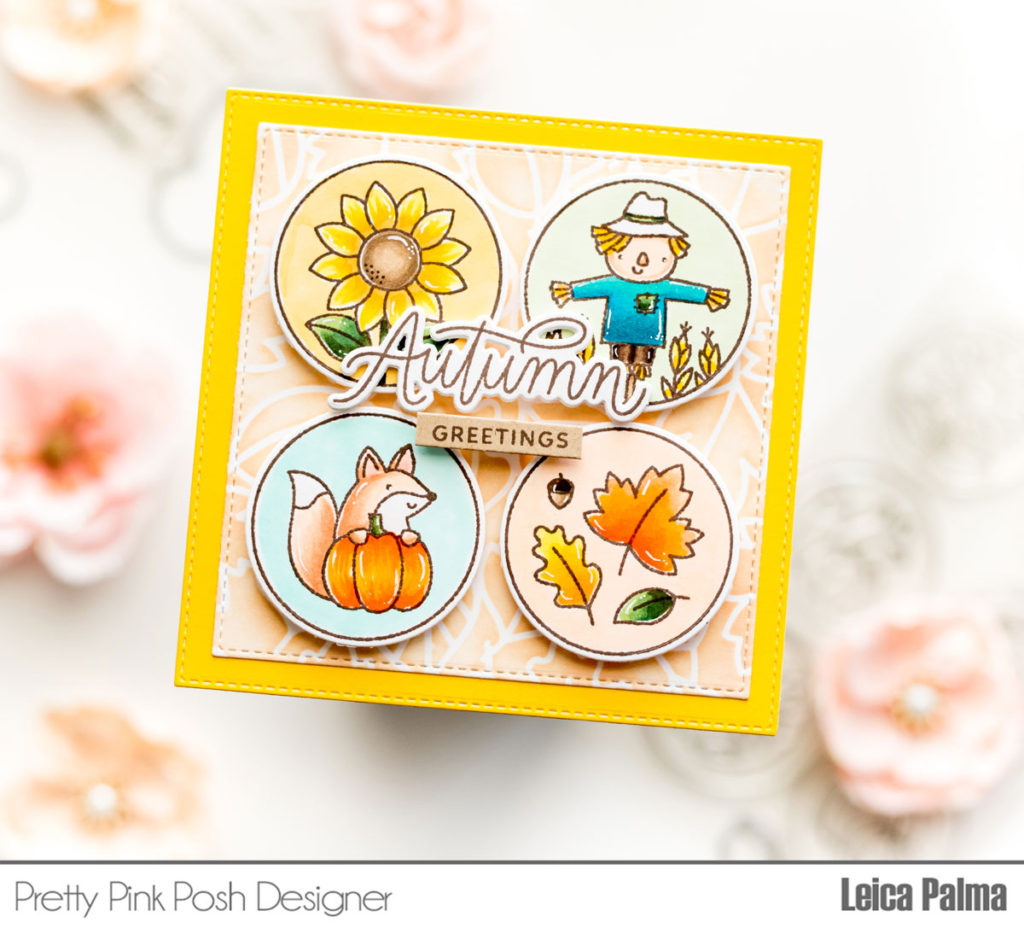
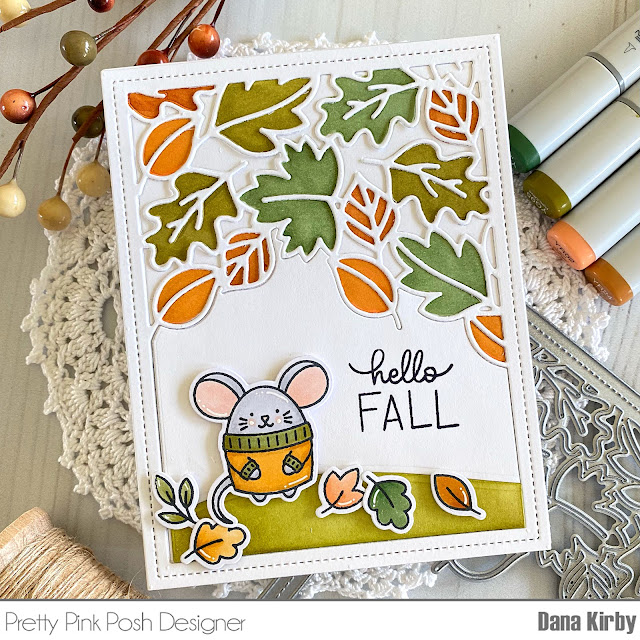
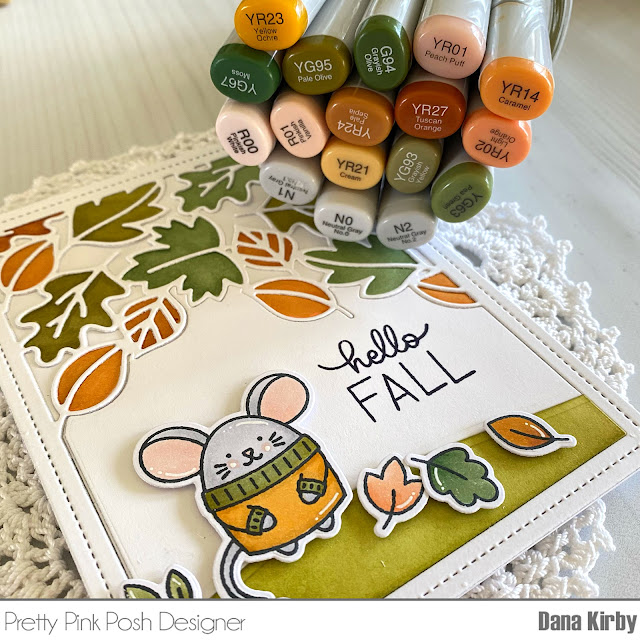
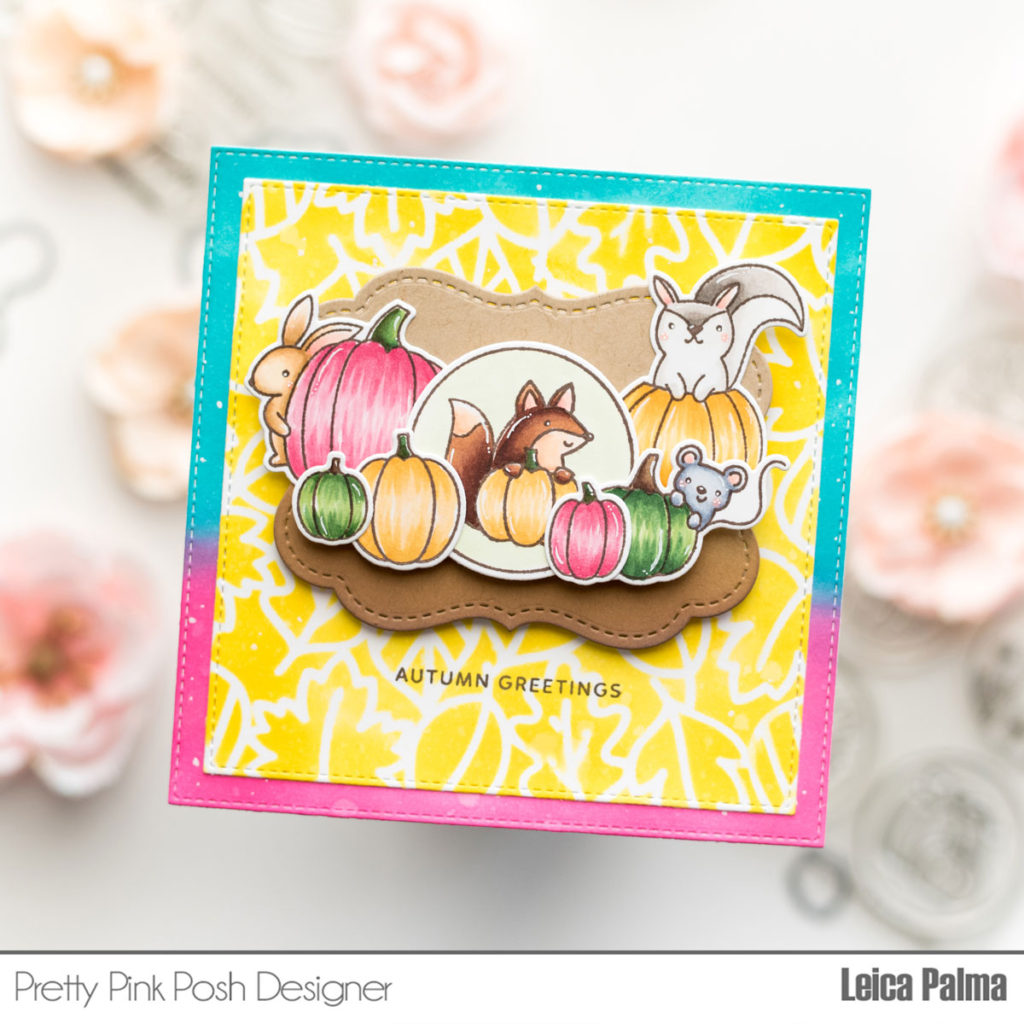
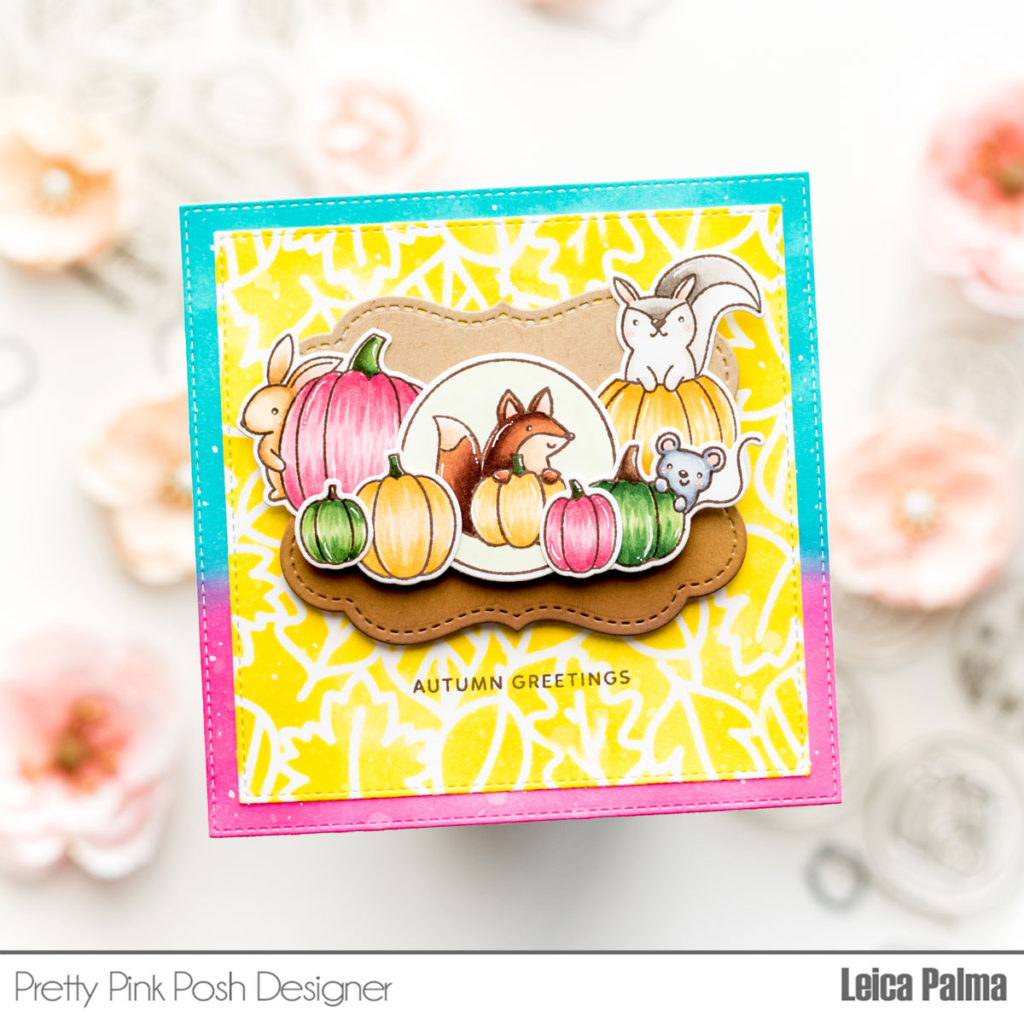
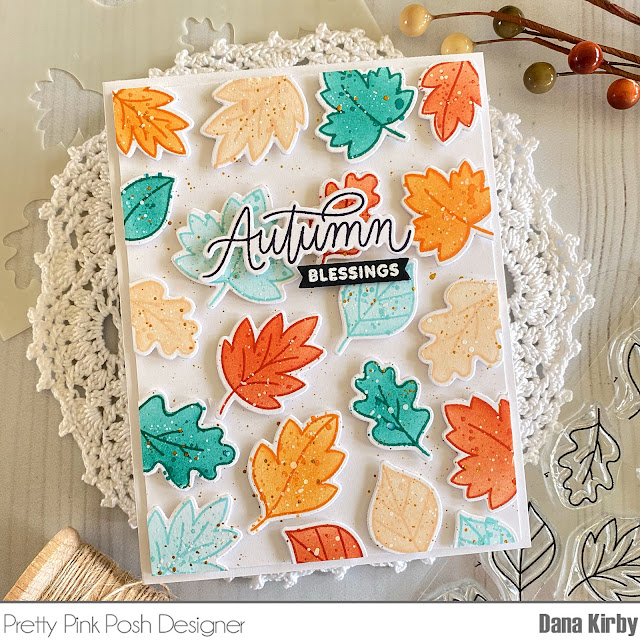
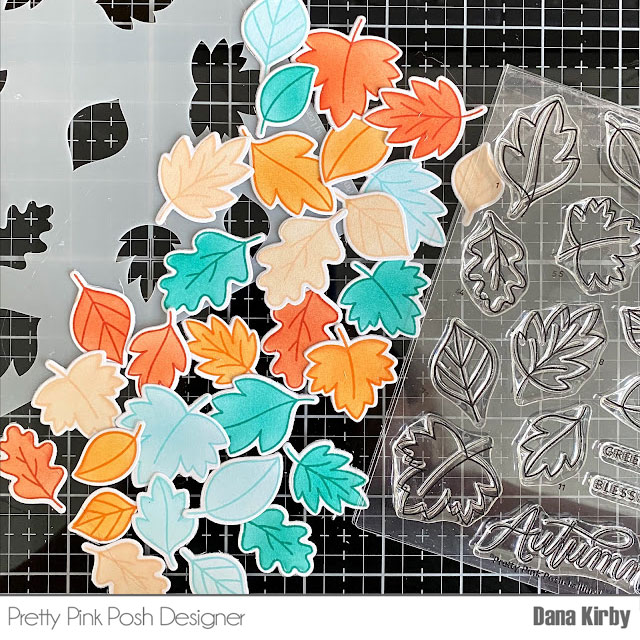
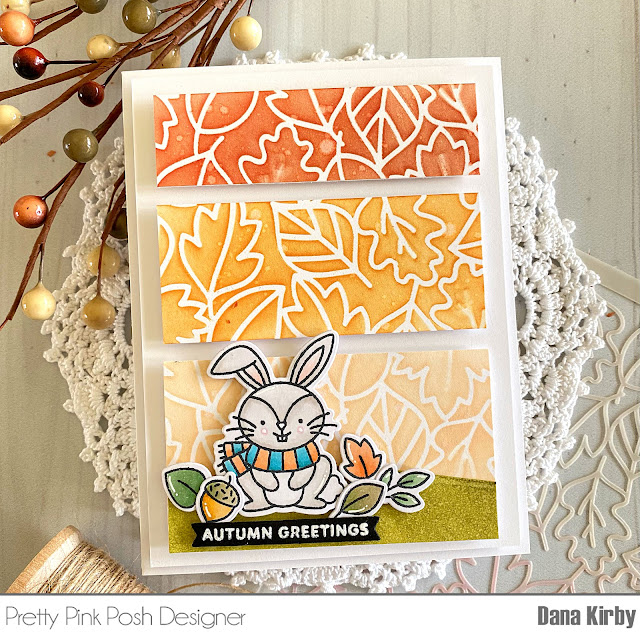
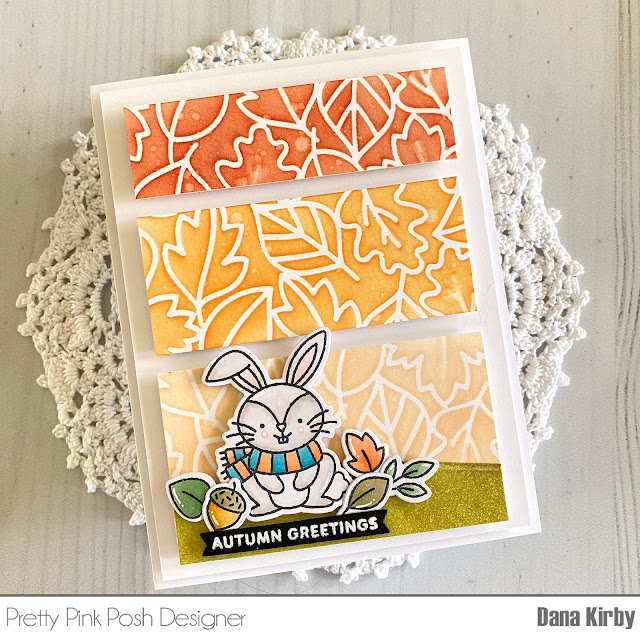
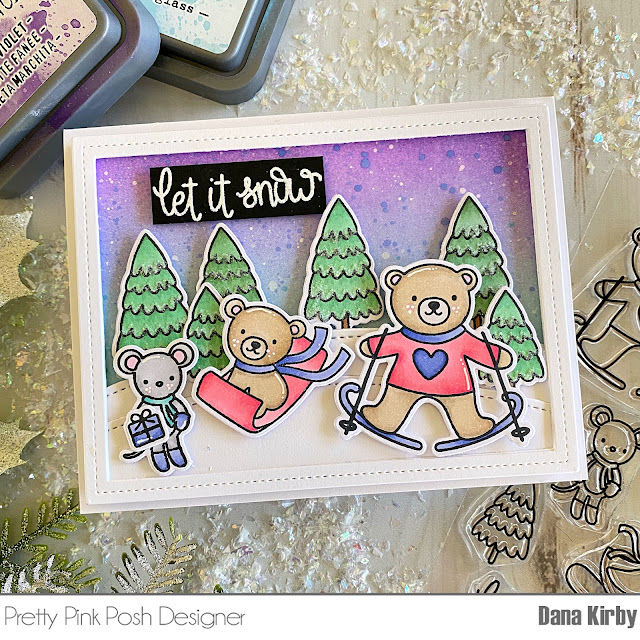
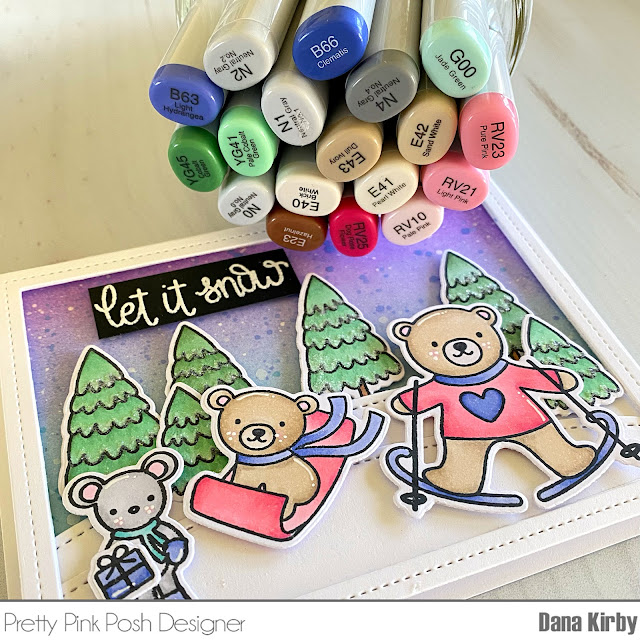
I started my card by stamping my images from the Skiing Bear set with a Copic friendly black ink. I then colored the images with Copic markers and used the coordinating dies to cut them out. Next, I added a little glitter to my trees and set them aside to dry.
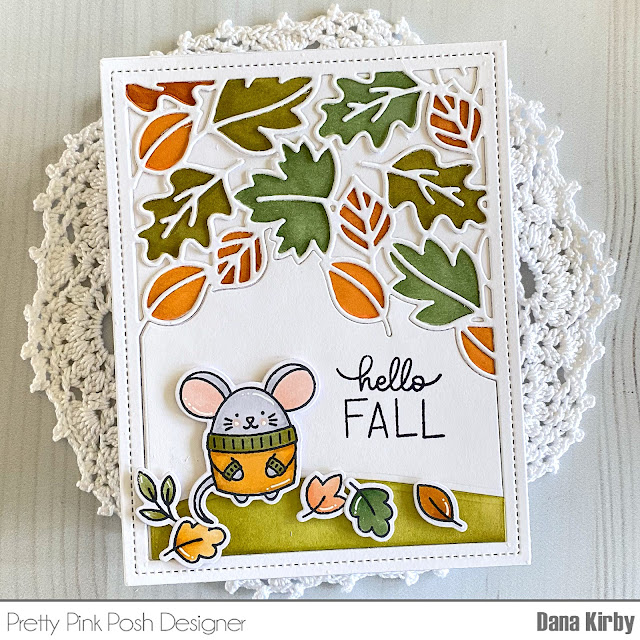
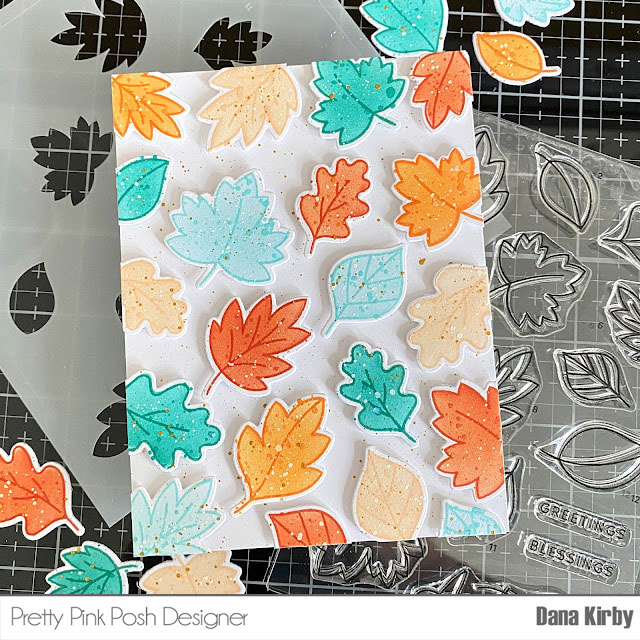
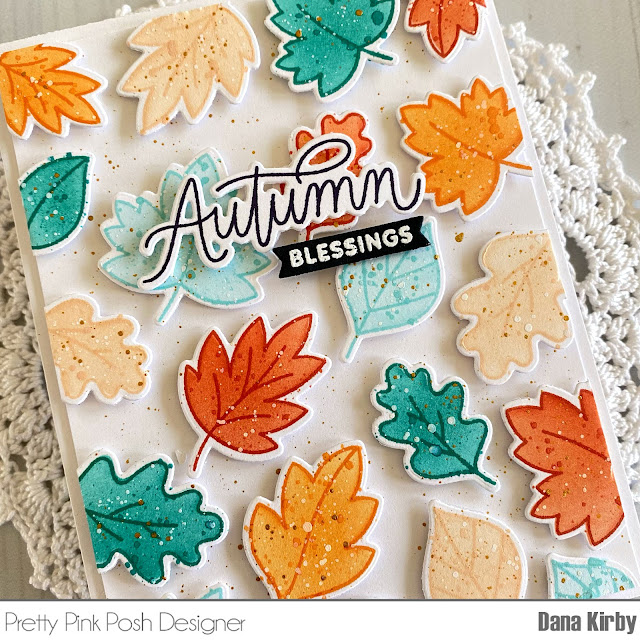
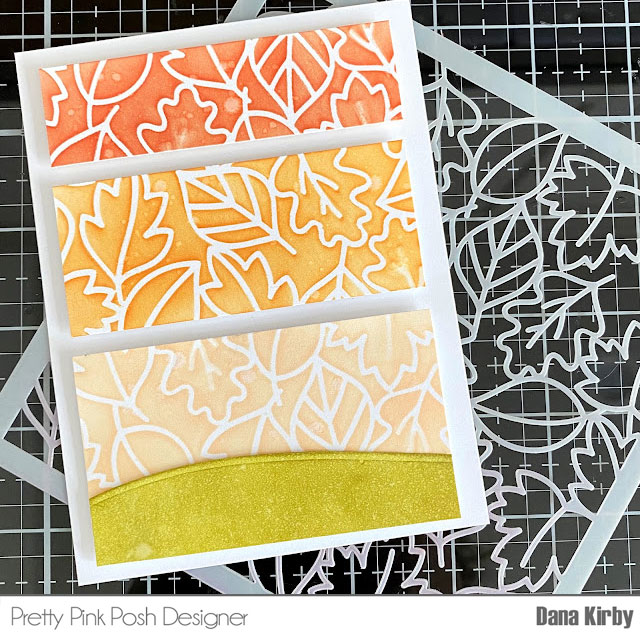
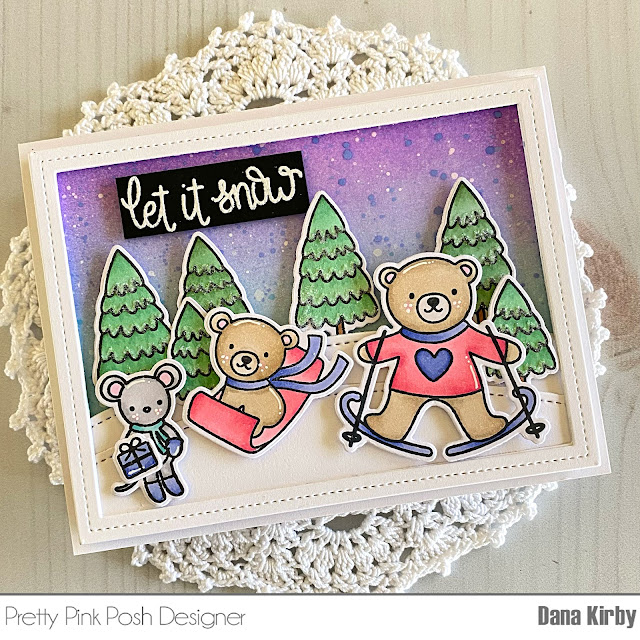
For my card panel I ink blended Distress Oxide ink in Tumbled Glass, Shaded Lilac and Wilted Violet to make my background. I splattered the background with a little white paint and coordinating reinker and set it aside to dry. I then used the Stitched Borders 1 die to create my hillside. I attached the hills to my card panel and used the Nature Essentials die to frame the panel. Lastly, I attached my images and sentiment with foam adhesive to finish my card.
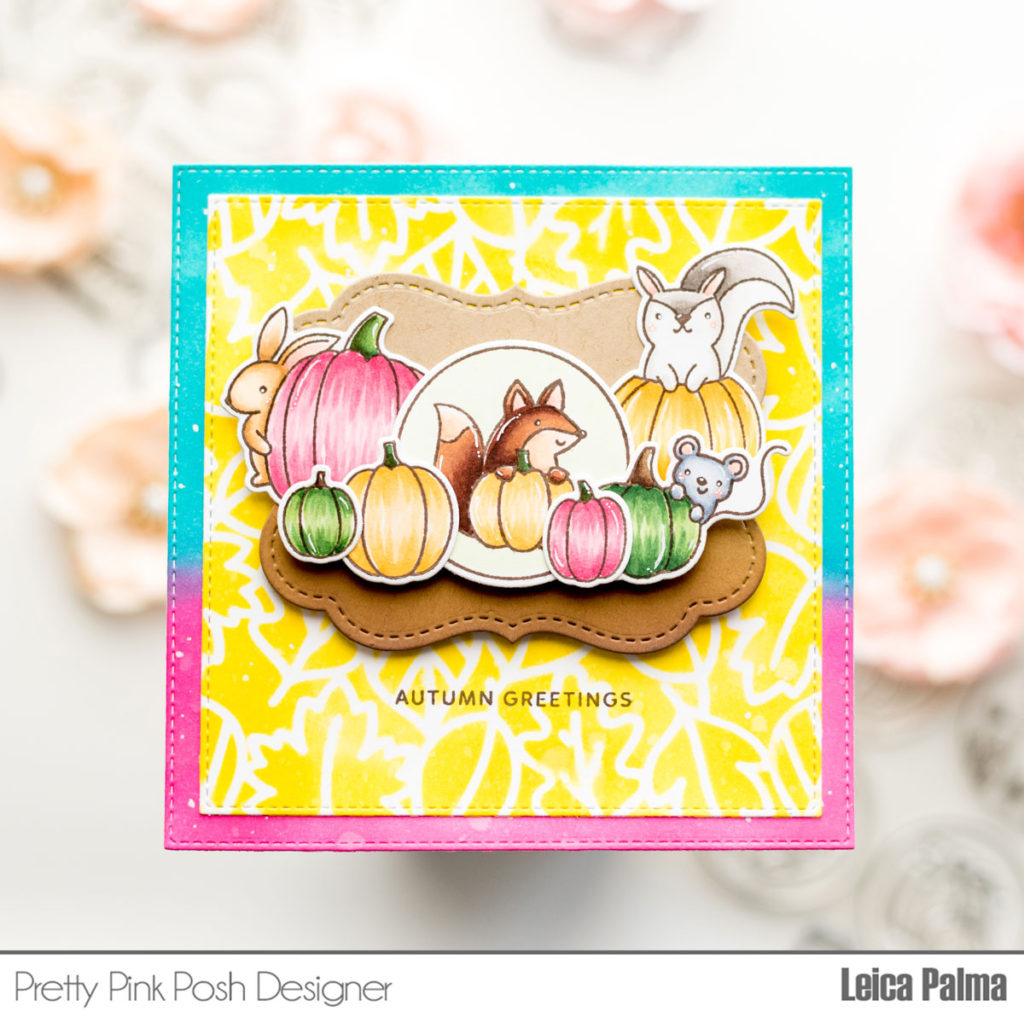
The other designers have been creating with this stamp set and will be sharing them in blog posts and/ or on social media.

Mona Toth
Lindsey Larsen
Dana Kirby
*I’ll update the blog posts as they come in
I hope that you all love this stamp set and are inspired by the samples the design team created. A giant thank you to Simon Says Stamp for letting us be part of STAMPtember®.