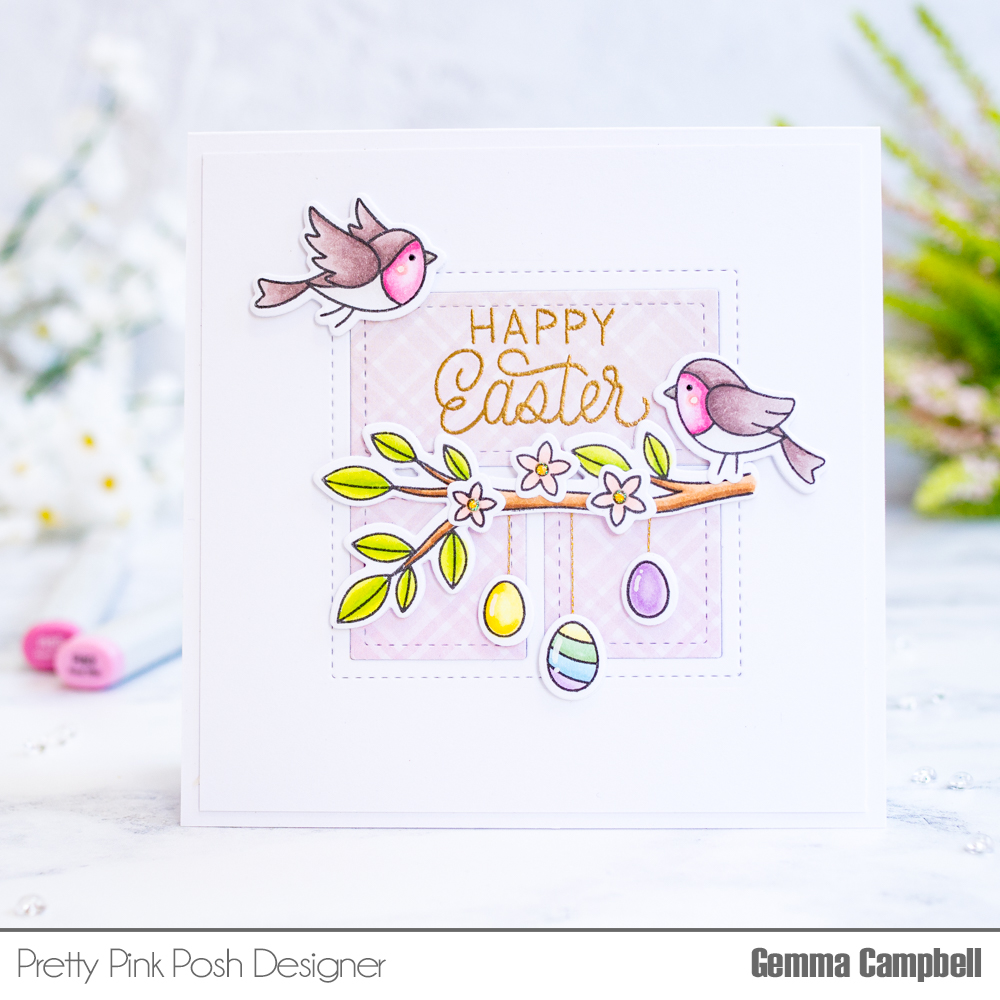
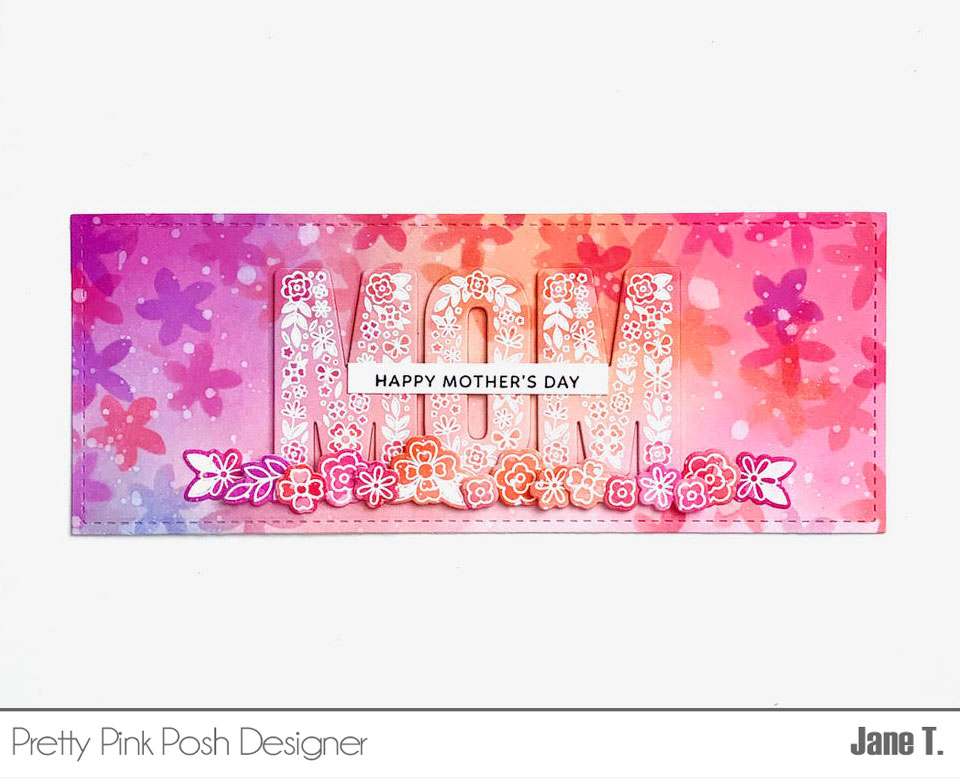
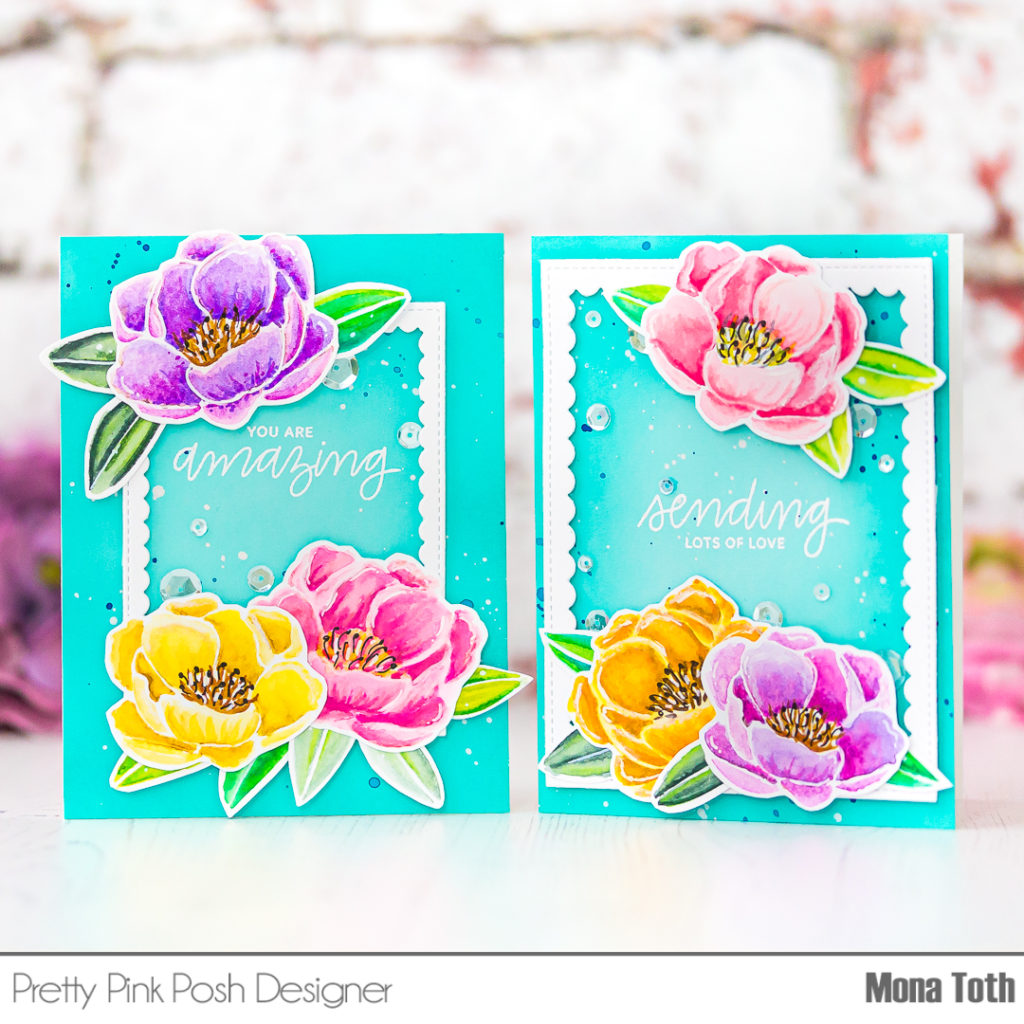
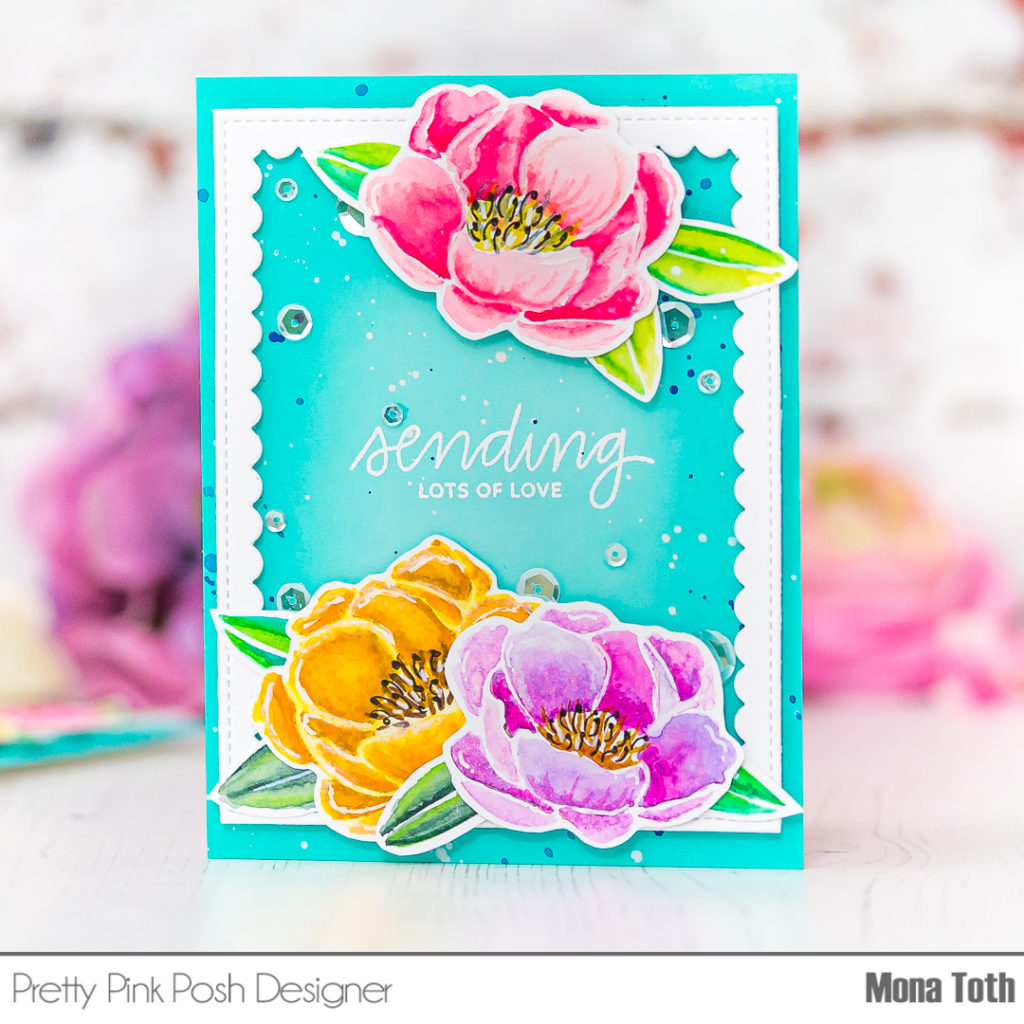
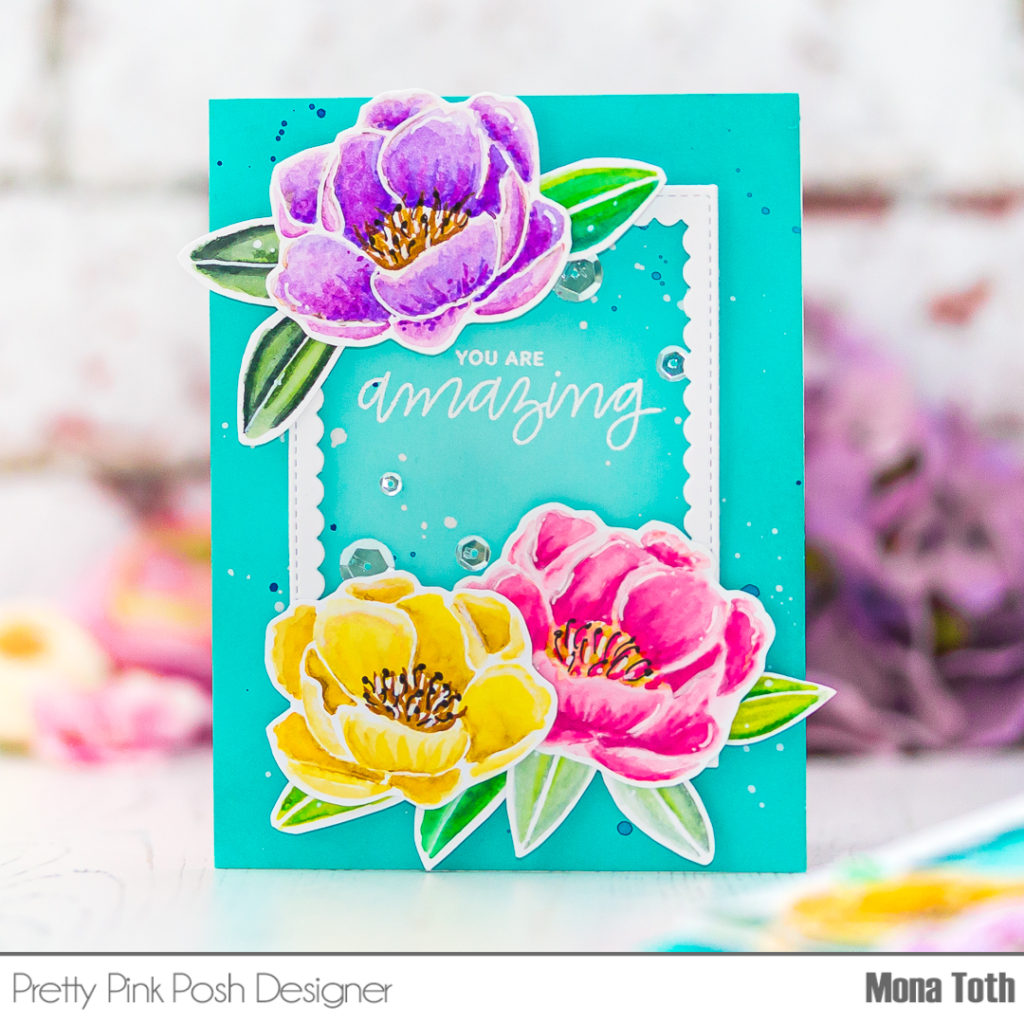
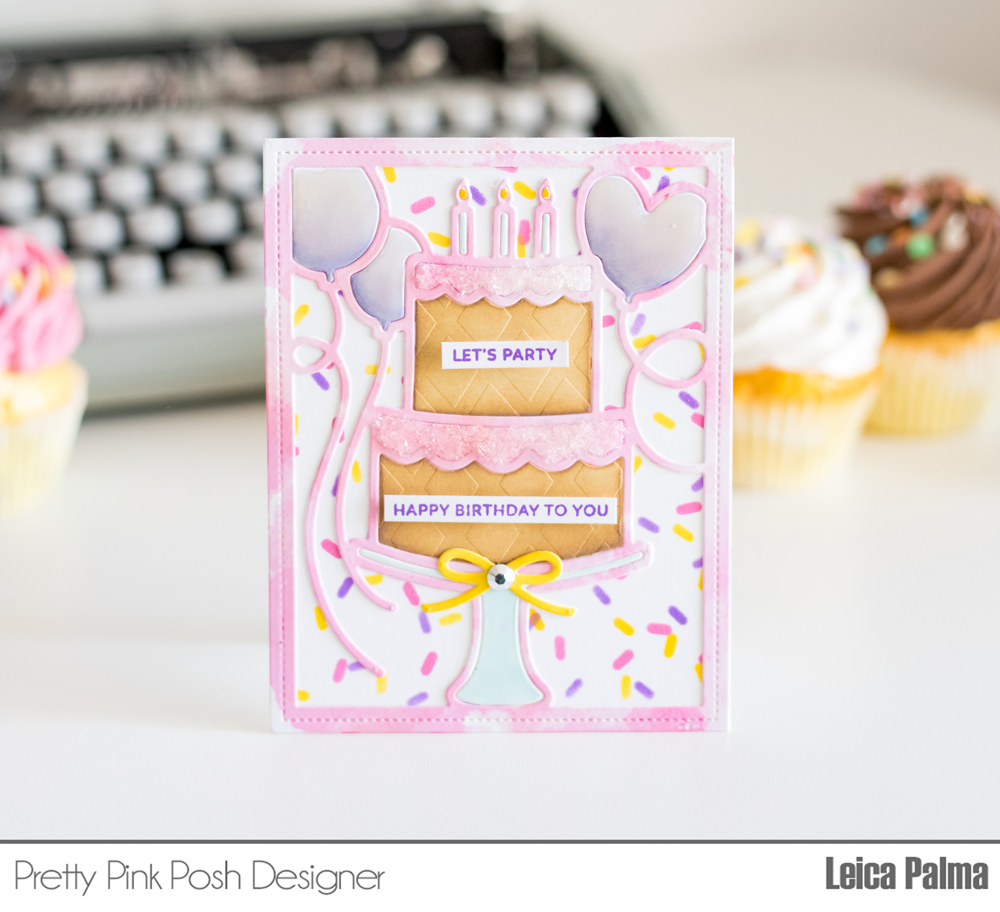
Good morning! Heather here and I’m sharing a fun set of cards created with the gorgeous Spring Frame Die – I love how they pop against bold colored cardstock, and make a perfect simple canvas for some lovely sentiments. This would be an easy way to create a set for gift giving, or to have on hand for lots of different occasions!
There is almost a graphic feel to these cards – and the vellum adds just the right touch of softness. Keep reading to see how these came together, step by step!
First up, you are going to need to die cut several of the Spring Frame from white cardstock. This die cuts like butter! And while there is lots of detail to make it gorgeous, there aren’t a ton of super tiny pieces to punch out, which I love!
Next, I chose some fun solid cardstock colors – there are all by Gina K Designs. The colors even look gorgeous together! I trimmed these down to fit behind the windows – so 4 1/4″ by 5 1/2″.
Next up – it was time to choose some sentiments! I heat embossed some sentiments from Thoughtful Greetings Stamp Set – a previous release – in gold on vellum, then trimmed them down into long strips, wider than the width of my card.
Next, I lined them up on my colored cardstock panels, folded the edges around to the back, and adhered them from behind. This way there is no need to hide the adhesive!
I used the handy Double Sided Foam Sticky Strips to adhere all of the Spring Frames over my cardstock panels – they are the perfect size to fit around the edges of this die, and it pops them up the perfect bit to add a bit of dimension.
The final finishing touch was a few Sparkling Clear Sequins adhered around for a bit of sparkle and shine!
And there you have it – a complete set, and super easy to put together!
Which color combo is your favorite? Or do you have a favorite sentiment?
Thanks so much for stopping by today – have an absolutely wonderful day!
I trimmed a piece of Bristol Paper into A2 size (4.24×5.5 inch), then I ink blended it using Distress Oxide Inks – Wild Honey, Fossilized Amber, Squeezed Lemonade, Mermaid Lagoon and Peacock Feathers from bottom to top.To give some interesting layout to the card, I die cut the inked panel using Storybook 1 Dies. Among the three windows created by Storybook 1 Dies, two were to for shaker window and one for chalkboard. I die cut Storybook 1 Dies out of black card stock again, heat embossed sentiment in white and then I added a little bit of white pigment ink around the edges by just using my fingertip. To give some dimension to the chalkboard, I layered 4 pieces including the top one.
Colored images were then adhered using glue and foam tapes. I put the panel onto a card base made of 110 Neenah White then I added Sparkling Clear Sequins Mix as a final embellishment.
For my second card, I diecut 110 Neenah White paper and red cardstock using Scallop Borders 2 Dies and adhered them. Sentiment was heat embossed on red cardstock in white and I die cut it using Mini Tags Dies Set.
I used mini hearts paper from Pebbles Forever My Always 6×6 paper pad as a background panel. To add some lovely mood I added Ivory Twine Ribbon.
Hello, Pretty Pink Posh fans! This is Yana Smakula. I rarely make shaped cards now and frankly, this is something I really miss from my early card making days. When I saw the Spring Wreath stamp set by Pretty Pink Posh I knew it was perfect to use for a cute little circle card. It’s like it was made just for that!
If you are not into shaped cards and prefer regular A2 card size and format you can easily incorporate my today’s idea into a traditional format card.
Watch my video tutorial below to learn how I made this card.
I started working on my project by stamping the Spring Wreath in black ink on regular white paper. I wasn’t sure which coloring medium I wanted to use for this card, but having just received a set of Dual Ended Chameleon pencils in the mail I wanted to give them a go. For this card, I picked just a handful of colors to test these pencils out.
If you are not into colored pencils, you can, of course, color this wreath using any coloring medium you like, the images here are small and don’t require a lot of work, so it’s a great image to color quickly or on the go.
There are coordinating dies available for both of these stamp sets, I used mine to cut the wreath, individual flower and also the butterfly out.
Next, I stamped a sentiment for this card that reads Spring Greetings, it comes from the Spring Wreath stamp set. I stamped it on dark yellow cardstock and heat embossed in white embossing powder, once it was ready I trimmed t into a skinny strip.
From this point, if you prefer a standard format card you can create a regular A2 card base and follow the tutorial. I however wanted to make a circle card so I die-cut a circle card base using a regular circle die. I first created an A2 card base out of light yellow cardstock and next used the die to cut it into a circle. I made sure the die blade went outside the fold of the card so that I didn’t just die cut 2 circles, but rather a circle card base.
Next, I used lots of foam adhesive squares to foam mount the colored wreath on to the card. Before I adhered it in place I added some white twine to be able to tie it into a bow later. It just adds a nice finishing touch to the card.
I made a V-shaped cut on the right-hand side end of the sentiment strip and having figured out the placement I adhered it in place using glue, I only added glue where the strip overlapped the wreath. I used different shades of yellow of cardstock for the card base and sentiment strip so that they won’t blend together.
I also shaped the butterfly a bit and adhered it onto the card using foam adhesive to pop it up above the background. I also foam mounted the individual flower I had colored.
Finally, I used a mix of sequins from the Easter mix and also small clear droplets to embellish this card. I adhered them in place using liquid glue.
I think these cards turned out really beautiful. I hope you like them! Have fun stamping!
Hello and Happy Mother’s Day! I wanted to pop in quickly to announce the four lucky winners of the Product Release Blog Hop posts HERE and HERE. Here are the lucky winners…
Ladies, email me within 7 days and I’ll send over the gift certificates so you can shop!
Thank you to everyone who left comments on the blog hop and for the special guests and designers who shared their beautiful inspiration using our new release! I hope those of you who have purchased are enjoying your new goodies!
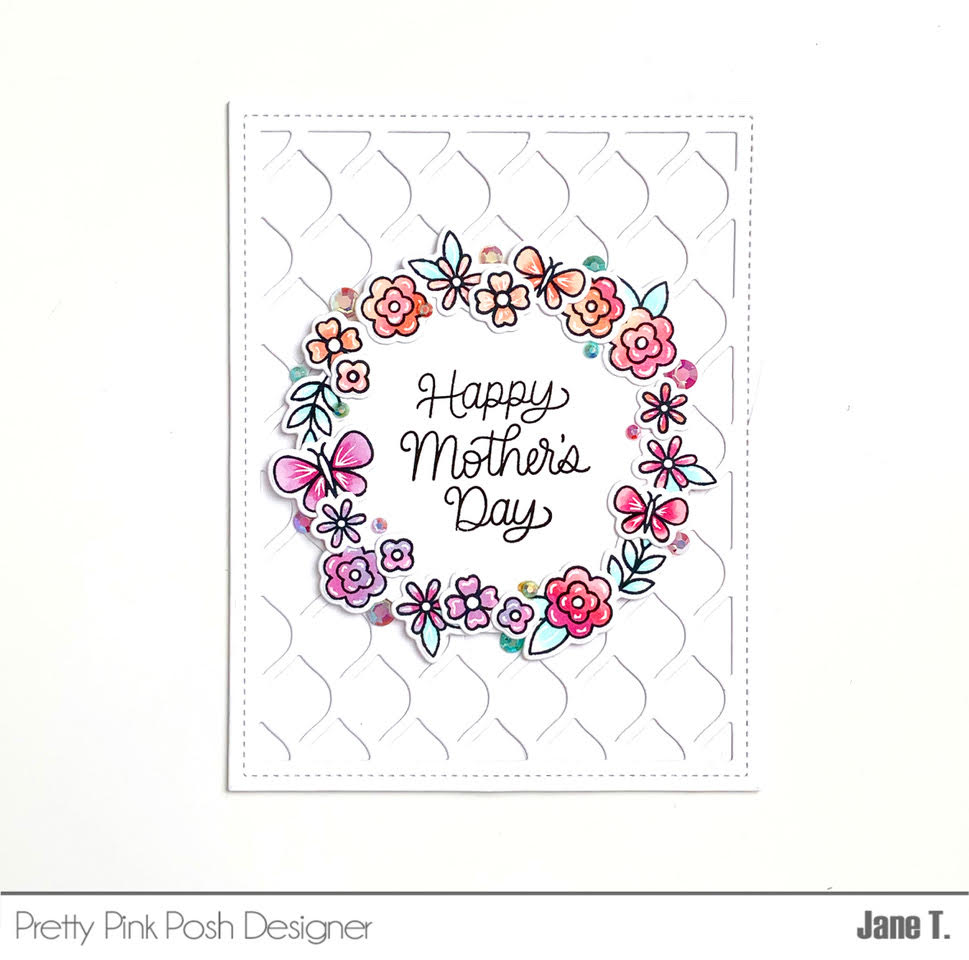
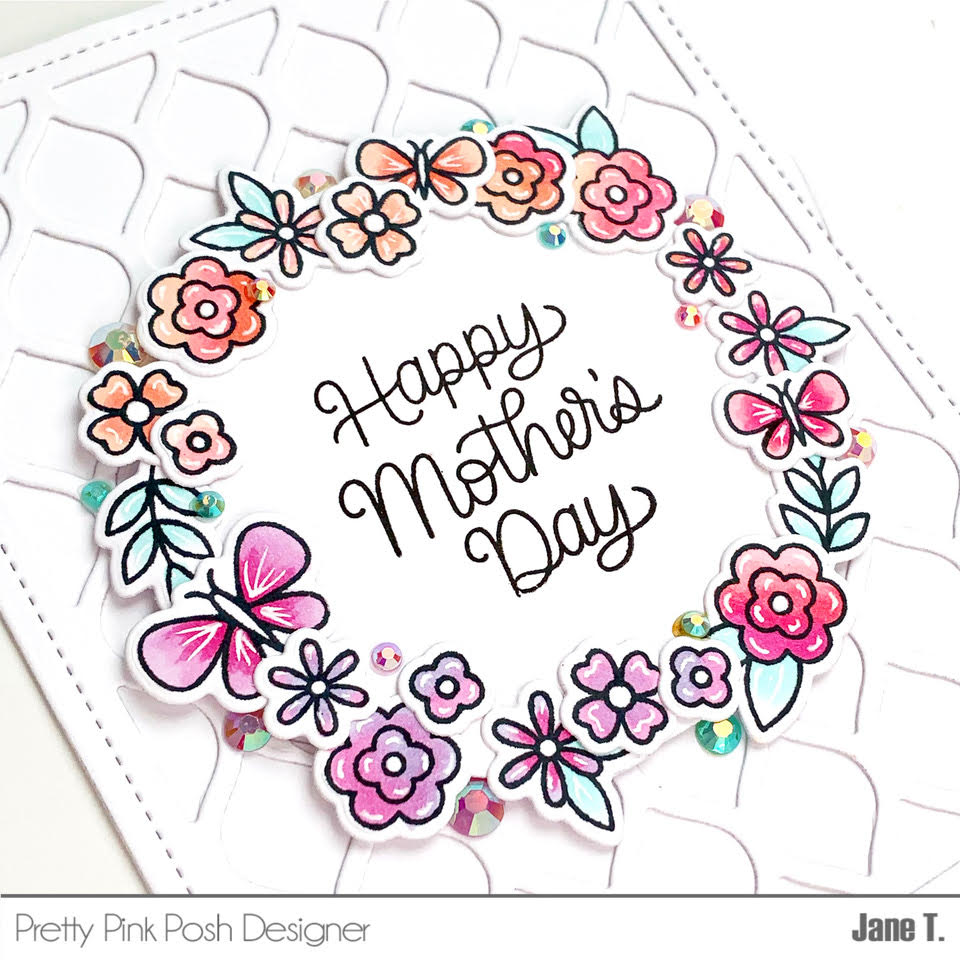
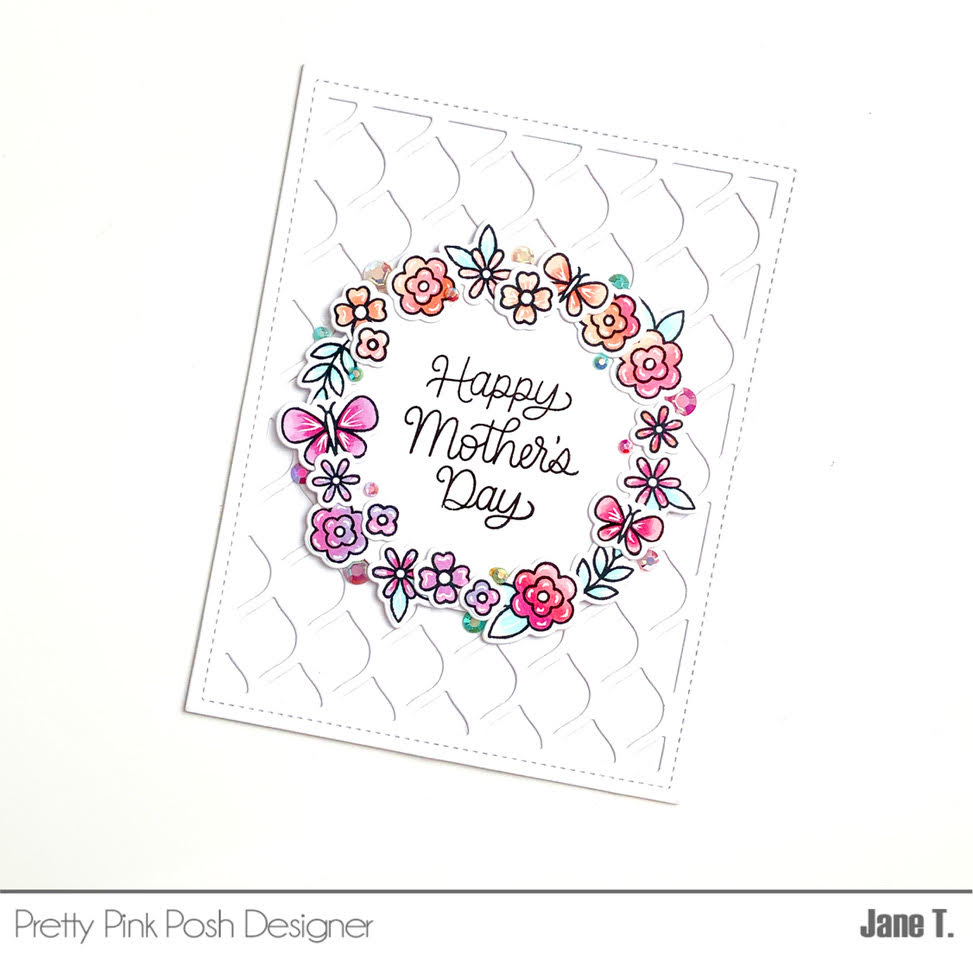
Hi everyone, Rina here with a fun floral shaker card. I have made this card a Mother’s Day theme, but you can make it for any occasion you want using a sentiment stamped on the inside of the card.
I used Bristol Smooth Surface cardstock stamped with Versafine Onyx Black ink to watercolor the images. I used the Peonies stamp set along with the Mother’s Day stamp set (for the inside of the card). I used two Zig Real Clean Color Brush Markers in Turquoise Green and Light Green. I adore these colors together.
I created the card front using the new A2 sized Lattice Background Die and lightly ink blended it with Tumbled Glass Distress Oxide ink.
I created my shaker card by adhering the acetate to the back of the Lattice Background die cut. And then applying double sided foam tape around the edges. I created a custom shaker mix to match with the images:
Hi, friends! It’s Marge here for you today. Mother’s day is soon and I’m going to share a card inspiration for Mother’s Day using the new products from Pretty Pink Posh.
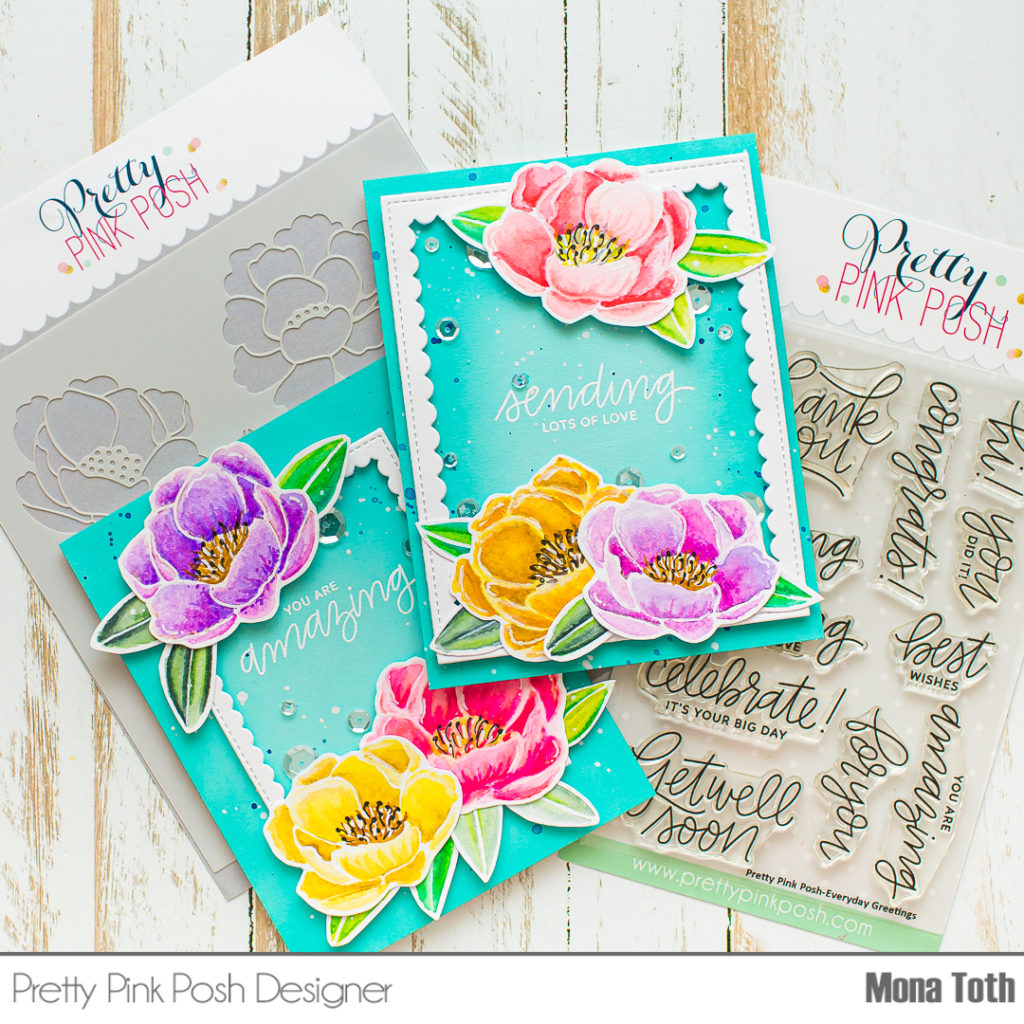
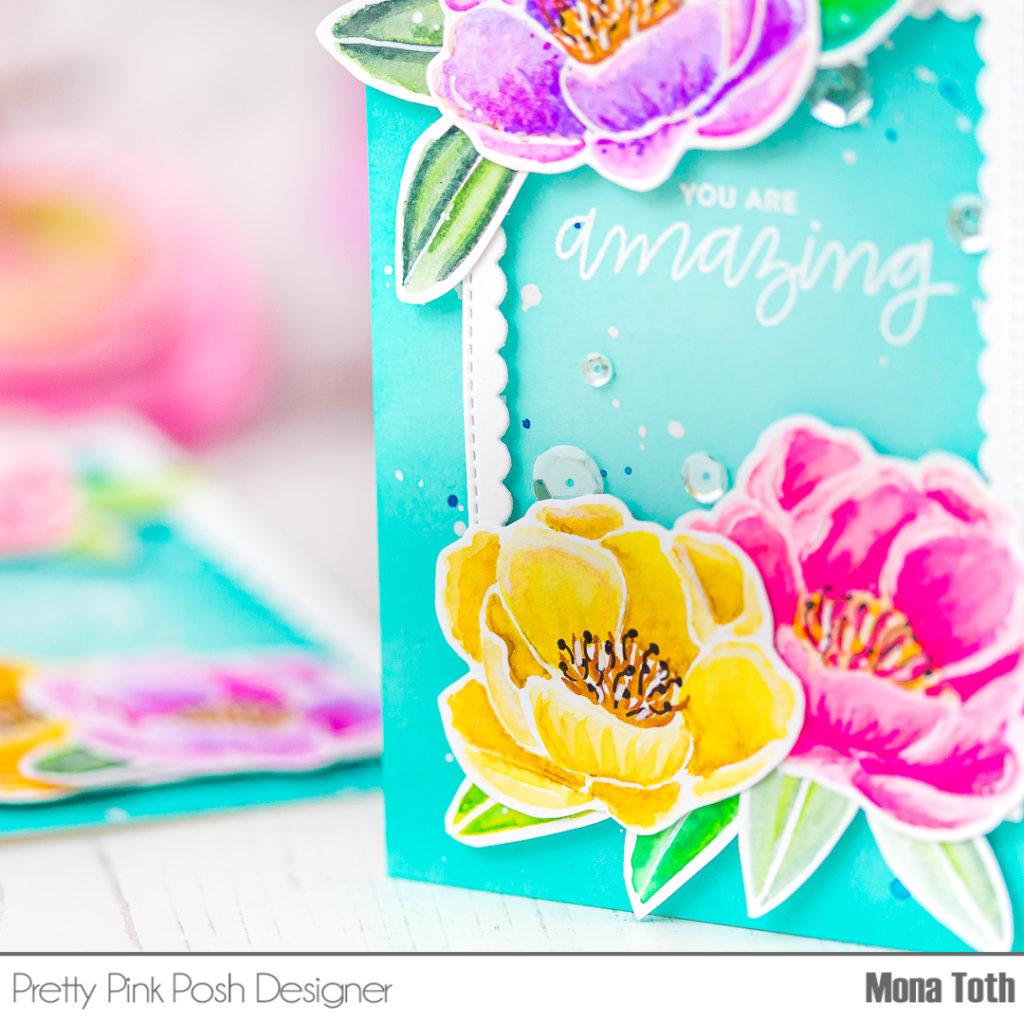
I thought the new stencil would be a great background for the peonies, so I chose Wide Stripes Stencil from the new release, and I decided to go with earth-tone colors for stenciling to make a natural mood on my card.
I placed Wide Stripes Stencil onto A2 sized ivory card stock and then sponged warm-brown colored dye ink through the stencil, I didn’t fill all the space, instead, I left some part of the area to give the stenciled pattern some tapering effect and more depth to the shades. I then splattered with white, black and gold inks onto my panel and colored flowers.
Hello there everybody, Wanda here guesting on the Pretty Pink Posh blog! I’m sharing a card today using products from the April release.
Begin by stenciling the Wide Stripes Stencil using a small sponge dauber and Squeezed Lemonade Distress Ink. Tape the stencil down over your paper using Purple Tape or some other temporary tape. Tamp the ink down with the dauber placing more color towards the outer edges and less color towards middle of the cardstock . Use a water sprayer to lightly mist the inked paper and let it dry. Splatter Copic Opaque White using a small paint brush.
Stamp and die cut the bouquet and small flower from the Mother’s Day stamp set and bee from Bee Friends. Color the images with bright shades of Copic Markers. Add white accents with a gel pen.
To assemble the card, use a kraft A2 sized card base. Wrap a strip of vellum around the striped panel and affix it on the back side. Attach this layer to the card base using foam tape. Adhere the two tag shapes together with adhesive and then attach them to the card using foam tape.
Stamp the bee trail and the two tiny hearts onto the tag. Mount the bee, bouquet and flower to the tag. Using clear glue, glue the word die at an angle across the bottom of the card.
These products work together so beautifully and you can really customize the card to fit the recipient.
That’s it for today….Hope you have a beautiful, happy day!
Hello, Gemma here today to share a graduation card featuring the latest release from Pretty Pink Posh. The release includes stencils for the first time and they are fabulous!
I love stencils for several reasons – how easy they are to use, the possibility to get many different looks, the price point is low, and they are easy to store if you have limited craft space like me. I’ve used the Graduation Stencil for my card today. I inked onto dark blue cardstock with Faded Jeans distress oxide ink. I love the luminous quality of distress oxides on dark cardstock.
After coloring and die cutting, I added more shades with my colored pencils.
Next, I die cut the Mother’s Day Script Die out of white card stock, then I colored the die-cuts with Copic Markers: E49-E47-E44. I diecut the same letters again and glued them together using Multi Medium Matte. The small ‘Happy’ was from Fox Friends stamp set and was heat embossed in white on brown card stock.
In order to make a background for my flowers and scripts, I diecut the same watercolor paper using Lattice Background Die and adhered it on a white card base using with the use of Multi Medium Matte. Now it’s time for adding all the colored pieces and create a scene on our A2 panel.
Hello, Pretty Pink Posh’ fans! This is Yana Smakula. In this video, I’m sharing a very easy method to create money holder greeting cards. You won’t need any specialty dies or supplies for this type of card and you should be able to create a card design like this using most of your Pretty Pink posh stamps and coordinating dies.
I started by stamping some images in black Copic marker friendly ink onto white paper. The size of the images you pick is the only thing that matters as you’ll want to use something that’s big enough to hide a folded bill behind it. So a small critter stamp, for example, is not going to work. But a cute giraffe, like the one I’m using here and also a gorgeous floral arrangement will. Both of these images are from Pretty Pink Posh and come from the Animal Signs and Mother’s Day stamp sets respectively.
Watch my video tutorial below to learn how I made this card.
Next, I quickly colored these using Copic markers. Nothing fancy, just some quick strokes of color to bring these images to life. I used YG03, YG17, RV34, RV11, RV10, Y11, Y35, Y17, BV11, BV00, and BV000 markers. To color the giraffe I used E37, E33, E31, R0, and E51.
I wanted to combine these two images and have my critter holding a floral bouquet and not the frame. I did some fussy cutting to eliminate the image parts I didn’t need and using foam adhesive squares I foam mounted the flowers onto my critter, added front legs and the tail. Super cute! and it wasn’t hard to do at all.
Next, I’ve done some partial die cutting using a coordinating die. To make the partial cut I only covered the part of the die that I wanted to cut into the paper and left the other part of the die free. This allowed me to do partial die cutting and only die cut the top part of my giraffe.
I also wanted to add some dry embossing to the background. I used a new Wide Stripes stencil and dry embossed on the background. I love the result! It looks very clear and simple, yet there’s pretty linear texture in the background!
I trimmed this panel down to 4” x 5 1/4”, I also made an A2 card base using hot pink cardstock. I folded the money bill and inserted it into the partially die cut panel. Next, I added foam adhesive around it making sure not to touch it. I wanted to block the bottom part of the panel so that I didn’t have stuff falling down into the card and making it impossible to get it out.
I also used my anti-static powder tool to eliminate any of the residual stickiness on the foam tape so that nothing would stick to it. Once done, I adhered the panel onto a card base, foam mounted the critter, added the bill and dressed up this card using pink stamped stars and Pearlwhite jewels.
I also made one more card to share, this one is for Graduation and it uses the same concept and almost same supplies.
I used a different stencil for the background, Graduation, and blended some pastels over it to give it some color and help highlight the embossed areas.
Next, I stamped, colored and cut out an adorable elephant from the Animal Signs stamp set. I used W5, W3, W1 and R20 markers. I also stamped a graduation cap and a scroll from the Congrats Grad stamp set and colored those images using Copic markers as well. I used RV34, RV11 and RV10 colors along with C9, C7, and C5 markers.
I foam mounted this darling baby elephant onto the background matching him with the partial cut already made. Next, I added his graduation cap and a scroll using foam adhesive. I foam mounted the entire panel onto a light pink card base and also embellished it with a few stamped & die cut stars and pretty white jewels.
While the slits in these cards are relatively small you should be able to tuck any folded currency bill inside or tuck a little handwritten note if you like.
PRIZES: be sure to leave comments on each stop. I’m giving away 4 $25 gift certificates to four random comments (2 winners each day) left before May 8, 2019 at 11:59 PM PST. I’ll be announcing the winners next week, so be sure to return and see if you are one of the winners!